Corruption is a late-run loop in 100 Days at Sea. The path is: collect Corrupt Shards, open the Cargo Ship portal, clear the dungeon rooms, and defeat the Corrupter. Bring ranged weapons, food, and healing, then use these late-run survival tips and the farming guide to stock up before you sail out.
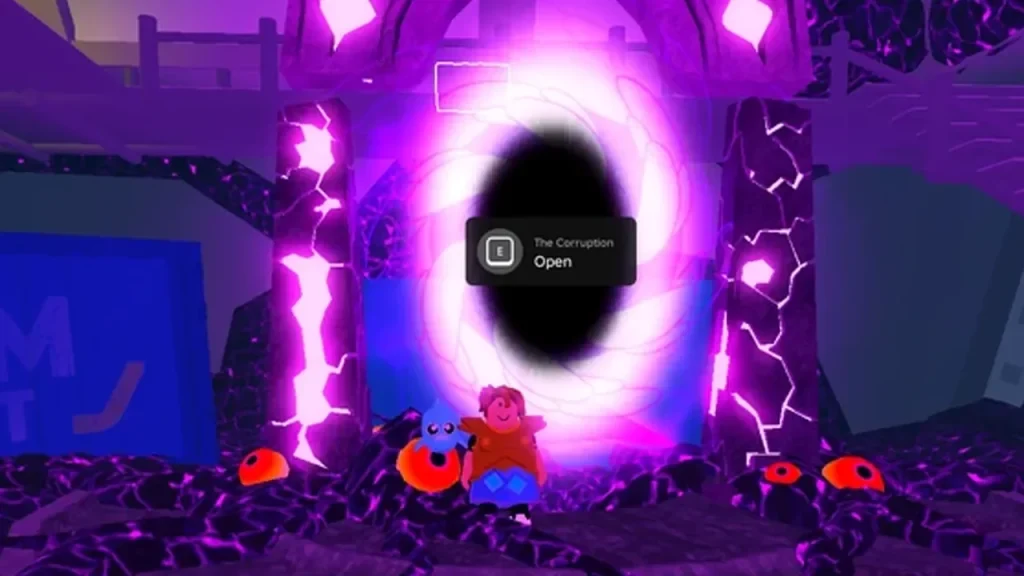
Get six Corrupt Shards and open the Cargo Ship portal
you need six Corrupt Shards to open the Corruption Portal on the Cargo Ship. Check the live portal prompt after an update before committing a long run.
these ways to look for shards:
- Kraken Raid
- Greenbeard on the Ghost Galleon
- Purple Chest on top of the Cargo Ship
- A map Biome Boss
- Ancient Squid
- MukuMuku Merchant
Shards can appear on the ground after qualifying activities and that any player can pick them up. There is no fixed drop rate or purchase currency, so do not plan around one. For the Cargo Ship chest route, the 100 Days at Sea chests guide gives useful context.
Once you have the six shards, take them to the Corruption Portal on the Cargo Ship and use the prompt to enter. The portal is your handoff from the survival run to the dungeon, so check your food, healing, and ranged loadout first. Boomstick and Ray Gun are sensible preparation choices from the 100 Days at Sea weapons collection.
Clear the five Corruption Dungeon room types
five room or section types before the boss door. Enemy rooms reward patience, while the puzzle rooms punish button mashing with impressive consistency.
Enemy rooms
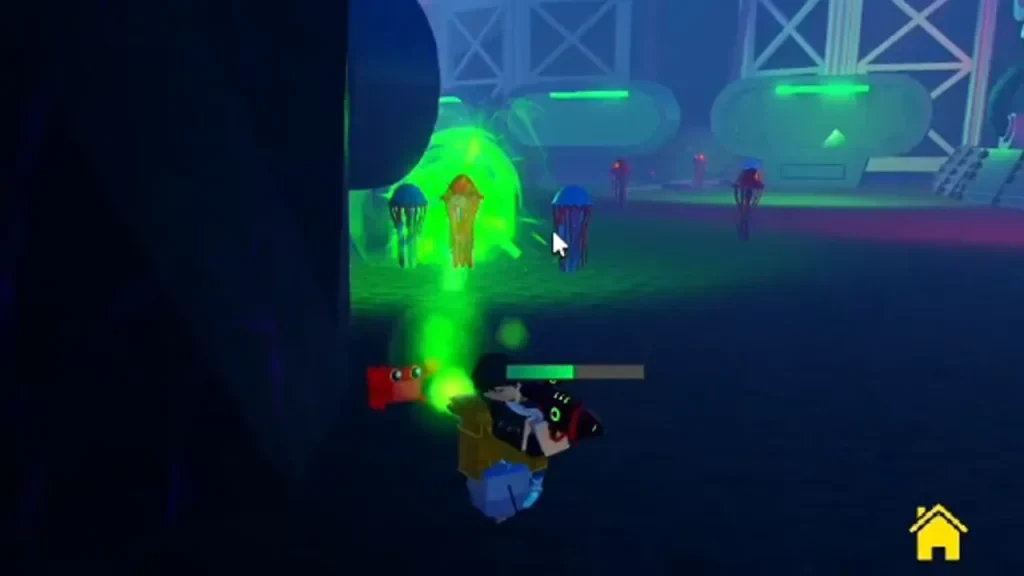
Enemy rooms include Corrupt Saber, Corrupt Minigunner, and Jellyfish among the threats. Use cover, keep moving, and favor ranged damage instead of standing in the middle of a room.
Explosive Section
four unstable walls and four starting Oil Barrels. It also describes a green button that summons more barrels. Watch the wall positions, use the barrels around the unstable sections, and avoid rushing into the blast area.
Color Puzzle Sections
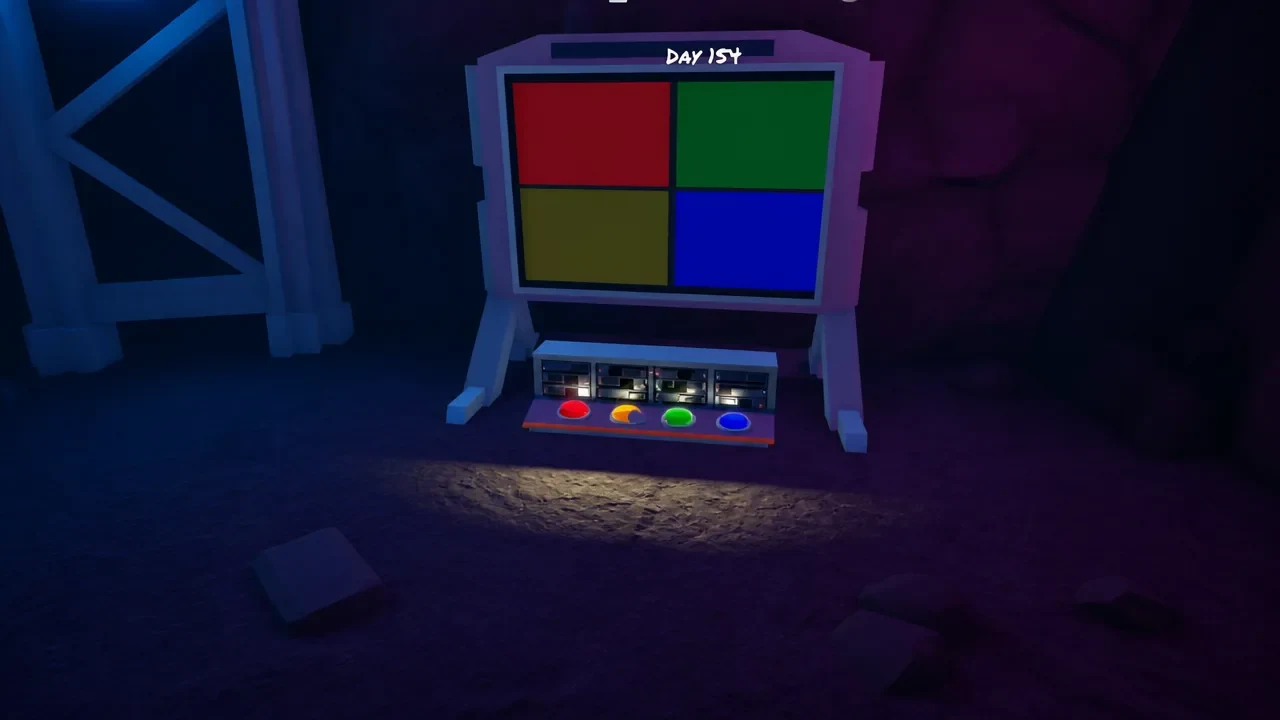
three color sections with sequence lengths of 2, 4, and 9. The machine uses Red, Yellow, Green, and Blue buttons. Watch the display, then press the colors in the same order.
Chest Mimic Room
three batteries in this room. It recommends checking chests with a harpoon before opening them because some can be Chest Mimics. The NPC and mob collection covers the related enemy names.
Weights Room
a target of 132 kg. Its listed crate weights are 1 kg Light, 10 kg Medium, and 50 kg Heavy, with a solution of 2 Heavy + 3 Medium + 2 Light. That combination reaches 132 kg exactly.
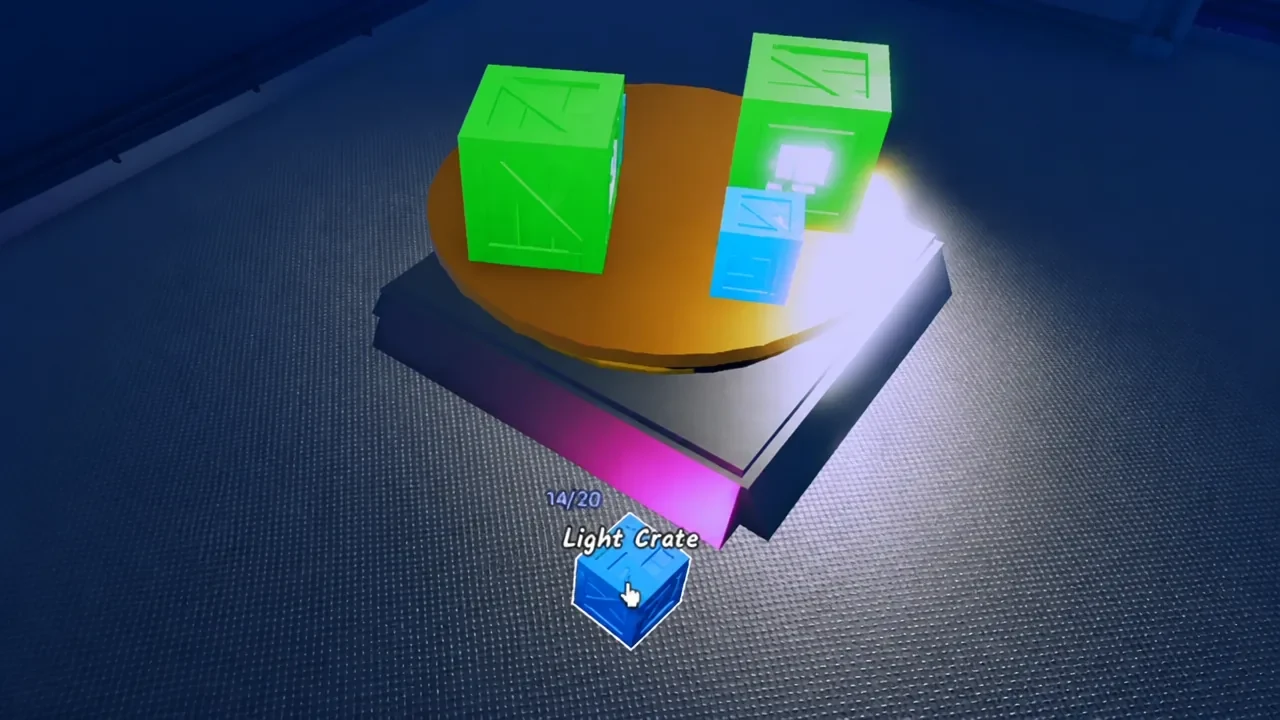
If you need to heal or restock, you can leave and return with your room progress saved.
Beat the Corrupter and claim the rewards
The boss sequence starts with Mini-Corrupter, followed by the Corrupter. The main Corrupter has 20,000 HP, so bring enough ranged damage for a long arena fight.
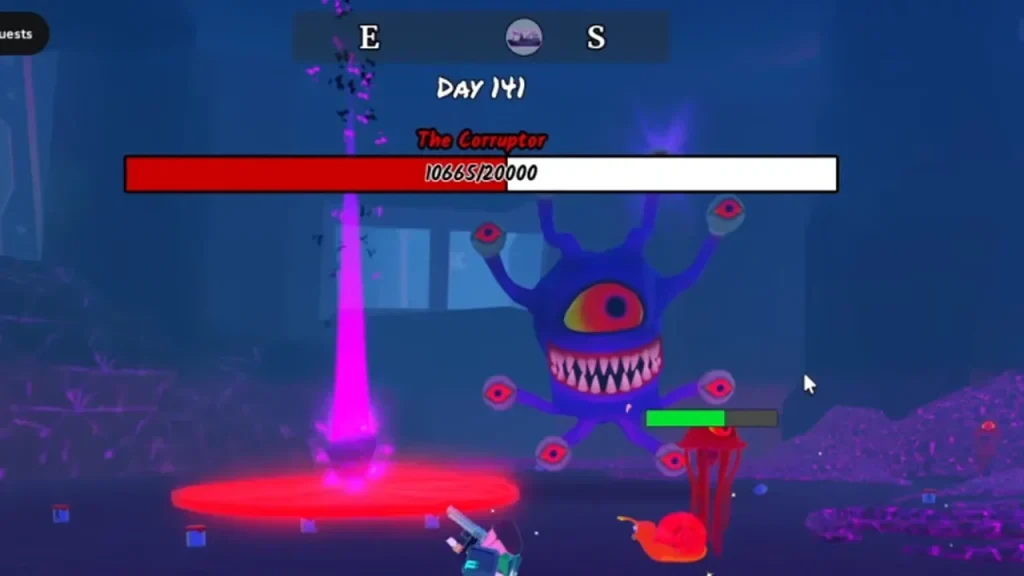
A doorway perch is also as a useful way to keep line of sight while limiting the boss's approach. Red and Blue Jellyfish are during the fight, so move when they crowd your position instead of letting the arena become a very purple traffic jam.
After the Corrupter falls, make sure the room is safe before collecting anything. these rewards:
- +1 Day Multiplier for the current game
- 5 Pearls
- Void Slicer
- Corrupted Portal crafting recipe
- Corruption Most Foul badge
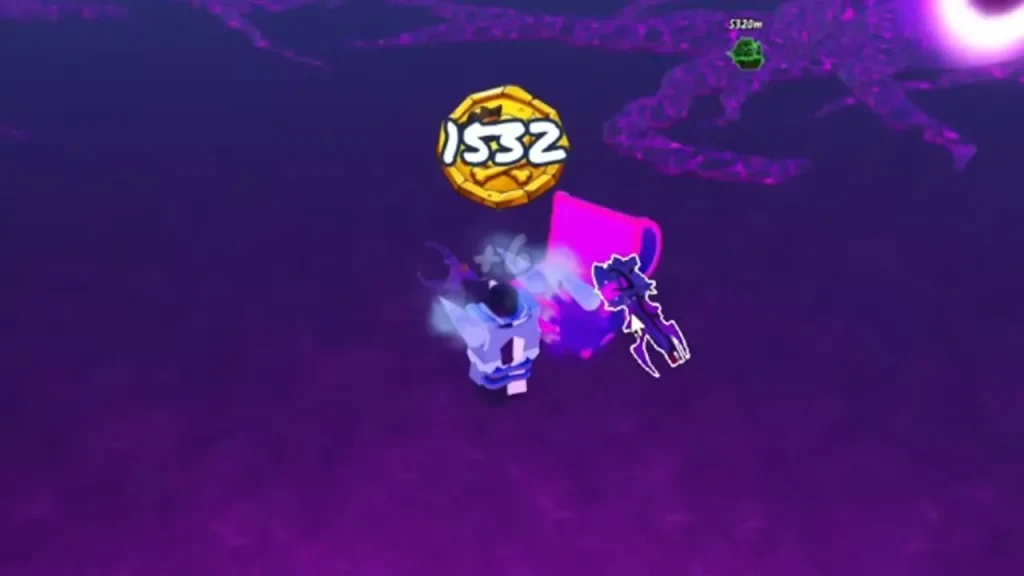
Defeating the Corruption Dungeon boss awards the Corruption Most Foul badge. The Pearl payout, Void Slicer, recipe, and Day Multiplier complete the reward loop. The 100 Days at Sea bosses collection covers the other major fights, while the crafting guide helps with the portal recipe.