Crafting in 100 Days at Sea lives on the craft table on your base raft. Progress is locked to your bonfire level across seven tiers, so a high menu tier stays grey until the fire matches it.
Spend early Wood, Metal, and Glue on production stations first. Floors and walls can wait. For every named structure cost and limit, open the 100 Days at Sea structures collection. For gathering loops between crafts, follow the 100 Days at Sea farming guide.
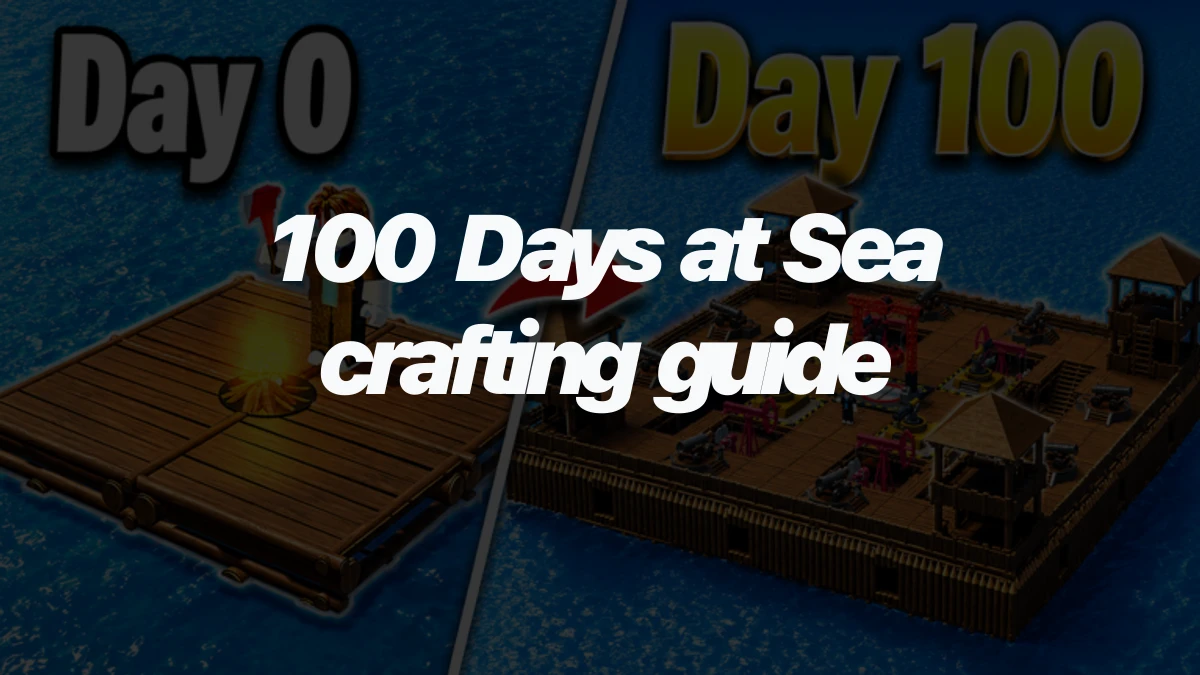
How crafting works in 100 Days at Sea
Open the craft table on the raft, then look at the tier that matches your bonfire. Higher tiers stay locked until the fire catches up.
Recipes do not pull materials until you deposit them. Use the crusher on the craft table to bank Wood, Metal, and Glue first.
- Raise the bonfire. Each level opens the matching craft tier.
- Crush materials. Feed Wood, Metal, and Glue into the crusher so the table can spend them.
- Pick a recipe on an unlocked tier and craft it.
- Place the result on empty raft floor space.
Wood comes from floating wooden debris and furniture, then from Sawmills. Metal comes from metal debris and island loot, then from Magnets. Glue (also called Goo, Goop, or green gum in some menus and guides) comes from pirate and Ghost Pirate corpses put into the craft machine.
Some recipes need a separate unlock before they appear, such as a merchant recipe or a Cargo Ship blueprint. Some items have a craft limit. Destroy a limited piece and the craft slot usually returns so you can build it again.
What to craft first (and what can wait)
Push the bonfire to Level 3 before you pour Metal into decoration. That tier is where the real production loop starts. Build two or more Sawmills as soon as you can (limit 5). Then add food and map utility, then both Magnets at Bonfire 4.
| Priority | Item | Bonfire | Cost | Limit | Role |
|---|---|---|---|---|---|
| 1 | Sawmill | 3 | 10 Wood, 2 Metal | 5 | Core wood engine (~3 planks per use). Build 2+ early. |
| 2 | Crab Trap | 3 | 12 Wood, 8 Metal | 3 | Passive seafood so hunger stops owning every trip. |
| 3 | Map Radar | 3 | 9 Wood, 4 Metal | 1 | Full map and island marking. One copy is enough. |
| 4 | Magnet | 4 | 10 Wood, 30 Metal | 2 | Passive metal. Craft both as soon as Bonfire 4 allows. |
| 5 | Ammo Factory | 5 | 30 Wood, 20 Metal, 4 Glue | Unlimited | Spends 3 Metal per run for random ammo boxes. Stock Metal first. |
| 6 | Autoturret | 7 (craft) | 15 Wood, 35 Metal, 8 Glue | Unlimited | Late passive defense. Merchant path about 150 Doubloons when available. |
Save Glue for Tier 5 to 7 stations such as Ammo Factory, Oil Drill, Cannon, other factories, and Autoturret. Early shell pieces and solo toys should not drain it.
Optional early utility once wood income is stable: Radio (4 Wood, 4 Metal at Bonfire 2, limit 1) marks survivors. Potion Table (10 Wood, 5 Metal, 1 Glue at Bonfire 3) is only the brewing station. Potion recipes live on the potions collection.
Cheap floors, walls, and doors expand raft space early. You do not need every shell cost here. The structures collection already holds them.
For travel, prefer a free or early Dinghy path for co-op hauls over an early Jetski. The Jetski costs 15 Wood, 15 Metal, 2 Glue at Bonfire 5 and seats one with no cargo. The Yacht is a late team hauler at 60 Wood, 35 Metal, 10 Glue on Bonfire 7. Full boat craft and merchant notes sit on the boats collection.
After production is online, spend leftover Metal and Glue on metal shell, Spike Trap, Cannon, fuel stations, and other factories. Raid nights and bonfire defense planning pair with 100 Days at Sea survive strategies. The 100 Days at Sea wiki ties the wider catalog together when you need a hub.