Surviving 100 Days at Sea is a resource job. Hunger, empty benches, and empty pockets end more runs than the ocean itself.
Keep food, wood, metal, Doubloons, and Pearls moving so your raft can grow. For the full Day 1 to 100 plan (cargo ship, raids, survivors), lean on survive strategies. For every station cost and Bonfire tier, open the structures cards.
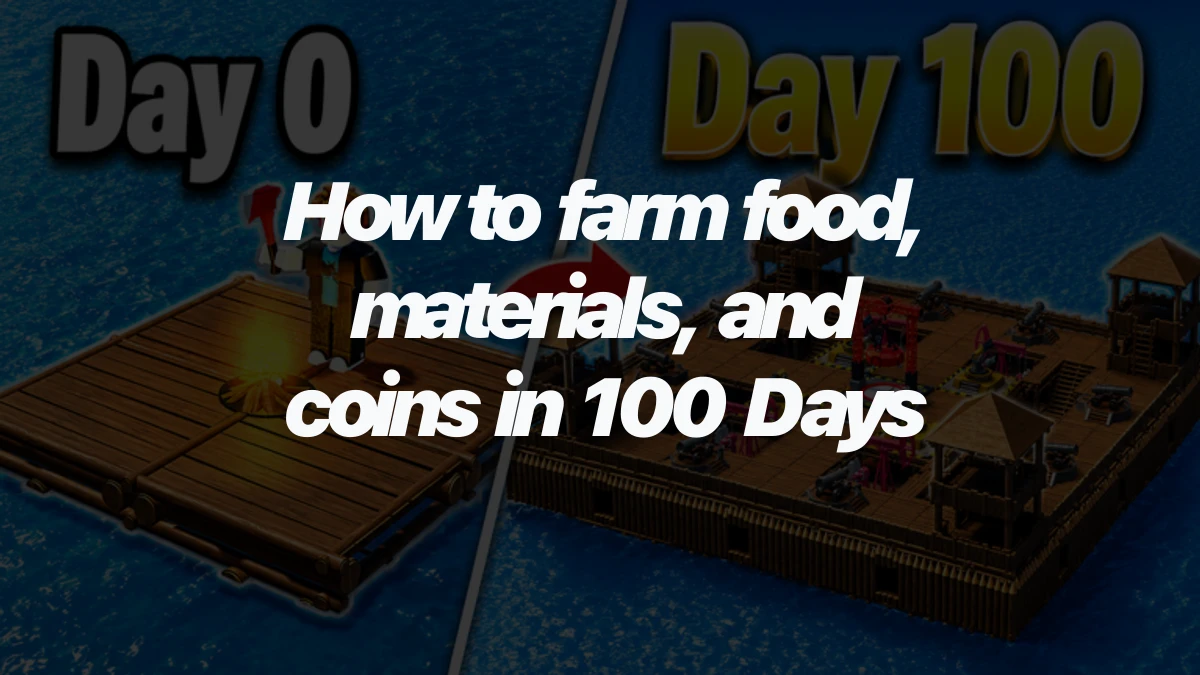
Farm food first so hunger stops ending your run
Food is the early wipe. Stack active methods first, then replace the grind with stations and pets.
Hunt island crabs while you clear land. Use the starter fishing rod when you have quiet water time. Harpoon potatoes and wild sky birds for cooked meat.
Wild seagulls and crows in the air are loot. They are not the Crow and Seagull companion pets.
Your first real passive food craft is the Crab Trap. It unlocks at Bonfire 3 for 12 Wood and 8 Metal. You can place up to three. Build them as soon as wood and metal allow, then leave them running while you sail.
The Fisherman on some islands trades cooked fish dishes for gear. That path can return a Crab Trap if you would rather spend food than materials.
Cook what you catch. A Cooking Pot (Bonfire 1, 5 Wood and 3 Metal) turns raw ingredients into real meals early. Later, the Pizza Oven (Bonfire 3, 30 Wood and 10 Metal, after the Traveling Merchant recipe path) is the kitchen that ends the hunger panic.
The underwater unlock steps live in survive strategies. Here you only need to know pizza is the long-run food upgrade.
Once stations exist, spend Pearls on food gather pets. Crow comes from Magma Chest (120 Pearls). Seagull comes from Pirate Chest (120 Pearls). Each brings food every 120 seconds.
Fund those chests with badges, quests, and free drops from codes. Lava Snail is a small hunger reduction pet if you want less drain rather than more drops. Full pet picks after Crow and Seagull sit on the companion tier list.
| Food source | How you get it | When it helps |
|---|---|---|
| Island crabs | Kill crabs while clearing islands | Day one active food |
| Fishing rod | Cast from raft or shore | Steady early meals |
| Potatoes and sky birds | Harpoon floating food and wild birds, then cook | Active mid-trip snacks |
| Crab Trap | Craft at Bonfire 3 (12 Wood, 8 Metal); place up to 3 | First passive food engine |
| Cooking Pot / Pizza Oven | Pot early; oven after merchant recipe unlock | Turns ingredients into real hunger recovery |
| Crow / Seagull pets | Magma or Pirate Chest for 120 Pearls each | Food every 120 seconds on long runs |
Keep wood and metal flowing for every craft
Almost every upgrade burns Wood and Metal. If those two stall, the rest of the raft stalls with them.
Wood pipeline. Early on, harpoon floating planks and furniture from the ocean. Raise Bonfire to level 3, then craft a Sawmill (10 Wood, 2 Metal). Each use yields about three planks, and you can place up to five mills. Tree Plot (Bonfire 2) is only light padding while you wait for mills. Sawmill is the real wood engine.
Metal pipeline. Early metal comes from harpoon scrap and island loot. At Bonfire 4, craft Magnets (10 Wood and 30 Metal each). You can place only two, so build both as soon as you can. They pull metal from the sea on their own. Empty them when they return so the loop never sits idle.
Glue / Goop. Guides also call this green gum. Bag Ghost Pirate corpses and scrap them in the craft machine. Save it for later crafts. Do not chase Glue before food and wood feel stable.
Island habit. Every stop, clear crates, containers, and chests. Chests pay Doubloons and rare mats while you farm wood and metal. Route ideas live on the islands list. Mob and trade targets sit under npcs and mobs.
Soft craft order after spawn: stabilize wood with a Sawmill, lock food with Crab Traps, add both Magnets at Bonfire 4, then spend Pearls on food pets.
Dump loot into your sack and return to base often. Craft and store at home instead of drowning with a full bag. In co-op, split islands so one player clears chests while another keeps mills and traps fed.
| Station | Unlock | Craft cost | What it farms |
|---|---|---|---|
| Tree Plot | Bonfire 2 | 7 Wood | Small on-raft wood padding |
| Sawmill | Bonfire 3 | 10 Wood, 2 Metal (limit 5) | About 3 planks per use |
| Crab Trap | Bonfire 3 | 12 Wood, 8 Metal (limit 3) | Passive seafood / food |
| Magnet | Bonfire 4 | 10 Wood, 30 Metal (limit 2) | Passive sea metal |
| Cooking Pot | Bonfire 1 | 5 Wood, 3 Metal | Cooked meals from ingredients |
| Pizza Oven | Bonfire 3 + merchant path | 30 Wood, 10 Metal | Strong pizza hunger recovery |
Stack Doubloons and Pearls without derailing the run
Doubloons and Pearls are not the same wallet. Doubloons fund merchants and shops. Pearls fund classes and companion chests. Mixing the two is how you arrive at a chest broke and foodless.
Steady Doubloons come from clearing new islands and opening floating or ground chests while you already farm materials. Milestone and daily quests add more as you play normal survival loops. Finish every container on the way and you rarely need a separate coin grind.
Pearls come mainly from badges and quests, with occasional free help from the codes page. Spend early Pearl budgets on Crow or Seagull once Crab Traps and a Sawmill exist.
Octopus (Warrior Chest) is the materials side pet if you want gather help beyond food. Deeper companion choices after those sit on the companion tier list and the companions collection.
Stable food, Sawmills, Magnets, and shop currency are the farm foundation. When that loop feels quiet, switch to survive strategies for cargo ship, raids, and the day 100 finish.