If you're new to Shoot For Eggs, your first goal isn't to chase the biggest egg on the map. Bring home an egg your current damage can break, hatch it on your plot, and use the Cash it generates to make the next run easier. The opening tutorial gives you a starter gun, then the game sends you between map eggs and your plot.
This guide covers the first complete loop, the early choice between DamageAuto and a stronger gun, plot management, and what to check before using Rebirth.
What is the Shoot For Eggs gameplay loop?
Every part of the opening progression feeds the next run:
- Finish the opening tutorial and use the starting gun.
- Shoot an egg across the map until its HP bar reaches zero, then pick up the drop.
- Carry the egg to your plot and place it in an empty slot. The egg starts a visible hatch countdown.
- Leave the new animal on your plot. It generates Cash that you can use for damage and weapon upgrades.
- Train at DamageAuto, upgrade the target when larger training pads become available, or buy the next gun when per-shot damage is slowing you down.
- Later, look for rarer eggs, animals, sizes, and mutations. Rebirth is a longer-term step that multiplies progress and reaches locked guns.
The key early rule is to match the egg to your current damage. If its HP bar barely moves, leave it for later and use a target you can break while you train or save for a gun. A completed hatch moves your plot forward, while time spent on an egg that may disappear before you break it does not.
How to collect and hatch eggs in Shoot For Eggs
Follow this order for your first animal:
- Finish the opening tutorial and take the starting gun.
- Find an egg across the map and aim at it. Watch the HP label as you fire.
- Keep shooting if the bar moves at a steady pace. If it barely moves, switch to another egg instead of waiting on a target your damage cannot handle yet.
- When the HP reaches zero, pick up the dropped egg and carry it back to your plot.
- Place it in an empty plot slot. The visible hatch countdown confirms that the egg is in the right place.
- Let the hatch finish, then leave the animal on the plot so it can generate Cash for your next upgrade.
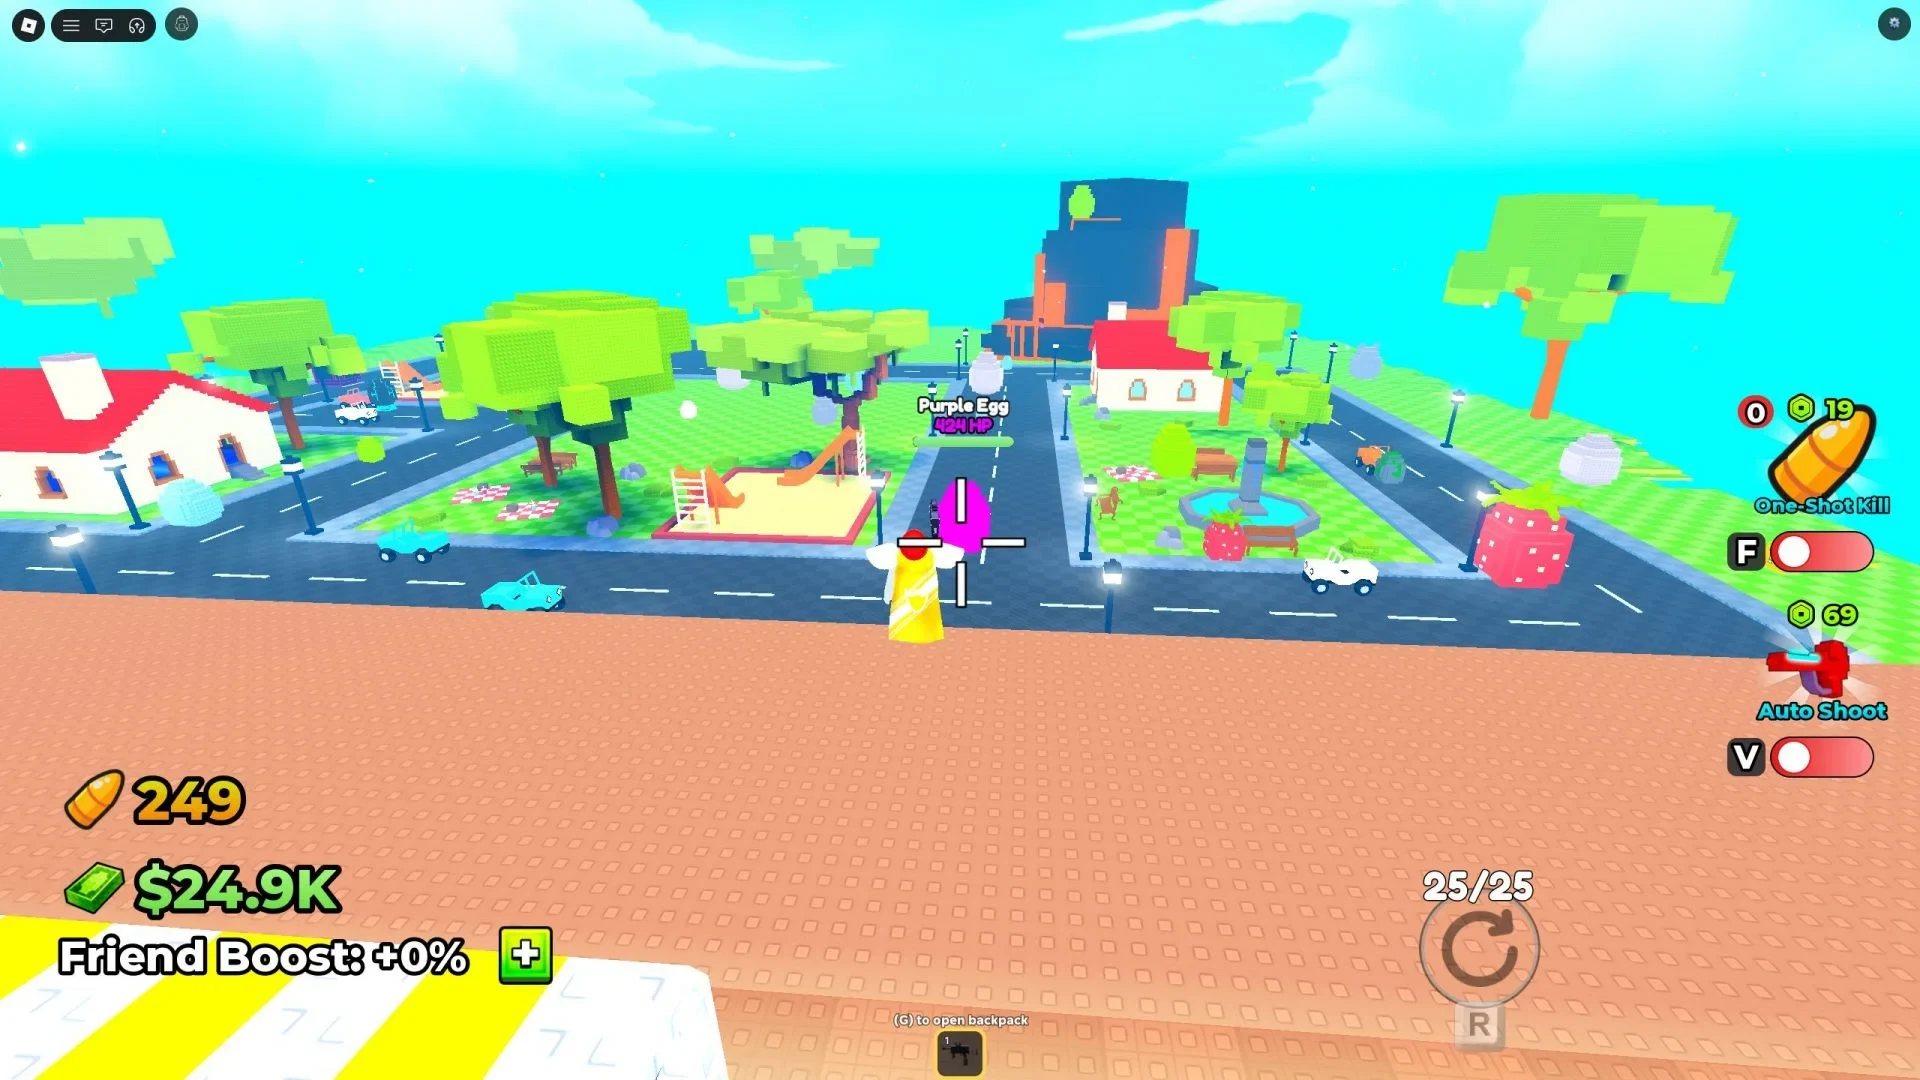
The HP bar is the most useful check during the shooting step. You don't need to know an egg's exact health value before choosing it. Fire a few shots, judge how quickly the bar falls, and move on when the damage is too small.
PC controls
If you're playing on PC, these are the basic inputs for the loop:
| Action | Input |
|---|---|
| Move | W, A, S, D |
| Jump | Spacebar |
| Interact | E |
| Shoot | Left mouse button |
| Aim | Right mouse button |
How to spend early Cash on damage and weapons
DamageAuto and the gun shop improve different parts of your egg runs. Use the problem you can see on the map to choose your next purchase.
| If you notice | Use | What it changes |
|---|---|---|
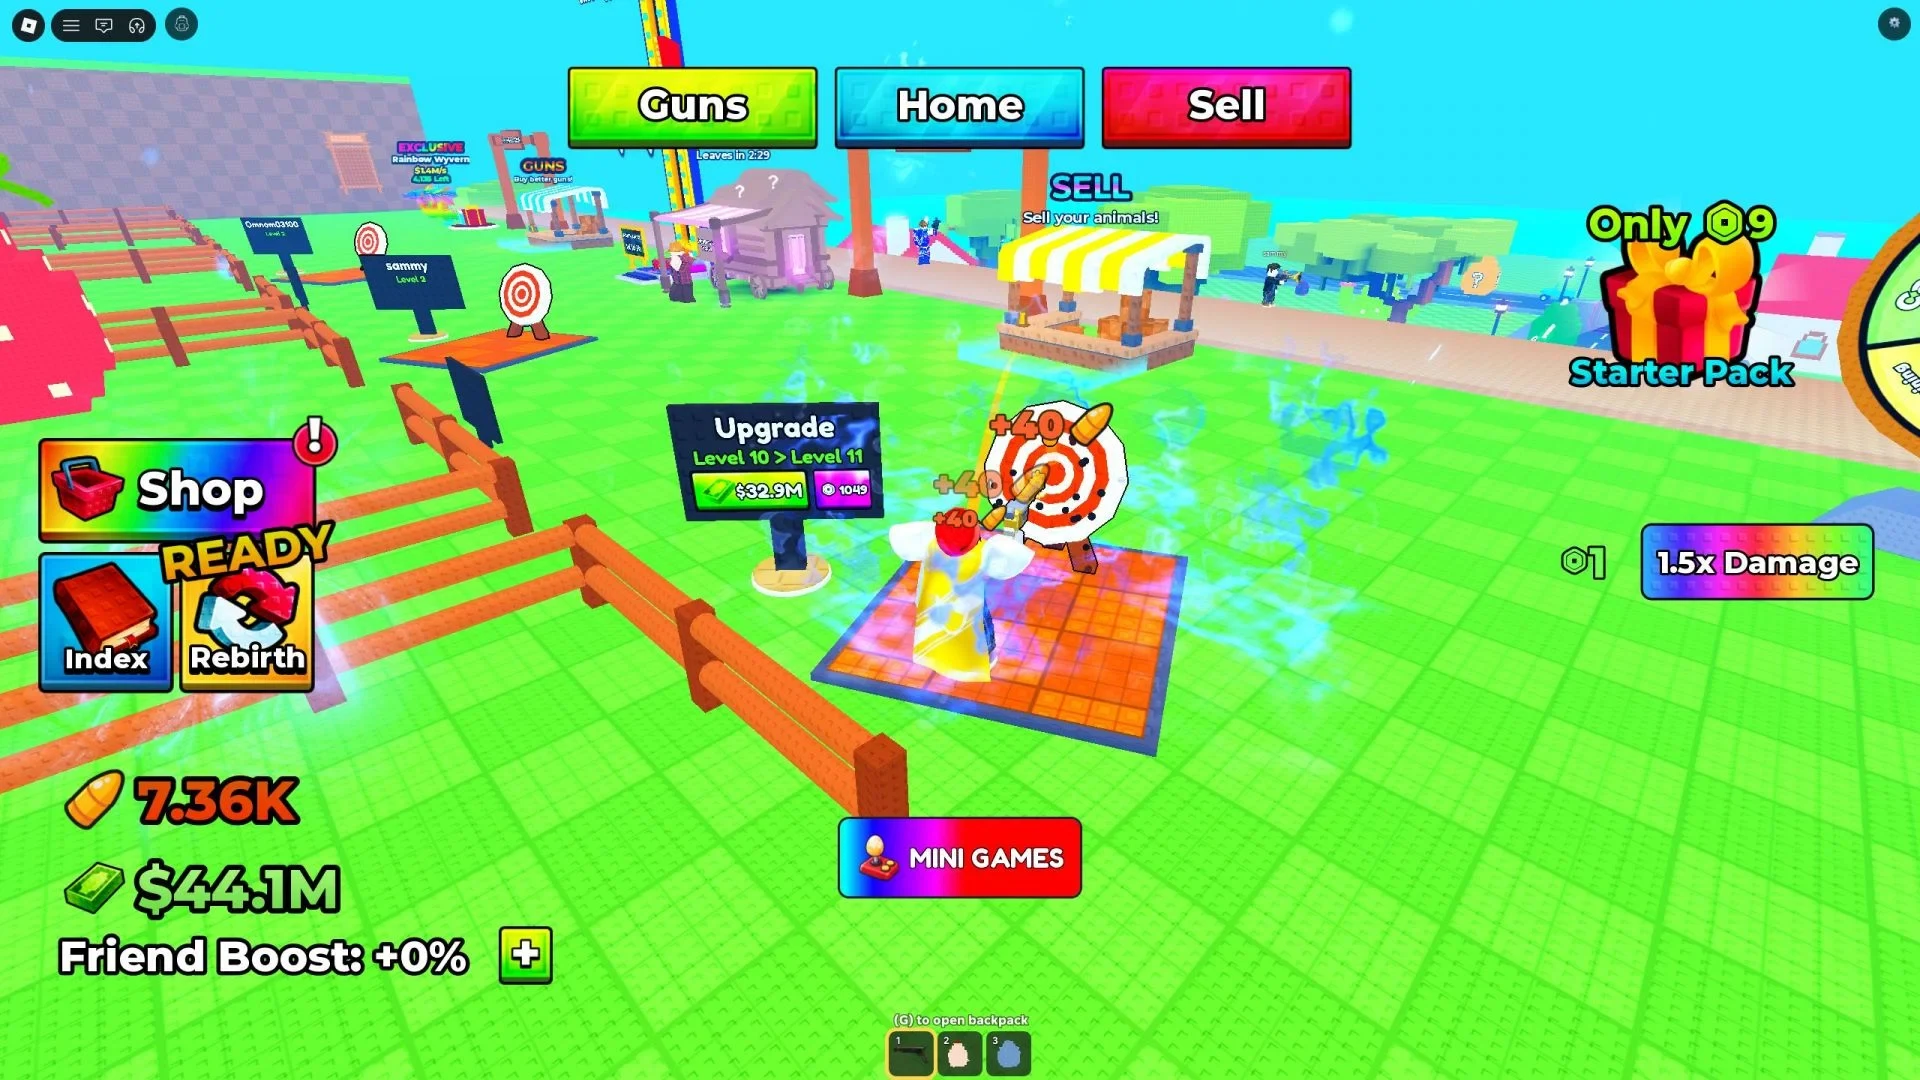
| The egg breaks, but takes too long | DamageAuto | Raises your damage stat while you train on the specified pad. |
| The HP bar barely moves | The next available gun | Increases the damage dealt by each shot. |
| The current training setup is no longer enough | Target upgrade | Unlocks larger DamageAuto pads. |
Training is automatic once you stand in the specified area, so it is a useful place to spend time between egg runs or while an egg hatches. A stronger gun is the better answer when each shot is doing too little damage.
Gun purchases are sequential. You must unlock a gun's immediate predecessor before buying it, so the shop does not let you skip straight to a later weapon. You don't need to plan around a full weapon list at the start. Train for steady damage growth, buy the next gun when egg HP barely moves, and take a target upgrade when it opens a stronger training setup.
How to manage animals and plot space
Each new hatch needs an empty place on your plot. Before replacing an animal, compare the displayed Cash-per-second value with the animal already using that slot. Keep the better displayed earner unless the new hatch gives you a clear reason to change your setup.
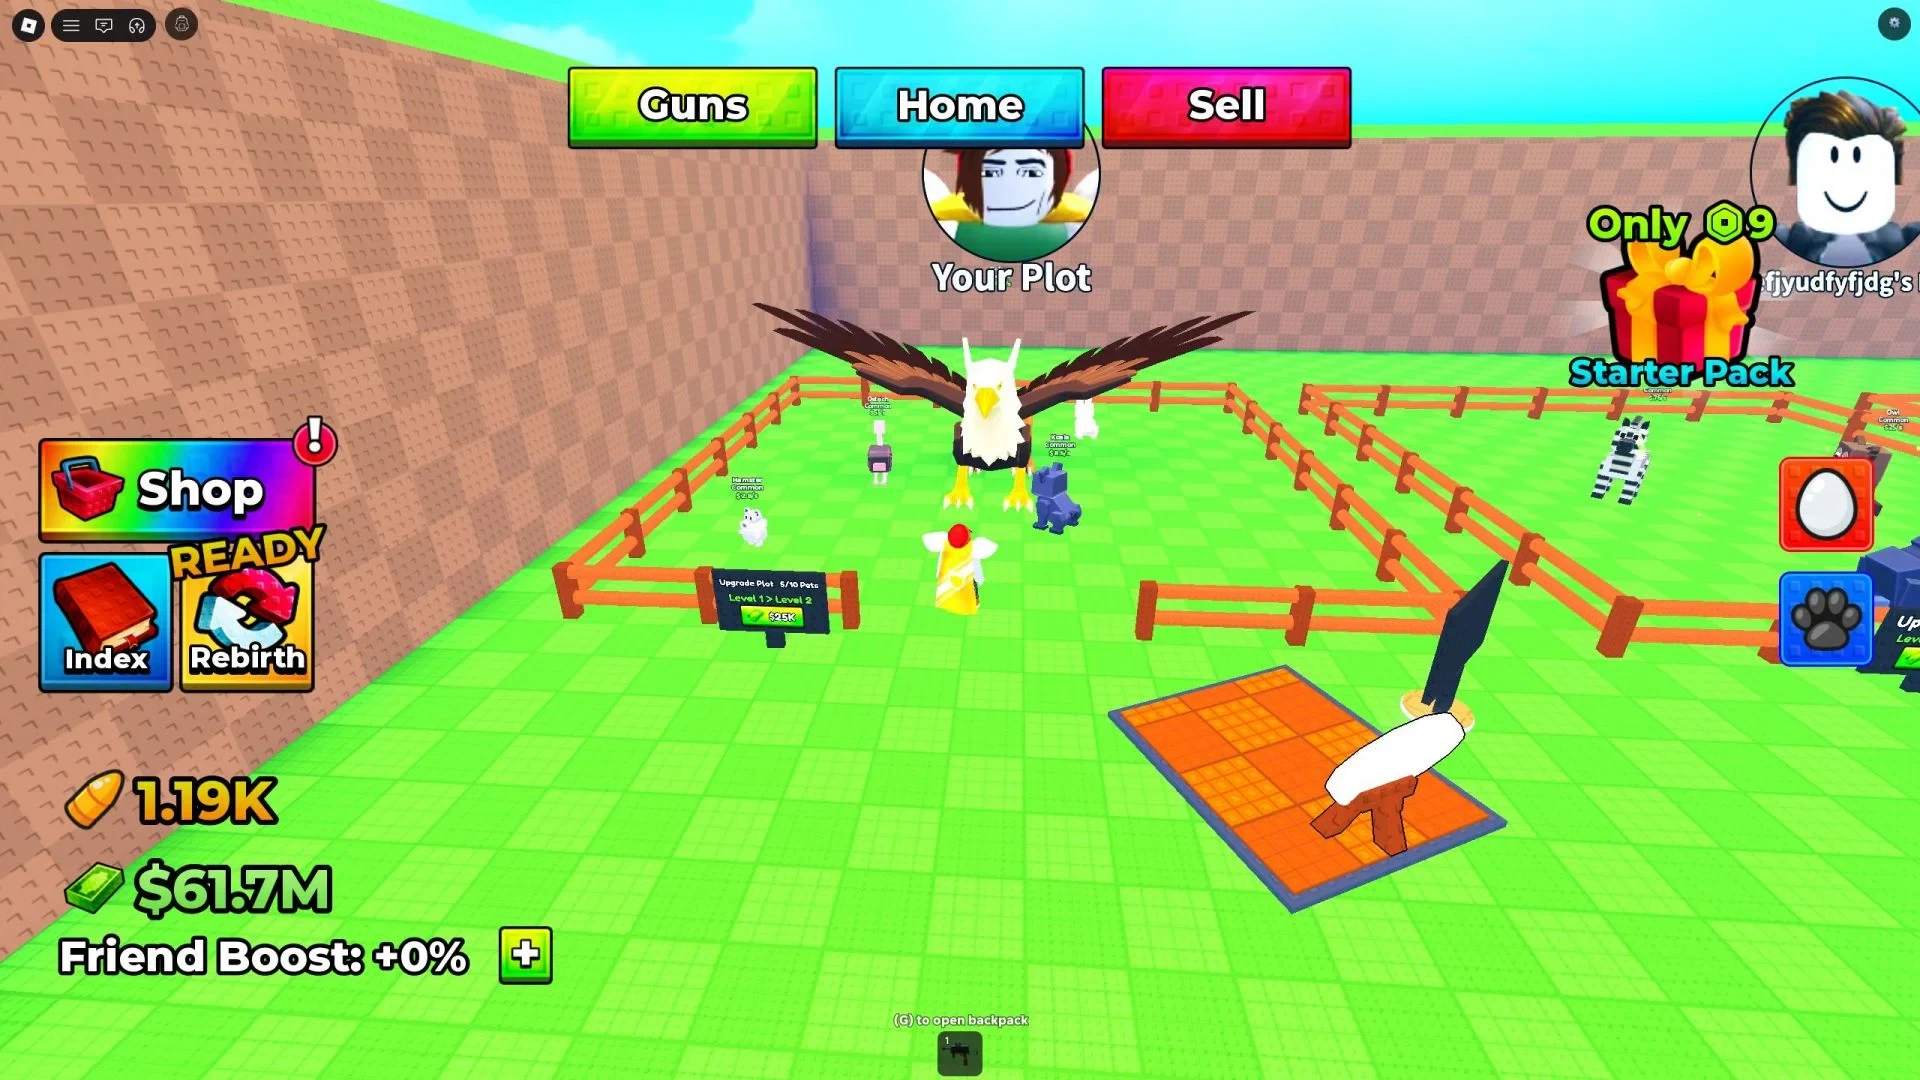
When the plot is full, you have two practical choices:
- Expand the plot if you want to keep the animals you already use and add another egg.
- Replace a low-earning animal after comparing its displayed income with the new hatch.
This keeps the plot focused on the animals that help pay for damage and weapon upgrades. Do not discard a stronger earner just because the new animal looks rarer or different.
What mutations and Rebirth mean for beginners
Shoot For Eggs includes rarer eggs and animals, different sizes, and mutations. Treat those traits as a reason to inspect the hatch, not as a promise that it will beat the animal already on your plot. Use the displayed Cash value to decide what stays in an occupied slot.
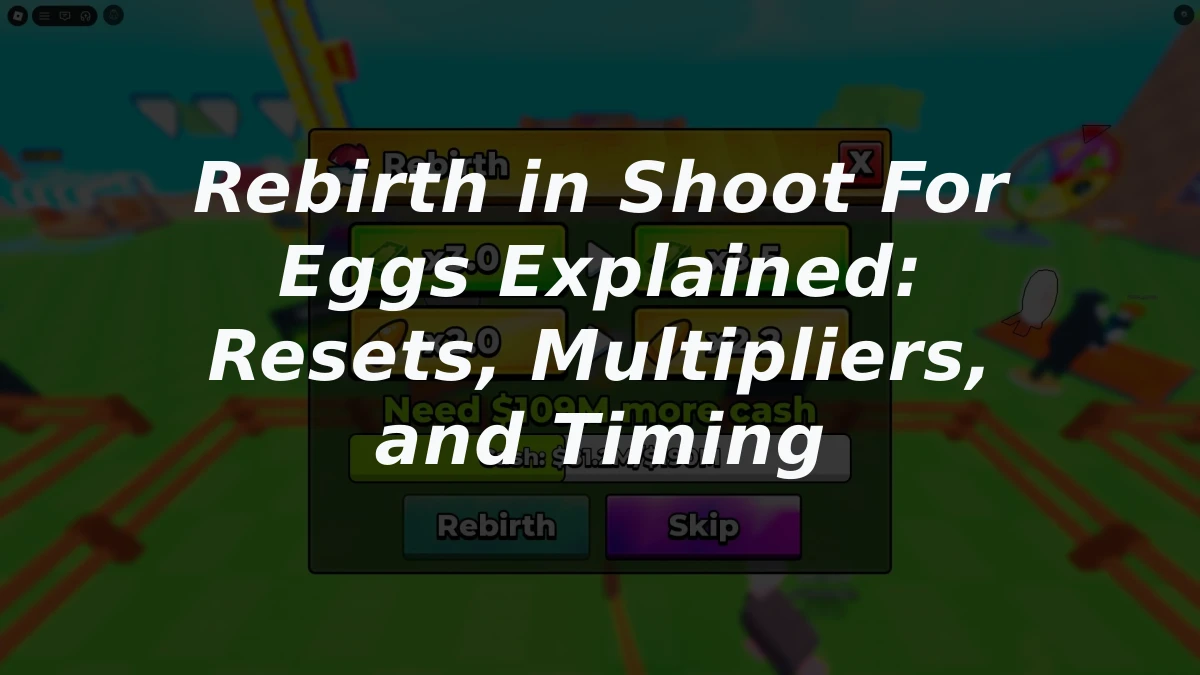
Rebirth belongs later in the progression. It multiplies progress and gives you access to locked guns, but you should read the in-game Rebirth panel before confirming it. Check the requirement and which parts of your current progress reset or carry over so you know what the next run will look like.
Once an animal is generating Cash, return to the map and choose the next egg whose HP bar moves with your current damage. Spend each payout on the problem slowing you down: DamageAuto for steady damage growth, the next gun when an egg's HP barely moves, or plot space when there is nowhere to place a new hatch.