Slayers 2 hides its seven Firstlight weapon schematics in very different places. You will search an underwater maze, dive below a tree bridge, clear a spike-lined parkour route, run a long settlement quest, solve a lantern puzzle, and push a boulder at Windy Peak.
A schematic only unlocks the recipe. It does not give you the finished weapon. This guide covers every schematic route, the prerequisites that can stop you, and the final craft at Blacksmith Togane.
Slayers 2 Firstlight weapon schematics and crafting requirements
All seven Firstlight weapons are Mythic-tier endgame weapons, but each schematic has a different route. Use this table to pick your next target before you travel.
| Weapon | Schematic route | Route-specific requirement |
|---|---|---|
| Firstlight Katana | Iceveil Valley underwater maze | Take the Katana branch behind the submerged statue |
| Firstlight Spear | Iceveil Valley underwater maze | Take the separate Spear branch in the same cave |
| Firstlight Insect Katana | Mistfall Harbor tree-log cave | Dive below the tree bridge and enter the hidden hole |
| Firstlight Sound Cleavers | Iceveil Valley Kuzan cave | Clear the parkour route, then defeat Duelist Hibiki |
| Firstlight War Fans | Iceveil Settlement snow chest | Reach Level 100, deliver the supplies, and finish the NPC clue chain |
| Firstlight Tanto | Iceveil Valley lantern trail | Start Retsu's nighttime route with an unequipped Lantern |
| Firstlight Bladed Wagasa | Windy Peak boulder challenge | Equip the Firstlight Mask and carry a Damascus Bladed Wagasa |
Before you craft any of them, reach Level 65 and complete The Forge quest. Then plan for the shared Firstlight recipe: the schematic, the matching Mythic or V2 weapon, 500 Metal Scraps, 500 Silk Thread, and 500,000 Wen. The exact ingredient labels for prerequisite accessories can vary, so use the recipe shown by Togane for those items.
The matching base weapon matters. For the Bladed Wagasa route, you need the Damascus version, not the regular weapon. For the other Firstlight weapons, bring the corresponding Mythic or V2 weapon when you are ready to craft.
How to get Firstlight Katana and Spear in the Iceveil underwater maze
The Katana and Spear are the best schematics to collect together. In Iceveil Valley, reach the water below the Wind Trainer platform or follow the marked cliff route to the same area. Dive through the opening behind the statue to enter the underwater snow maze.
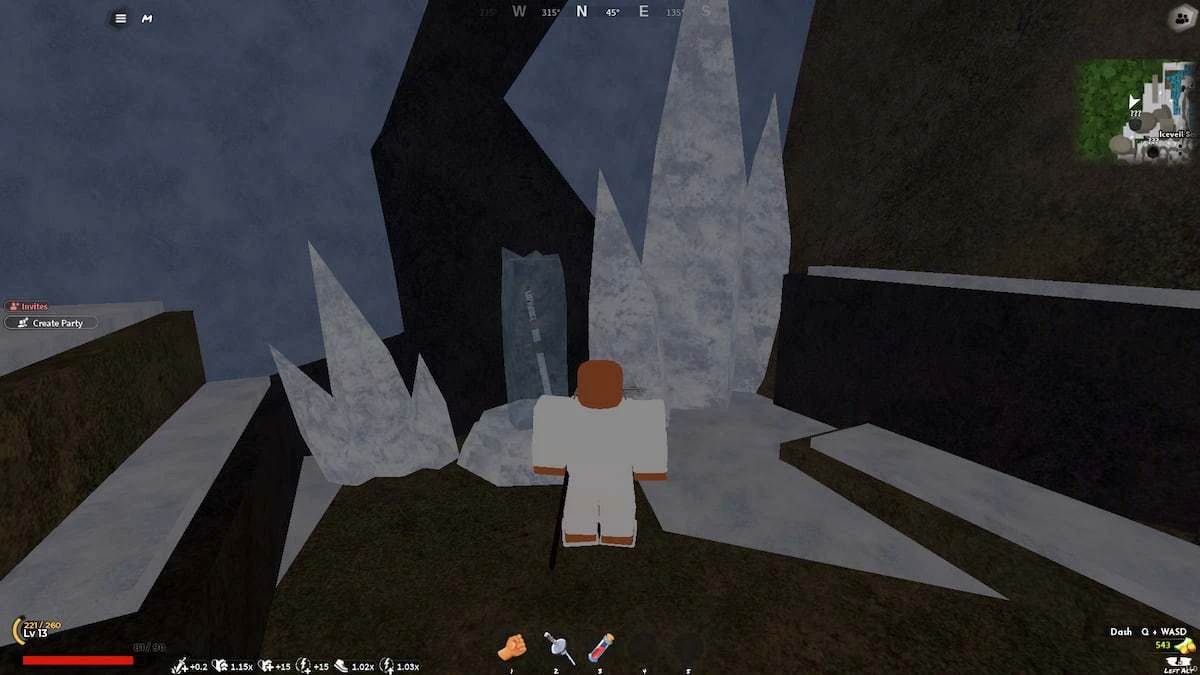
Screenshot credit: Pro Game Guides.
Firstlight Katana route
- Enter the maze through the submerged opening behind the statue.
- Take the first left, then the next left.
- Take the first right. At the brown rock, turn left.
- Continue to the Katana schematic altar and use the study interaction.
Firstlight Spear route
- Start from the maze drop point and go straight.
- Take the first left and continue until you reach the brown rock.
- Turn right at the brown rock and follow the passage.
- Study the Firstlight Spear schematic.
Check your Archives after each interaction. Both pickups are in the same cave, so finish the second branch before you leave Iceveil Valley.
How to get the Firstlight Insect Katana in Mistfall Harbor
Travel to Mistfall Harbor and use the Insect Boss or Hashira spawn area as your landmark. Look for the large tree log that acts as a bridge over the water. Walk onto the log, drop into the water below, and enter the hole beneath it.
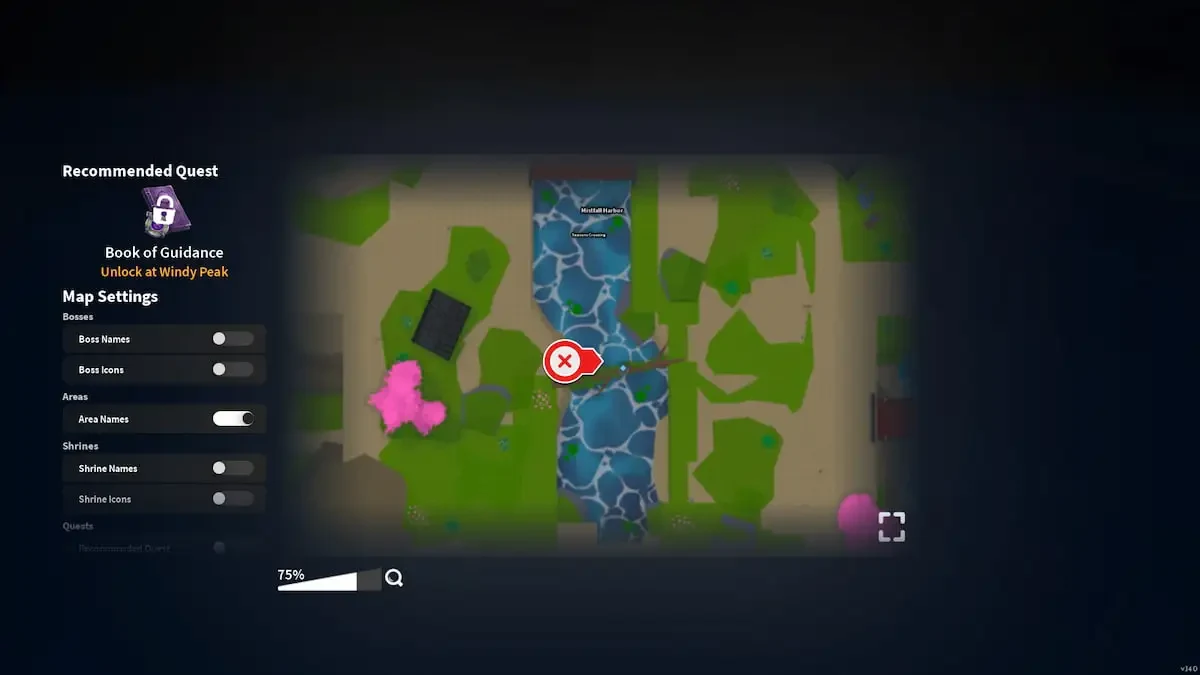
Screenshot credit: Pro Game Guides.
Follow the hidden cave until you reach the schematic frozen in ice. Study it to add the Firstlight Insect Katana recipe to your Archives. The finished weapon also has movement-speed and stamina-regeneration bonuses, so this is a useful pickup if you want more mobility from your endgame weapon.
How to get Firstlight Sound Cleavers from Duelist Hibiki
Enter the Iceveil Valley cave where Reaper Trainer Kuzan appears. From the mini-boss area, take the left-side cave route. The path leads into a parkour section with spikes below it, so bring an Emberheart Lantern for the snowy damage section and take the jumps carefully.
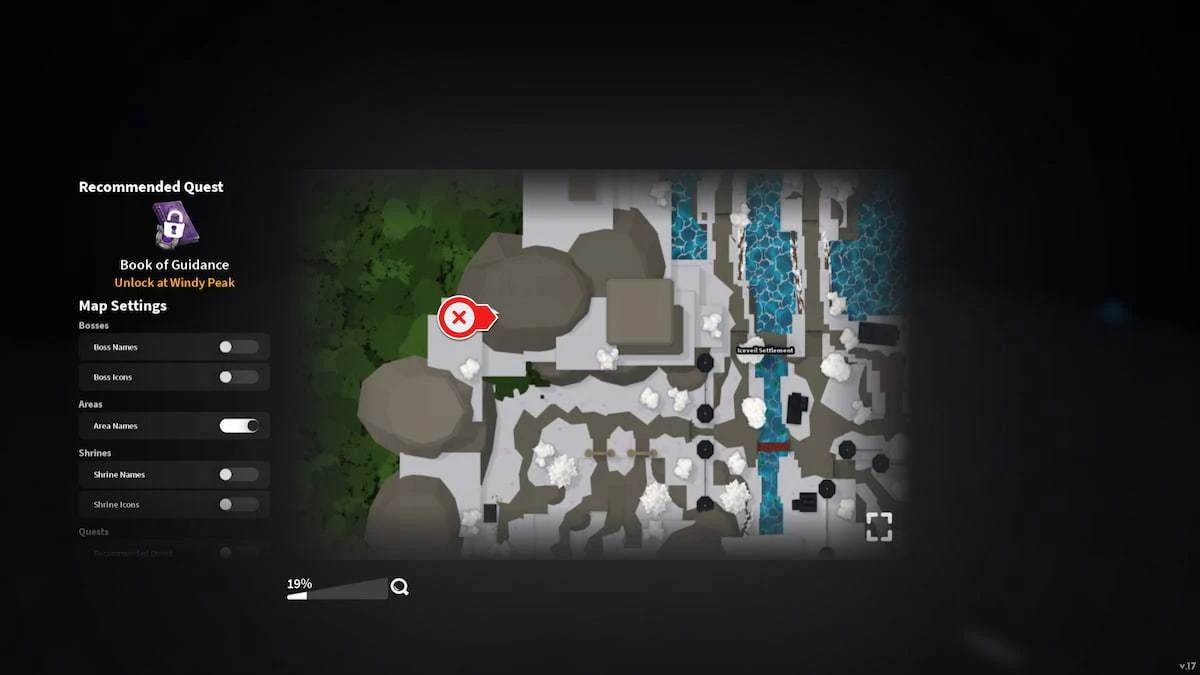
Screenshot credit: Pro Game Guides.
After the parkour section, follow the remaining turns to Duelist Hibiki. Speak to him first, then defeat him after the dialogue. Hibiki gives you the Firstlight Sound Cleavers schematic when the fight is complete. If you fall before reaching him, return to the left fork and repeat the parkour route rather than searching the other Iceveil caves.
How to get Firstlight War Fans in Iceveil Settlement
The War Fans route has the most prerequisites. You must be Level 100 or higher and gather 9 Cooked Bear Meat, 25 Health Elixirs, and enough Wen for a Shovel. Plan for a 1,000 Wen Shovel, but check the amount shown by Winter Store Rep Lynx if your live shop displays a different price.
Screenshot credit: Pro Game Guides.
Finish Shiro's supply objective
- Complete the Lucy and Tom bear-meat loop until you have 9 Cooked Bear Meat.
- Buy 25 Health Elixirs from Alchemist Meku in Mistfall Harbor.
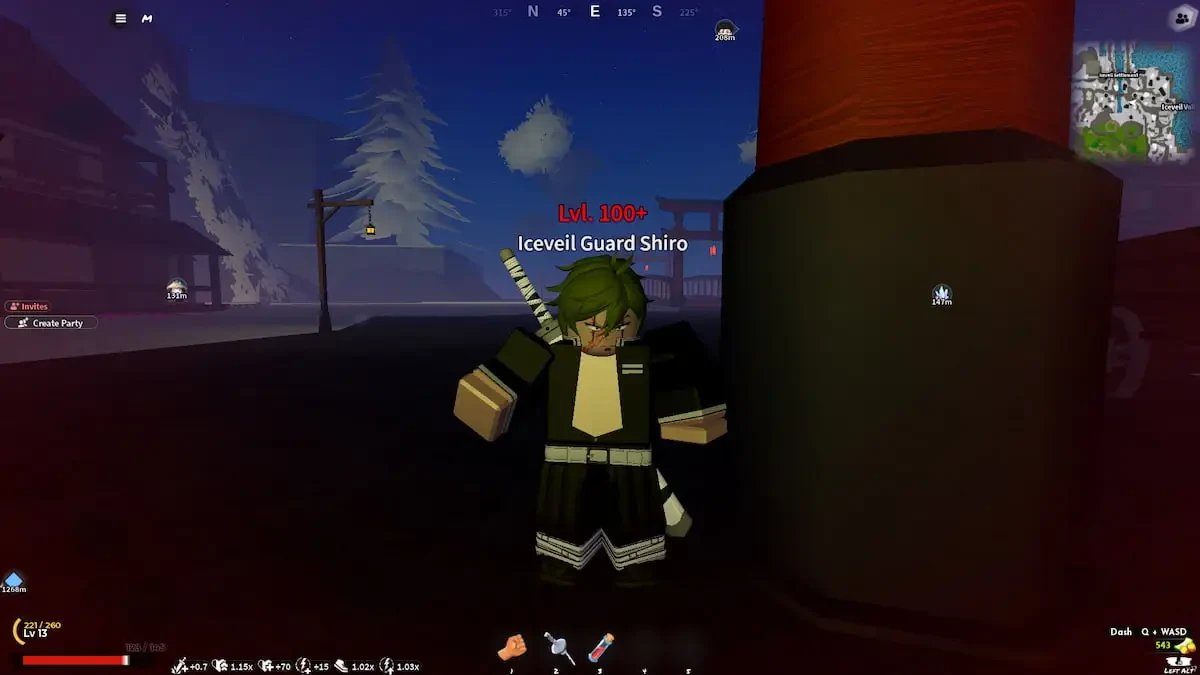
- Deliver the cooked meat and elixirs to the cart beside Iceveil Guard Shiro.
- Speak to Shiro again after the delivery. His return conversation opens Iceveil Settlement.
- Buy the Shovel from Winter Store Rep Lynx and keep it in your inventory.
If you are short on Demon Horns for the Health Elixirs, farm those before you start the delivery so the supply objective does not stop you halfway through the route.
Follow the clue chain
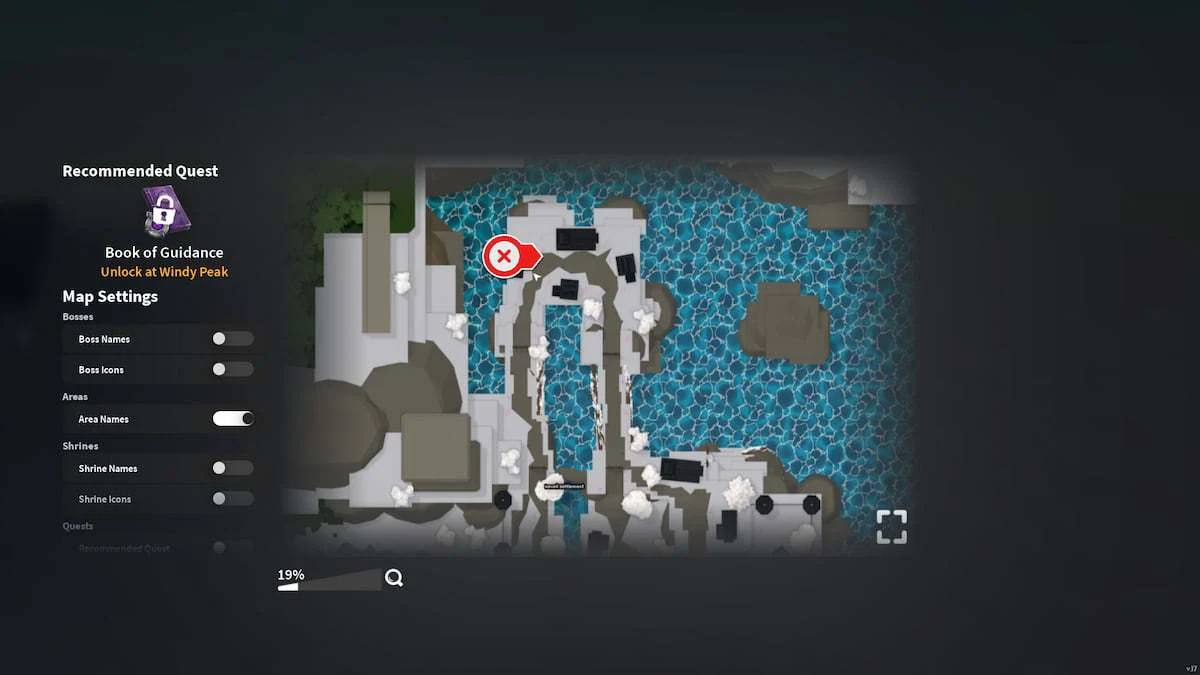
Visit the NPCs in this order: Shiori at Butterfly Estate, Dockmaster Sofen at Mistfall Harbor, Old Trapper Retsu near the Iceveil entrance, and Lynx again. Finish each conversation or objective before moving to the next name.
Screenshot credit: Pro Game Guides.
After the final Lynx objective, dig the marked snow mound near the houses at the top of Iceveil Settlement. The final mound may be beside the last house near Doma instead. Follow the active objective marker if it points there. Open the chest and study the Firstlight War Fans schematic.
How to get the Firstlight Tanto with Retsu's lantern trail
The Tanto route uses the Shovel from the War Fans quest and has two easy-to-miss conditions. Go to Old Trapper Retsu at the torii near the Iceveil entrance after dark, and remove your currently equipped Lantern before you start the conversation.
- Speak to Retsu at night, choose the lantern dialogue, and pay 2,500 Wen.
- Enter the Kuzan cave without a Lantern equipped.
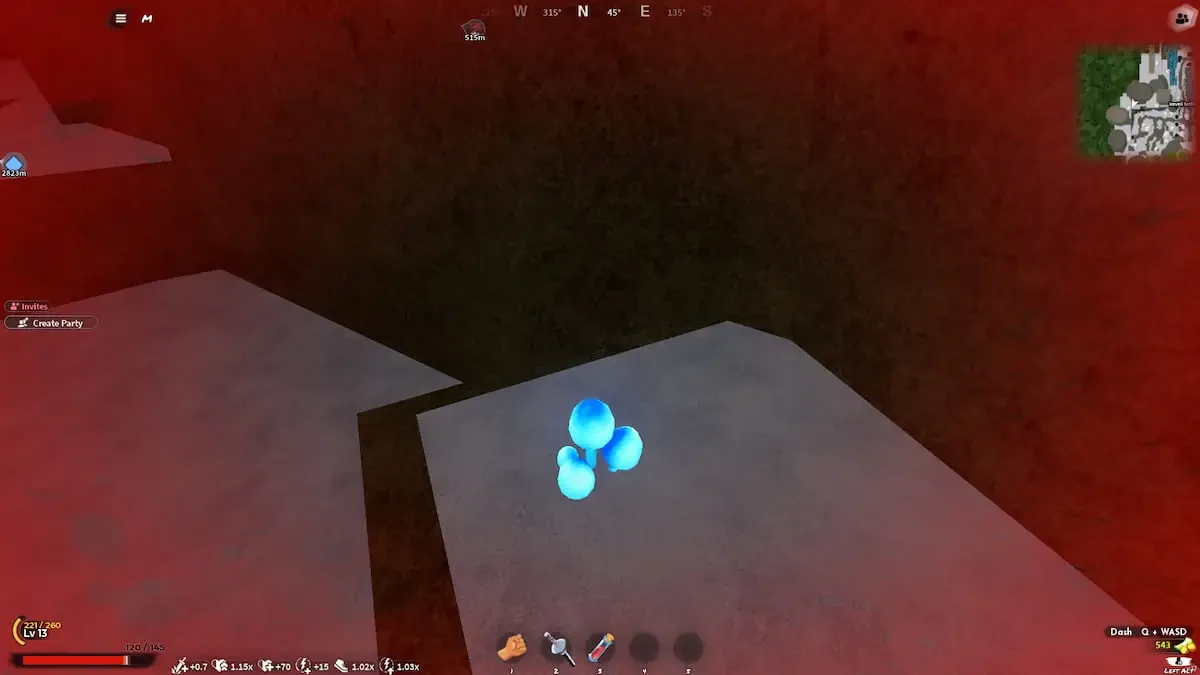
- Step on every blue mushroom in the cave.
- Pick up and equip the Mushroom Lit Lantern.
Screenshot credit: Pro Game Guides.
If the cold drains your health while you work through the mushroom section, leave briefly and recover at a campfire. Return to the cave with the Mushroom Lit Lantern equipped, then follow the blue footprints to the snow pile. Dig with the Shovel, open the chest, and study the Firstlight Tanto schematic.
If Retsu does not offer the lantern dialogue, check both conditions before trying again: it must be nighttime, and your regular Lantern must be unequipped.
How to get Firstlight Bladed Wagasa from Genzo
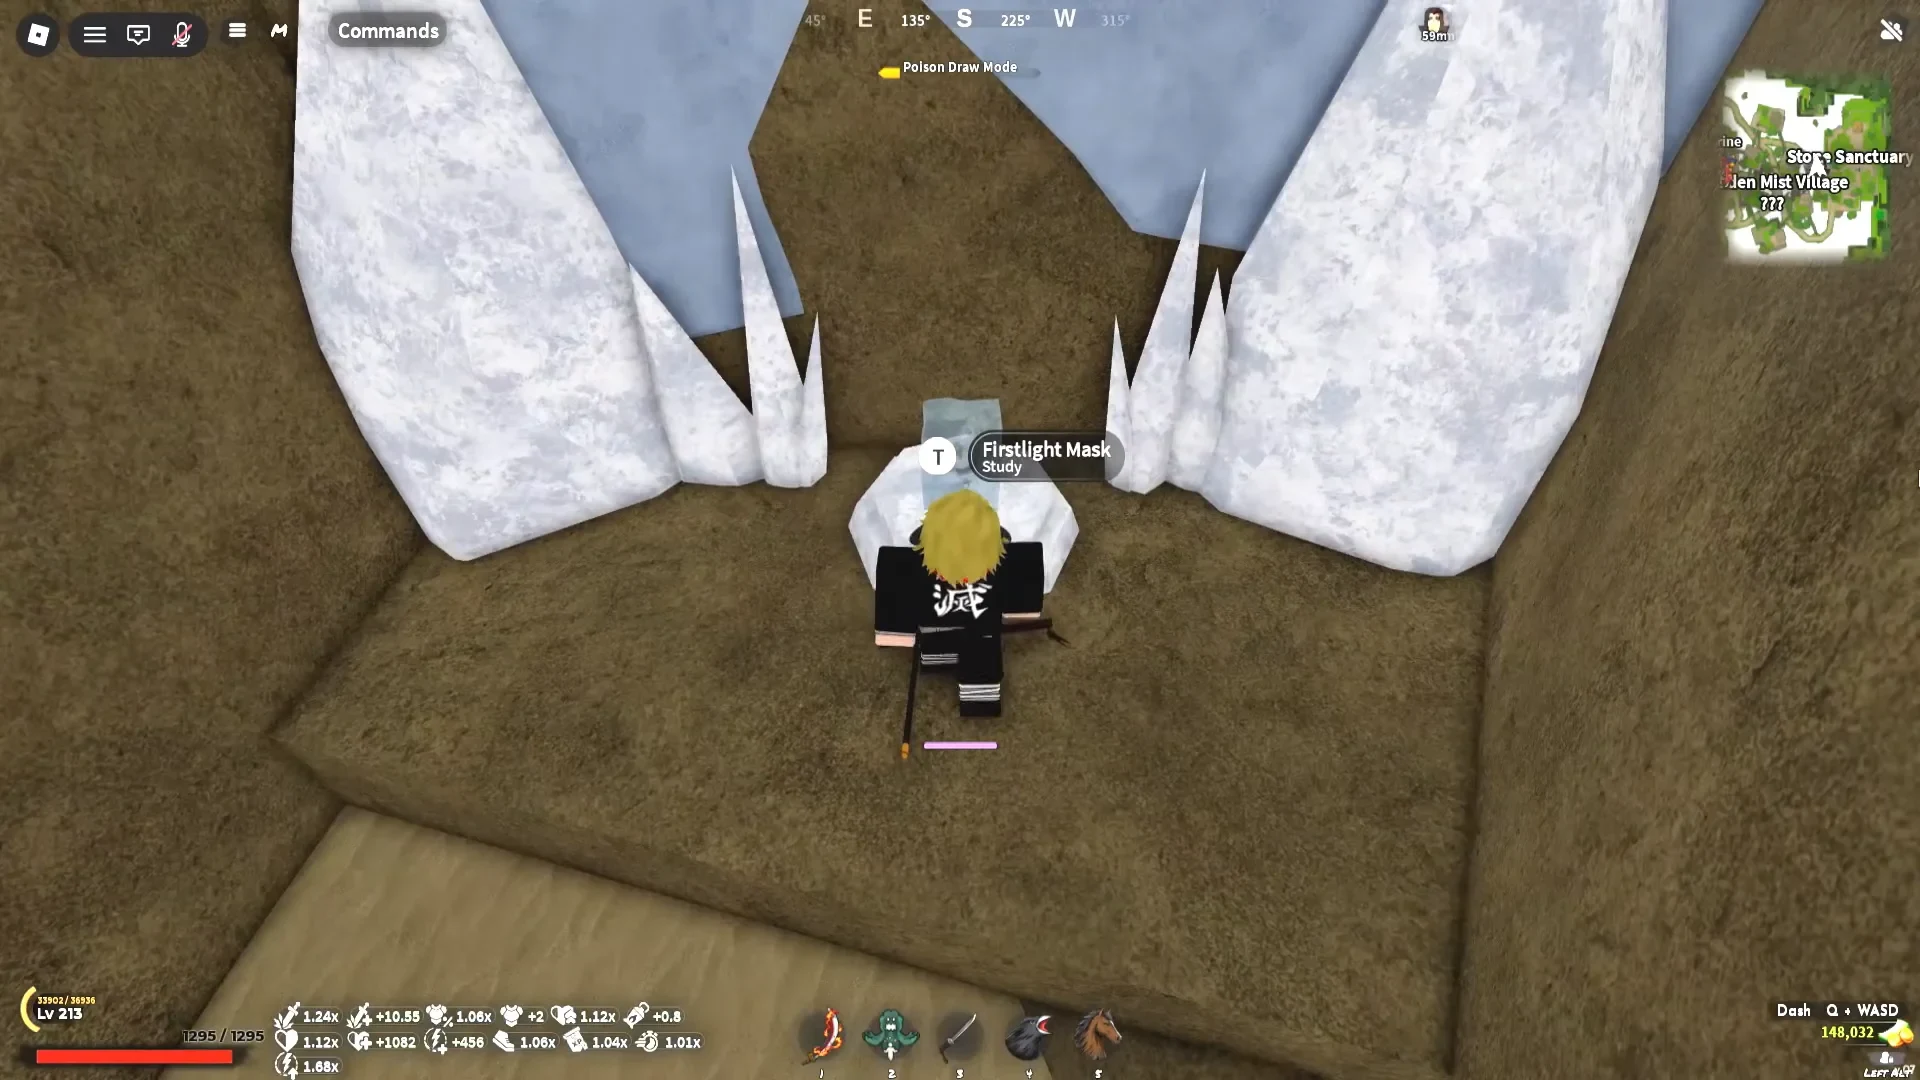
Genzo only gives you the Bladed Wagasa schematic after you prepare the right equipment and finish the Windy Peak challenge. Start by finding the Firstlight Mask schematic in the underwater cave area near Tai Chi Trainee Suzume, behind the rock ledge. Study it, craft the mask at Togane using the recipe currently shown in the crafting menu, and equip it.
Screenshot credit: AllThingsHow / Roblox via YouTube/@Builderboy TV.
You also need a Damascus Bladed Wagasa. If you do not already have the regular Bladed Wagasa, obtain it from Fujiko in the Final Selection Plains, then use Togane's current upgrade recipe to make the Damascus version. Keep the Damascus Bladed Wagasa in your inventory for the Genzo exchange.
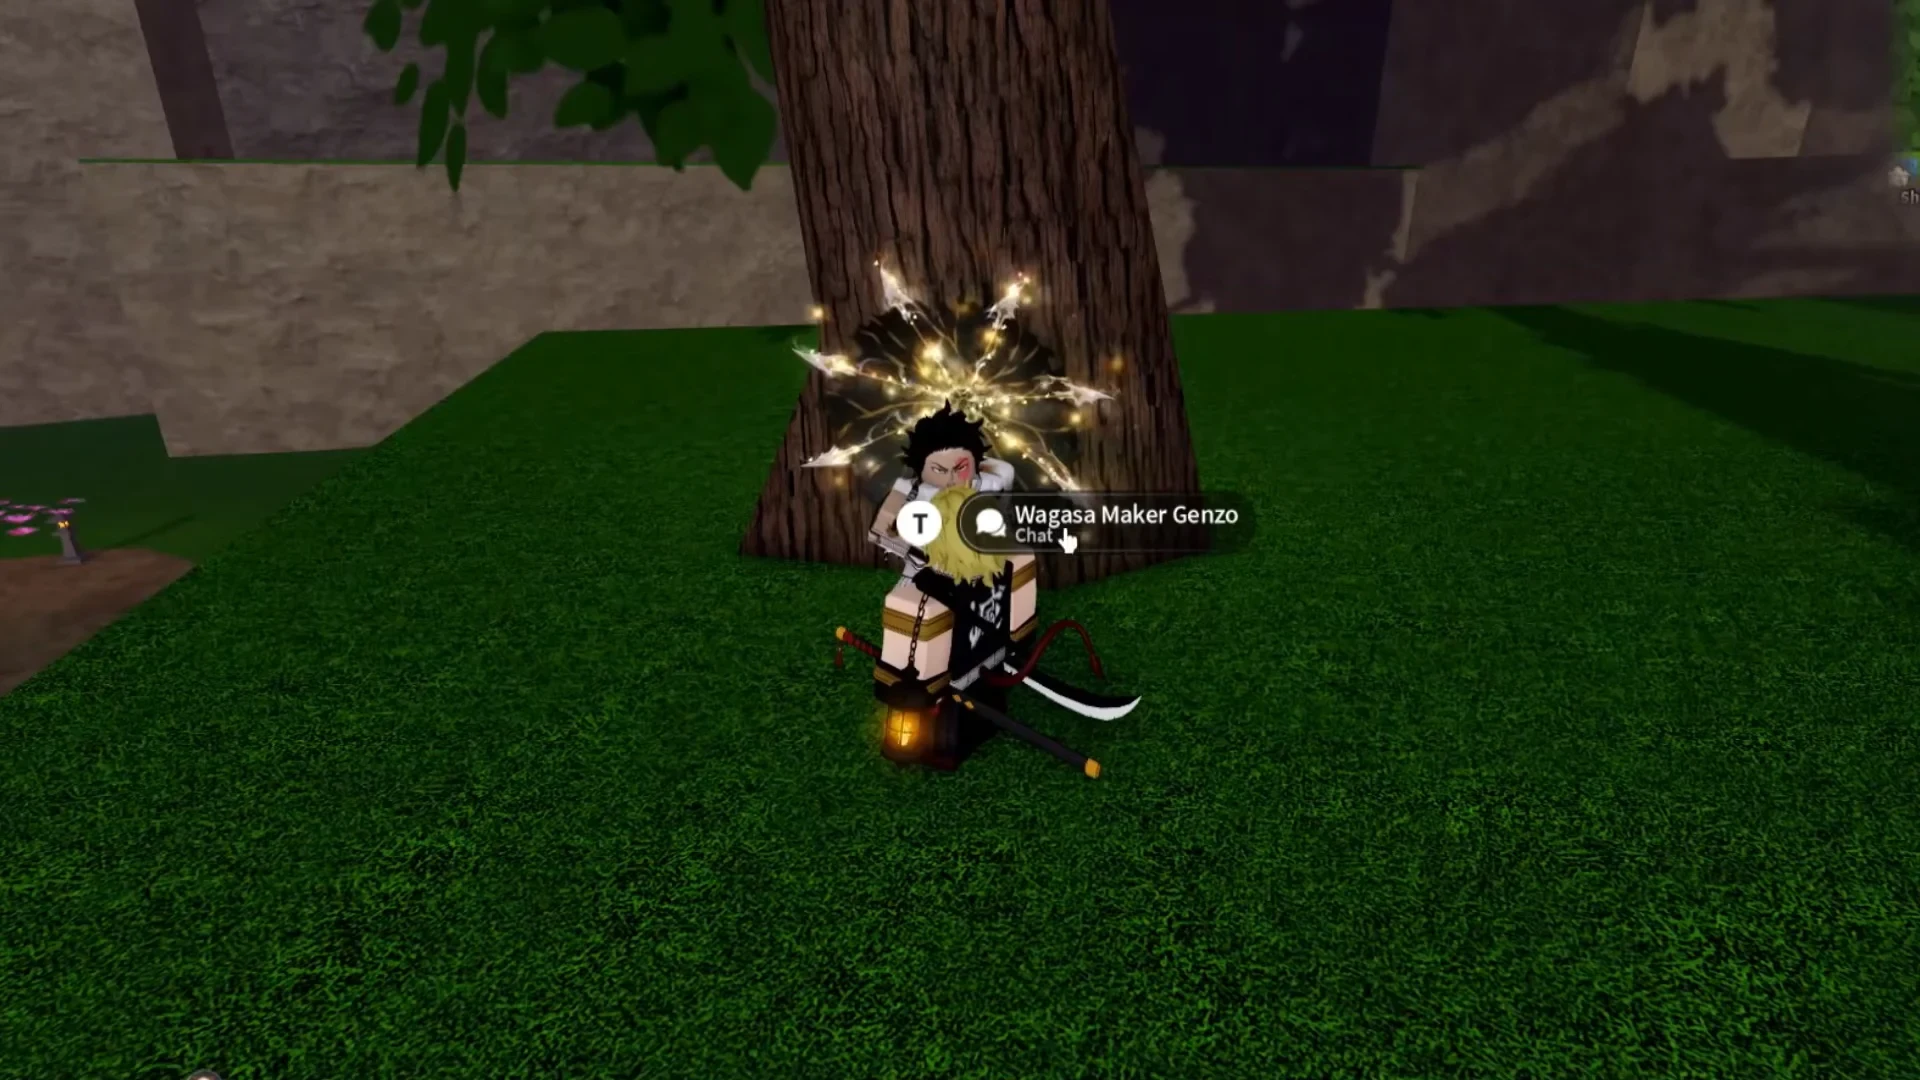
At Windy Peak, start the Boulder Push challenge. Follow the white arrow to the hidden slope and push the boulder to the marked spot. Wagasa Maker Genzo appears beside the tree after the challenge.
Screenshot credit: AllThingsHow / Roblox via YouTube/@Builderboy TV.
Speak to Genzo while the Firstlight Mask is equipped and the Damascus Bladed Wagasa is in your inventory. He gives you the Firstlight Bladed Wagasa schematic. You do not need Demon status to complete this exchange.
How to craft Firstlight weapons at Blacksmith Togane
Once you have studied a schematic, travel to Blacksmith Togane in Hidden Mist Village. Select the matching Firstlight recipe and bring the base weapon, common materials, and Wen listed in the requirements section above. The schematic unlocks the recipe, but Togane still needs the matching Mythic or V2 weapon before the craft can finish.
Use the live recipe panel as the final check for material names and amounts, especially when you are preparing the Firstlight Mask or Damascus Bladed Wagasa. For the shared Firstlight weapon line, plan on 500 Metal Scraps, 500 Silk Thread, and 500,000 Wen, then confirm the displayed recipe before you spend anything.
For the shortest route through the set, collect the Katana and Spear during one Iceveil maze trip. Complete the War Fans supply steps next so you can buy the Shovel, then use that Shovel for the Tanto route. Finish the Wagasa prerequisites when you have the Mask, Damascus Bladed Wagasa, and Windy Peak challenge ready, and return to Togane whenever you have a schematic and its matching base weapon.