Fisch's current [RACING] rollout gives boats a competitive job beyond regular travel: you can use them to race other players on the server. To try it, sail to Moosewood, Ancient Isle, or Forsaken Shores and look for a race start, then compare the boats you own by Speed, Acceleration, and Steering. This guide covers those locations and the practical tradeoff between raw pace and handling, without treating the highest Speed number as an automatic win.
Where to Find Boat Racing Locations in Fisch
Start by sailing to one of the boat-access landmarks below. Moosewood is the starter island, while Ancient Isle and Forsaken Shores are first-sea islands normally reached by boat. These are the three landmarks this guide covers for finding a race start.
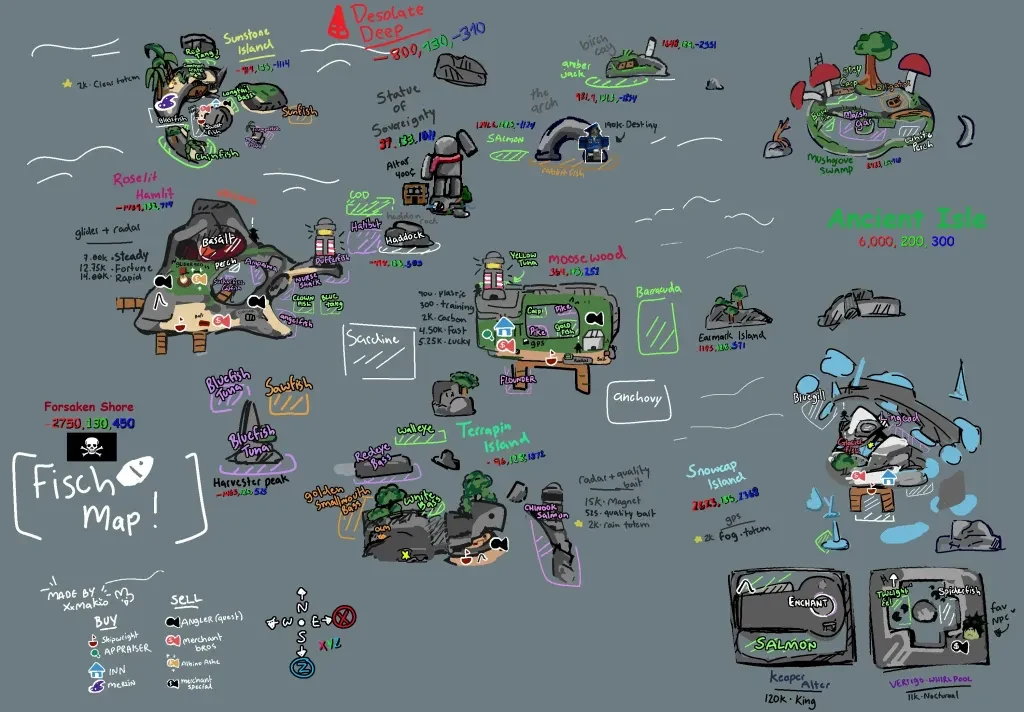
Map credit: XxMakio.
| Landmark | Route context |
|---|---|
| Moosewood | The starter island with boat access. |
| Ancient Isle | A first-sea island reached by boat. |
| Forsaken Shores | A first-sea island reached by boat. |
At whichever landmark you choose, look for the current boat-racing start or marker. Use the prompt or marker shown by the game instead of searching for a specific NPC name. The Fisch locations collection can help you orient yourself before you sail.
How to Start a Boat Race in Fisch
Once you have an owned boat ready, the setup is straightforward:
- Sail to Moosewood, Ancient Isle, or Forsaken Shores.
- Find the boat-racing start or marker at the landmark.
- Before entering, equip the owned boat with the strongest combination of Speed, Acceleration, and Steering in your inventory.
- Join the server race against other players.
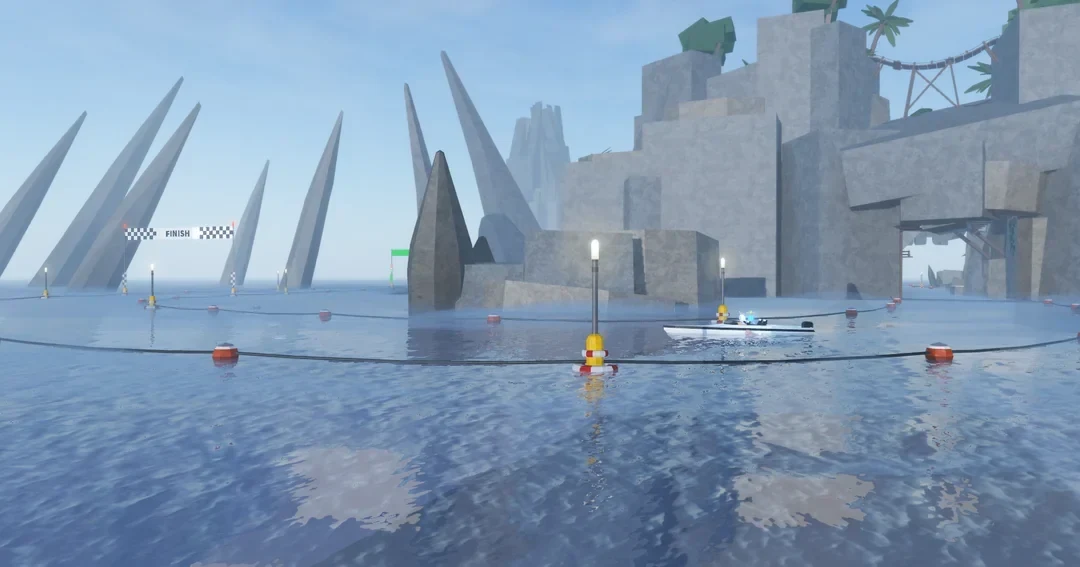
The preview course shown here includes red boundary buoys, spike obstacles, and a finish banner, which illustrates why handling may matter. Treat it as visual context, not a complete map of every live race, because the preview may not match every current course.
Best Boats for Racing in Fisch
Treat “best” as a profile, not a permanent tier-list label. Boat rosters and stats can change, so the useful answer is the strongest combination among the boats you actually own. Compare Speed, Steering, and Acceleration together before choosing.
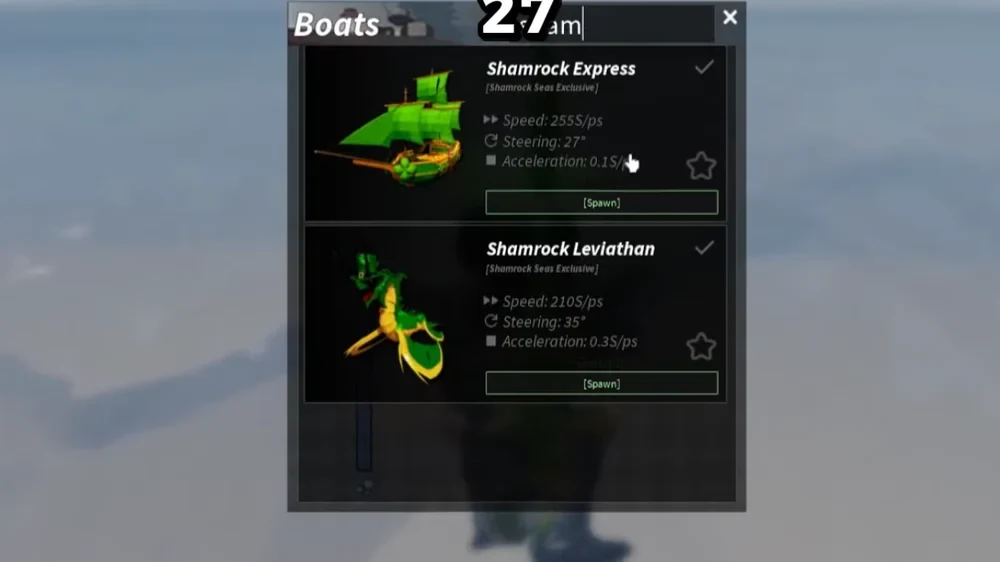
The menu makes the three racing-relevant fields easy to compare before you spawn a hull. These current catalog examples show what a balanced profile looks like, but they are not an exhaustive ranking or a promise that every player owns each boat.
| Boat example | Speed | Steering | Acceleration | Practical read |
|---|---|---|---|---|
| Koutetsu | 310 | 115 | 1.27 | The highest values across all three tracked stats in this small sample, making it a strong first comparison if you own it. |
| Onyxum | 308 | 114 | 1.26 | Nearly matches Koutetsu across the same profile, so it is a strong alternative when it is your better available boat. |
| Giant Jetski | 250 | 70 | 0.1 | Offers more top speed than the slower example below, but its lower Acceleration and Steering make it a reminder not to choose by Speed alone. |
| Hydro-Skiff | 210 | 54 | 0.3 | A lower-speed, lower-Steering baseline in this sample; compare it with your other owned boats before racing. |
For a broader boat-by-boat reference, use the Fisch boats collection, then check the same fields in your live inventory before deciding.
Speed vs. Acceleration and Steering
Speed is a boat's top speed. Acceleration controls how quickly it reaches that top speed, while Steering controls how quickly the boat rotates. In practice, Speed is most valuable on open stretches, but Acceleration and Steering become more important when the course requires quick changes of direction or a fast return to pace.
That is why a boat with a slightly lower top-speed number can still be the better racing choice if it handles and accelerates more cleanly than the fastest option you own. The stat combination improves your chance of winning; it does not guarantee the result against other players.
Before the next start, compare all three stats, equip the best-balanced boat in your inventory, and change your choice if a slow launch or awkward turn is costing you. The Fisch boats collection is the next useful reference for checking individual hulls, while this guide gives you the racing-focused rule for choosing between them.