The Archives replaces The Rooms as DOORS' live subfloor, a separate route below the main game. Enter it through the Lobby and move through lettered sectors, using each boundary to heal, loot, and decide whether to continue.
Some runs end early through skips or exits, so opening every door is not the only way to make progress. The route below matches the live Archives release from August 29, 2026.
Start The Archives and manage each 50-door sector
Start The Archives from the Lobby.
At the Lobby, use the elevator's floor selection and choose The Archives when it appears. It is a free subfloor once discovered, so keep your Gold for skips and other route decisions.
Reach the elevator at each 50-door boundary.
Each lettered sector is a 50-door stretch, and the full route can reach up to 1,300 doors. Loot drawers, closets, and floor Gold as you move, then use the safe boundary area and elevator at the end.
Treat the boundary as a reset point. Heal if you can, check your inventory, and only then continue. The next sector will still be there after a short pause, which is more cooperative than carrying avoidable damage forward.
The first section skip is shown as 100 Gold in the release covered here. Later skips cost more, so read the on-screen price before paying. Spend Gold on a skip when your health or recovery items cannot support the next stretch; otherwise, keep looting.
Use high-loot sections to build your Gold reserve.
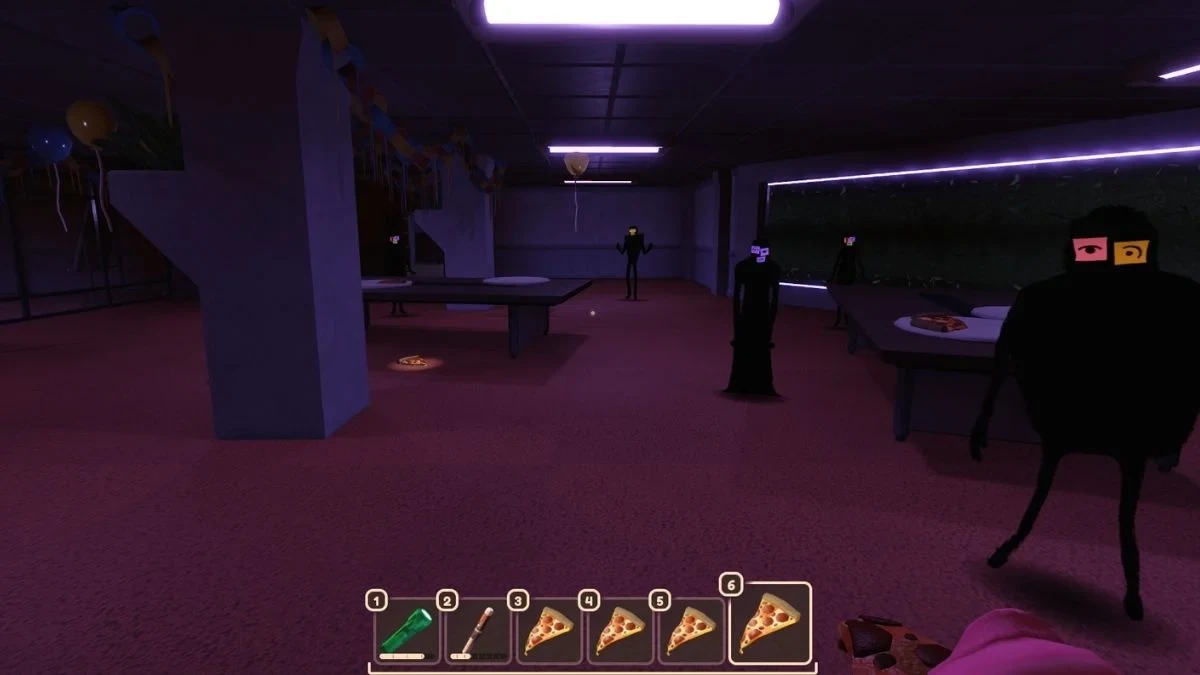
If Pizza Party appears, search the section before leaving. Its high loot and food make it a useful chance to rebuild Gold and healing supplies, but it is not guaranteed to appear in every run.
A section modifier such as Ventilation Error can make many rooms dark. Slow down at each doorway and confirm that you have a usable hiding place before moving on.
Survive the entities and Archives puzzles
Use the sound, screen effect, or room change as your warning. React to the cue first, then worry about collecting anything nearby.
Recognize the Archives entity cues.
| Cue | What to do |
|---|---|
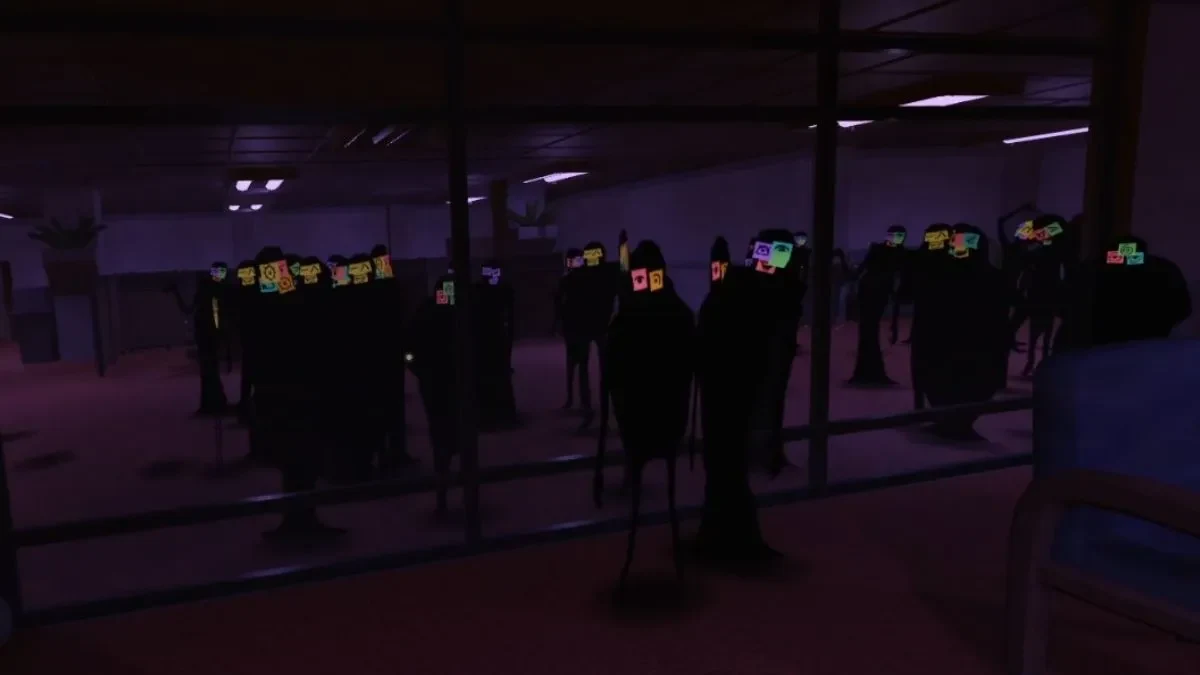
| Drones | Move away from their path and use another room, closet, or cubicle. The 9-and-5 clock cue can lead to a stampede that damages you and removes items. |
| Bash | Leave the crackling or whooshing rush path. Use another room or a closet instead of standing in its route. |
| Currents | Keep away from puddles when crackling or sparks show that the water is charged. |
| Scribbles | Reach a closet quickly when it covers your screen and starts dealing damage. |
| Alma | Do not look at the crying entity. Its related interaction can be deadly, so avoid testing it casually. |
| Ransom | Follow the prompt and weigh the Gold choice against possible inventory damage before you confirm it. |
| Fih | Feed the fish when the room offers the interaction. Fih is non-hostile. |
Treat the Teller ticket as a door-count limit.

Take Teller's ticket when prompted and note the permitted door count. Return the ticket before you cross that limit, then move away from the interaction. Timing around Teller can be odd, so follow the visible prompt instead of relying on how close you are standing.
Solve the Forget-Me-Nots room.

Inspect the room before choosing a direction. If it is clear and matches the route, continue forward. If a changed room or flower anomaly appears, go back through the way you came.
Do not choose by the door number alone. The room change is the warning, and familiar-looking doorways are excellent at acting innocent.
Survive Honcho’s box-sorting chase.
When Honcho starts the chase, sort the numbered boxes in the required order while moving through the area. Use the box numbers as your objective, not Honcho's position.
Being caught does not automatically end the run. Get back to the numbered-box task and finish the sequence instead of treating the chase as an instant loss.
Heal, preserve resources, and finish the run
Long routes punish small inventory mistakes. Use safe pauses to protect health and keep one recovery option ready for the next sector.
Heal before committing to the next sector.
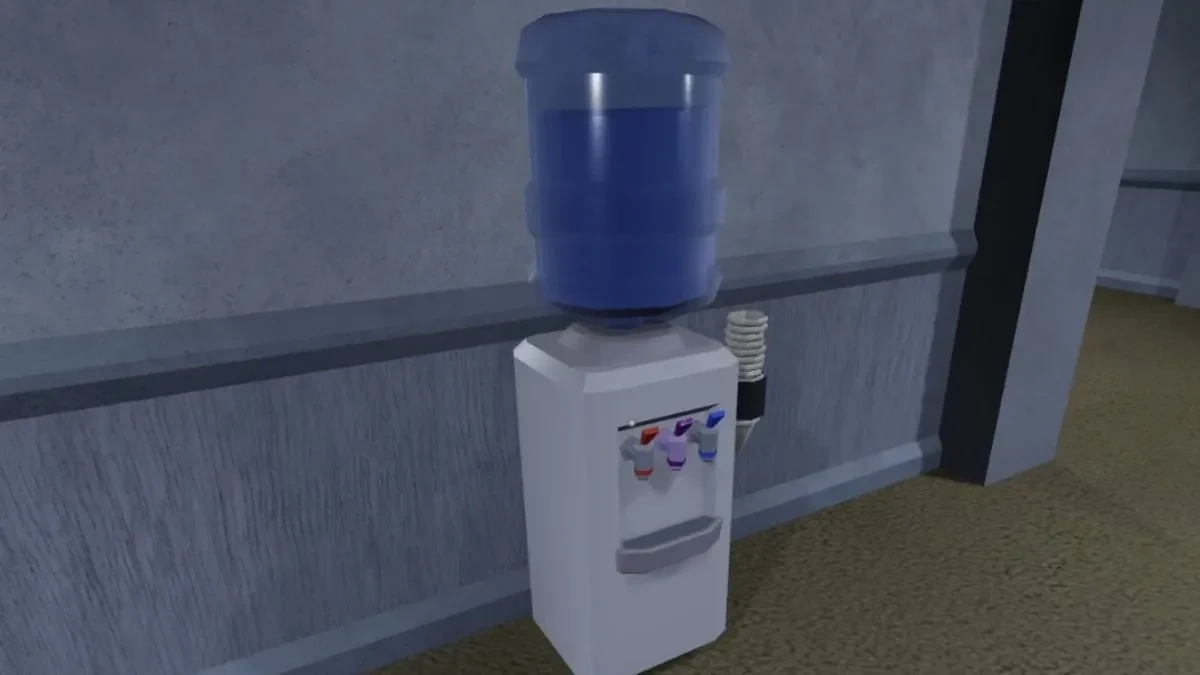
Use Bandages or Pizza when available, preferably at a safe boundary before taking the elevator. A water cooler is an optional heal: wrong combinations can hurt, and its paper cup can occupy an inventory slot. Use it only when the possible heal is worth that risk.
Some cupboards are blocked by shelving or file holders. Check that a hiding place is usable before an entity forces a quick decision.
Finish at Z-50 or take an emergency exit.
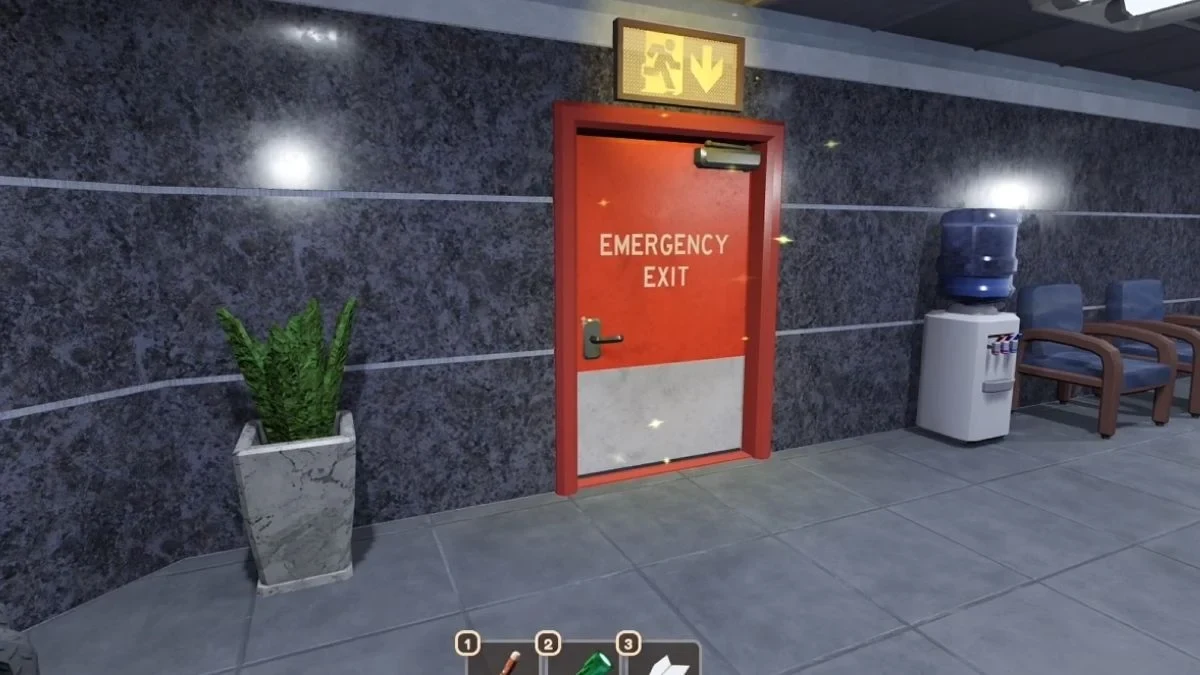
Z-50 is the reliable final destination of The Archives. Emergency Exits can appear in some sectors and end the run early, so check the safe area after the opening sectors without expecting a fixed pattern.
Use an available Emergency Exit when your health or recovery supplies are too low for the next stretch. If there is no exit, take the elevator and keep moving towards Z-50.
For broad game terms, use the DOORS Wiki. The DOORS entities page helps with unfamiliar cues, while DOORS items and DOORS locations cover the gear and places you meet along the way.