Roblox DOORS has 35 official badges tied to Archives and Stairwell: 26 belong to Archives and nine belong to Stairwell. The names are settled, but a few launch-week routes are still changing or bug-prone. Plan the reliable checks first, then leave the uncertain badges for a run where you can watch the award panel.
Resolve the route before you spend a run
Archives is arranged as 26 sections of 50 rooms, so the full A-to-Z route can reach 1,300 rooms. Current access notes recommend the Lobby route. Some players also report entering from Hotel Room 60 through the Skull Lock, but that entrance is not a universal answer for every badge.
Hotel is useful preparation when you need a Crucifix for Annihilation. A Hotel-started run can use an Emergency Exit after Section C to return to Hotel, but the return route does not remove the need to prepare the Crucifix interaction.
Stairwell is a separate destination in The Mines. Bring a Skeleton Key, pass the Door 150 and Grumble Nest area, and look for the broken opening around Door 152. The exact landmarks can move between updates, so use the hidden access and the broken opening as your practical cues.
The Archives Subfloor walkthrough helps with room flow and survival timing. The DOORS wiki hub is useful when you need a quick reminder of an entity or item before starting another run.
Choose the right entrance for Archives badges
Pick the Lobby route when you want the access path currently documented for Archives. Hotel Room 60 and its Skull Lock are also reported as an entry, but reports for Forgotten Memories conflict: some runs tie the badge to Hotel entry, while current access notes favor Lobby and call Hotel reports inconsistent. Verify the badge award on the route you choose instead of assuming either entrance always works.
Collect the 26 Archives badges
The Archives total is 26: two general badges, 15 entity or encounter badges, five item badges, one Crucifix badge, and three floor badges. Follow the ordinary interactions first, then take the S-50 and Honcho detours when they appear.
Start with the two general badges
- Quick Purchase: Buy the Shakelight from the green vending machine for 10 Gold.
- Unpatched Dupe Glitch: Scan an item at the printer, then print the duplicate.
Resolve the ordinary entity encounters
- Firewall: Resolve Ransom by meeting its demand or otherwise disabling or avoiding the encounter. Follow the live prompt instead of relying on an exact payment amount.
- Fih Are Friends: Feed the aquarium Fih once with the blue food bottle.
- Crowd Watching: When Drones stampede around the 9/5 clock, leave the main path and use a safe side room or closet. Survive the stampede from cover.
- Now Served: Take Teller's ticket, wait through the countdown, then return it when the requested number matches.
- Shock Hazard: Cross Currents' puddles only after the charge, sparks, and audio have stopped.
- Carpet Burn: Hide in a side room or closet while Bash attacks.
- Witness Protection: Find Alma by following the crying without looking directly at her.
- Limitless Paper: Hide in a closet when the screen shakes and Scribbles approaches.
Use Portrait for three badge checks
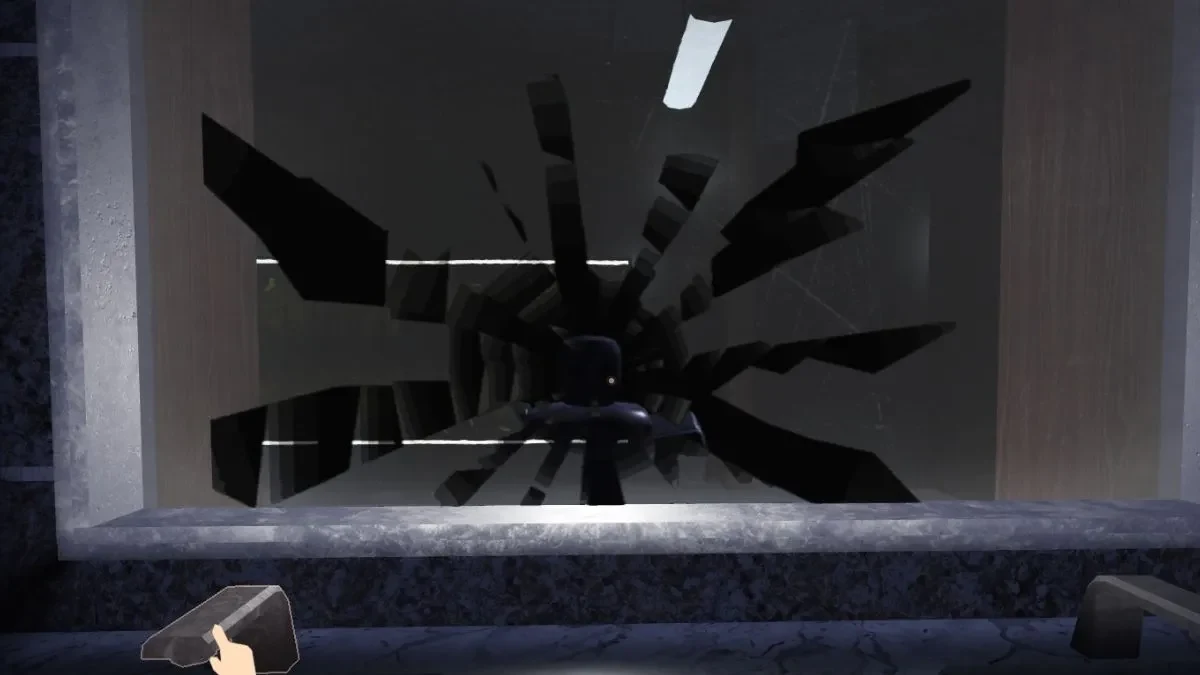
Stare at the bathroom mirror until it cracks and Portrait appears for It's Still You. If you are holding an item when Portrait is triggered, take the duplicate it creates for Smashing Deal. The same mirror starts the Annihilation setup, but that badge needs the Crucifix interaction described below.
Solve the memory room for Perfect Memory
In the six-flower Forget-Me-Not room, compare each arrangement with the previous one. Continue forward when it is unchanged. Go back when it has changed. That forward-versus-back rule is the key check for Perfect Memory, so watch the room instead of rushing through it.
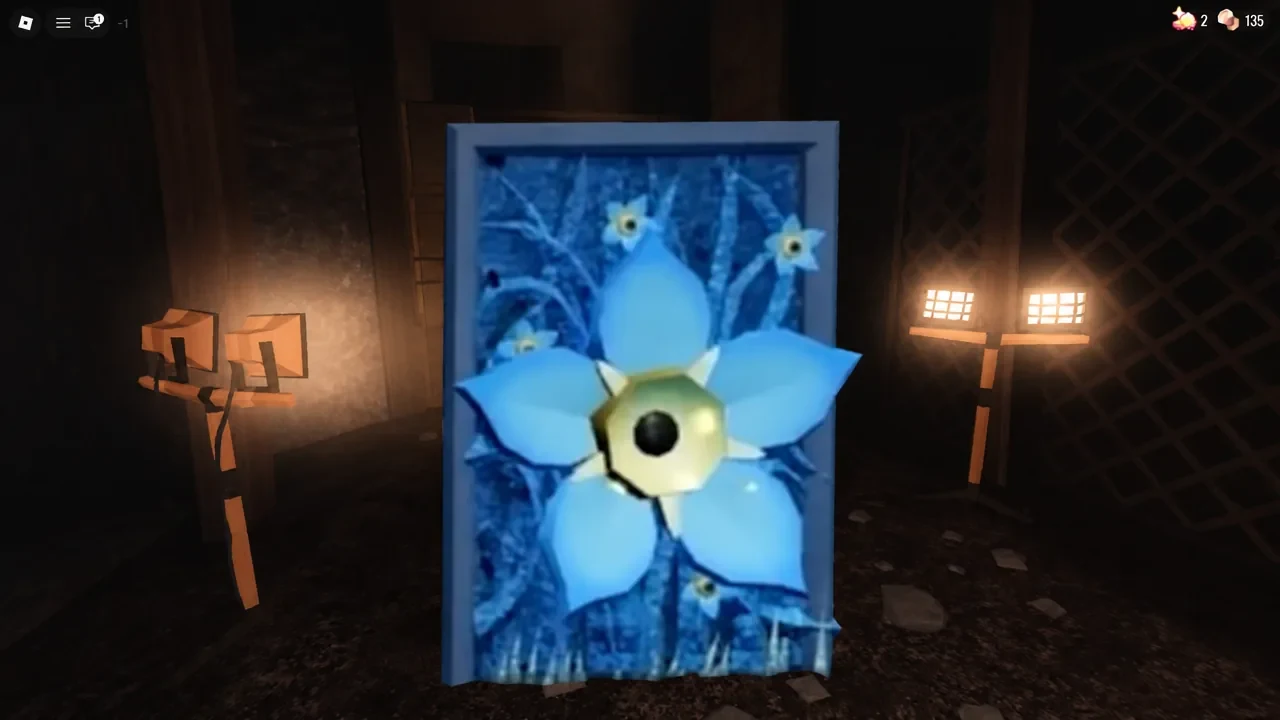
Take the S-50 detour for Who Am I? and REDACTED
At S-50, take the hidden hallway or detour beside the Archives exit area to trigger the journal sequence for Who Am I? Exact turn landmarks can change, so follow the detour signs and the route that leads away from the normal exit path.
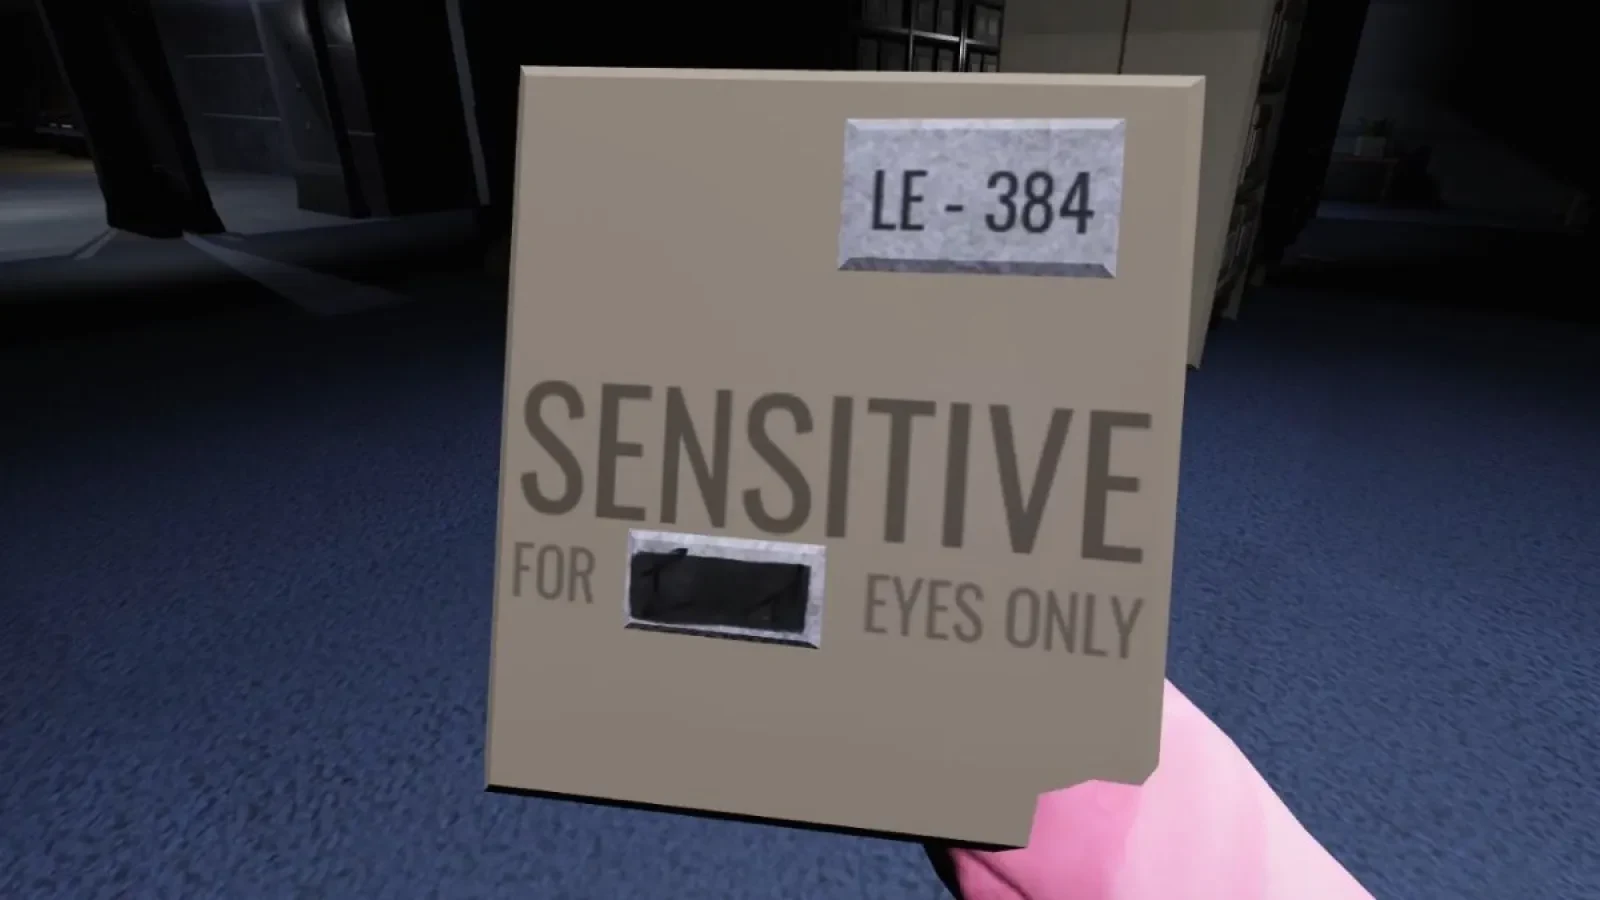
Complete the Honcho mail-room badges
When the Mail Room sequence appears, sort or organize the mail while Honcho chases you for Most Valuable Employee. For Star Employee, perform the same sequence while carrying a Starlight Bottle from Backdoor or another floor. The Honcho encounter may not appear on every run, so do not spend a good item run assuming the room will spawn.
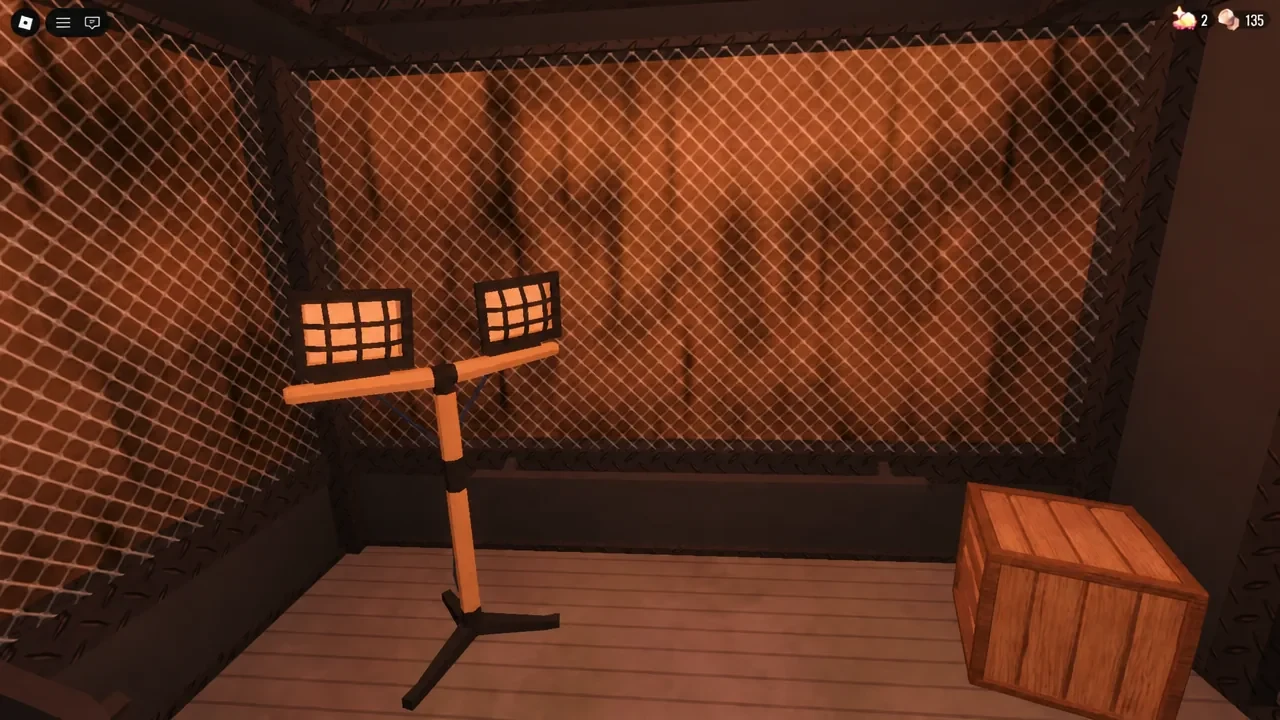
Fill the hotbar for the five item badges
- Gold Standard: Find and use the Honey Pot during the Ransom sequence. Breaking or using it ends the encounter and is tied to the gold reward, but do not assume a precise workaround for keeping the Gold.
- Enlightened: Fill the hotbar with different light sources collected across floors, including the Shakelight.
- Girl Dinner: Fill the hotbar with different edible items collected across floors.
- Pizza Time: Fill the entire hotbar with pizza. Pizza Party is the practical setup location, and you can drop and reload items as needed.
- Bad Luck: There is no confirmed condition. Keep this badge separate from the reliable hotbar checks until the live route is verified.
Keep the two uncertain badge routes visible
- REDACTED: The strongest current route lead starts after the S-50 Who Am I? sequence. Use the nearby Ransom-infected computer to eject a disk, carry it to Stairwell, and insert it into Noise's TV or VCR. This route is provisional: the exact UI and award timing can differ, and player reports describe failures.
- Bad Luck: Reports point to using a Crucifix on Portrait, obtaining its Pocket Mirror, then breaking or throwing the mirror. Other reports flag bugs and exploit-only attempts. Treat that sequence as a lead, not a confirmed instruction, and do not count the badge until it appears.
Use the Crucifix for Annihilation
Obtain a Crucifix from Hotel, trigger Portrait through the cracked bathroom mirror in Archives, and use the Crucifix when Portrait returns or holds the interaction. The award depends on that encounter, so keep the item ready before you start the mirror sequence.
Separate Z-50 from Emergency Exit
- Forgotten Memories: The entrance condition is disputed. Hotel reports exist, while current access notes recommend Lobby and describe Hotel reports as inconsistent. Check the badge panel on the route you actually complete.
- Emergency Exit: Use the exit at every 50th room after Section C. A run started from Hotel can return to Hotel through this exit.
- Z-50: Complete the final Z-50 section or room of the Archives A-to-Z route. Z-50 is the final numbered Archives destination, not the entrance to Stairwell.
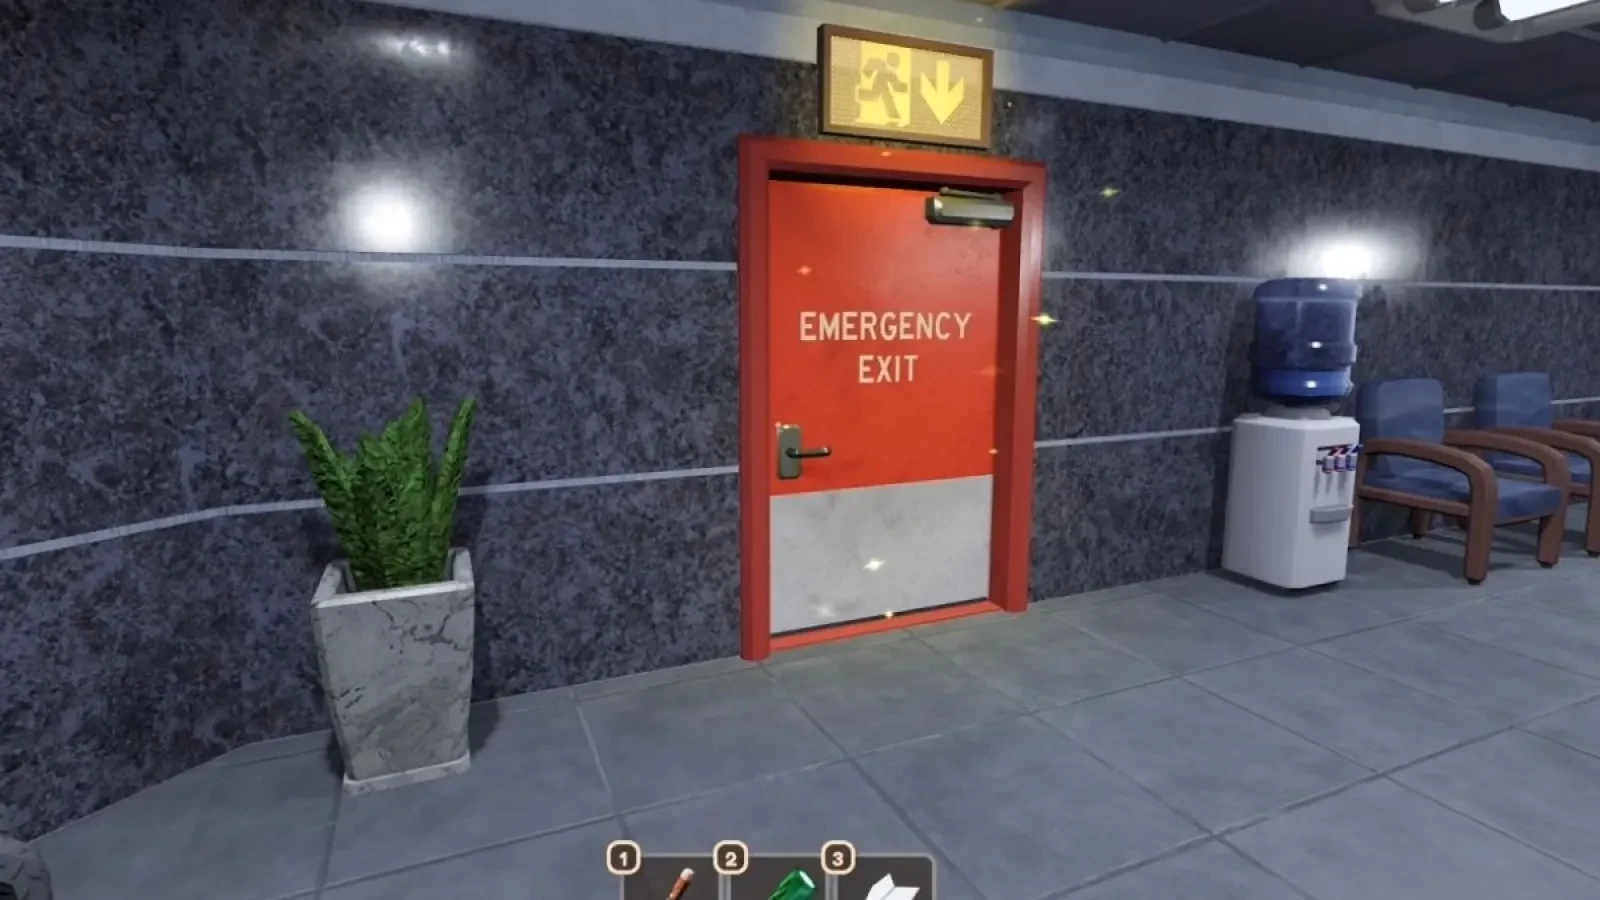
Collect the nine Stairwell badges
Stairwell has nine official badges: Going Down, seven interaction badges, and Going Up. It begins in The Mines, not at Z-50, so carry the Skeleton Key before you commit to the Door 152 route.
Enter Stairwell from The Mines
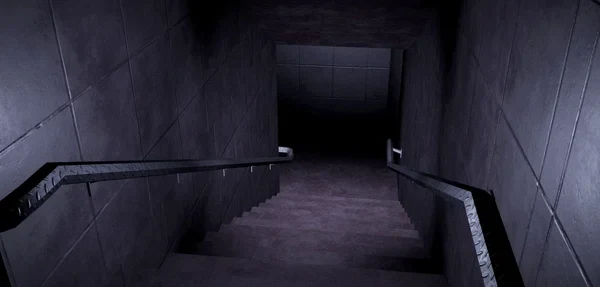
Bring a Skeleton Key into The Mines. Pass the Door 150 and Grumble Nest area, find the broken opening around Door 152, and unlock the hidden access to enter Stairwell for Going Down. The visible stair descent is the useful landmark when room details shift.
Clear the nine Stairwell badge interactions
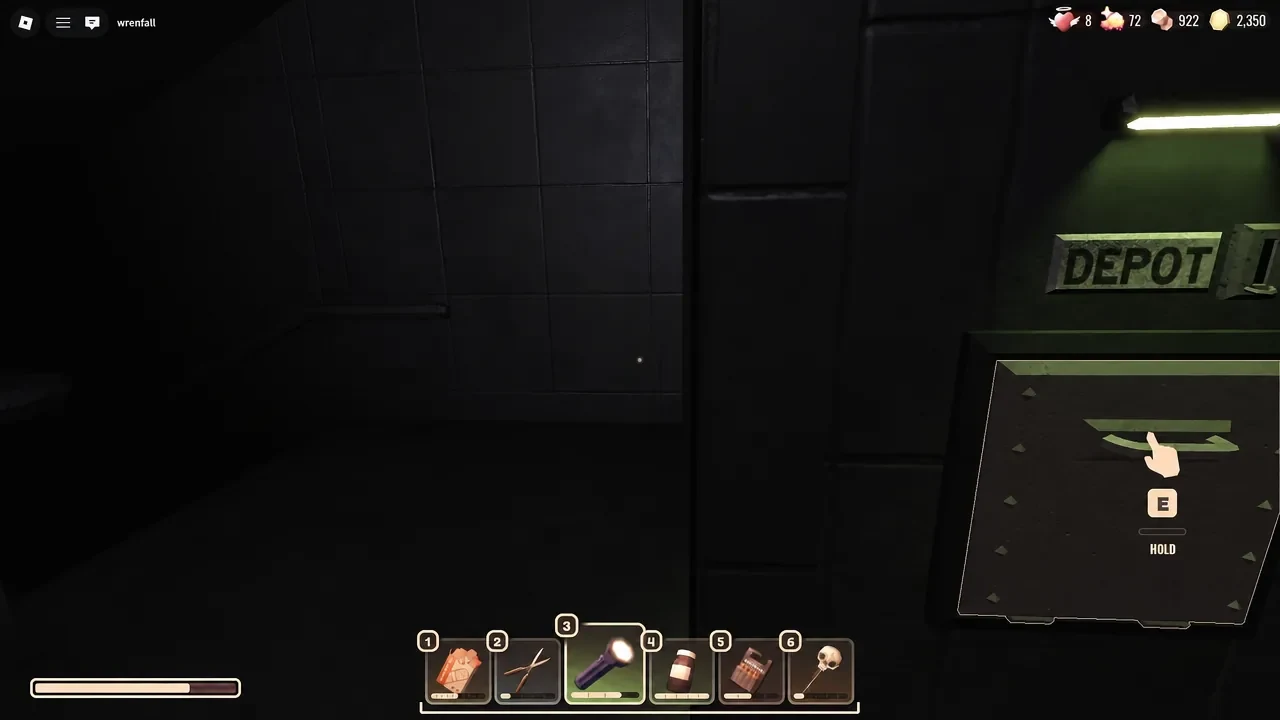
The Depot image below is a landmark for two checks, not a one-scene award for all nine badges. Work through the interactions as their entities and stations appear.
- Rage Room: Disable Noise, take the TV, and push or throw it down the stairs to break it.
- Paparazzi: Scare Creep when it is about to grab you from behind.
- Fried Mushrooms: Use the Fire Alarm to incinerate Meld.
- Bubble Popping: Throw or use Stem to pop the bubbles.
- Paperclip Challenge: Use or sell an item at Depot. The interaction verb is uncertain, so follow the button text shown by the station.
- Storage Wars: Make a deposit of 1,000 or more Gold in one Depot interaction.
- Hello Walker: Encounter the harmless Cobbler.
Escape Stairwell for Going Up
Complete or escape Stairwell for Going Up. If you are cleaning up the interaction badges, keep the run alive until you leave so the completion check has a chance to trigger.
The full split is 26 Archives badges plus nine Stairwell badges. If one of the provisional or bug-prone routes fails, record the run as unconfirmed and try again after checking the live prompt or a later update.