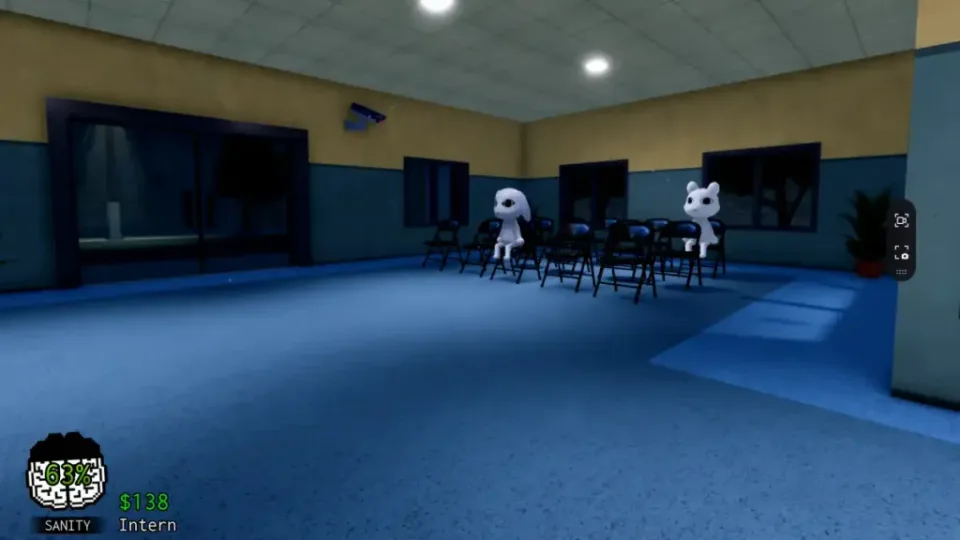
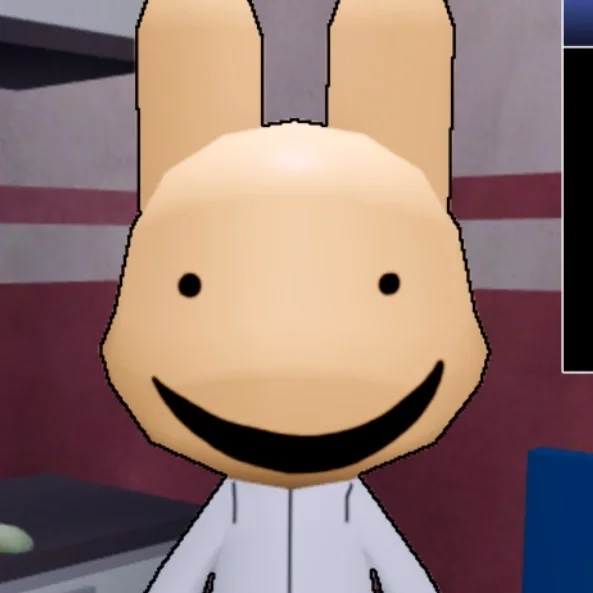
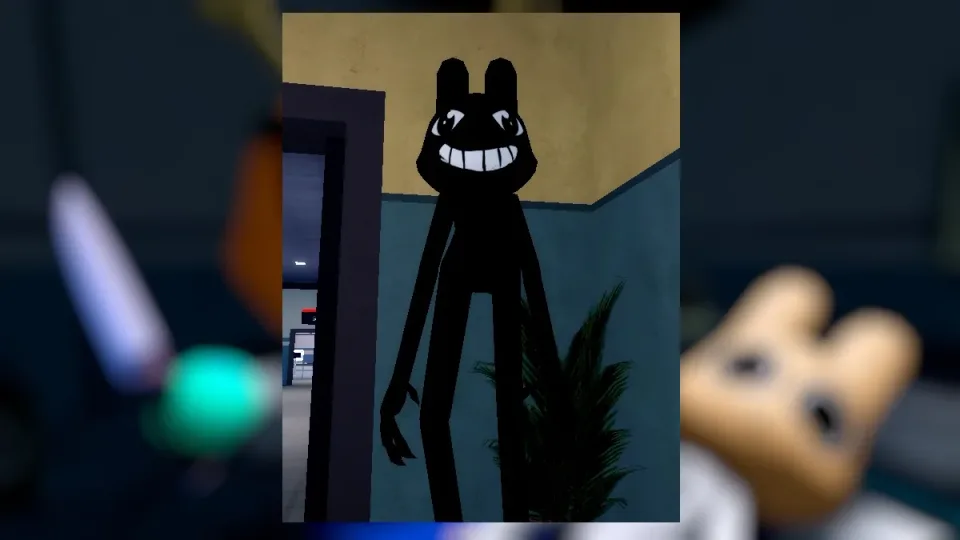
Characters in Animal Hospital are the staff, visitors, and story faces who keep showing up between patient checks. Some unlock tools and the shop, some trade favors for coffee machines or keys, and some only drop lore once a route is finished. Treat them like real people with jobs, not generic lobby decoration.
section
Hospital Staff
These faces keep the clinic running. Harlow unlocks tools and grades shifts, the Shop Nurse sells gear, and Ron drops threat tips if you talk to him.
Dr. Harlow
The hospital doctor who runs your early unlocks and grades each shift. When Harlow shows up, a new tool or facility is usually about to open.
- Role
- Hospital doctor / intern supervisor
- When
- After early patients; end of each shift
- Why it matters
- Unlocks check-in tools, the shop, emergency rooms, and the taser
Shop Nurse
The face of the staff shop. Once Harlow opens the store, this is where you stock gear between patient rushes.
- Role
- Supplies shopkeeper
- When
- Shop unlocked on shift 3
- Why it matters
- Buy extinguishers, tasers, upgrades, and support items
Ron from Accounting
A calm blue rabbit with a TOP SECRET suitcase and a long memory. Talk to Ron when you want monster advice more than a treatment item.
- Role
- Staff visitor / monster tip giver
- When
- From around shift 2 onward
- Why it matters
- Survival tips for anomalies, room threats, and hospital lore
section
Story Visitors
These are multi-visit routes. Ratthew leads to the Room 5 key, and Barney runs a coffee favor chain that can end with a second coffee machine.
Ratthew
A small black rat who looks anomaly-adjacent but is a real visitor. Keep serving him if you want the key that opens the Room 5 lore safe.
- Role
- Recurring visitor / key route
- When
- Recurring visits; key often near shifts 8-10
- Why it matters
- Key for the Room 5 safe (Rattina photo and TOP SECRET suitcase)
Barney
A polite guest with a long favor chain and a wanted poster waiting later. Coffee and patience matter more than treatment tools.
- Role
- Favor visitor / wanted serial killer
- When
- Shifts 2-7 (up to three times in one shift)
- Why it matters
- Extra coffee machine (300s cooldown) if you hide him and do not turn him in
section
Special Guests
Duckman only appears on Barney's police ending choice. Rattina is lore-only through Ratthew and the safe, not a live check-in patient.
Officer Duckman
The law side of Barney's route. He only shows up once you hide Barney, and the choice is whether you talk or keep quiet.
- Role
- Police officer
- When
- After you accept Barney's hide request
- Why it matters
- Story choice during Barney's ending; no special gift for turning Barney in
Rattina
Ratthew's twin and the smart one of the family. You meet her story through the key route, not as a check-in patient.
- Role
- Missing lore character
- When
- Photo and safe contents only (not a live visitor)
- Why it matters
- Lore for the key safe and Animal Corporation mystery
Who to prioritize first
Dr. Harlow is your early-game gatekeeper. He grades shifts and opens shutters, cameras, the shop, rooms 6-8, and the taser as you progress. Once the shop is open, the Shop Nurse is where gear restocks happen between rushes.
Ron from Accounting is optional for story, but strong for survival notes. He has already lived through enough Bed Monster and Stalker stories to warn you before you learn the hard way.
Story routes worth finishing
Ratthew and Barney both need multi-visit attention.
- Ratthew: Serve him through his dialogue chain. After enough visits he leaves a key. Take it to Room 5, pull the poster, and open the safe for Rattina lore and the TOP SECRET suitcase note.
- Barney: Keep coffee ready. He asks for small favors, then a hideout. Hide him without turning him in if you want the extra coffee machine with the longer cooldown.
- Officer Duckman: Only appears after you hide Barney. Turning Barney in can leave Duckman fainted and needing care; staying quiet ends cleaner for the coffee reward.
Easy mistakes
Do not reject Ratthew as an anomaly just because he is small, black, and a little intense. He is a real visitor, and missing his route means missing the key safe.
Do not blow off Barney's coffee timers if you want his full chain. Closing shutters or ignoring him can end that visit early.
Rattina is not someone you treat at the desk. Her story comes through Ratthew and the Room 5 safe, so finish the key route if you care about Animal Corporation lore.
FAQ
Who is Dr. Harlow in Animal Hospital?
He is the hospital doctor who supervises interns, grades each shift, and unlocks shutters, cameras, the shop, emergency rooms, and the taser as you progress.
How do you get Ratthew's key?
Serve Ratthew through his recurring visits until he leaves a key behind. Many players get it around later shifts after enough talks. Use the key on the Room 5 safe behind the wall poster.
Should you help Barney or turn him in?
If you want the extra coffee machine, hide him and stay quiet when Officer Duckman asks. Turning him in can start a fight that knocks Duckman out and skips the coffee reward.
Is Ratthew an anomaly?
No. He is a real visitor even though people in-game treat him like one. Keep serving him if you want the key route and Rattina lore.
Who is Rattina?
Rattina is Ratthew's twin sister. She worked for Animal Corporation and went missing. You learn about her from Ratthew and from the photo inside the Room 5 safe.
When does the shop open?
Dr. Harlow unlocks the Supplies Shop around shift 3. The Shop Nurse runs it after that, and you buy gear with in-game currency.