

Unique Stunt Jumps use ramps, dirt mounds, rooftops, bridges, and industrial yards throughout Liberty City.
View
0 of 26 found · 0% complete
Portland
Completion routes through Portland and its industrial, residential, and waterfront districts.
Staunton Island
Completion routes through Staunton Island and its central-city districts.
Shoreside Vale
Completion routes through Shoreside Vale, the airport, and its hillside neighborhoods.
Portland
Completion routes through Portland and its industrial, residential, and waterfront districts.
| Done | Entry | Image | Name | Guide Number | Area | Completion |
|---|---|---|---|---|---|---|
| #1Unique Stunt Jump #1 | 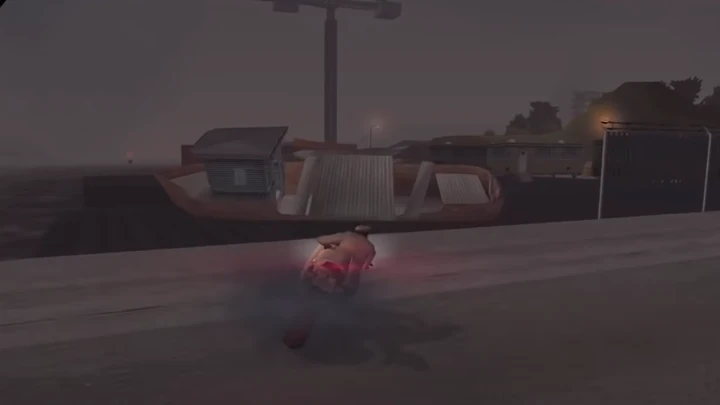 | Unique Stunt Jump #1 | 1 | Portland - Harwood | Complete the jump and land in the source-marked target area. | |
| #2Unique Stunt Jump #2 | 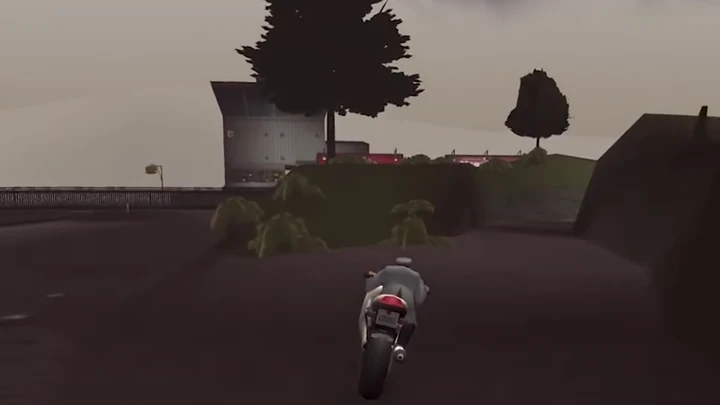 | Unique Stunt Jump #2 | 2 | Portland - Harwood | Complete the jump and land in the source-marked target area. | |
| #3Unique Stunt Jump #3 | 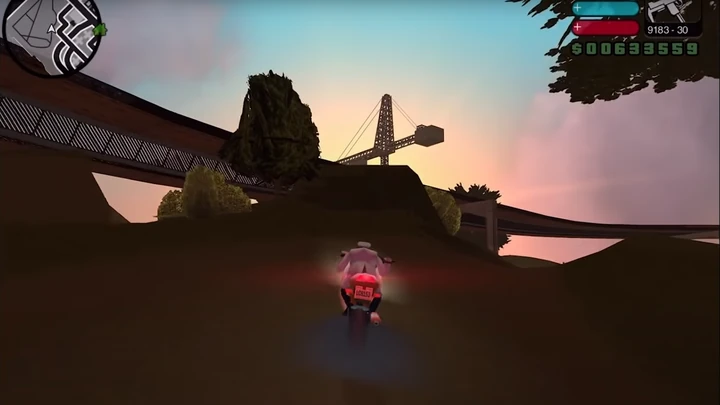 | Unique Stunt Jump #3 | 3 | Portland - Harwood | Complete the jump and land in the source-marked target area. | |
| #4Unique Stunt Jump #4 | 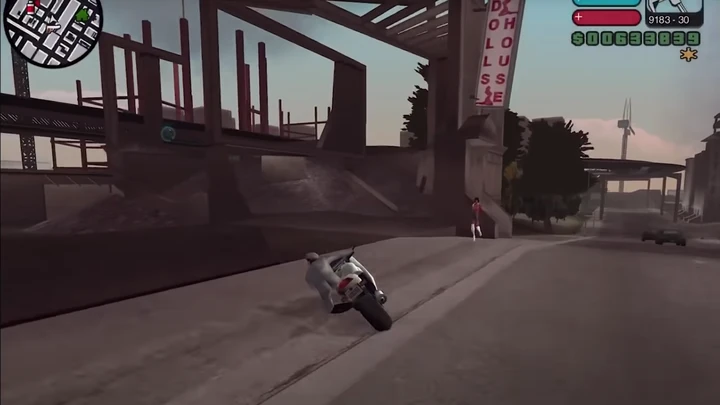 | Unique Stunt Jump #4 | 4 | Portland - Red Light District | Complete the jump and land in the source-marked target area. | |
| #5Unique Stunt Jump #5 | 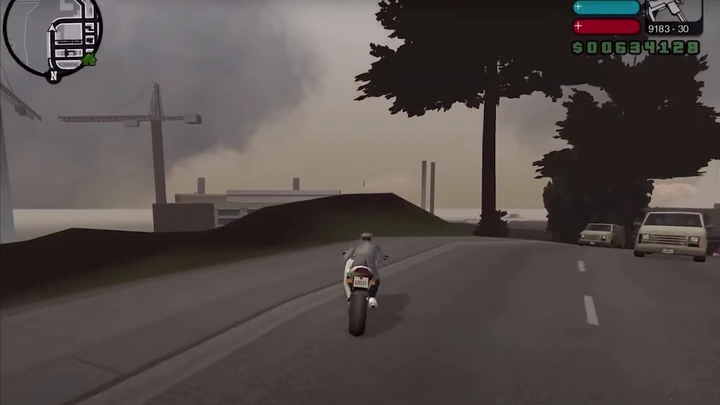 | Unique Stunt Jump #5 | 5 | Portland - Saint Mark's | Complete the jump and land in the source-marked target area. | |
| #6Unique Stunt Jump #6 | 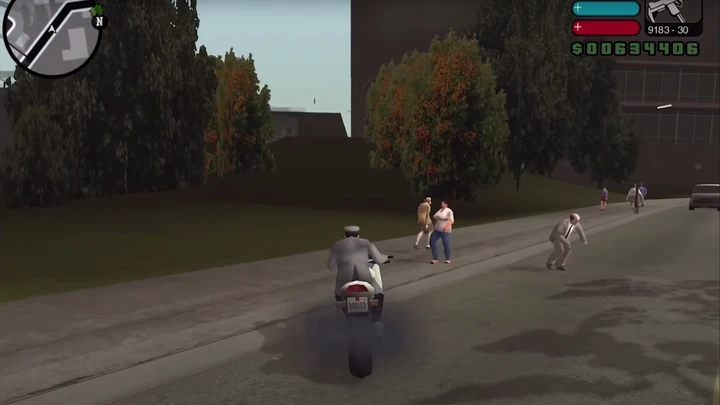 | Unique Stunt Jump #6 | 6 | Portland - Portland View | Complete the jump and land in the source-marked target area. | |
| #7Unique Stunt Jump #7 | 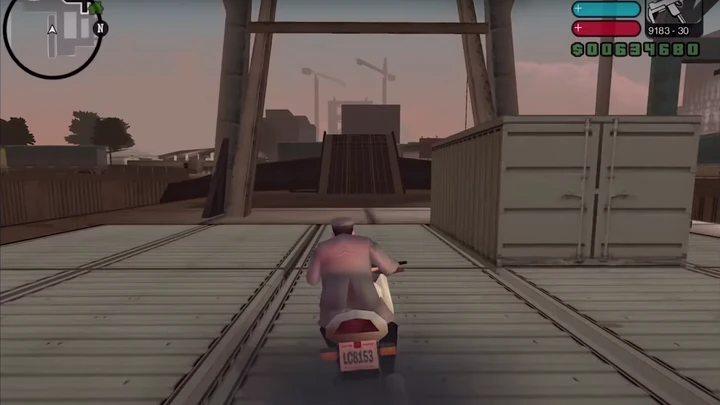 | Unique Stunt Jump #7 | 7 | Portland - Portland Harbor | Complete the jump and land in the source-marked target area. | |
| #8Unique Stunt Jump #8 | 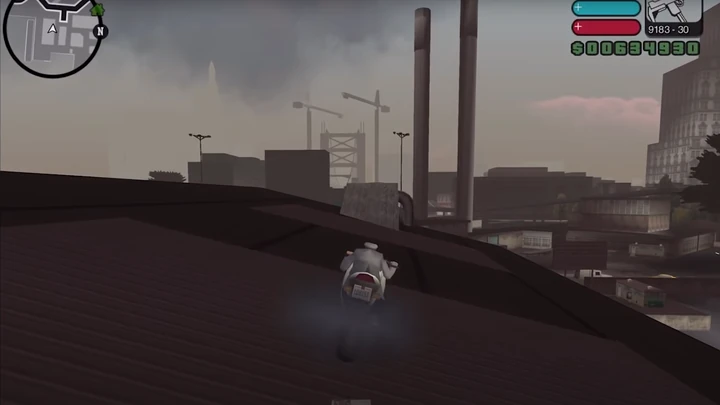 | Unique Stunt Jump #8 | 8 | Portland - Portland Harbor | Complete the jump and land in the source-marked target area. | |
| #9Unique Stunt Jump #9 | 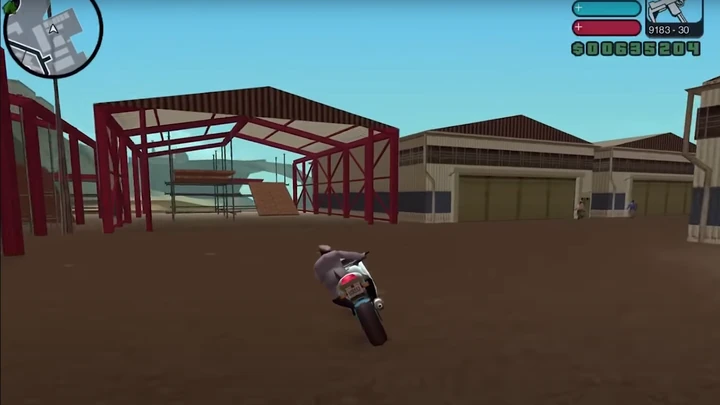 | Unique Stunt Jump #9 | 9 | Portland - Portland Harbor | Complete the jump and land in the source-marked target area. | |
| #10Unique Stunt Jump #10 | 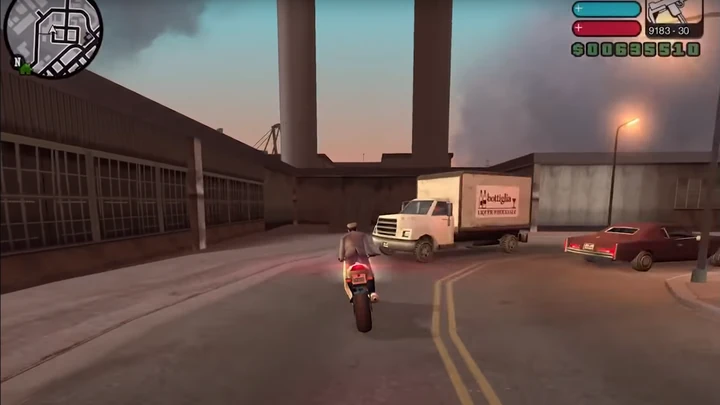 | Unique Stunt Jump #10 | 10 | Portland - Trenton | Complete the jump and land in the source-marked target area. | |
| #11Unique Stunt Jump #11 | 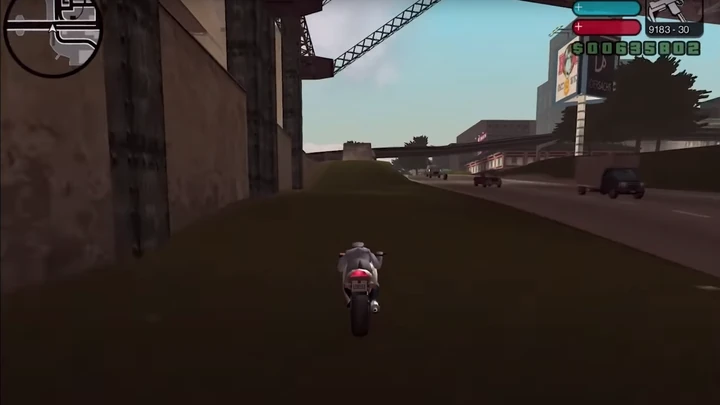 | Unique Stunt Jump #11 | 11 | Portland - Chinatown | Complete the jump and land in the source-marked target area. | |
| #12Unique Stunt Jump #12 | 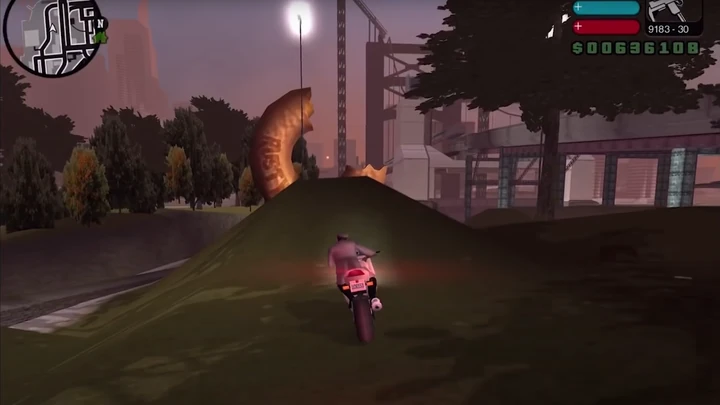 | Unique Stunt Jump #12 | 12 | Portland - Callahan Point | Complete the jump and land in the source-marked target area. | |
| #13Unique Stunt Jump #13 | 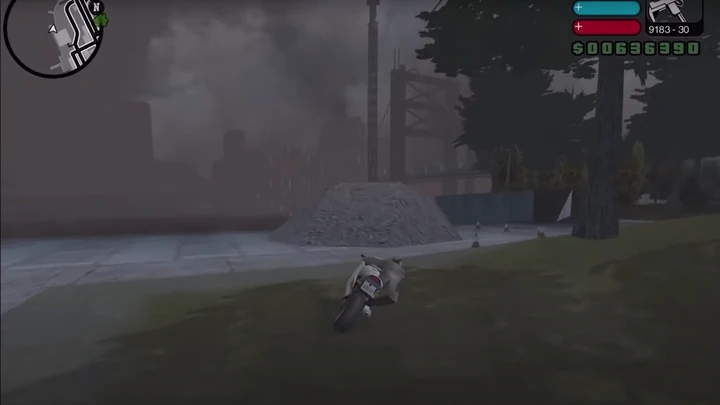 | Unique Stunt Jump #13 | 13 | Portland - Callahan Point | Complete the jump and land in the source-marked target area. |
Staunton Island
Completion routes through Staunton Island and its central-city districts.
| Done | Entry | Image | Name | Guide Number | Area | Completion |
|---|---|---|---|---|---|---|
| #14Unique Stunt Jump #14 | 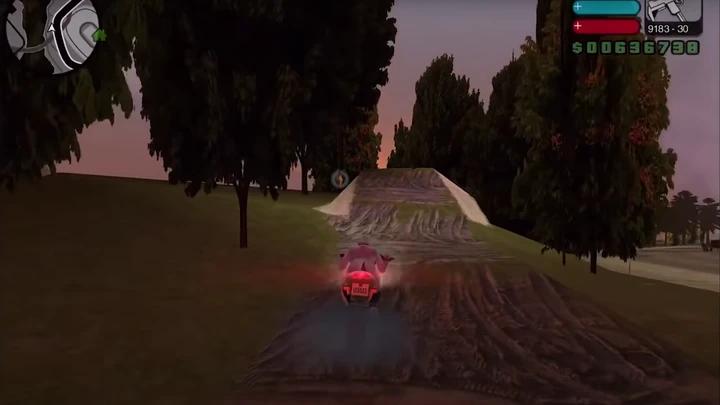 | Unique Stunt Jump #14 | 14 | Staunton Island - Aspatria | Complete the jump and land in the source-marked target area. | |
| #15Unique Stunt Jump #15 | 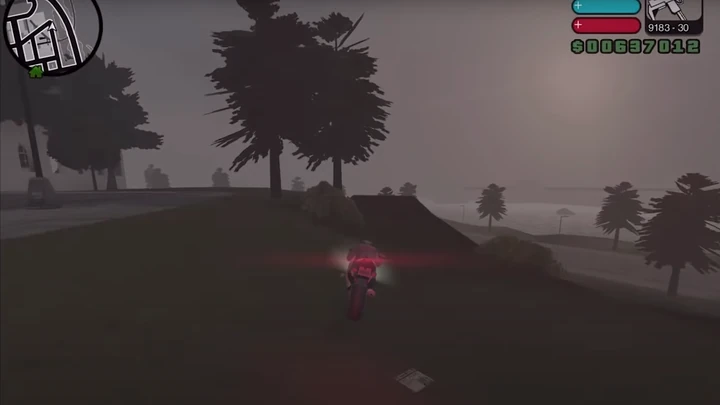 | Unique Stunt Jump #15 | 15 | Staunton Island - Fort Staunton | Complete the jump and land in the source-marked target area. | |
| #16Unique Stunt Jump #16 | 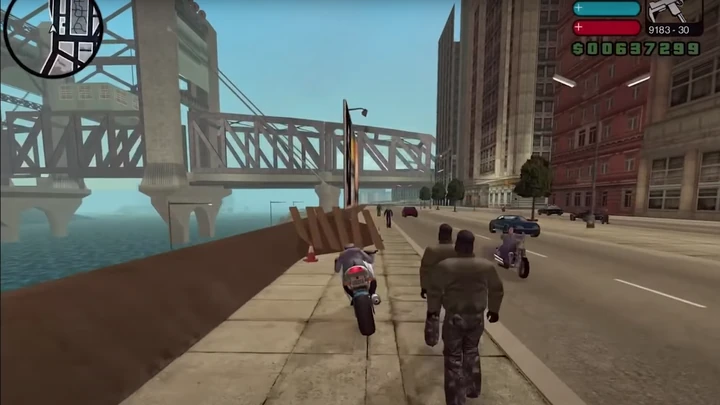 | Unique Stunt Jump #16 | 16 | Staunton Island - Belleville Park | Complete the jump and land in the source-marked target area. | |
| #17Unique Stunt Jump #17 | 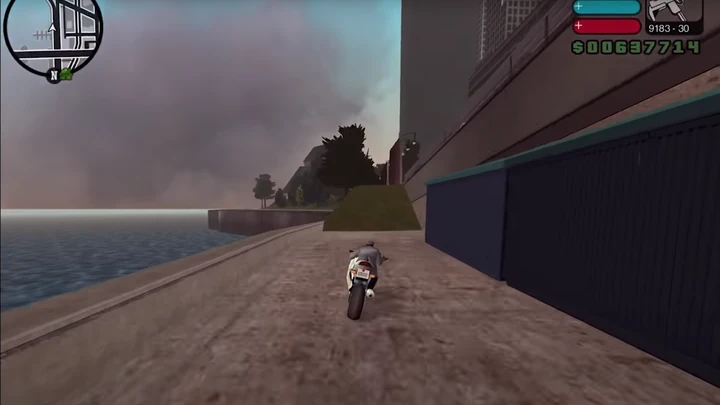 | Unique Stunt Jump #17 | 17 | Staunton Island - Torrington | Complete the jump and land in the source-marked target area. | |
| #18Unique Stunt Jump #18 | 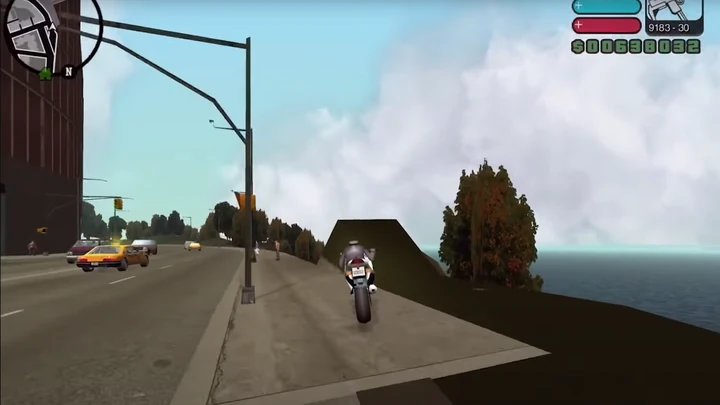 | Unique Stunt Jump #18 | 18 | Staunton Island - Bedford Point | Complete the jump and land in the source-marked target area. | |
| #19Unique Stunt Jump #19 | 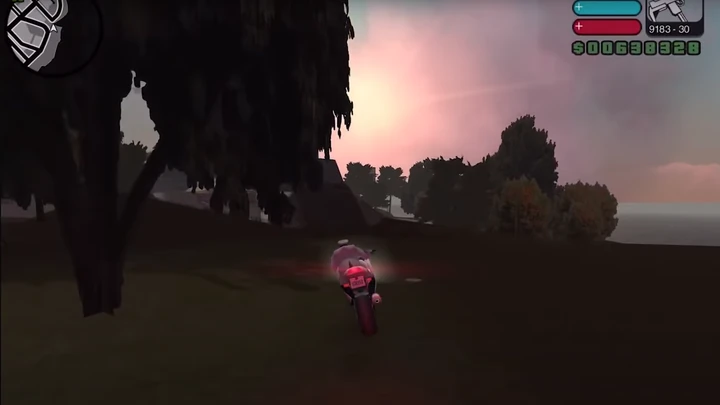 | Unique Stunt Jump #19 | 19 | Staunton Island - Torrington | Complete the jump and land in the source-marked target area. |
Shoreside Vale
Completion routes through Shoreside Vale, the airport, and its hillside neighborhoods.
| Done | Entry | Image | Name | Guide Number | Area | Completion |
|---|---|---|---|---|---|---|
| #20Unique Stunt Jump #20 | 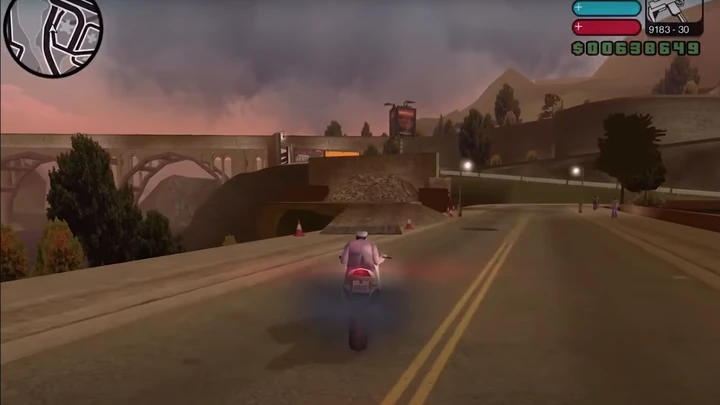 | Unique Stunt Jump #20 | 20 | Shoreside Vale - Wichita Gardens | Complete the jump and land in the source-marked target area. | |
| #21Unique Stunt Jump #21 | 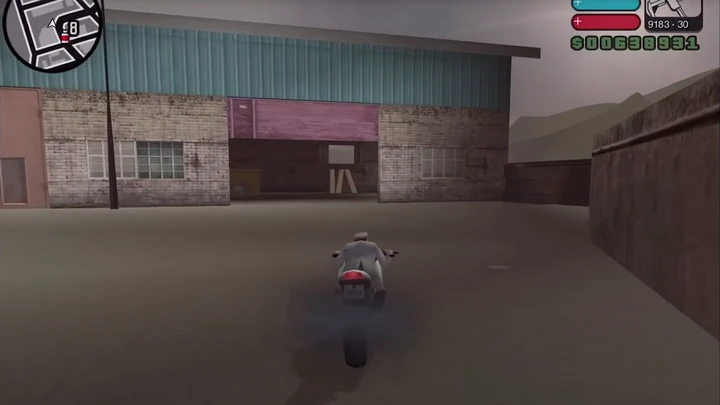 | Unique Stunt Jump #21 | 21 | Shoreside Vale - Pike Creek | Complete the jump and land in the source-marked target area. | |
| #22Unique Stunt Jump #22 | 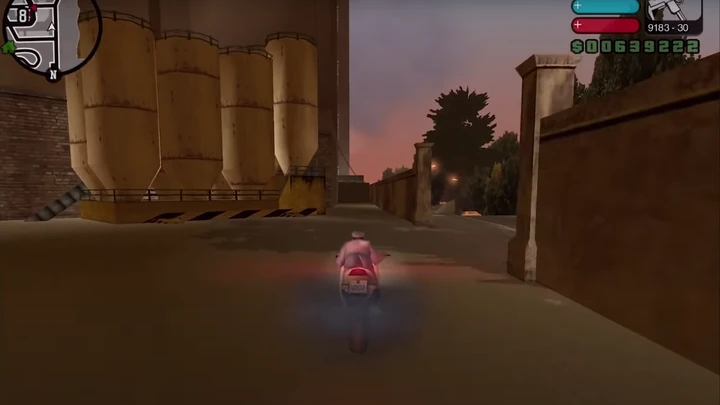 | Unique Stunt Jump #22 | 22 | Shoreside Vale - Pike Creek | Complete the jump and land in the source-marked target area. | |
| #23Unique Stunt Jump #23 | 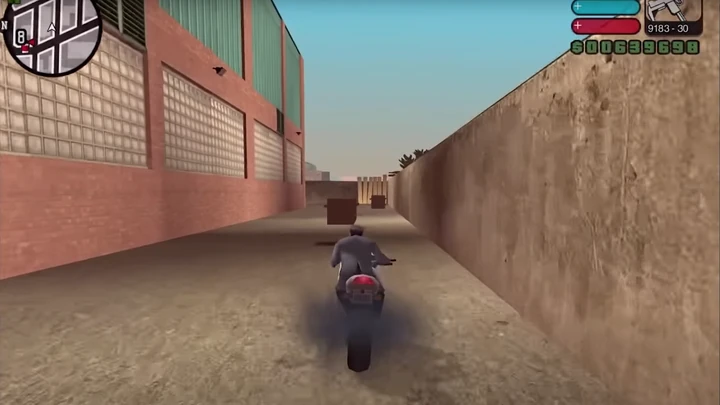 | Unique Stunt Jump #23 | 23 | Shoreside Vale - Pike Creek | Complete the jump and land in the source-marked target area. | |
| #24Unique Stunt Jump #24 | 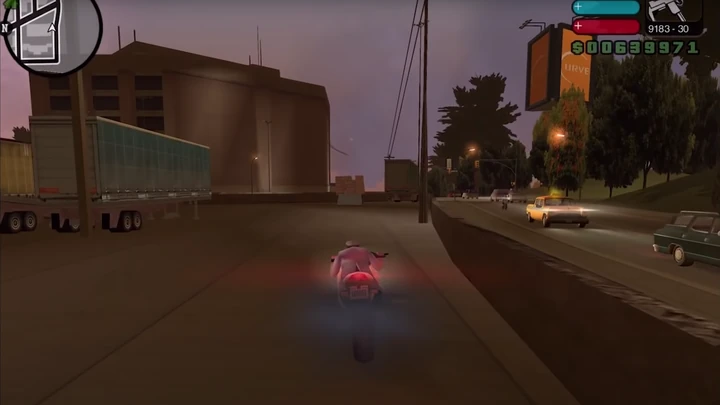 | Unique Stunt Jump #24 | 24 | Shoreside Vale - Pike Creek | Complete the jump and land in the source-marked target area. | |
| #25Unique Stunt Jump #25 | 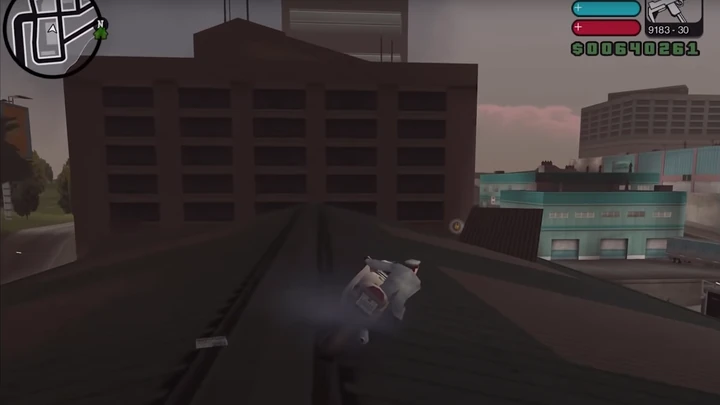 | Unique Stunt Jump #25 | 25 | Shoreside Vale - Pike Creek | Complete the jump and land in the source-marked target area. | |
| #26Unique Stunt Jump #26 | 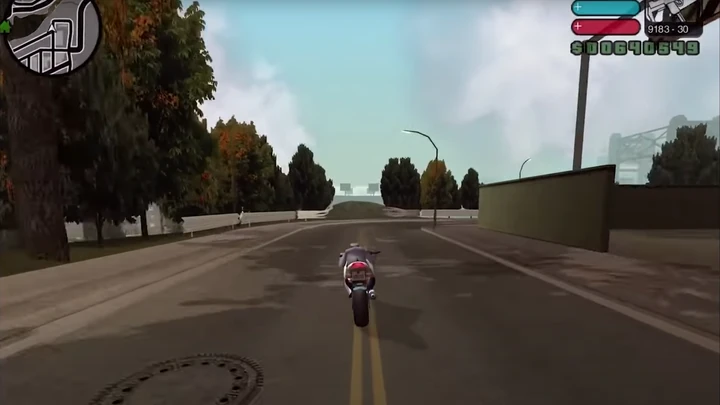 | Unique Stunt Jump #26 | 26 | Shoreside Vale - Pike Creek | Complete the jump and land in the source-marked target area. |
The guide number follows the source table, with the exact jump screenshot wired to each row. Use the approach and landing notes together because several jumps cross water, rail lines, or narrow rooftops.
A fast, controllable vehicle and a clean line matter more than simply hitting the ramp. Save before difficult sequences and group the jumps by island to avoid repeated travel.
FAQ
How many Unique Stunt Jumps are in LCS?
The source table lists 26 jumps across Portland, Staunton Island, and Shoreside Vale.
Are these jumps part of 100% completion?
Yes. Completing the full set is required for the game's 100% route.
What is the best vehicle for every jump?
There is no universal choice; use the approach and landing space to decide between a fast car and a controllable bike.