

Stunt Jumps use ramps, broken roads, construction sites, and shoreline edges to test whether you can launch and land in the intended area.
View
0 of 50 found · 0% complete
Broker & Dukes
Locations in Broker and Dukes, including the eastern islands and city streets.
Bohan
Locations in Bohan and its industrial approaches.
Algonquin
Locations around central Liberty City and its dense urban districts.
Alderney
Locations across Alderney and its industrial parks.
Broker & Dukes
Locations in Broker and Dukes, including the eastern islands and city streets.
| Done | Entry | Image | Name | Guide Number | Area | Landing Requirements |
|---|---|---|---|---|---|---|
| #1Stunt Jump #1 | 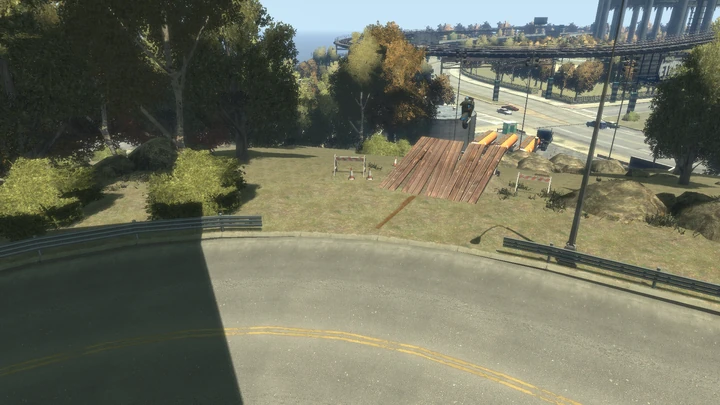 | Stunt Jump #1 | 1 | Dukes - Steinway | Dukes Boulevard - clearing the fuel tanker yard. | |
| #2Stunt Jump #2 | 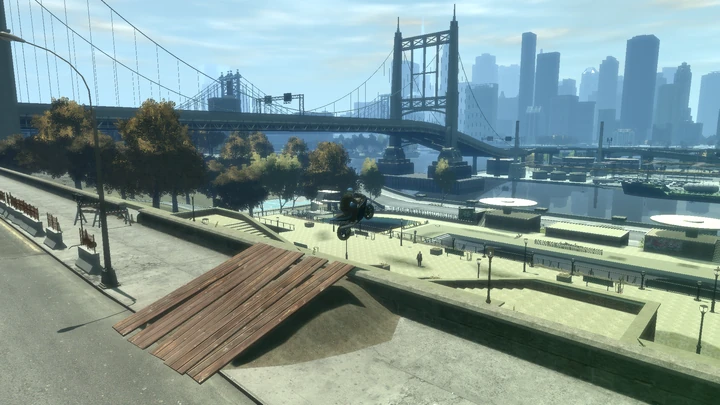 | Stunt Jump #2 | 2 | Dukes - Steinway | Over the park towards Franklin Street. Even landing in the pool counts. | |
| #3Stunt Jump #3 | 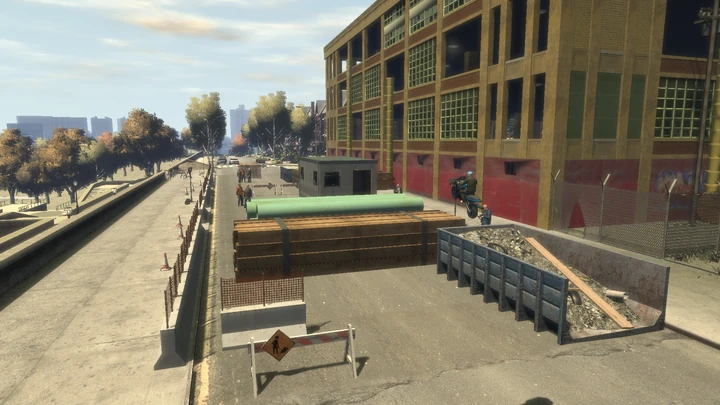 | Stunt Jump #3 | 3 | Dukes - Steinway | Junction of Morris Street, over the shed, clearing all the construction blockage is not required. | |
| #4Stunt Jump #4 | 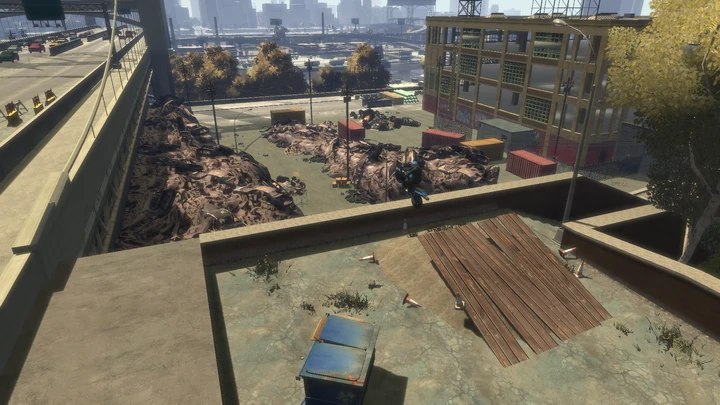 | Stunt Jump #4 | 4 | Dukes - Steinway | Over the wall into the ground of the junkyard on Concord Avenue. Landing on the junk will not count. | |
| #5Stunt Jump #5 | 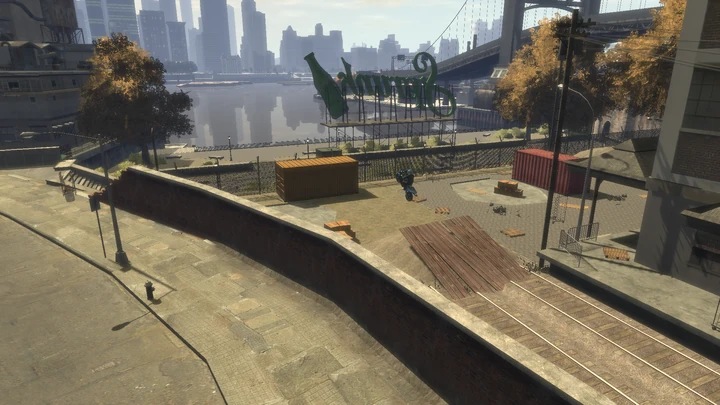 | Stunt Jump #5 | 5 | Broker - BOABO | Over the container and fence, down to BOABO Promenade, near the Sprunk sign. | |
| #6Stunt Jump #6 | 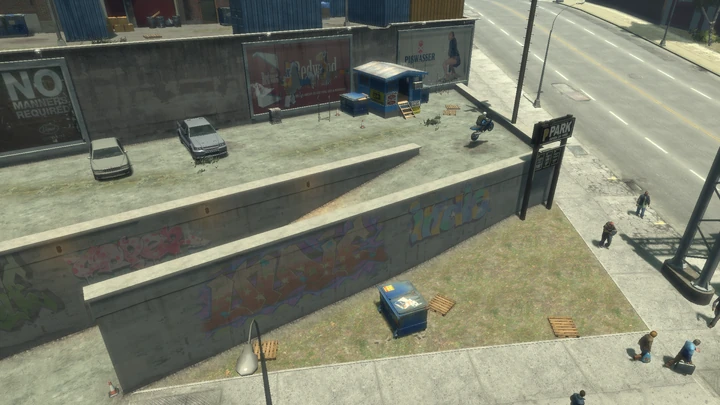 | Stunt Jump #6 | 6 | Dukes - East Island City | Over the low wall and pavement onto Dukes Boulevard. | |
| #7Stunt Jump #7 | 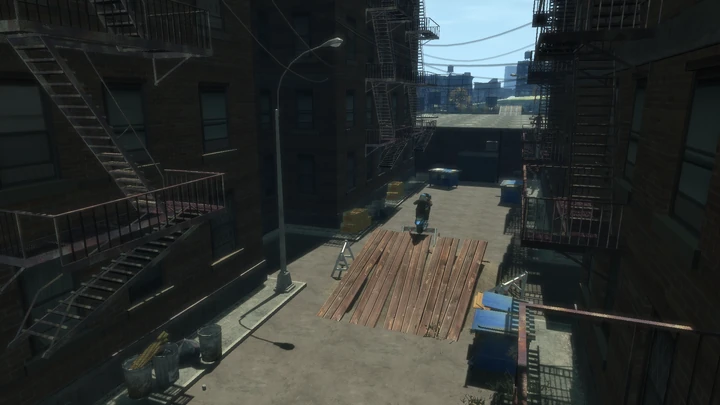 | Stunt Jump #7 | 7 | Dukes - Cerveza Heights | Rooftop which immediately leads to jump #8. | |
| #8Stunt Jump #8 | 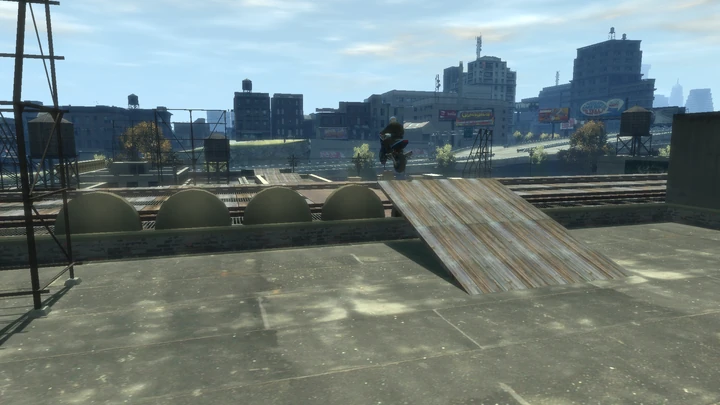 | Stunt Jump #8 | 8 | Dukes - Cerveza Heights | Over Huntington Street LTA tracks to Thornton Street. | |
| #9Stunt Jump #9 | 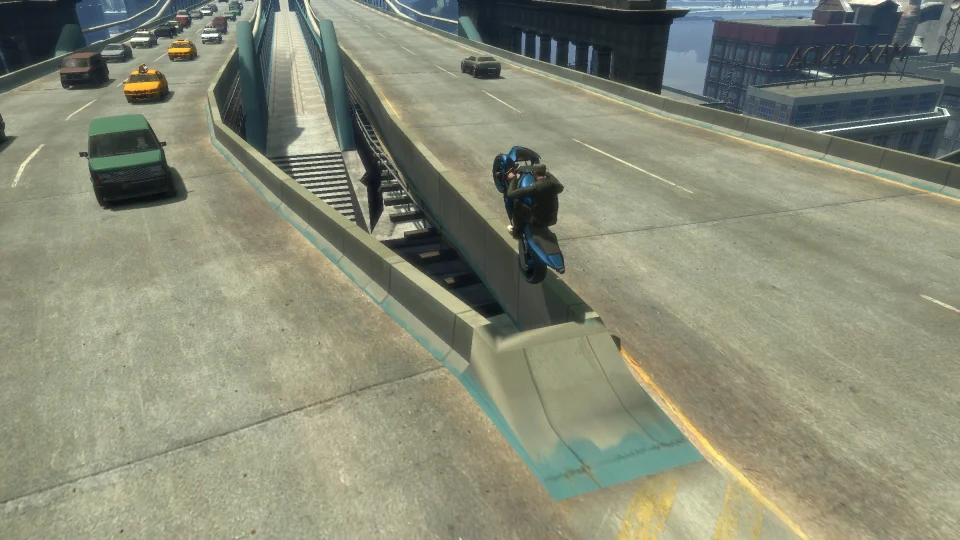 | Stunt Jump #9 | 9 | Broker - Rotterdam Hill | Pedestrian walkway, lower bridge level between the LTA tracks. | |
| #10Stunt Jump #10 | 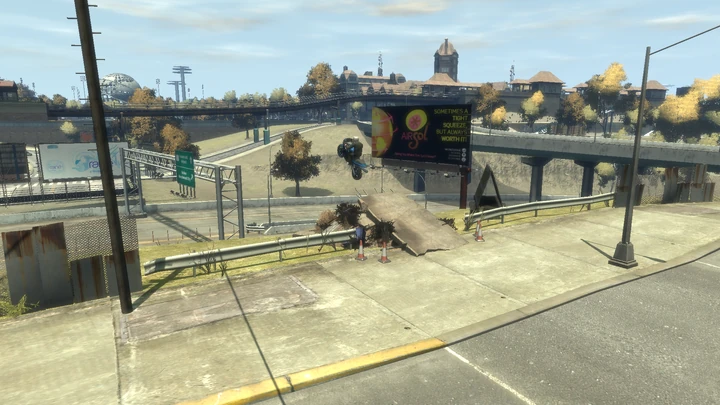 | Stunt Jump #10 | 10 | Broker - Beechwood City | Over the Algonquin - Dukes Expressway towards Huntington Street. | |
| #11Stunt Jump #11 | 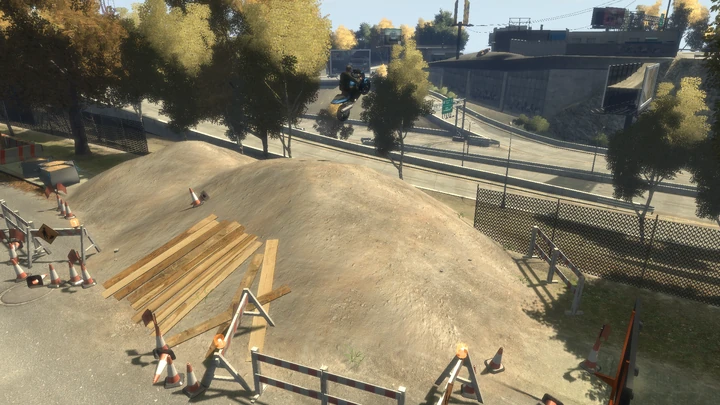 | Stunt Jump #11 | 11 | Dukes - Willis | Over the Algonquin - Dukes Expressway towards Carson Street. Landing in the obvious target "chute" between the billboards is not required. | |
| #12Stunt Jump #12 | 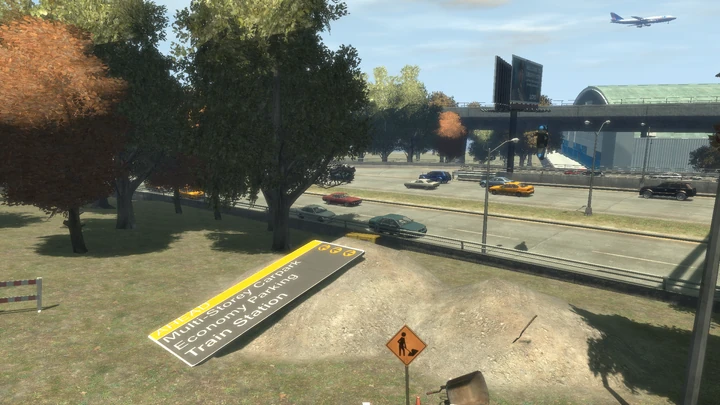 | Stunt Jump #12 | 12 | Dukes - Francis International Airport | On to the Expressway. | |
| #13Stunt Jump #13 | 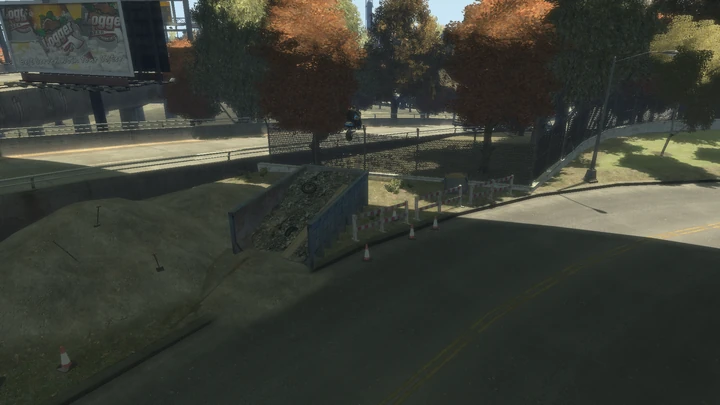 | Stunt Jump #13 | 13 | Dukes - Francis International Airport | On to the Expressway onramp. |
Bohan
Locations in Bohan and its industrial approaches.
| Done | Entry | Image | Name | Guide Number | Area | Landing Requirements |
|---|---|---|---|---|---|---|
| #14Stunt Jump #14 | 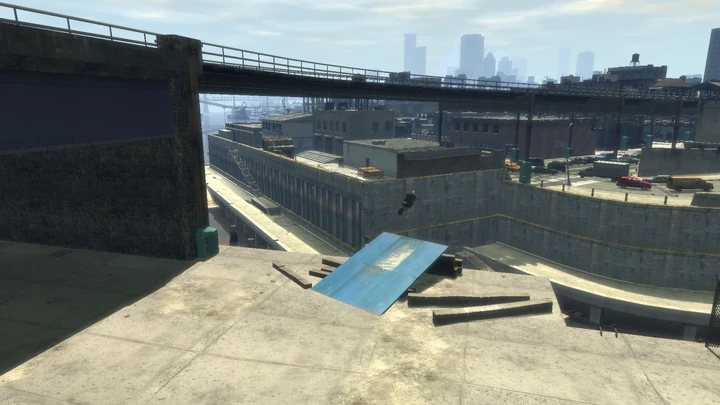 | Stunt Jump #14 | 14 | Bohan - Industrial | Over the water to Beaumont Avenue/Windmill Street. | |
| #15Stunt Jump #15 | 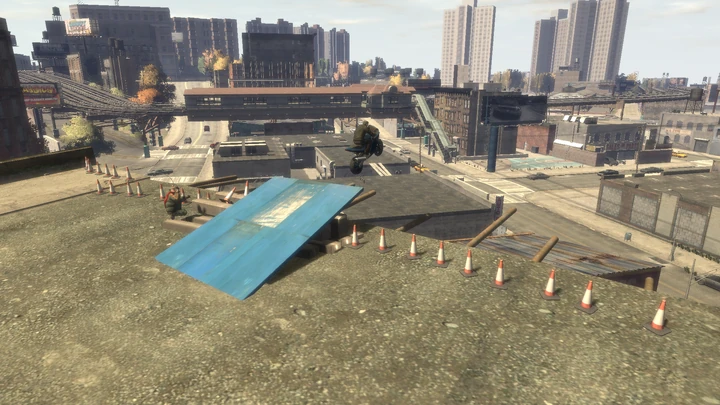 | Stunt Jump #15 | 15 | Bohan - South Bohan | Over S&M Auto Sales to Guantanamo Avenue. | |
| #16Stunt Jump #16 | 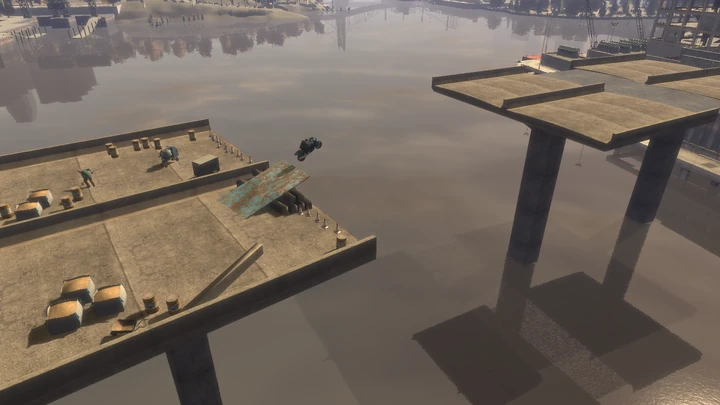 | Stunt Jump #16 | 16 | Bohan - Industrial | "Island" bridge construction section leading immediately to jump #17. | |
| #17Stunt Jump #17 | 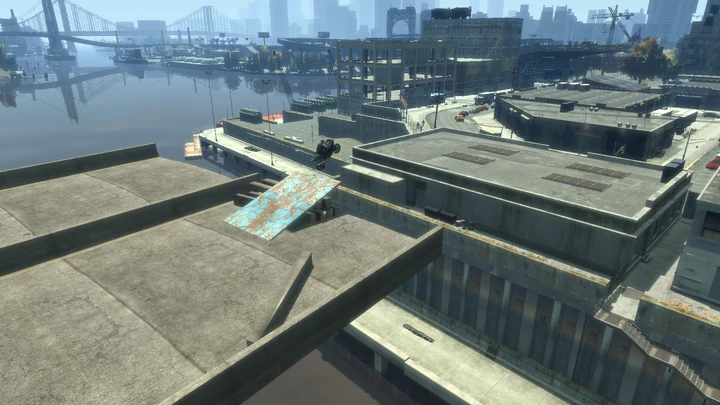 | Stunt Jump #17 | 17 | Bohan - Industrial | Rooftop/Rocket Street. |
Algonquin
Locations around central Liberty City and its dense urban districts.
| Done | Entry | Image | Name | Guide Number | Area | Landing Requirements |
|---|---|---|---|---|---|---|
| #18Stunt Jump #18 | 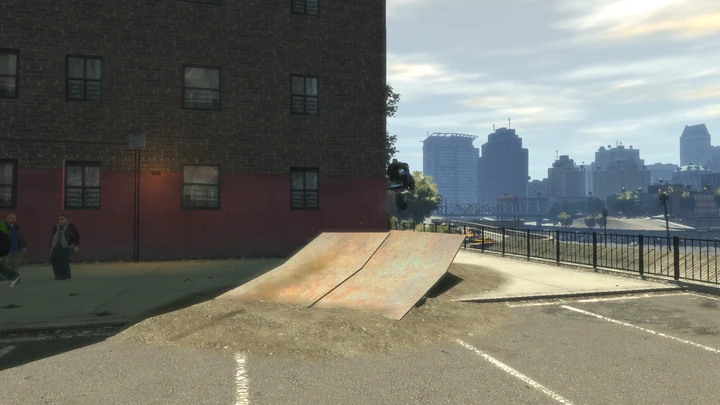 | Stunt Jump #18 | 18 | Algonquin - Northwood | Over Ivy Drive North. | |
| #19Stunt Jump #19 | 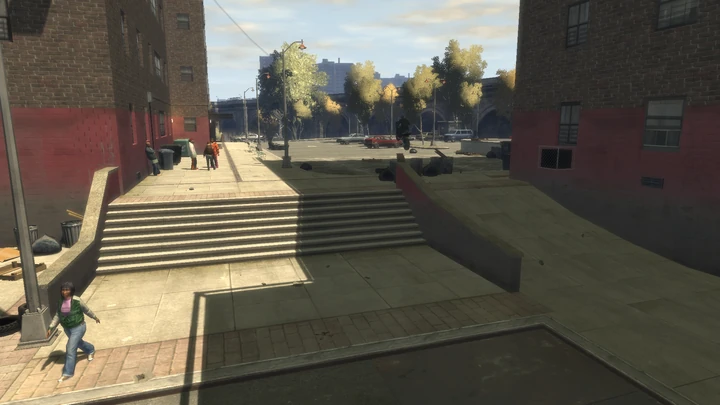 | Stunt Jump #19 | 19 | Algonquin - Northwood | Into the main eastern car parking area of the apartment complex. | |
| #20Stunt Jump #20 | 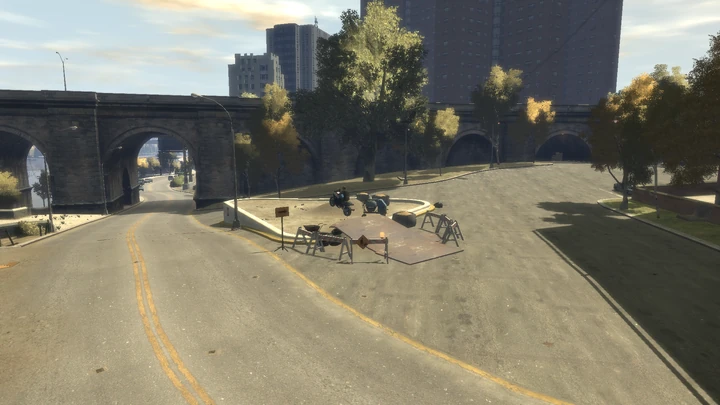 | Stunt Jump #20 | 20 | Algonquin - Northwood | Under Frankfort Avenue/Northwood Heights Bridge archway. | |
| #21Stunt Jump #21 | 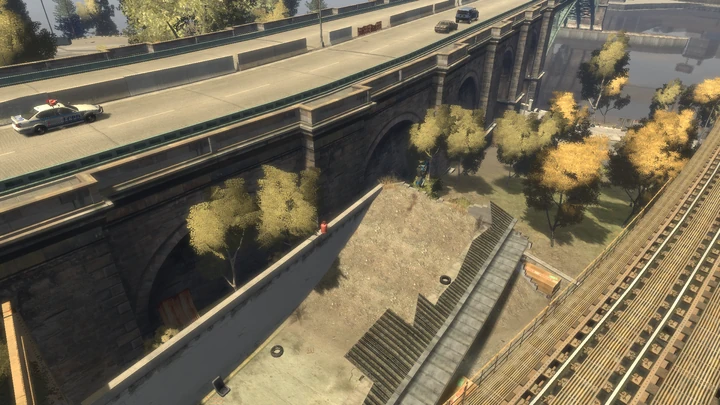 | Stunt Jump #21 | 21 | Algonquin - Northwood | On to the Northwood Heights Bridge/Grand Boulevard. | |
| #22Stunt Jump #22 | 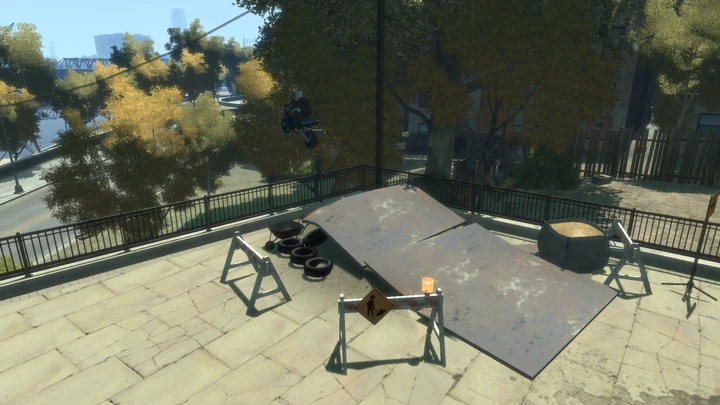 | Stunt Jump #22 | 22 | Algonquin - East Holland | Over Walnut Way. | |
| #23Stunt Jump #23 | 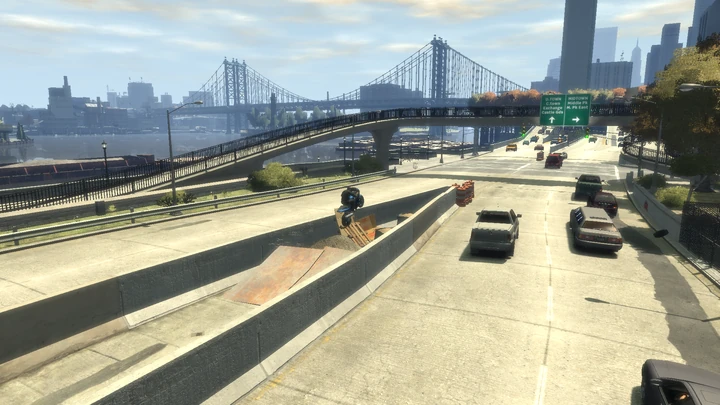 | Stunt Jump #23 | 23 | Algonquin - Middle Park East | Under the pedestrian overbridge to the Obsidian Street junction. | |
| #24Stunt Jump #24 | 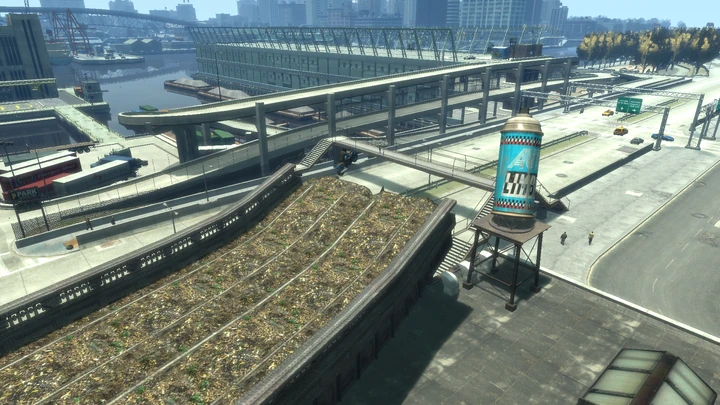 | Stunt Jump #24 | 24 | Algonquin - Purgatory | Jump past the Pay 'n' Spray can down to Union Drive West. | |
| #25Stunt Jump #25 | 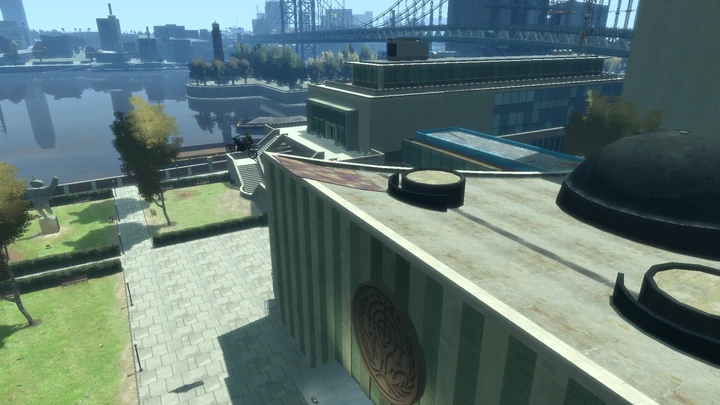 | Stunt Jump #25 | 25 | Algonquin - Hatton Gardens | Down to the park/garden area at the north side of the complex. | |
| #26Stunt Jump #26 | 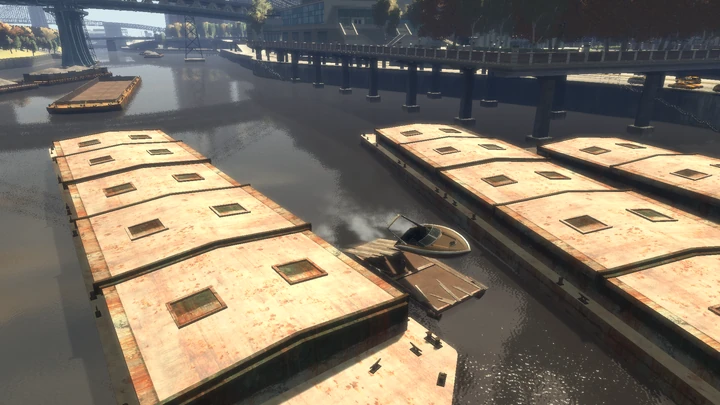 | Stunt Jump #26 | 26 | Algonquin - Humboldt River | Just "land" it. | |
| #27Stunt Jump #27 | 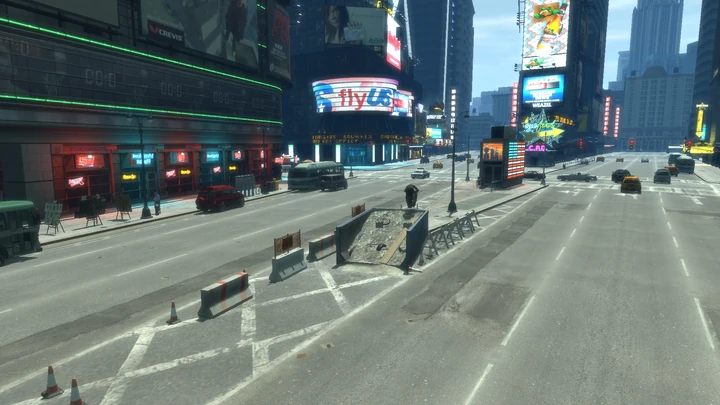 | Stunt Jump #27 | 27 | Algonquin - Star Junction | Burlesque near Star Junction Police Station. | |
| #28Stunt Jump #28 | 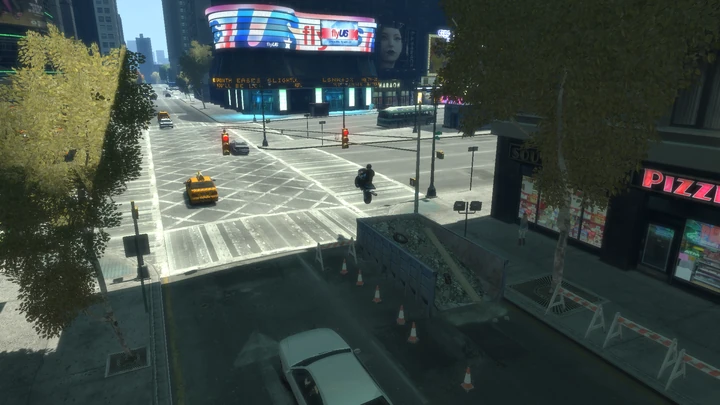 | Stunt Jump #28 | 28 | Algonquin - The Triangle | Jade Street. | |
| #29Stunt Jump #29 | 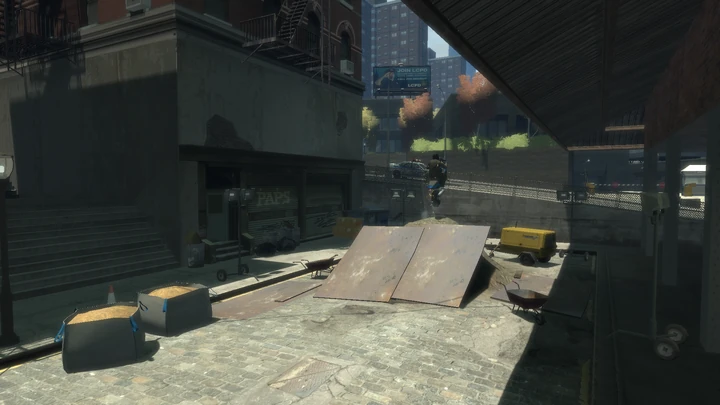 | Stunt Jump #29 | 29 | Algonquin - Fishmarket North | Feldspar Street just east of the LCPD HQ. | |
| #30Stunt Jump #30 | 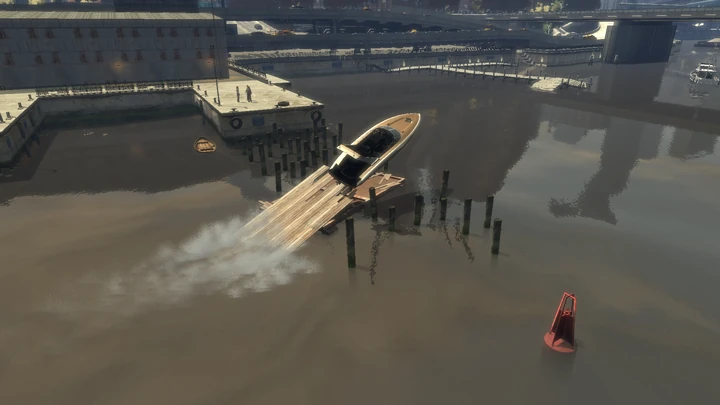 | Stunt Jump #30 | 30 | Algonquin - Humboldt River | Just "land" it. | |
| #31Stunt Jump #31 | 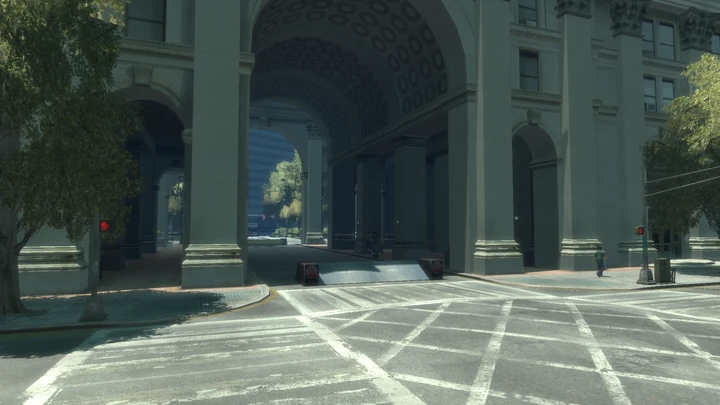 | Stunt Jump #31 | 31 | Algonquin - City Hall | Denver Avenue. | |
| #32Stunt Jump #32 | 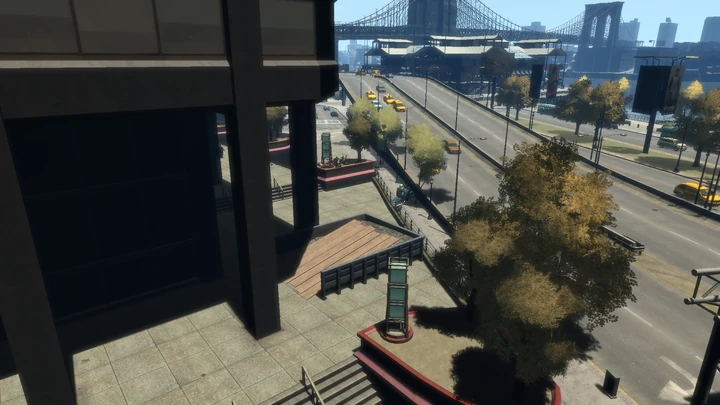 | Stunt Jump #32 | 32 | Algonquin - The Exchange | Over the Freeway to Flatfish Place/Bus Lane. |
Alderney
Locations across Alderney and its industrial parks.
| Done | Entry | Image | Name | Guide Number | Area | Landing Requirements |
|---|---|---|---|---|---|---|
| #33Stunt Jump #33 | 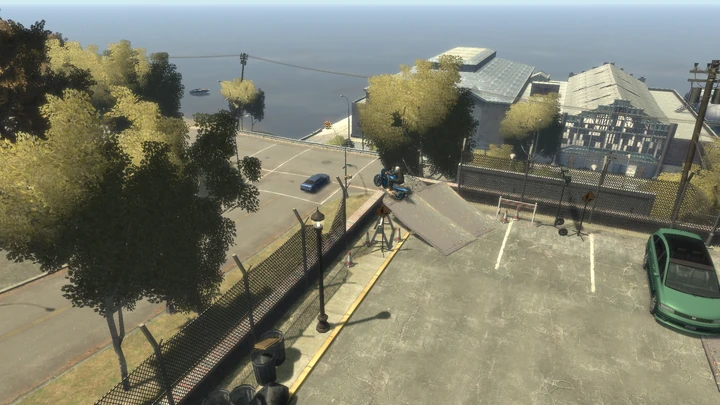 | Stunt Jump #33 | 33 | Alderney - Westdyke | Down to Beaverhead Avenue. | |
| #34Stunt Jump #34 | 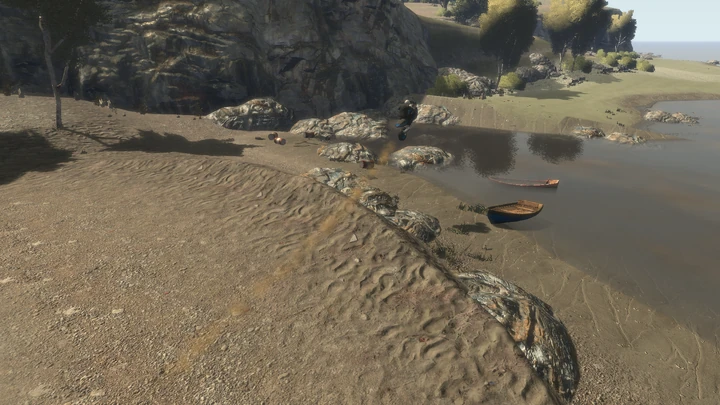 | Stunt Jump #34 | 34 | Alderney - Westdyke | Opposite bank over the water. | |
| #35Stunt Jump #35 | 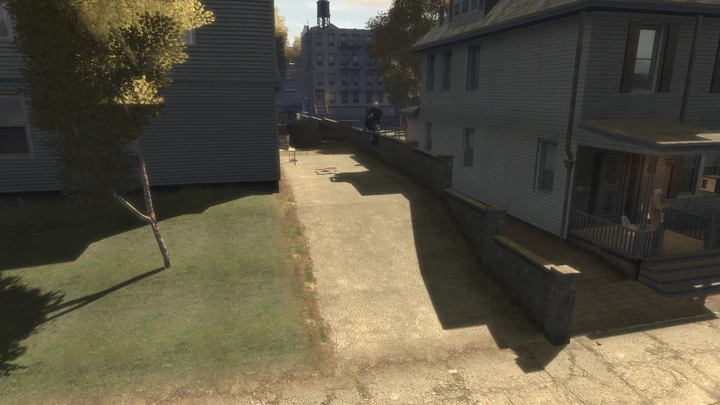 | Stunt Jump #35 | 35 | Alderney - Westdyke | Alleyway north of Percell Road. | |
| #36Stunt Jump #36 | 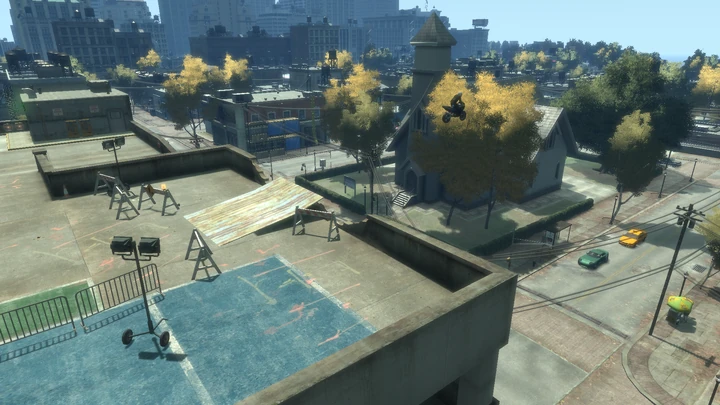 | Stunt Jump #36 | 36 | Alderney - Westdyke | Down to Lemhi Street. | |
| #37Stunt Jump #37 | 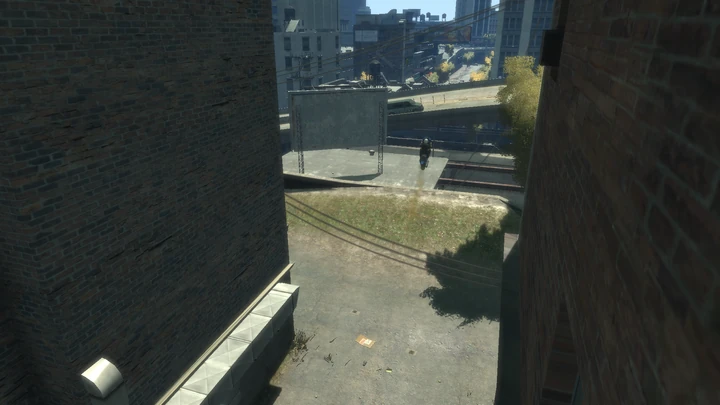 | Stunt Jump #37 | 37 | Alderney - Leftwood | Under the Plumbers Skyway to Panhandle Road is enough, although a full run-up on Sacramento Avenue will enable the jump to go over the Plumbers Skyway all the way to Hubbard Avenue/Mahesh Avenue which will also count. Landing on Plumbers Skyway does not count. | |
| #38Stunt Jump #38 | 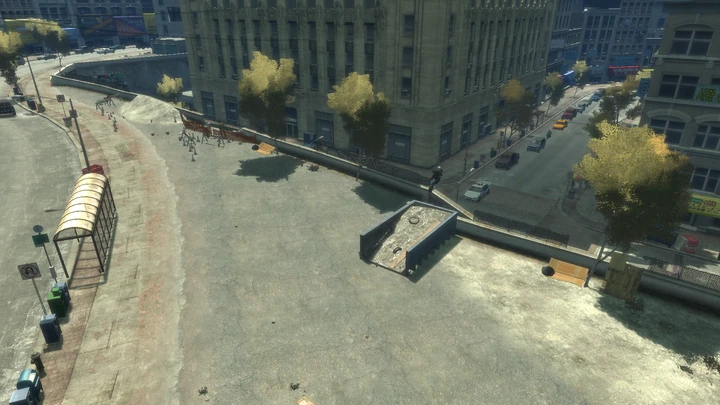 | Stunt Jump #38 | 38 | Alderney - Alderney City | Down to Rael Avenue. | |
| #39Stunt Jump #39 | 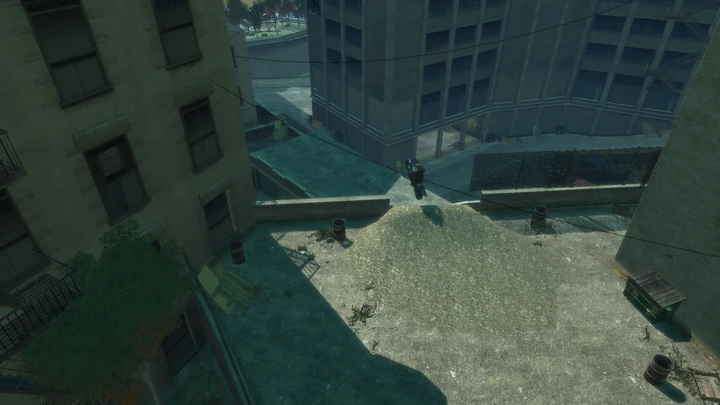 | Stunt Jump #39 | 39 | Alderney - Alderney City | Down to Rand Avenue alleyways. | |
| #40Stunt Jump #40 | 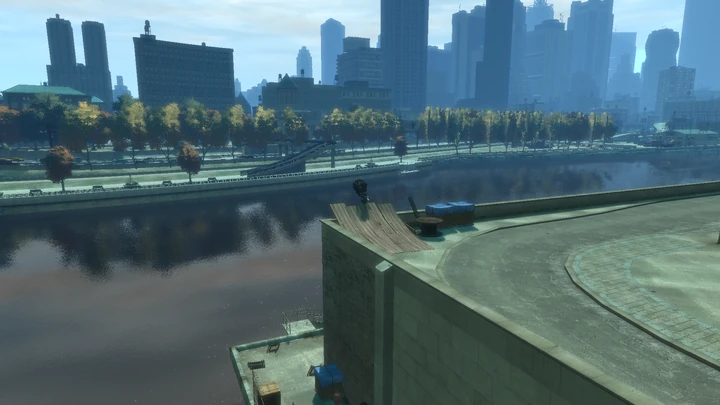 | Stunt Jump #40 | 40 | Alderney - Alderney City | Over the West River to Middle Park West, Algonquin near Union Drive West. | |
| #41Stunt Jump #41 | 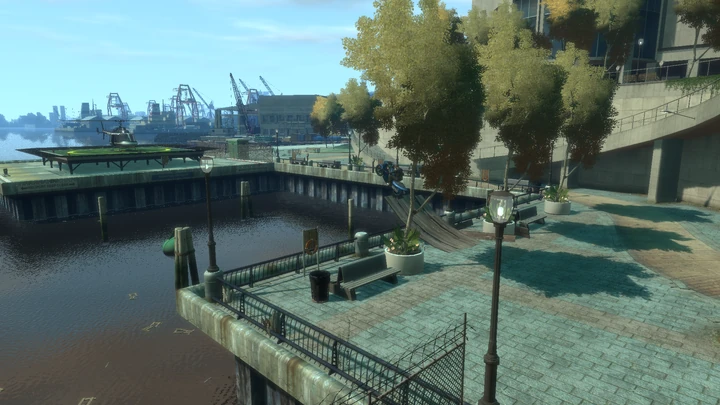 | Stunt Jump #41 | 41 | Alderney - Alderney City | Over the water onto the helipad. | |
| #42Stunt Jump #42 | 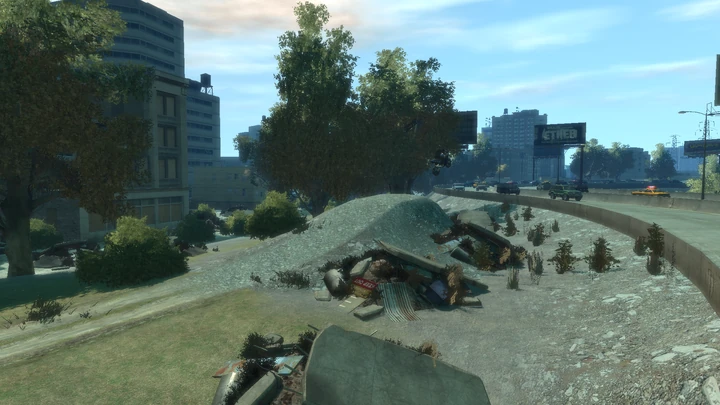 | Stunt Jump #42 | 42 | Alderney - Alderney City | Over Plumbers Skyway. | |
| #43Stunt Jump #43 | 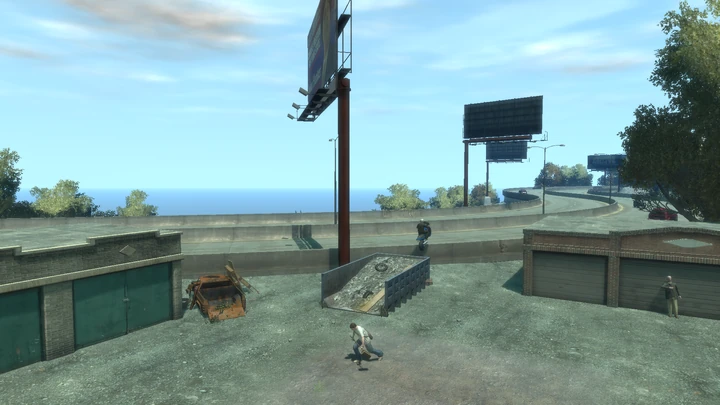 | Stunt Jump #43 | 43 | Alderney - Berchem | Onto Plumbers Skyway, potentially head-on into southbound lanes. | |
| #44Stunt Jump #44 | 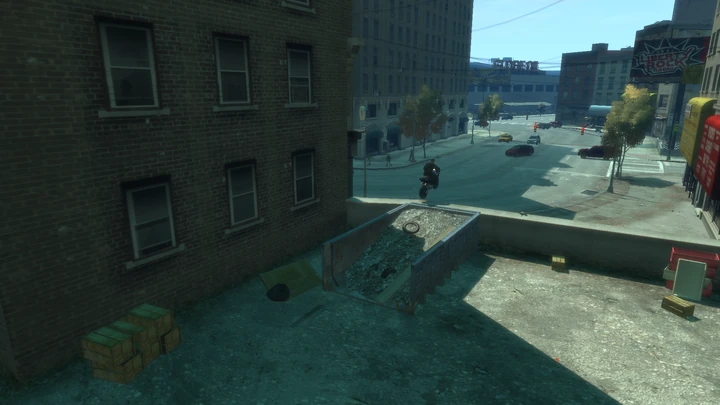 | Stunt Jump #44 | 44 | Alderney - Alderney City | West side of Koresh Square. | |
| #45Stunt Jump #45 | 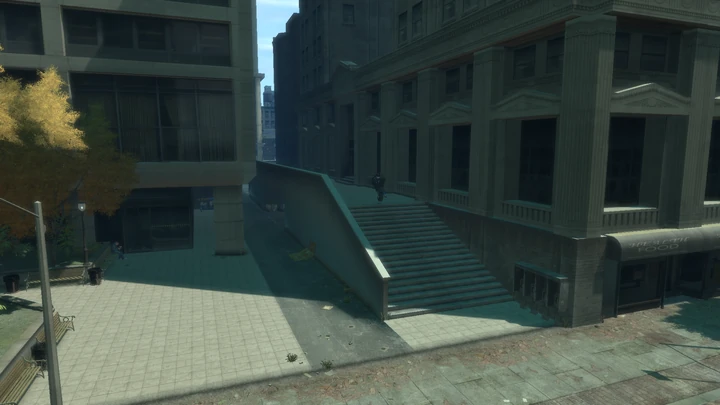 | Stunt Jump #45 | 45 | Alderney - Alderney City | Through to Jonestown Avenue. | |
| #46Stunt Jump #46 | 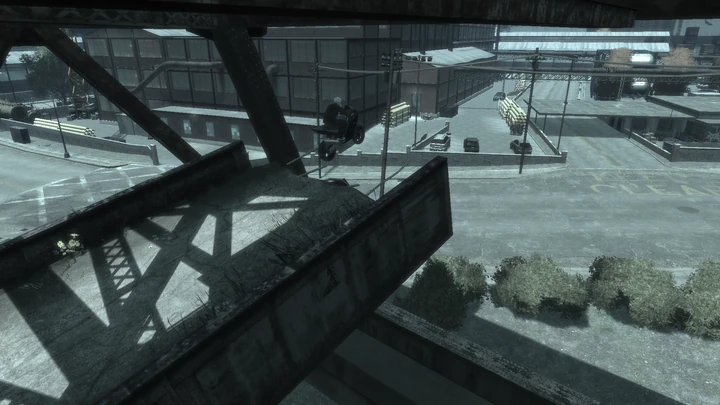 | Stunt Jump #46 | 46 | Alderney - Tudor | Over Tinderbox Avenue. | |
| #47Stunt Jump #47 | 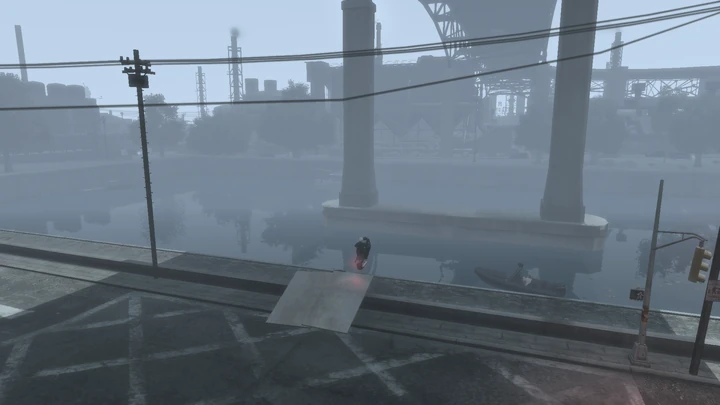 | Stunt Jump #47 | 47 | Alderney - Tudor | Directly under Plumbers Skyway, over the water to Plumbbob Avenue. | |
| #48Stunt Jump #48 | 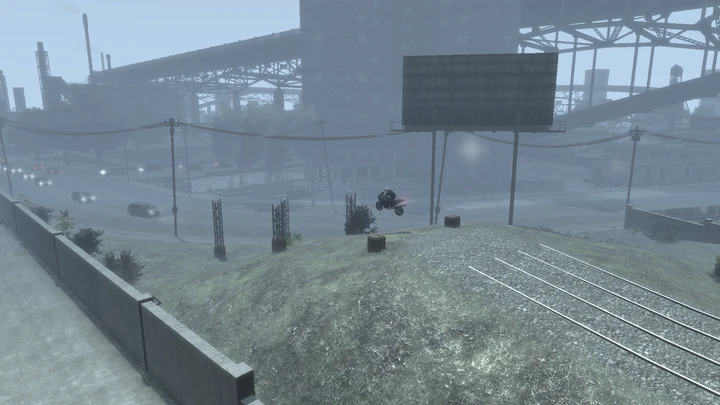 | Stunt Jump #48 | 48 | Alderney - Tudor | Onto Latchkey Avenue. | |
| #49Stunt Jump #49 | 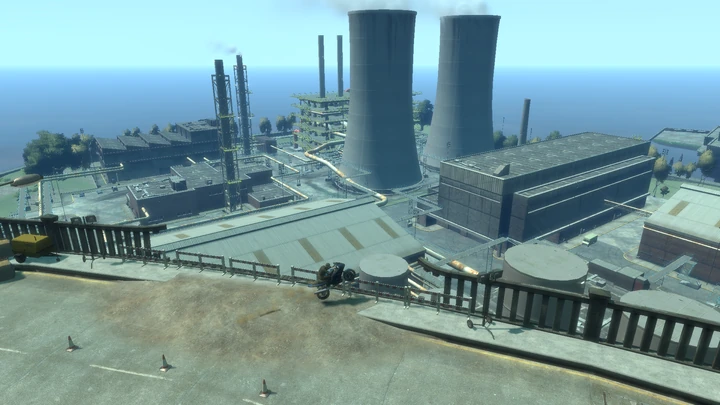 | Stunt Jump #49 | 49 | Alderney - Acter Industrial Park | Down to Acter Nuclear Power Plant, south of Red Wing Avenue. | |
| #50Stunt Jump #50 | 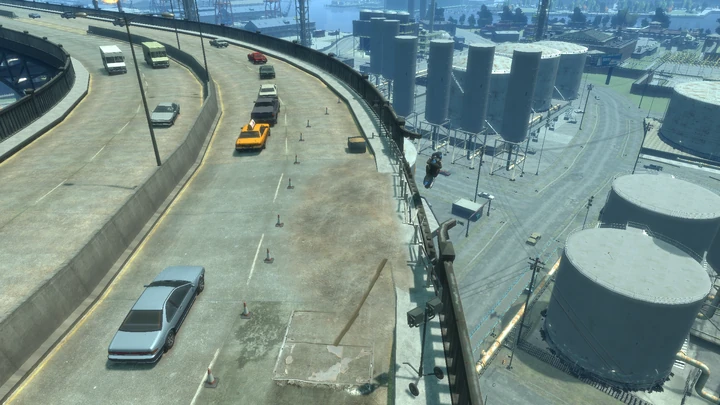 | Stunt Jump #50 | 50 | Alderney - Acter Industrial Park | Down to Grenadier Street. |
The guide number preserves the source route. Read the approach and landing requirement before choosing a vehicle; a motorcycle is often easier to correct, while two water jumps need a boat.
A failed attempt does not consume the row, so use a manual save before difficult jumps and retry with a vehicle suited to the approach. The source notes distinguish jumps that need a particular distance from jumps that only need a clean landing.
FAQ
What vehicle works best?
Motorcycles are usually easier to correct in the air, but a car can be more stable for some ramps. Two jumps require a boat.
Why did a jump not register?
The game may require a particular landing zone, distance, or angle. Read the row's landing requirement and repeat from the approach rather than only increasing speed.
Are these the same as the episode jumps?
No. This route covers GTA IV's core stunt jumps. The Lost and Damned and The Ballad of Gay Tony are separate game scopes.