Haldor is in the Black Forest, Hildir is in the Meadows and the Bog Witch is in the Swamp. Valheim worlds are generated at random, so each trader's camp appears at one of several possible sites in its biome, and a map marker shows up when you get close: a bag for Haldor, a shirt for Hildir and a cauldron for the Bog Witch. Once you find them, you can spend coins on gear, clothing, cooking ingredients and more, though many items stay locked until you defeat a boss or return one of Hildir's chests.
| Trader | Biome to search | Map marker | Camp distance from world centre |
|---|---|---|---|
| Haldor | Black Forest | Bag | At least 1,500 m |
| Hildir | Meadows | Shirt | 3,000 to 8,000 m |
| Bog Witch | Swamp | Cauldron | 3,000 to 8,000 m |
Where to Search for Haldor, Hildir and the Bog Witch
Start in the biome that matches the trader you want, since each one only sets up camp in its own. Sailing around the coast lets you scan a lot of ground quickly, and then you can explore the Black Forests, Meadows or Swamps on foot. If one landmass comes up empty, search another, because the trader you want may sit on a different piece of land.
The distances in the table tell you where to look first. Haldor's camp is never closer than 1,500 metres to the centre of the world, so skip the middle of the map when you search for him. Hildir and the Bog Witch sit further out, between 3,000 and 8,000 metres. These figures are straight-line measurements from the centre, not the distance you will walk.
The Bog Witch lives in a hut in the Swamp, so before you head into one, pack suitable food, equipment and Poison Resistance Mead.
How the Map Marker Works and Why the First Camp Counts
As you travel near a possible site, the trader's icon appears on your map, often a few hundred metres before the camp is in view. Keep an eye on the map as you explore, since the icon can show up well before the camp itself. The marker stays on the map permanently.
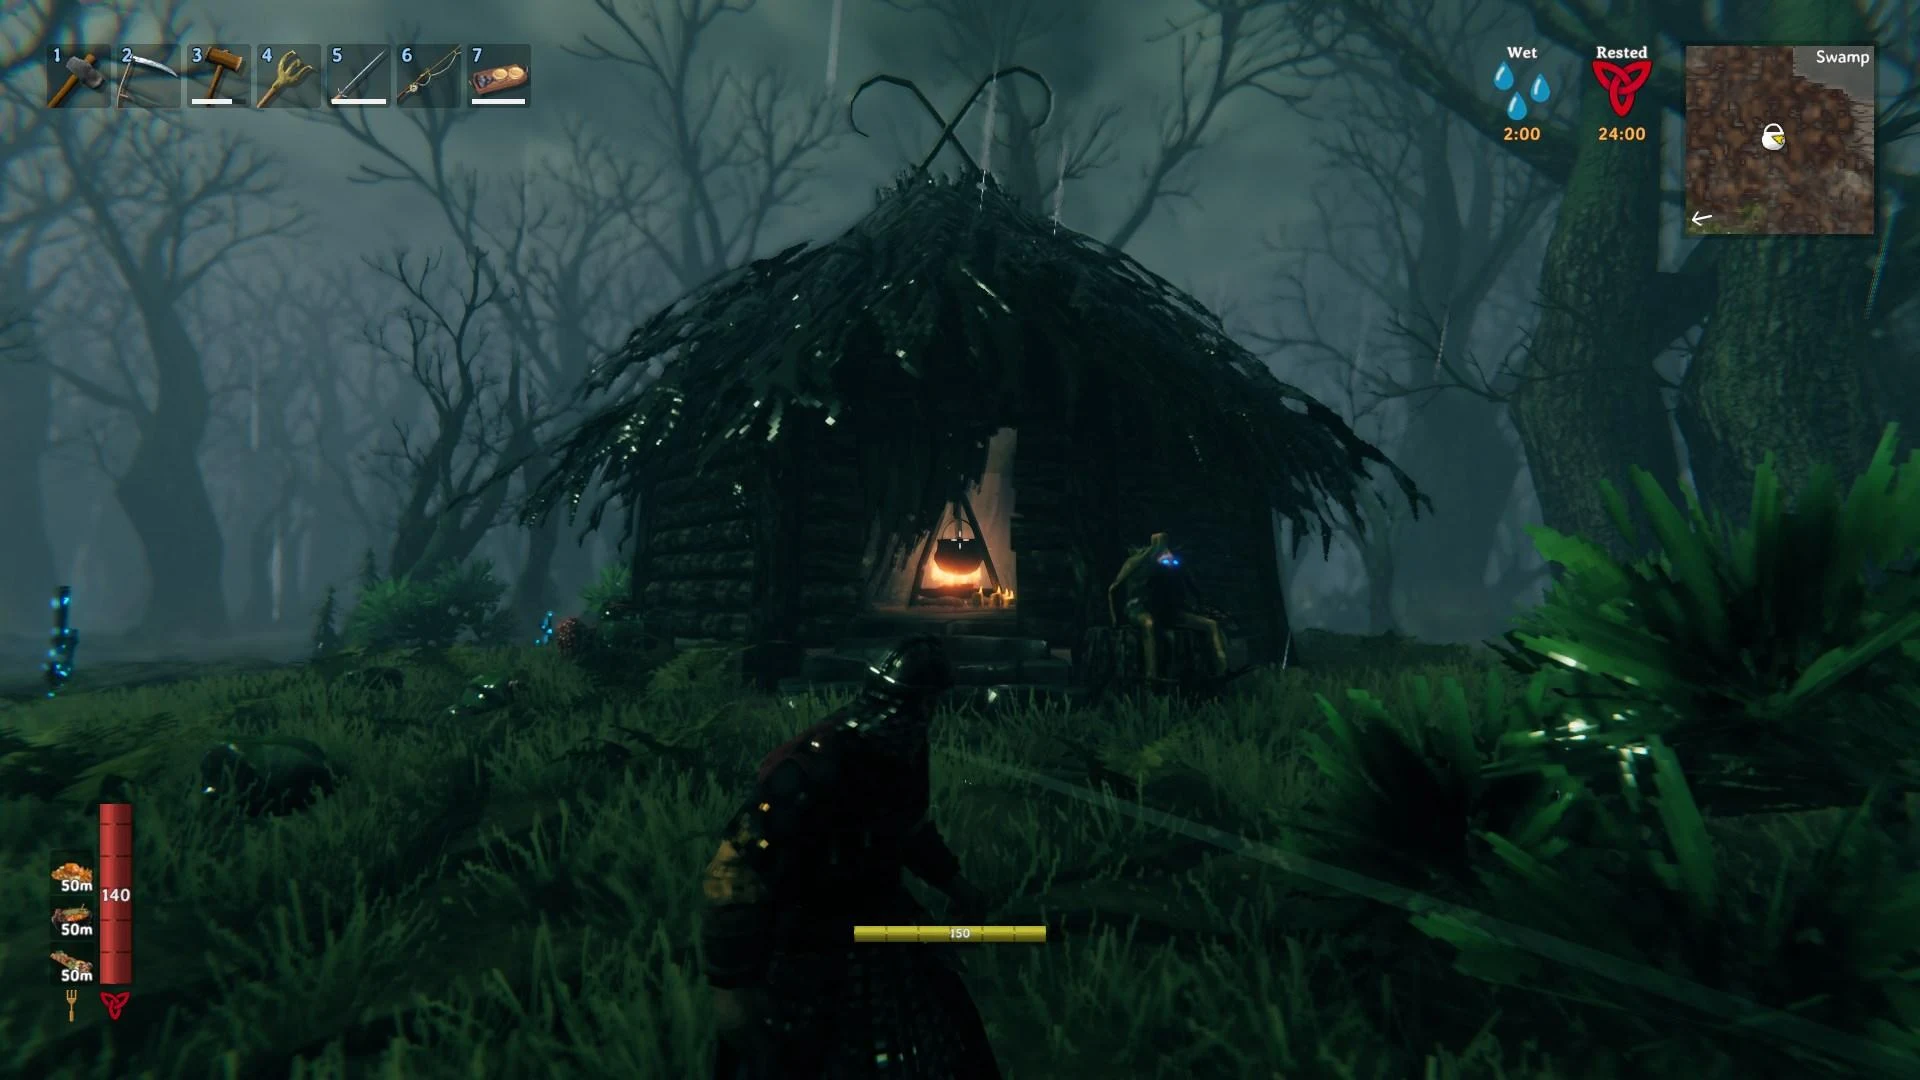
The first site you walk up to becomes the camp for that world, and it stays in that spot. Each trader has several possible sites, but only one becomes active. The rest are alternatives, not extra shops, so once you've found a camp, you don't need to search for another.
Vegvisirs point you toward bosses, not traders, so rely on the biome search and the map icon instead. If searching by hand takes too long, a seed-based map tool can show the candidate sites in your world. Every Valheim world is built from a seed, a number that sets its layout, so only use a map made from your own world's seed. Coordinates from another world won't line up with yours.
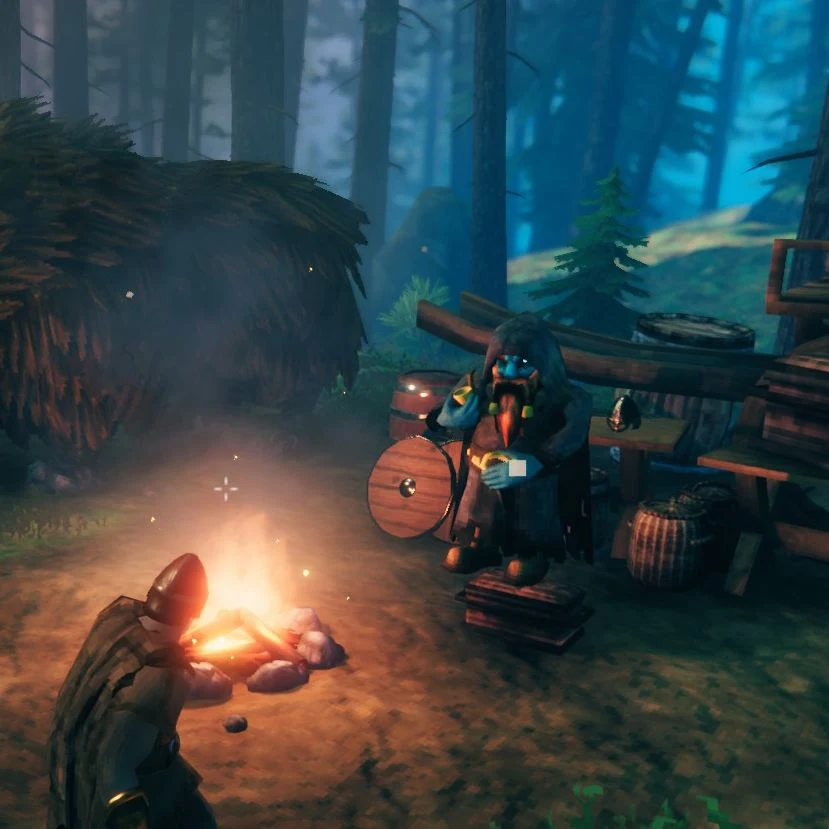
Once you've found a camp, build a portal close to it but outside its protective dome. The dome keeps creatures out, which makes the camp a safe place to trade, and the portal saves a long walk every time you come back to shop.
What Haldor Sells and How to Unlock His Stock
Haldor sells gear that no recipe makes, plus two permanent inventory upgrades. The Megingjord adds 150 carry weight, and the Dverger Circlet gives you light that points forward. Prices in the table are for the full bundle shown, and each item is a single unless its name says otherwise.
| Item | Coins | Unlock |
|---|---|---|
| Yule Hat | 100 | From the start |
| Dverger Circlet | 620 | From the start |
| Megingjord | 950 | From the start |
| Fishing Rod | 350 | From the start |
| Fishing Bait ×20 | 10 | From the start |
| Barrel Hoops ×3 | 100 | From the start |
| Ymir Flesh | 120 | Defeat The Elder |
| Thunder Stone | 50 | Defeat The Elder |
| Wider Pockets (once per character) | 1,000 | Defeat Moder |
| Egg | 1,500 | Defeat Yagluth |
| Deeper Pockets (once per character) | 2,000 | Defeat The Queen |
Most of his stock is open from the start. Ymir Flesh and Thunder Stone unlock after you defeat The Elder, and the Egg needs Yagluth defeated first. Wider Pockets and Deeper Pockets each add one inventory row of eight slots, and each can be bought once per character. After a character buys one, it leaves the shop for that character.
How to Return Hildir's Chests and Unlock Her Stock
Hildir is Haldor's sister, and most of her shop stays locked until three chests are returned to her. The chests were taken from her and hidden in three dungeons, each guarded by a miniboss. Returning a chest opens its matching tier of stock, so each dungeon is worth clearing.
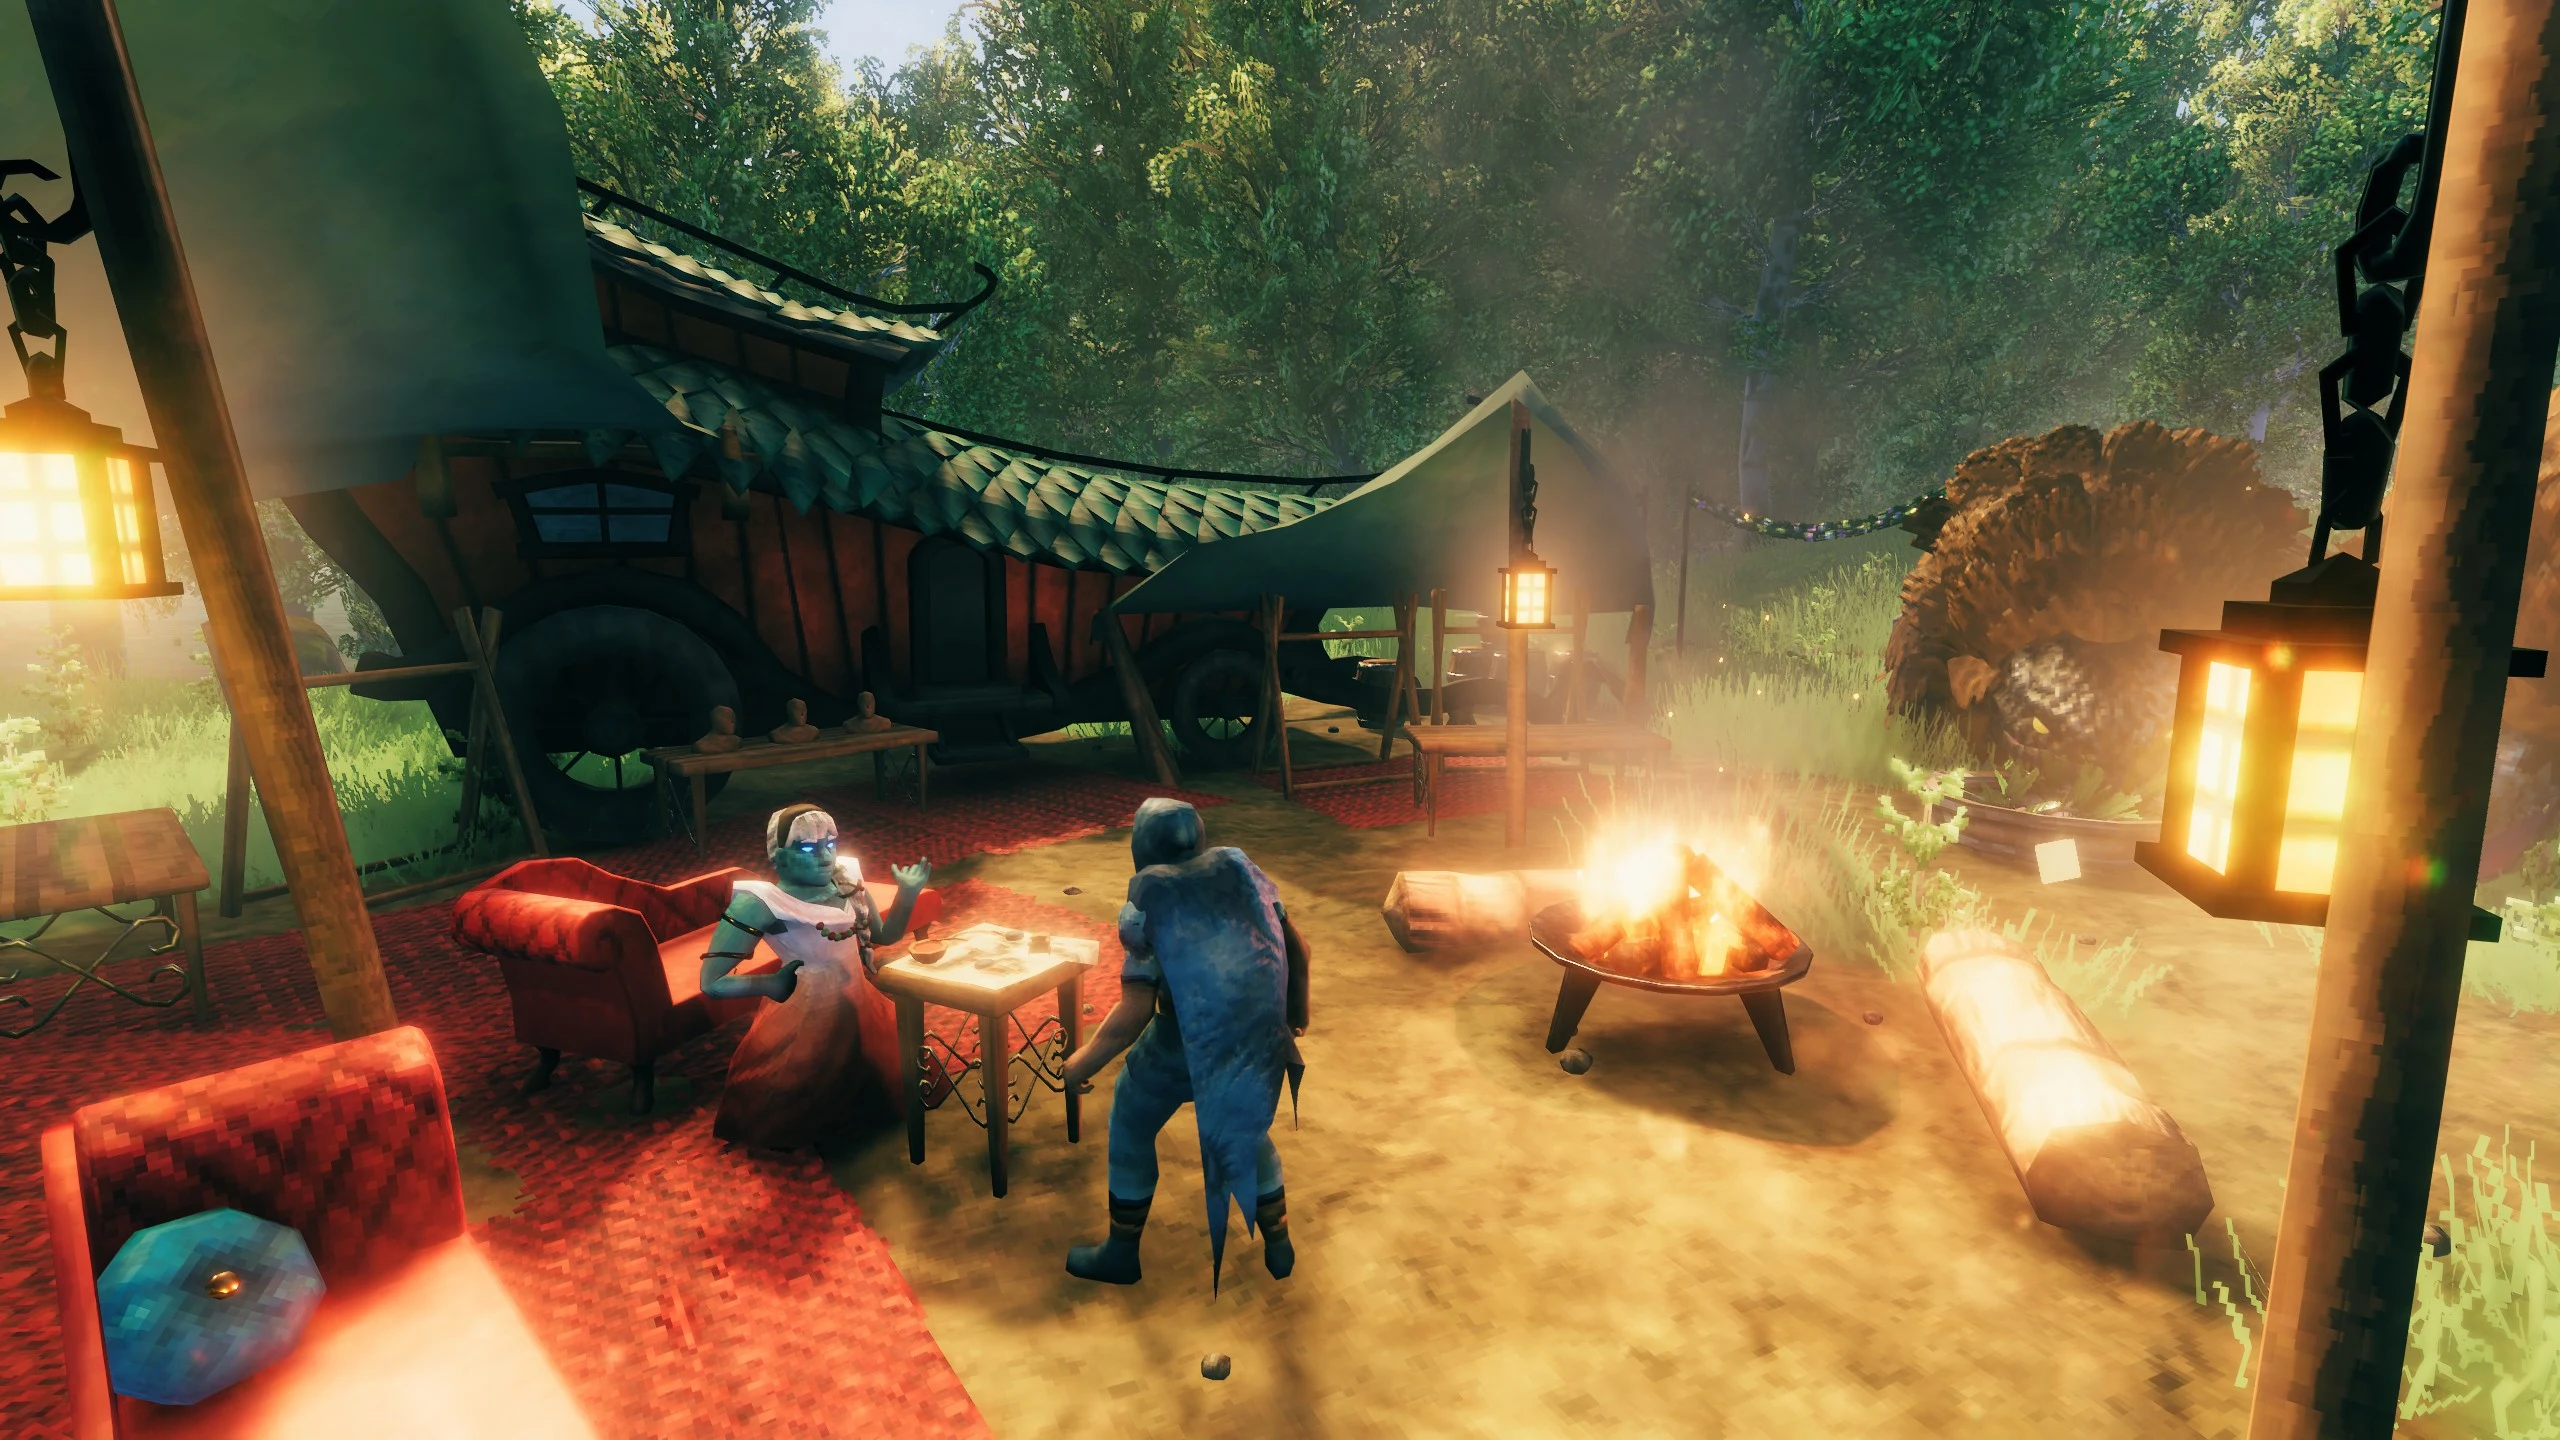
- Go to Hildir's camp in the Meadows and use the map table there to mark the three dungeon locations.
- In the Black Forest, defeat Brenna in a Smouldering Tomb to take the Brass Chest.
- In the Mountains, defeat Geirrhafa in a Howling Cavern to take the Silver Chest.
- In the Plains, defeat Zil and Thungr in a Sealed Tower to take the Bronze Chest.
- Carry each chest back to Hildir and use it on her to return it. Her shop then adds the items for that tier.
Returning a chest doesn't pay out coins, so the stock is the whole reward. Each chest weighs 200, and on default portal settings chests can't pass through a portal, so plan the trip back. You can carry them on foot, or by boat if the route calls for it.
Everything Hildir Sells and Which Chest Unlocks Each Item
Hildir's shop is mostly clothing, with furnishings and fireworks mixed in. The Barber Kit is the most practical item she sells, since it's used to build a Barber Station along with other construction materials.
| Item | Coins | Unlock |
|---|---|---|
| Iron Pit | 75 | From the start |
| Sparkler | 150 | From the start |
| Simple Red Cap | 150 | From the start |
| Simple Purple Cap | 150 | From the start |
| Headband | 175 | From the start |
| Simple Undyed Dress | 250 | From the start |
| Simple Undyed Tunic | 250 | From the start |
| Barber Kit | 600 | From the start |
| Blue Tied Headscarf | 200 | Brass Chest |
| Brown Fur Cap | 200 | Brass Chest |
| Straw Hat | 300 | Brass Chest |
| Plain Brown Dress | 350 | Brass Chest |
| Plain Blue Dress | 350 | Brass Chest |
| Plain Yellow Dress | 350 | Brass Chest |
| Plain Blue Tunic | 350 | Brass Chest |
| Plain Red Tunic | 350 | Brass Chest |
| Plain Yellow Tunic | 350 | Brass Chest |
| Harvest Tunic | 550 | Brass Chest |
| Harvest Dress | 550 | Brass Chest |
| Green Twisted Headscarf | 250 | Silver Chest |
| Extravagant Green Cap | 250 | Silver Chest |
| Yellow Tied Headscarf | 250 | Silver Chest |
| Brown Dress with Shawl | 450 | Silver Chest |
| Blue Dress with Shawl | 450 | Silver Chest |
| Yellow Dress with Shawl | 450 | Silver Chest |
| Blue Tunic with Cape | 450 | Silver Chest |
| Red Tunic with Cape | 450 | Silver Chest |
| Yellow Tunic with Cape | 450 | Silver Chest |
| Basic Fireworks | 50 | Bronze Chest |
| Red Twisted Headscarf | 300 | Bronze Chest |
| Grey Fur Cap | 300 | Bronze Chest |
| Extravagant Orange Cap | 300 | Bronze Chest |
| Brown Dress with Beads | 550 | Bronze Chest |
| Blue Dress with Beads | 550 | Bronze Chest |
| Yellow Dress with Beads | 550 | Bronze Chest |
| Blue Tunic with Beads | 550 | Bronze Chest |
| Red Tunic with Beads | 550 | Bronze Chest |
| Yellow Tunic with Beads | 550 | Bronze Chest |
What the Bog Witch Sells in the Swamp
The Bog Witch's shop is built around cooking, feasts, mead and farming, and most of what she sells is ingredients. Many items are open from the start, while the rest unlock as bosses fall.
| Item | Coins | Unlock |
|---|---|---|
| Candle Wick ×50 | 100 | From the start |
| Scythe Handle | 200 | Defeat Moder |
| Love Potion ×5 | 110 | From the start |
| Toadstool | 85 | Defeat Moder |
| Fragrant Bundle ×5 | 140 | Defeat Moder |
| Fresh Seaweed ×5 | 75 | From the start |
| Cured Squirrel Hamstring ×5 | 80 | From the start |
| Powdered Dragon Eggshells ×5 | 120 | From the start |
| Pungent Pebbles ×5 | 125 | From the start |
| Ivy Seeds ×3 | 65 | From the start |
| Serving Tray | 140 | From the start |
| Woodland Herb Blend ×5 | 120 | Defeat The Elder |
| Seafarer's Herbs ×5 | 130 | Kill a Serpent |
| Mountain Peak Pepper Powder ×5 | 140 | Defeat Moder |
| Grasslands Herbalist Harvest ×5 | 160 | Defeat Yagluth |
| Herbs of the Hidden Hills ×5 | 180 | Defeat The Queen |
| Fiery Spice Powder ×5 | 200 | Defeat Fader |
| Seasoning of the Gourd ×5 | 220 | Defeat Kall Fimbulbringer |
| Corked Vial ×5 | 150 | Defeat The Elder |
| Crown of Roots | 3,000 | Kill a Writhan |
Many of her spice blends arrive as bosses fall, so each new boss you defeat can add something new to buy. The Crown of Roots is the priciest item in her shop at 3,000 Coins, and it only appears once a Writhan has been killed.
Coins, Valuables and Shared Unlocks in Valheim
Valuables are the only items the three traders buy, and each one pays the same amount at all of them. Coins come from chests, from selling valuables and from certain enemy drops. Amber, Amber Pearls, Rubies and Silver Necklaces turn up while exploring, so they're a good place to start.
| Valuable | Pays each | Stack size | Whole stack pays |
|---|---|---|---|
| Draumyx | 175 | 20 | 3,500 |
| Veydris | 135 | 20 | 2,700 |
| Solryth | 95 | 20 | 1,900 |
| Grimvarn | 55 | 20 | 1,100 |
| Silver Necklace | 30 | 20 | 600 |
| Ruby | 20 | 20 | 400 |
| Amber Pearl | 10 | 50 | 500 |
| Ancient Coin | 10 | 999 | 9,990 |
| Amber | 5 | 20 | 100 |
The Sell button sells a whole stack, and you can't choose which one. Each press sells the first valuable stack in your inventory, following the game's own order, so move anything you want to keep into a chest before you trade. Coins themselves can't be sold, so leave room in your inventory for what you plan to buy.
Unlocks are shared across the world. Once any player defeats a boss or returns one of Hildir's chests, the matching stock opens for everyone sharing that world.