Picking a Tower Defense Simulator loadout does not come down to the biggest damage number. You need one tower that clears early waves, one way to fund upgrades, and enough late-game power to stop bosses.
Scope: This ranks all 63 standard towers for regular PvE loadout value across standard survival, Fallen, Hardcore/Voidcore, Story, and challenge-style play. Golden variants and PvP stay outside the core ranking. The score weighs repeatable wave and boss coverage at 30%, cost to get online and access at 25%, reliability and coverage at 20%, team and five-slot value at 15%, and mode flexibility at 10%. S is for loadout-defining core picks, A for strong specialists, B for useful progression or mode picks, C for usable but outclassed towers, and D for towers you normally replace after opening waves.
Tower Defense Simulator towers ranked
Tower Defense Simulator towers collectionS
Core endgame picks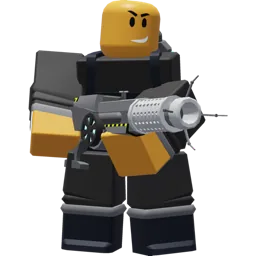 Accelerator
 Commander
 DJ Booth
 Engineer
 Farm
Farm Hacker
 Juggernaut
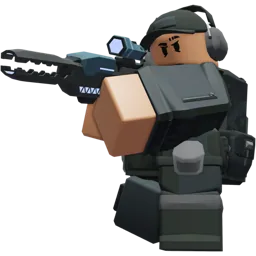 Ranger
A
Strong specialists Brawler
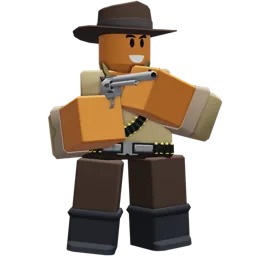 Cowboy
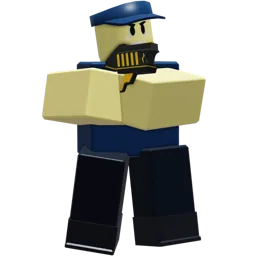 Electroshocker
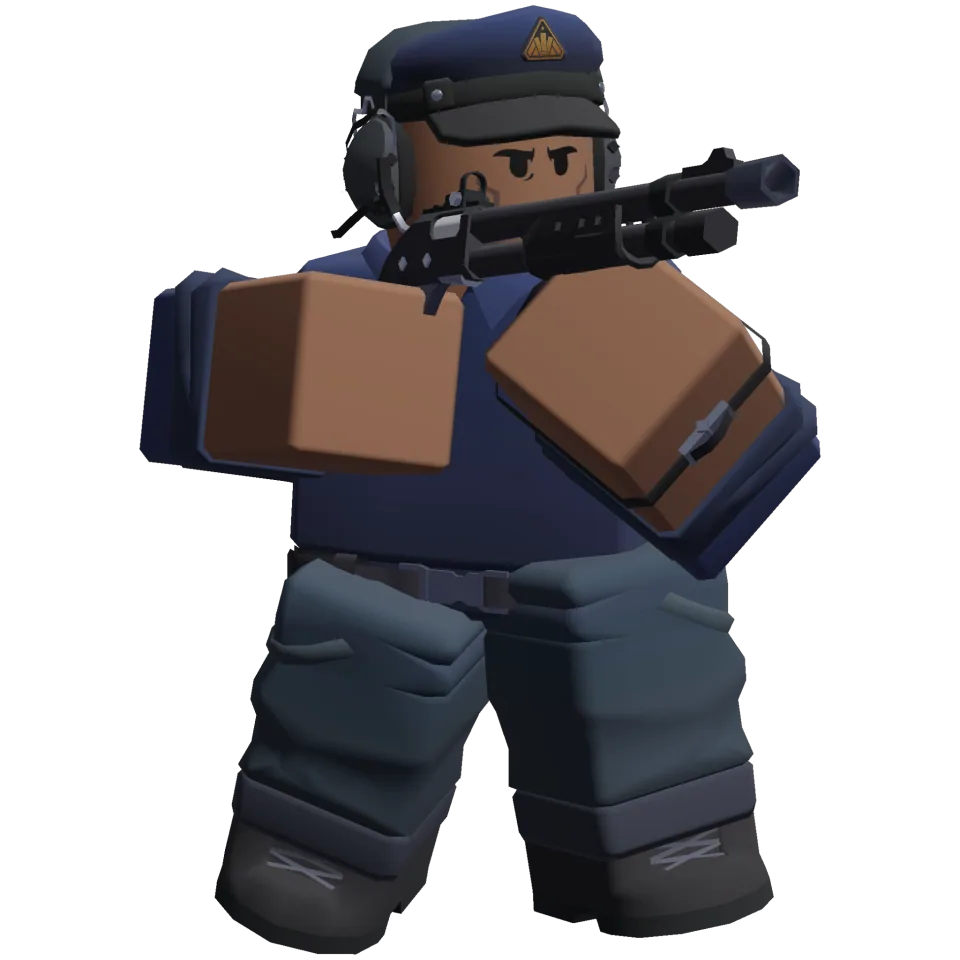 Enforcer
 Firework Technician
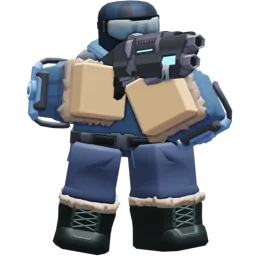 Frost Blaster
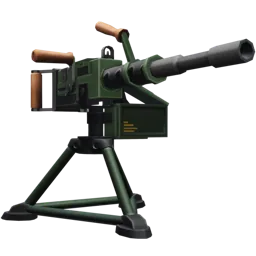 Gatling Gun
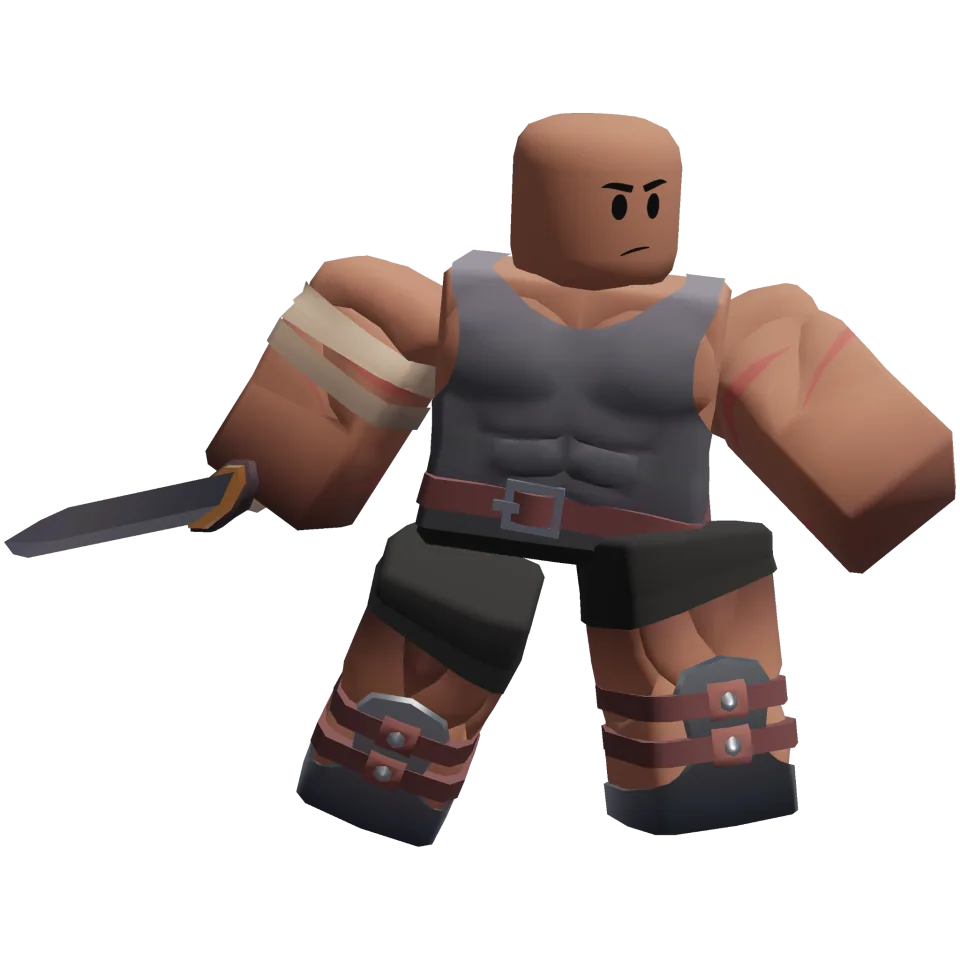 Gladiator
 Kingpin
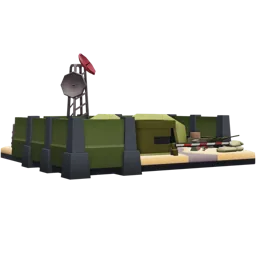 Mercenary Base
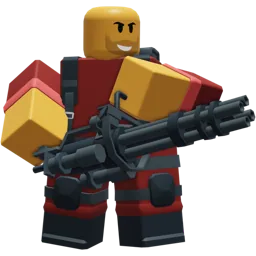 Minigunner
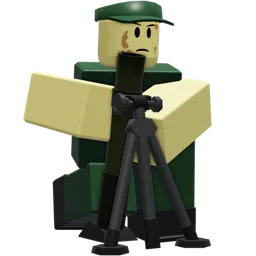 Mortar
 Necromancer
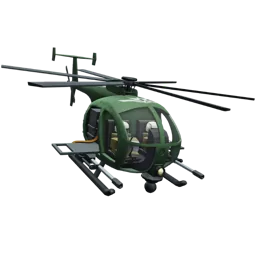 Pursuit
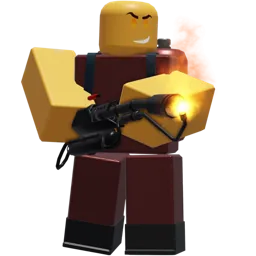 Pyromancer
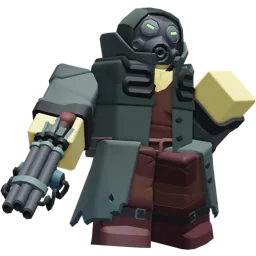 Saboteur
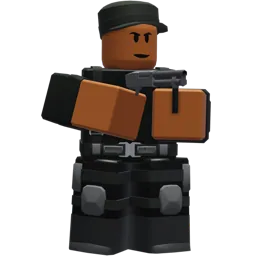 Shotgunner
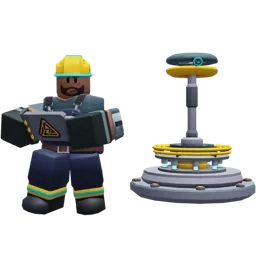 Tesla
Tesla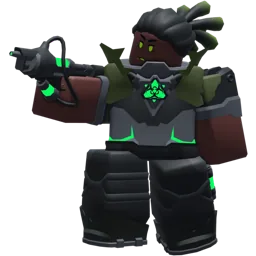 Toxic Gunner
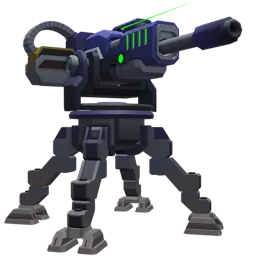 Turret
B
Progression and mode picks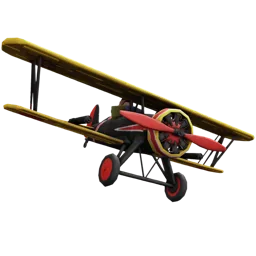 Ace Pilot
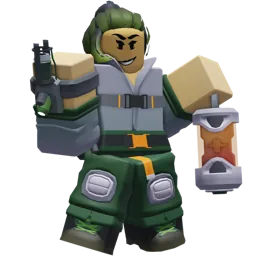 Biologist
 Boomerang
 Commando
 Crook Boss
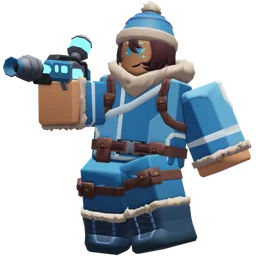 Cryomancer
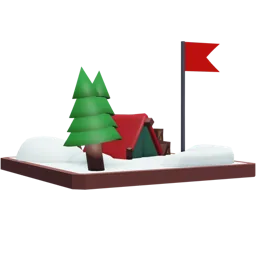 Elf Camp
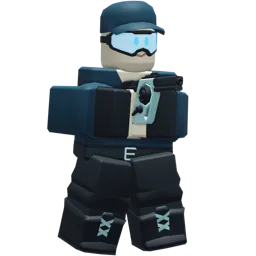 Freezer
 Hunter
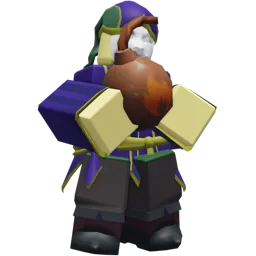 Jester
 Medic
Medic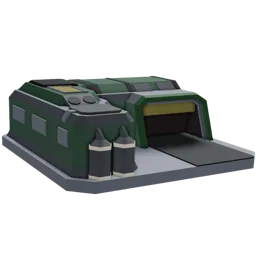 Military Base
 Militant
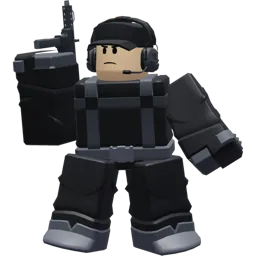 Operator
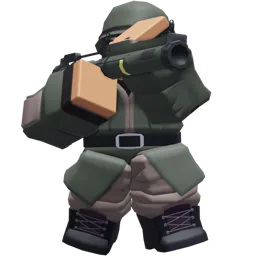 Rocketeer
 Sledger
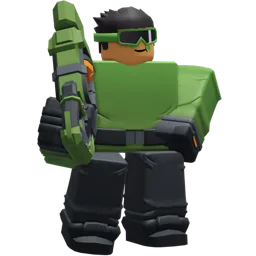 Slime Trooper
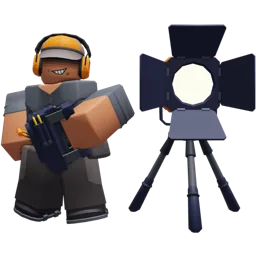 Spotlight Tech
 Trapper
 Warden
 Warlock
C
Niche or early-game picks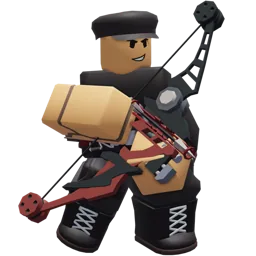 Archer
 Assassin
 Demoman
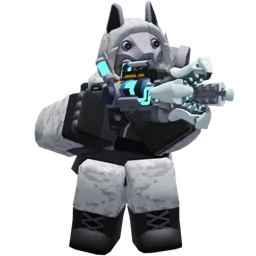 Elementalist
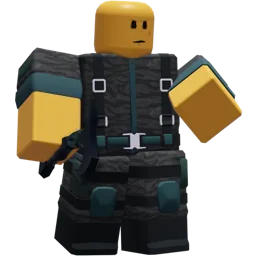 Executioner
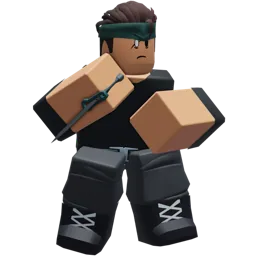 Slasher
 Snowballer
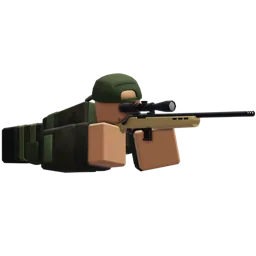 Sniper
 Soldier
 Swarmer
D
Replace when possible Hallow Punk
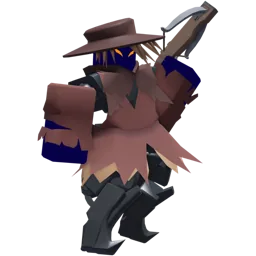 Harvester
 Paintballer
 Scout
Scout
S Tier
Choose from here when you want a loadout that can keep scaling instead of solving only the first few waves.
| Image | Tower | Job | Why it earns this tier | Main condition |
|---|---|---|---|---|
| Accelerator | Late-game burst carry | Builds charged damage for bosses and long waves | High Hardcore gate and charge downtime punish poor timing |
| Commander | Team firerate support | Raises the output of compatible damage towers | Needs damage towers nearby and is weak as a solo damage slot |
| DJ Booth | Range, discount, and team aura | Helps a compact loadout reach more targets and upgrades | Large footprint and modifier restrictions reduce value |
| Engineer | Sentries plus direct damage | Adds a second damage system for late waves | Level 50 and 4,500 Gems gate; sentry placement matters |
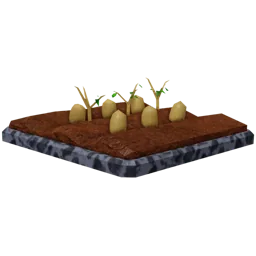
| Farm | Economy | Funds carries and support before late waves | Do not bring it in Farm Banned or PW2 modes |
| Hacker | Clone and utility support | Multiplies low-placement-limit carries when abilities are managed well | Hardcore access and skill timing raise the learning curve |
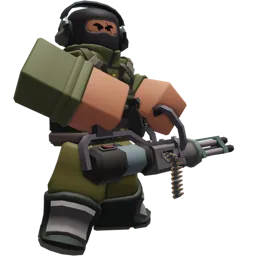
| Juggernaut | Evolved heavy firepower | Turns the Minigunner route into a serious late-game damage slot | Evolved access and build path delay the payoff |
| Ranger | Long-range cliff carry | Covers distant lanes and late bosses from suitable cliffs | No useful cliff means its slot loses value |
These picks cover different jobs, so stacking all of them is not automatically smart. A damage-heavy team still needs an economy slot and a firerate or range support slot, while a support-heavy team can run out of damage before the final wave. Build around the mode first.
Farm is the major exception to the word universal: remove it in Farm Banned or PW2 modes and use an income-producing alternative only when the mode allows it. If a tower has a high unlock gate, treat it as a long-term target instead of delaying your first reliable damage purchase.
At the high end, the fail case is usually setup, not raw damage. Poor cliff placement, uncharged attacks, badly timed support abilities, or sentries placed away from the lane can turn an S-tier slot into a spectator. Test the map's turns and boss route before filling every slot with a carry.
A Tier
Use this tier when you need a clear role, but the map, mode, or player skill decides how much value the tower returns.
| Image | Tower | Job | Best contribution | Limit to plan around |
|---|---|---|---|---|
| Brawler | Melee early pressure | Holds a lane while the economy develops | Short range and path dependence |
| Cowboy | Damage plus income | Adds cash without giving up an attacking slot | Badlands II access and lower pure late-game carry value |
| Electroshocker | Chain damage and stun | Controls packed lanes and buys time | Flying or Hidden coverage and boss damage are limited |
| Enforcer | Evolved spread damage and utility | Shotgunner evolution adds Flashbang, SWAT Van Support, and Helicopter Reposition | Provisional recent placement; spread and pathing need a good lane |
| Firework Technician | Detection and team support | Fireworks can add value around a planned group | One tower, small setup range, and synergy dependence |
| Frost Blaster | Slow and freeze control | Holds difficult waves when enemies can be frozen | Freeze immunity, event access, and control rules |
| Gatling Gun | Manual boss damage | Aimed fire gives it a high ceiling on priority targets | 35,000 Coins, Level 175, one placement, reload, and micro |
| Gladiator | Melee damage and team support | The recent rework gives War Cry broader nearby-tower value | Provisional after rework; needs turns and crowd contact |
| Kingpin | Evolved summons and economy or combat | Select a path that fits a mid or late team | Provisional detection and path behaviour |
| Mercenary Base | Spawned unit support | Multiple unit roles cover maps that give them room | Three placements, large footprint, cost, and unit pathing |
| Minigunner | Reliable sustained fire | Bridges progression into a full damage build | Less burst or utility than evolved carries |
| Mortar | Cliff splash artillery | Clears packed lanes on suitable long sightlines | Slow cycle, cliff placement, and targeting or detection limits |
| Necromancer | Skeleton summons and damage | Long paths give summons time to contribute | Three placements and path management |
| Pursuit | Aircraft, missiles, and patrol | Reaches lanes that ground placement cannot | Level 100 access, reloads, and patrol behaviour |
| Pyromancer | Area burn and defence melt | Clears early groups and weakens defensive enemies | Short range and immunity rules |
| Saboteur | Poison, slow, and Neuralyze | Makes a main carry hit harder while adding damage | No Flying detection and ability timing |
| Shotgunner | Spread and pierce | Gives a developing account strong close-lane coverage | Short range and weaker late flexibility |
| Tesla | Chain lightning and shock | Handles dense groups and trial waves | Less reliable on one high-health target |
| Toxic Gunner | Poison, slow, and defence melt | Supports carries through long waves | No Hidden detection and defence-melt limits |
| Turret | High single-target fire | Focuses bosses with a small placement footprint | Level 50 access, placement limit, and low general flexibility |
These are the towers to add when one specific problem is stopping your clears. Do not force a short-range unit onto a map with no safe turn, or a cliff unit onto a map that cannot give it a clean sightline. The same principle applies to aircraft patrols and summoned units: their path decides the result.
Support and debuff slots need a damage partner. In solo play, one aura or defence-melt tool can improve a carry, while two support slots without enough direct damage can leave a boss alive. In a team, coordinate those slots instead of duplicating the same effect.
Gladiator, Enforcer, and Kingpin are the live patch watchlist. Gladiator and Enforcer need more post-change results, while Kingpin's detection and path behaviour still deserve a current in-game check. That uncertainty can move any of them when a balance update or verified behaviour changes the outcome.
B Tier
This is the practical middle: choose from it when your account needs reliable progression or the mode gives a specialist a clear target.
| Image | Tower | Job | Best contribution | Limit to plan around |
|---|---|---|---|---|
| Ace Pilot | Early flying coverage | Gives new accounts an answer to airborne lanes | Flight path and later scaling are map-dependent |
| Biologist | Event support and damage | Fills a team utility slot in event rosters | Less universal than the main support options |
| Boomerang | Early ricochet damage | Hits early groups with little setup | Low late-game ceiling |
| Commando | Event pierce and splash | Helps limited rosters against groups | Stronger general carries usually replace it |
| Crook Boss | Detection and summons | Goon units add bodies while the tower attacks | Five-tower limit and summon timing |
| Cryomancer | Freeze control | Slows waves that allow control effects | Immunity rules and event access |
| Elf Camp | Deployed units | Adds early pressure in trials and open paths | Footprint, unit behaviour, and late falloff |
| Freezer | Freeze and control | Helps in Fallen or Frost situations where freezing works | Narrow value outside those modes |
| Hunter | Early and mid single-target damage | Gives progression a simple damage route | No late-game scaling or support value |
| Jester | Random effects | Adapts to mixed waves with fire, poison, or control | Randomness makes planning harder |
| Medic | Healing, shields, and stun immunity | Protects a team during survival-heavy fights | Limited target coverage and slot opportunity cost |
| Military Base | Vehicles and airstrike | Adds pressure in trials and dense waves | Footprint, collision, explosions, and map interactions |
| Militant | Sustained early damage | Acts as a cheap bridge into mid-game | Little unique late-game or team value |
| Operator | Scout evolution and coordination | Adds early pressure with Hidden and Flying coverage | Early or mid-game focus and evolved access |
| Rocketeer | Splash artillery | Helps against grouped enemies with an open firing lane | Slow attacks and weaker late consistency |
| Sledger | Melee freeze | Controls dense lanes on favourable maps | Short range, event access, and path dependence |
| Slime Trooper | Cheap damage and slow | Gives a 300-Coin tower a useful early control job | Low endgame output |
| Spotlight Tech | Detection and cliff support | Helps on suitable maps with a clean cliff | One placement and cliff dependence |
| Trapper | Path traps | Controls early lanes and niche trial waves | Placement and enemy behaviour decide the result |
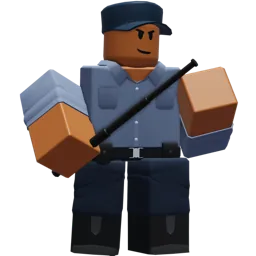
| Warden | Stun, crits, and parry | Works on maps with turns and close lanes | Short range and crowd limitations |
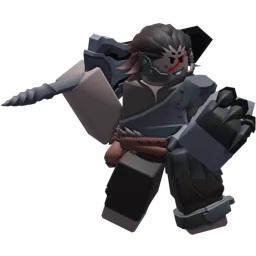
| Warlock | Summons and bleed damage | Fills an event roster that needs extra bodies | Summon and bleed value is narrower than higher-tier damage or support |
B is the most useful tier for an account that is still opening towers. Pick one early damage option, then add a control or economy tool that matches the mode; do not fill all five slots with narrow answers.
Control can jump in value when enemies allow it. Freezer and Medic are better choices for specific Fallen, Frost, Hardcore, or team-survival problems than for a general damage race. Military Base, Elf Camp, Trapper, Warden, and similar unit or path tools need room to work, so check collision, turns, and enemy behaviour before spending the slot.
An upgrade route should have a threshold: if the tower cannot solve the next wave without heavy help, stop investing and save for the next broad damage or support option. That rule keeps a cheap starter from eating money meant for the carry.
C Tier
Use this tier for early coverage, event rosters, or a missing mechanic when stronger slots are unavailable.
| Image | Tower | Job | Best contribution | Limit to plan around |
|---|---|---|---|---|
| Archer | Pierce, fire, and splash | Covers early groups in an event roster | Limited late-game reach and broader options outclass it |
| Assassin | Cheap area damage | Helps during early and mid waves | Falls off against bosses and long late waves |
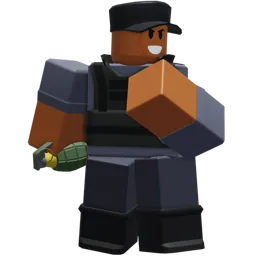
| Demoman | Low-cost splash | Handles grouped early enemies | Slow projectile, firerate, and detection limits |
| Elementalist | Element attacks and Ice Turret | Adds a narrow event-specialist option | Narrow role and event access limit general use |
| Executioner | Ricochet and pierce | Helps against groups when lanes stay packed | Less reliable than broader damage choices |
| Slasher | Bleed and melee damage | Finds niche value against suitable targets | Range, event access, and stronger specialists |
| Snowballer | Slow and early control | Buys time during opening waves | Low damage, unobtainable status, and outclassing freeze towers |
| Sniper | Free cliff coverage | Gives early accounts long reach and detection | Slow firing and low late-game output |
| Soldier | Cheap burst damage | Makes a valid first damage purchase | No strong late-game or support identity |
| Swarmer | Swarm and sting damage | Adds situational pressure to grouped enemies | More reliable general DPS replaces it |
These towers can still win early waves when placed for their intended lane. Their common failure is the late match: slow firing, short reach, low boss pressure, or a narrow effect gives the team no answer after the opening upgrades.
Snowballer here means the ordinary event tower. Golden Snowballer is a separate Golden variant and is not merged into this row or counted as a separate core entry. Golden Perks can change where a base tower belongs, so compare the variant you actually own.
Keep C-tier choices when a challenge rule, event roster, or account access makes them the best available answer. Replace them when your loadout gains broad damage, reliable income, or a team support slot.
D Tier
Only choose from here when access, a beginner opening, or a challenge rule matters more than late-wave value.
| Image | Tower | Job | Best contribution | Limit to plan around |
|---|---|---|---|---|
| Hallow Punk | Seasonal splash | Fills a restricted event roster | Limited general PvE value |
| Harvester | Seasonal single-target damage | Gives an event account another attacking option | Seasonal access and stronger late options limit general use |
| Paintballer | Cheap splash | Helps clear the first waves | Quickly replaced by stronger area or support towers |
| Scout | Free opening damage | Protects the first waves without an unlock cost | Weak late-game scaling |
D is a replacement signal, not a ban. A free opening tower can still protect the first waves, and an event pick can help when the roster is thin. The mistake is spending a full long-term build around a tower whose damage or coverage stops scaling.
Move on after you have a stable early answer and can afford a tower with better range, splash, support, or late-game output. In a restricted challenge, use the tower that solves the next wave, even if the general list places it low.
Choose your next tower by role
Economy: Farm is the normal route in farm-enabled modes. Cowboy is the damage-plus-income alternative when you want the slot to attack too. In Farm Banned or PW2, skip the economy slot and plan around the mode's rules.
General support: Commander is the firerate choice for teams with several damage towers. DJ Booth adds range, discount, and aura value. Hacker suits advanced teams that can exploit low placement limits and ability timing.
Late-game damage: Accelerator gives burst, Engineer adds sentry output, Juggernaut supplies heavy fire, and Ranger rewards cliff access. Choose the one whose unlock route and map fit your account, not the one with the rarest gate.
High manual ceiling: Gatling Gun is the choice when you can aim and manage reloads. If manual control is not possible, a more consistent damage tower may produce a better clear.
Crowd control: Electroshocker and Tesla handle dense groups, Frost Blaster helps where freeze works, and Toxic Gunner adds slow and defence-melt support. Check enemy immunities before replacing raw damage.
Beginner progression: Shotgunner covers close lanes, Minigunner supplies simple sustained fire, Pyromancer handles groups, Boomerang is a low-setup early choice, and Ace Pilot covers flying paths. Pick the one that solves the next unlock stage.
Map and mode checks change tower value
Before spending Coins or Gems, check all tower unlocks and details for the access category and evolution route. Then compare Tower Defense Simulator modes, because the rules change whether farming, freezing, spawned units, and cliff placement matter.
Farm Banned and PW2 remove the usual economy plan. Fallen and Frost can make control more valuable, while Hardcore and Voidcore make high-gate carries more relevant once you can reach them. Medic can rise when team survival and stun protection matter, but do not delay a current clear while saving for a locked tower.
Trials and unusual maps can move Military Base, Trapper, Elf Camp, Mortar, Warden, and Spotlight Tech higher when their units, traps, cliffs, or turns have room to work. Aircraft towers also depend on patrol routes, so check how the map sends enemies before choosing Ace Pilot or Pursuit.
PvP is excluded because tower roles, stats, and availability do not answer the same question as regular PvE. For the wider game systems, use the Tower Defense Simulator wiki before changing a full loadout.
Recent towers need a patch check
As of August 26, 2026, the current patch is the ranking boundary. Gladiator's rework and Enforcer's v2.6.0 arrival are included, so older placements are not a safe shortcut. Kingpin, Enforcer, and Gladiator remain provisional because practical detection, pathing, and post-change balance can alter their roles.
Re-score those towers after a balance patch, especially if War Cry, evolution paths, or detection rules change. The same five criteria still apply: repeatable coverage, cost to get online, reliability, team value, and mode flexibility.
Final loadout rule
Start with the highest-tier tower you can actually use in the mode, then fill the missing job: early damage, economy, support, control, or late-game carry. A balanced five-slot loadout that reaches its upgrades will beat a rare tower that arrives too late. Recheck the list after the next balance update.