Slayers 2 can feel directionless as soon as you spawn. The map opens before the quest chain does, and skipping a village handoff can leave you with enough levels but no clear next NPC.
This route takes you from the first Windy Peak contract through Zuko, the Bear area, your first style decision, Final Selection, and the immediate goal after passing it. Level gates and trainer requirements can shift during launch updates, so use the current quest dialogue and tracker as the final check when a number or cost differs.
Slayers 2 Beginner Progression Order: Level 1 to Final Selection
Use the table as a route map rather than a promise that every player will hit each level at exactly the same time. The important checkpoints are the named NPCs and the work they unlock.
| Level or point | NPC or location | What to do | What it unlocks or prepares |
|---|---|---|---|
| 1–6 | Krue, Windy Peak | Repeat the three-bandit contract and return for each turn-in | Your first reliable leveling loop |
| 7 | Zuko, Windy Peak | Take the timed mini-boss option when it appears; farm the Cutlass only if you want the optional drop | A Common Chest and a separate chance at the Cutlass |
| Around 13 and 18 | Tom, Bamboo Grove/Bear area | Complete Bear Cubs, then Mother Bear when it opens | The next leveling band toward Level 25 |
| 25 | Your chosen Slayer trainer | Read the live requirements, gather them, finish training tasks, and defeat the Trainee | A Breathing style in the skill tree |
| Around 26–40 | Chaka, Kaiden, and Wagwan | Complete the subordinate, Kaiden, and guard/Hoyuzo routes while building mastery | Preparation for the Level 45 exam |
| 45 | Final Selection gate | Complete the timed objectives in order and return to The Sisters | Mizunoto rank and the Slayer rewards |
| After the exam and Level 65 | Ren/Ginzo, then Togane in Hidden Mist Village | Equip the Crow, develop Slayer Progress and mastery, then start The Forge at Level 65 | Your next longer-term upgrade route |
The two numbers that cause the most confusion are 25 and 45. Level 25 starts the Slayer-side style route, while Level 45 is the reported minimum to enter Final Selection. Level 60 is useful preparation for a solo attempt, not an additional entry requirement.
How to Start Slayers 2 in Windy Peak
After creating your character in Slayers 2, open the customization menu and roll or inspect your clan. A workable clan is enough to begin. Read the passive before spending your whole opening session chasing a rare roll, because the early route depends much more on completing the quests and learning the combat loop than on having a perfect clan.
Find Krue near the starting point and red gate in Windy Peak. Choose the contract for three bandits, leave the village to defeat the marked enemies, and return to Krue for the turn-in. The tracker should clear when the contract is complete, and Krue can offer the loop again.
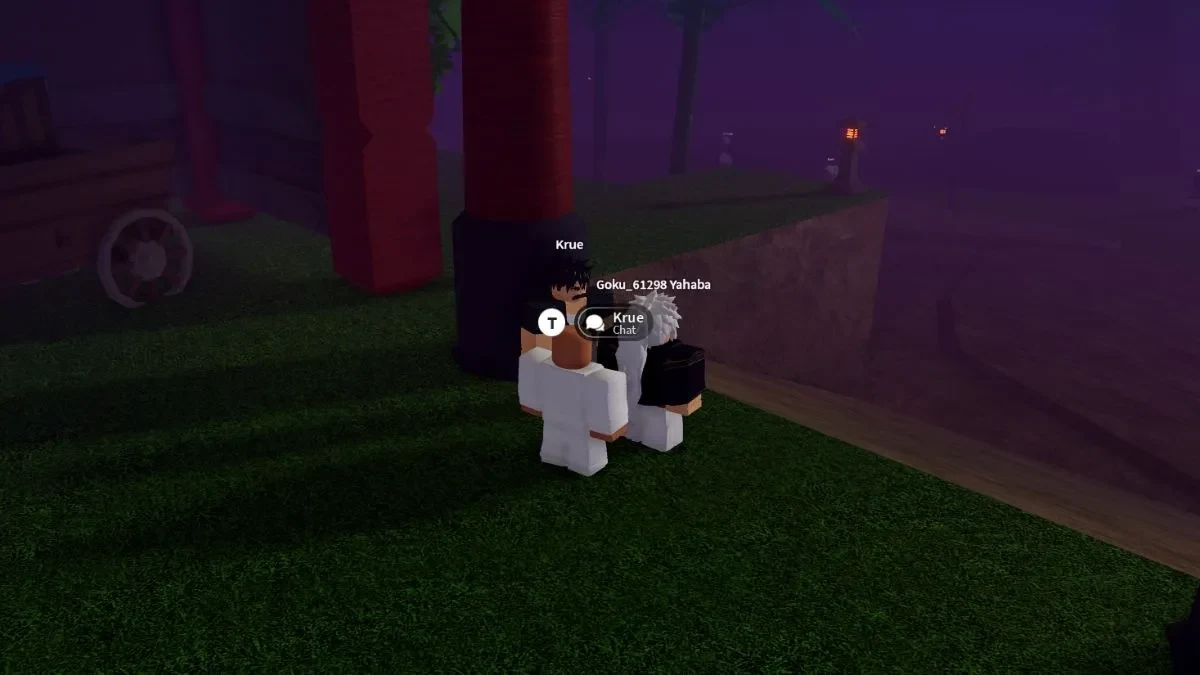
Repeat the contract through Levels 1–6 instead of wandering to distant quest givers. In combat, block between your short attacks and use the dash to reposition when a bandit closes in. You are trying to finish the contract, return for the reward, and accept the next copy quickly enough that the early loop stays productive.
At Level 7, check Krue's available options again. This is when the early Zuko encounter becomes available, but it does not replace the bandit loop as your only source of progress.
How to Get Zuko's Cutlass in Slayers 2
Zuko is a timed early mini-boss, so treat him as an optional stop inside the Windy Peak route. Accept the Zuko objective when it appears, reach the spawn, and defeat him before returning to the regular bandit contract.
His defeat gives a Common Chest, and the chest can be claimed first by whoever reaches it. Move to it promptly rather than assuming the reward will wait for you. The Cutlass is a separately reported 20% drop chance, so one Zuko kill is not a guaranteed weapon reward.
The Cutlass has associated skills, but the exact skill names and unlock wording vary between current guides. You do not need it to start the game or to reach the next area. Run Krue's bandit contract between Zuko spawns and stop farming when the chance is costing you more progression than the optional early upgrade is worth.
Slayers 2 Starter Katana and Windy Peak Side Quests
If you want a dependable weapon before you leave the opening area, Raze sells the Regular Katana for 500 Wen and the Fancy Katana for 1,500 Wen. The Regular Katana is the practical first purchase for this route. Buying it does not equip it automatically, so open your inventory and equip the weapon after the purchase.
Windy Peak also contains handoffs that are easy to mistake for side content. Clear them while you are still using the village as your base:
| NPC or handoff | Action | Why you should finish it |
|---|---|---|
| Kona | Recover five Lost Pages and turn them in | You receive the Book of Guidance, which supports the later route |
| Kazu, then Noote | Complete the village-spy and notes handoffs | The chain points toward Chaka instead of leaving the next contact unexplained |
| Lucy | Complete her village handoff | It points you toward Tom and the next area |
| Starting-area shipment or package giver | Finish the delivery task | The information becomes useful later for the Beast Core destination |
These tasks keep the later quest chain from stalling behind an uncompleted village interaction. The Book of Guidance and the Kazu/Noote, Lucy, and package handoffs are more valuable than simply leaving as soon as you hit the next level band.
Slayers 2 Bear Area Progression
Around Level 13, move from Windy Peak toward Tom in the Bamboo Grove/Bear area. Take the Bear Cubs quest first, then return for the Mother Bear quest when it opens around Level 18.
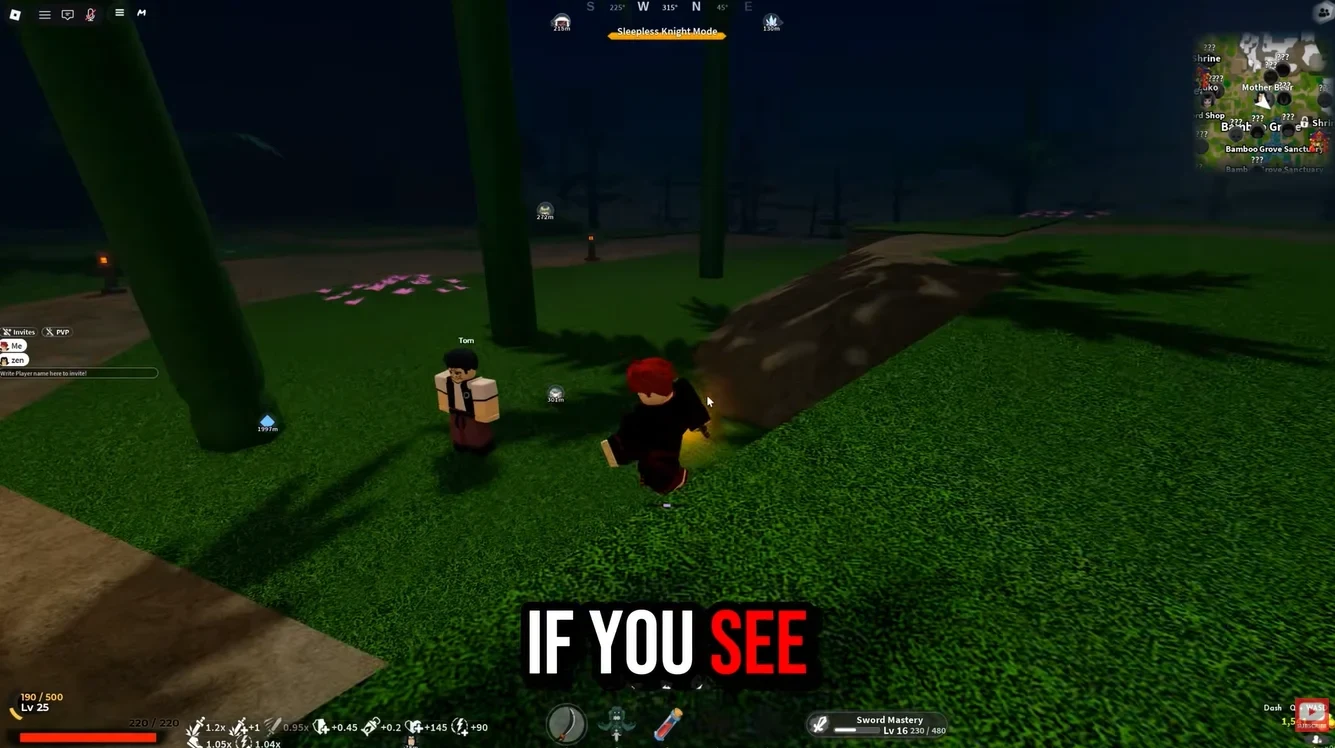
Set a nearby spawn point when the game gives you the option. The second area can expose you to PvP, so watch for other players while you are traveling or turning in a quest instead of assuming every threat is part of the bear route.
Keep repeating Tom's bear quests until you reach the Level 25 checkpoint and begin the next branch. You can still return to unfinished Windy Peak handoffs, but do not abandon them if a later marker is missing. The level route and the village route solve different problems.
How to Unlock a Breathing Style in Slayers 2 at Level 25
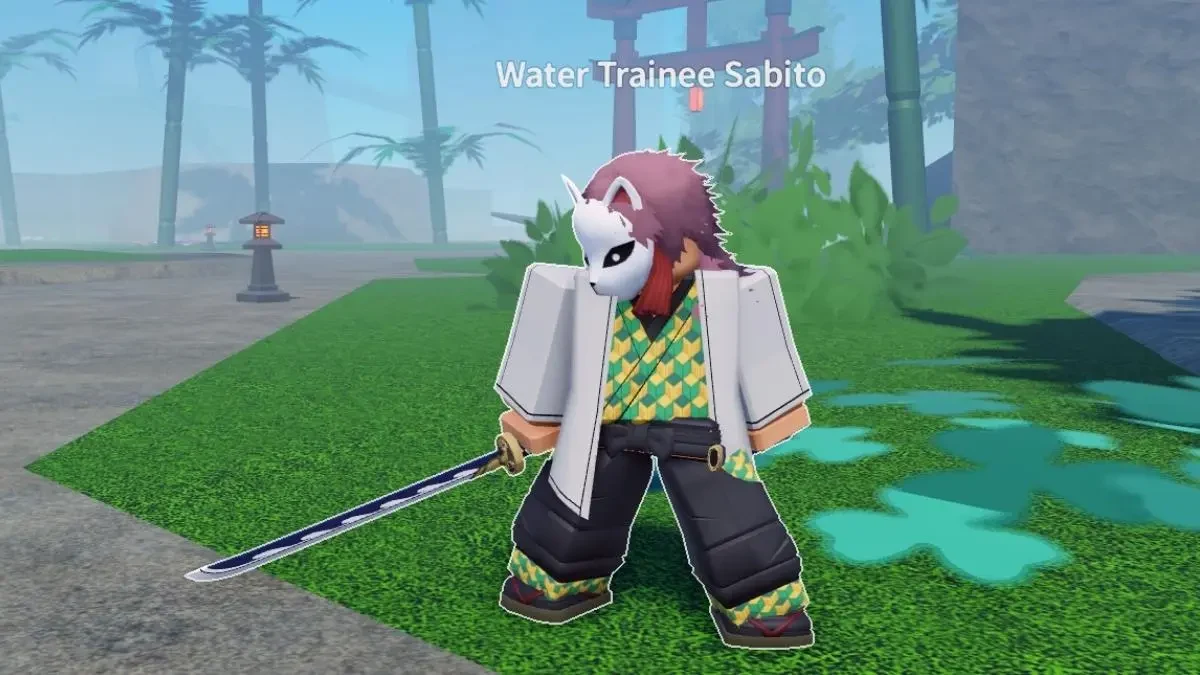
At Level 25, the Slayer-side Breathing trainer questlines open. Trainer materials and currency can change, so read the requirements shown by the trainer you choose before you leave.
Use this order for any style:
- Choose the Breathing style you want to pursue.
- Read that trainer's current material and currency requirements before leaving.
- Gather the requested items and bring the needed currency.
- Travel to the trainer and complete the training tasks. Some routes may require a movement node such as Wall Climb.
- Defeat the style's Trainee when the objective sends you to that fight.
- Check the skill tree and keep developing the style's mastery after it appears.
Do not treat a rare clan, Zuko's Cutlass, or an exact trainer fee as a prerequisite for this step. The live trainer dialogue is the useful authority for the current shopping list, while the completion condition stays the same: finish the training work and beat the Trainee.
The separate Demon route
The beginner route branches if you choose to become a Demon instead of following the Level 25 Breathing path. Lower your Reputation to -40, find Muzan at night, collect nine Spider Lilies, deliver or capture Dr. Higoshima, and drink Muzan's Blood. Because the threshold can vary during launch, use the value shown in Muzan's prompt. This is a separate branch, not a hidden requirement for Slayer Breathing.
Slayers 2 Levels 26 to 45: Chaka, Kaiden, and Wagwan
After the Level 25 step, continue the named quest route instead of grinding in place. Chaka's Kaiden's Subordinates quest begins around Level 26. The Kaiden quest opens around Level 34 and carries the route toward Level 40.
Around Level 40, follow Wagwan's guard and Hoyuzo route below the bear-area waterfall. These quests build the levels and combat familiarity you need before the exam. Keep working on your weapon and style mastery, and use the block-and-dash rhythm you learned against the early bandits rather than entering the trial with an unfinished combat setup.
Level 45 is the reported minimum to enter Final Selection. If you plan to attempt it alone, around Level 60 is a safer preparation target, but it is a recommendation rather than a gate. Check the entrance countdown in your server because a fixed repeat schedule is not established.
How to Complete Final Selection in Slayers 2
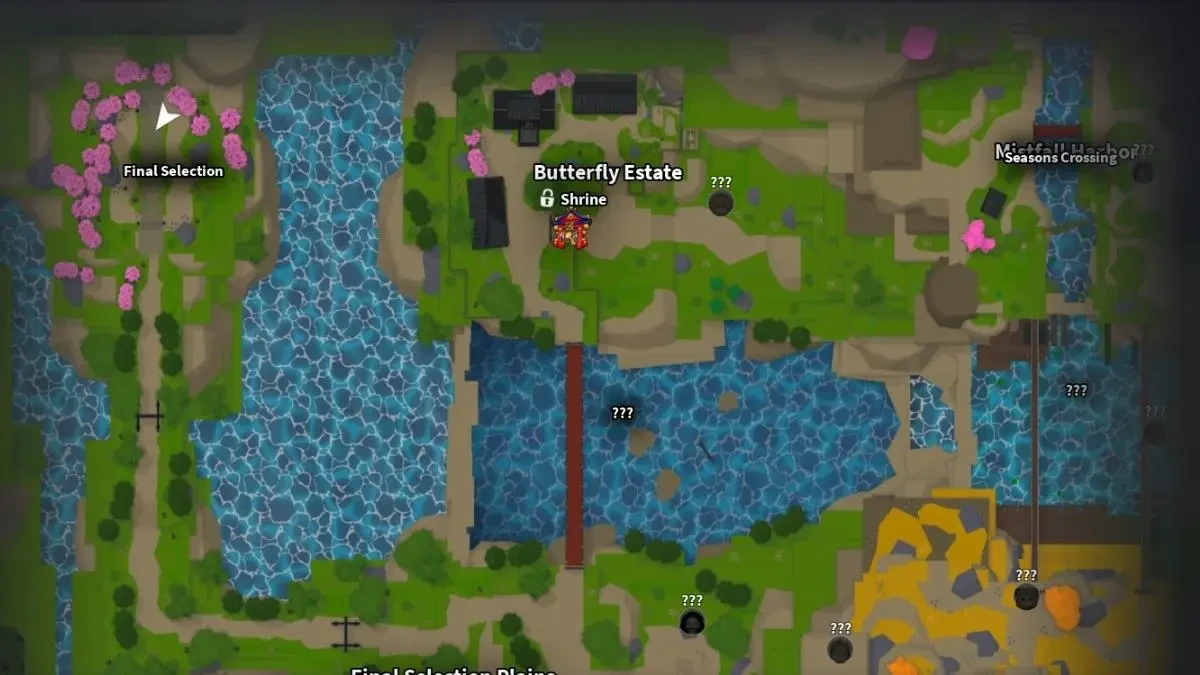
Final Selection begins at the gate west of Butterfly Estate, with The Sisters starting the trial. It is timed and ordered, so treat each interaction as part of one route. Bring your working weapon and style, watch the current objective marker, and do not assume that defeating one enemy completes the whole trial.
Complete the objectives in this order:
- Begin with The Sisters. Reach the gate and speak to The Sisters to start Final Selection.
- Collect Rem's requested fruit. Take the fruit objective before moving on to the demon tasks.
- Defeat five Lesser Demons for Vael. Clear the required enemies, then confirm the objective is complete.
- Recover Klien's Nichirin Katana and help Rika. Find the katana, then follow Rika's bandage and treatment interaction. Buy the requested bandage when the objective calls for it, but do not rely on a fixed price from older guides.
- Get Mizuto's Submerged Key. Dive for the key and clear the parkour dungeon connected to the objective.
- Run Lavato's four checkpoints. Touch each checkpoint in the requested route before leaving the task.
- Hold Levi's marked camp. Defeat the Rogue Demons there and rescue the civilian.
- Start and finish the Hand Demon fight. Speak with Steve to begin the boss objective, then defeat the Hand Demon.
- Return to The Sisters. The boss defeat is not the final handoff. Go back to The Sisters so the trial can be marked complete and the rewards can be granted.
Keep moving between these steps because the trial has a timer. If the quest marker changes after an interaction, use that new objective rather than skipping ahead based on the map alone.
What to Do After Final Selection in Slayers 2
Passing Final Selection currently rewards the Mizunoto rank, a Slayer Uniform, Ore, and a Kasugai Crow. Treat these rewards as the start of your Slayer Progress and style-mastery goals, not the end of the route.
At Level 65, start The Forge quest with Blacksmith Togane in Hidden Mist Village. That is the next major upgrade direction after the beginner route. If travel is the only thing slowing you down, the Slayers 2 horse mount guide is an optional travel aid, not a requirement for the progression path above.
After the exam, equip the Crow and look for the Ren or Ginzo follow-up before spending time on another optional farm. That keeps you moving toward Togane and The Forge.