If you're choosing a Demon build in Slayers 2, start with your role rather than a single universal winner. Shockwave is the broadest all-around pick, Pyrokinesis is the burst PvP choice, Ice covers AoE and control, Blood is the sustained PvE and boss specialist, and Obi is strongest when a team can convert its crowd control into pressure.
This is a role-based snapshot for the late-September 2026, early V0.182 window. It compares five complete Clan, Blood Demon Art, weapon, and gear templates, so the S and A labels describe practical breadth or specialization, not a permanent ranking of every Demon Art.
Slayers 2 Demon Build Tier List: Scope and Criteria
The list covers five complete build templates rather than every Clan, Art, and weapon combination or a raw nine-Art tier list. I weighed role fit first, then the synergy between the Art, Clan, weapon, and gear direction, along with damage windows, combo and CC reliability, defensive tools, weapon compatibility, and the cost of a missed setup.
S Tier means the build is the broadest or clearest winner for its intended job. A Tier means it remains useful but is narrower or more dependent on a specific mode, weapon commitment, or coordinated team. An A specialist can still be the better choice when its mode matches what you actually play.
Slayers 2 Demon builds ranked by role
Early V0.182 role-based recommendationsS
Broad or clear role winners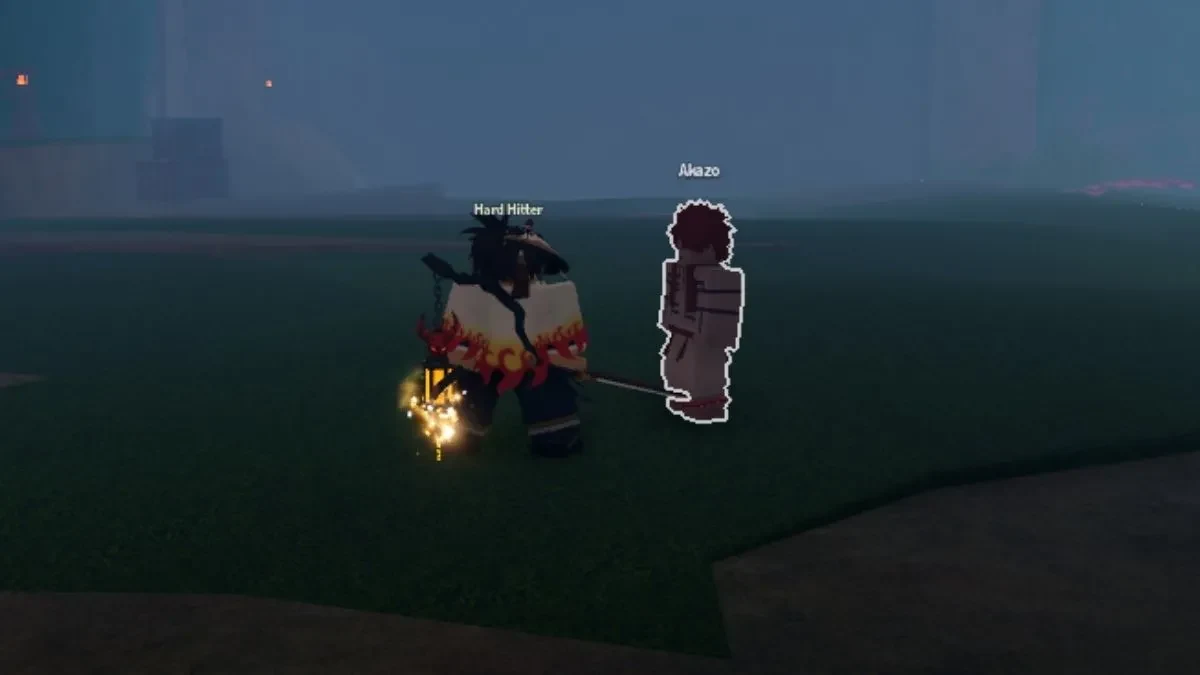 Shockwave Manipulation Combo Build
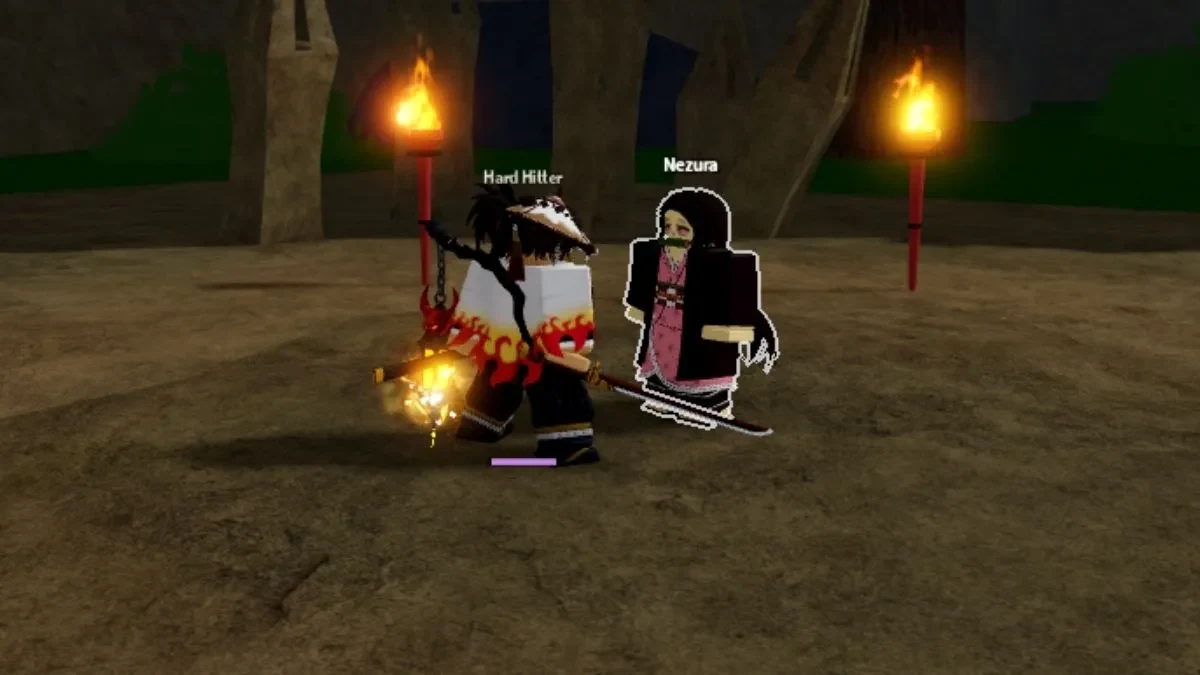 Pyrokinesis Manipulation Burst Build
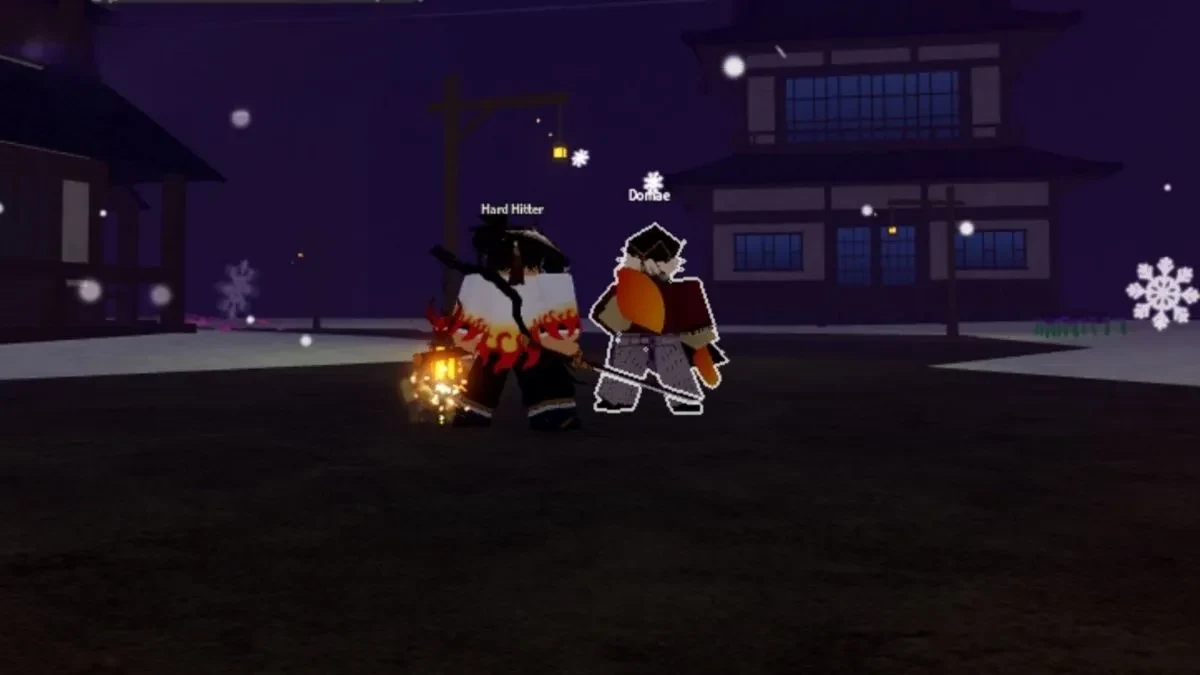 Ice Manipulation AoE Build
A
Strong specialists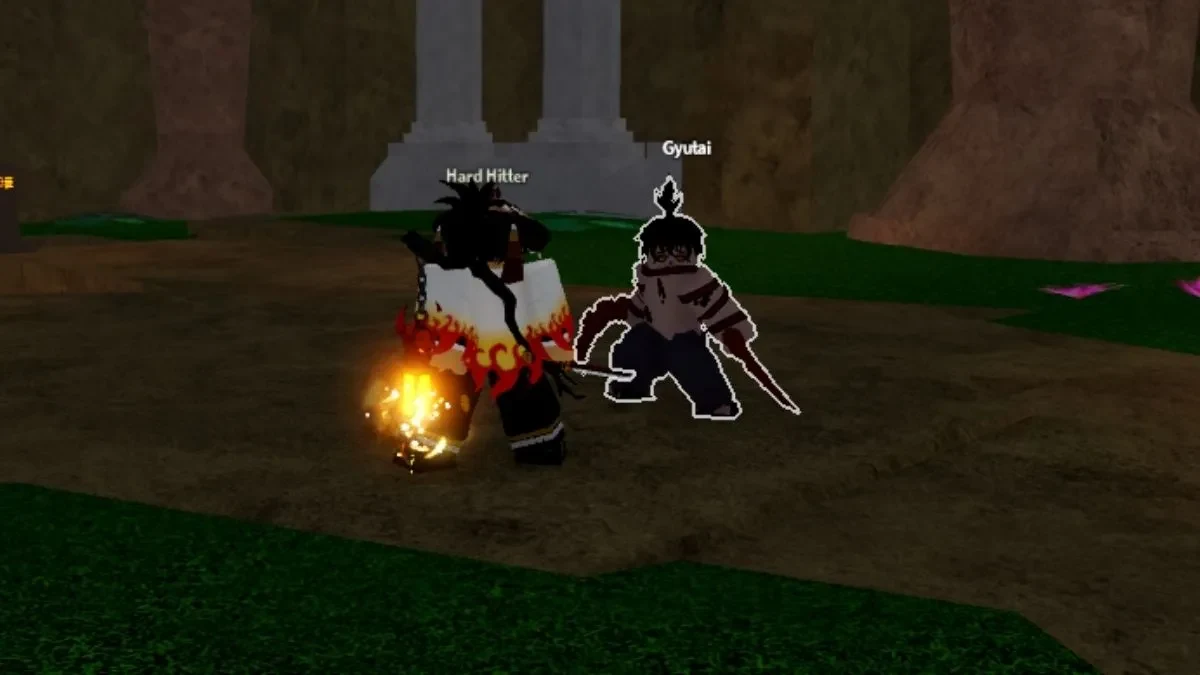 Blood Manipulation Barrage Build
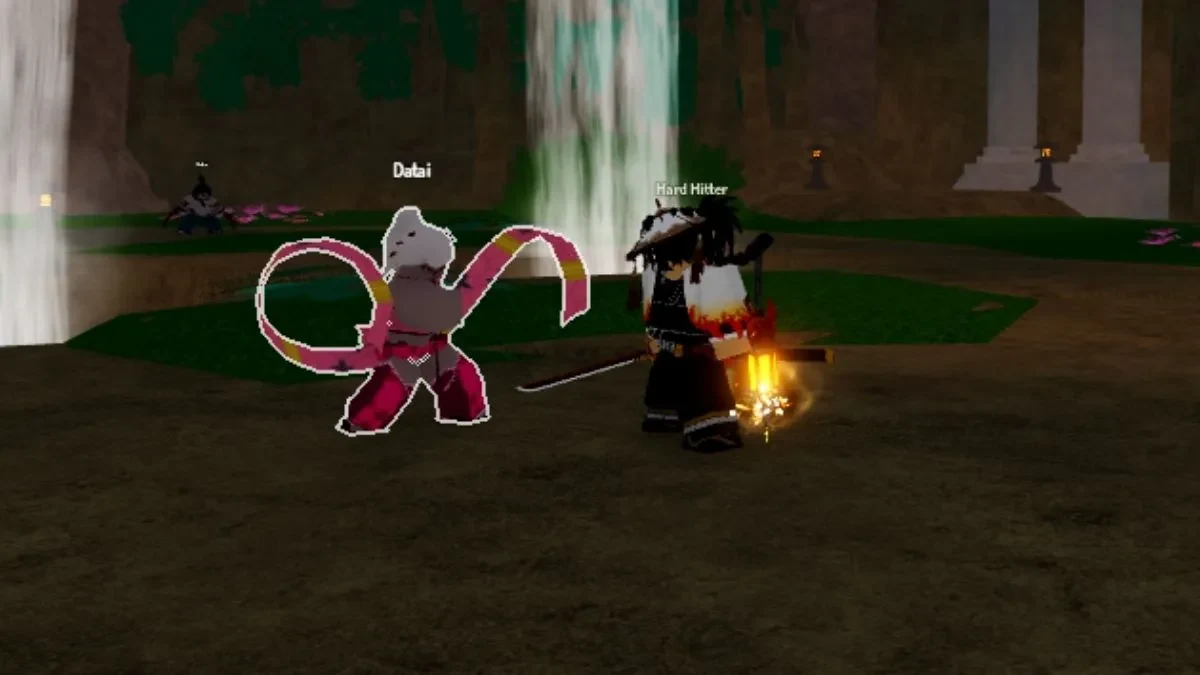 Obi Manipulation Trap Build
S Tier
| Image | Build | Role and best fit | Core loadout | Main tradeoff |
|---|---|---|---|---|
| Shockwave Manipulation Combo Build | Combos and crowd control for PvP and PvE | Kamado, Shockwave, Firstlight War Fans; Reaper's Outfit, Demonic Horn II, Stone Haori, Bamboo Muzzle, Demonic Lantern | Shared counter timing makes missed pressure costly |
| Pyrokinesis Manipulation Burst Build | Burst DPS for PvP | Kamado, Pyrokinesis, Nightfall Claws; Nightfall Top, Demonic Horn II, Stone Haori, Silver Fang Mask, Nichirin Lantern | Short damage windows reward clean positioning |
| Ice Manipulation AoE Build | AoE and crowd control for PvP and PvE | Douma, Ice Manipulation, Firstlight War Fans; Reaper's Outfit, Flame Amigasa, Stone Haori, Red Oni Mask, Demonic Lantern | Gives up Kamado's sunlight safety and needs careful timing |
Shockwave Manipulation Combo Build in Slayers 2
Shockwave is the safest recommendation when you don't want to lock yourself into one mode. Its strict-stun and pressure tools support combos and crowd control in both PvP and PvE, while Kamado adds broad utility and Firstlight War Fans give the loadout an all-around reach option.
That breadth doesn't make it automatic in every matchup. The gear direction leans toward sustain and health, but the shared counter cooldown makes timing the main drawback. Throwing the counter away early can leave you with less room to answer the opponent's next move.
Pyrokinesis Manipulation Burst Build in Slayers 2
Pyrokinesis is the burst build for players who want PvP fights decided inside a short opening. Nightfall Claws reinforce close-range pressure, and Kamado supports the aggressive commitment in this pairing. That makes positioning and timing more important than simply pressing abilities on cooldown.
The source also lists Duelist and Technician gear as alternatives, but they do not change the build's close-range burst identity.
Ice Manipulation AoE Build in Slayers 2
Ice gets an S build tier for its area coverage and Freeze control, not because every current Art list puts Ice at the top. The Douma pairing makes the control plan clear, and Firstlight War Fans support the build's reach while you set up pressure across groups or player fights. That gives it value in both PvP and PvE, particularly when keeping enemies in a controlled area matters.
Your tradeoff is survival and timing. Douma does not give you Kamado's sunlight safety, so you need to be more deliberate about when you commit; control only becomes damage if you can keep the setup going. Duelist gear is the listed alternative if you want a different direction without changing the build's AoE and control role.
A Tier
| Image | Build | Role and best fit | Core loadout | Main tradeoff |
|---|---|---|---|---|
| Blood Manipulation Barrage Build | Sustained DPS for PvE and bosses | Kamado, Blood Manipulation, Nightfall Sickles; Reaper's Outfit, Heavenly Crown, Stone Haori, Red Oni Mask, Demonic or Nichirin Lantern | Narrower PvE value and a higher weapon commitment after nerfs |
| Obi Manipulation Trap Build | Crowd control for PvP and coordinated teams | Shabana, Obi Manipulation, Firstlight War Fans; Nightfall Top and Bottom, Classic Straw Hat, Stone Haori, Silver Fang Mask or Red Oni Mask, Demonic Lantern | Relies more on teammates than solo damage |
Blood Manipulation Barrage Build in Slayers 2
Blood is the clearest specialist in this list. Its long damage windows and barrage identity fit bosses and organized PvE, where sustained pressure matters more than winning a quick duel. Nightfall Sickles keep the weapon aligned with the Art, but the current Art and Sickle nerfs mean the pairing carries a higher weapon and Art commitment than the S-tier all-rounders.
That is why I keep it in A at the build level without treating it as weak. Treat Reaper's Outfit as a sustain and health option rather than relying on a specific bonus number; the build's real limitation is its narrower PvE focus and weapon commitment.
Obi Manipulation Trap Build in Slayers 2
Obi is built around area denial and crowd control. Shabana supports that team-oriented plan, and the structured pairing uses Firstlight War Fans so you can establish control without turning the build into a pure close-range damage setup. In a coordinated group, that utility can be more valuable than an all-purpose damage label.
Solo duelists should temper expectations. Obi's value drops when nobody is ready to capitalize on the CC, so it is an A-tier team-control specialist rather than the universal PvP answer. Nightfall Claws are only a close-range alternative if you intentionally want to trade some of the War Fans' control-friendly reach for melee pressure.
Which Slayers 2 Demon Build Should You Choose?
| Player goal | Pick | Why |
|---|---|---|
| Broad PvP and PvE play | Shockwave | Combos, crowd control, Kamado utility, and War Fans reach cover the widest range of situations. |
| Burst PvP | Pyrokinesis | Nightfall Claws and short damage windows reward players who can create a clean opening. |
| AoE, control, or dungeons | Ice | Freeze and area coverage help keep groups or opponents inside your pressure plan. |
| Boss farming or sustained PvE | Blood | Barrage damage windows and Nightfall Sickles stay focused on prolonged encounters. |
| Coordinated team CC | Obi | Area denial and Shabana plus War Fans synergy matter most when teammates can follow up. |
If your playtime is split, choose the row that matches the mode where you spend resources most often. A role-matched Blood or Obi build can outperform a broader S-tier option in a boss fight or coordinated CC setup. Lock that role before upgrading weapons or gear, and revisit the choice after balance patches because the early V0.182 snapshot can move.