
To get the Night 1 Relic in The Hollow on Roblox, take the elevator in the main Hollow building to Floor I, find the five puzzle pieces scattered through the maze without getting caught by Seek, and solve the board in the Puzzle Room. Carry the relic back to the lobby and you receive the Lord Umberhallow Bloxikin, a shoulder accessory for your avatar.
The Hollow is a Halloween survival event on Roblox, set in a shared hub where players search mazes for clues and try to stay ahead of monsters. Floor I is one of those mazes, and the Night 1 Relic is found there. In-game, the relic is called Night Relic I.
| Part | What to know |
|---|---|
| Entrance | Elevator in the main Hollow building, select Floor I |
| Puzzle pieces | Five, in spots that aren't fixed |
| Chaser | Seek from DOORS |
| Safe rooms | Puzzle Room and elevator room |
| Puzzle | Connect the start and end diamond nodes with one continuous path |
| Reward | Lord Umberhallow Bloxikin, received in the lobby with Night Relic I |
How to Enter Floor I from the Main Hollow Elevator
Floor I is reached from the elevator in the main Hollow building. Step inside, select Floor I, and you'll start in the floor's maze. The floor also has its own elevator room, and that's where the relic has to go at the end, so keep it in mind as you explore.
Where to Find the Five Missing Puzzle Pieces on Floor I
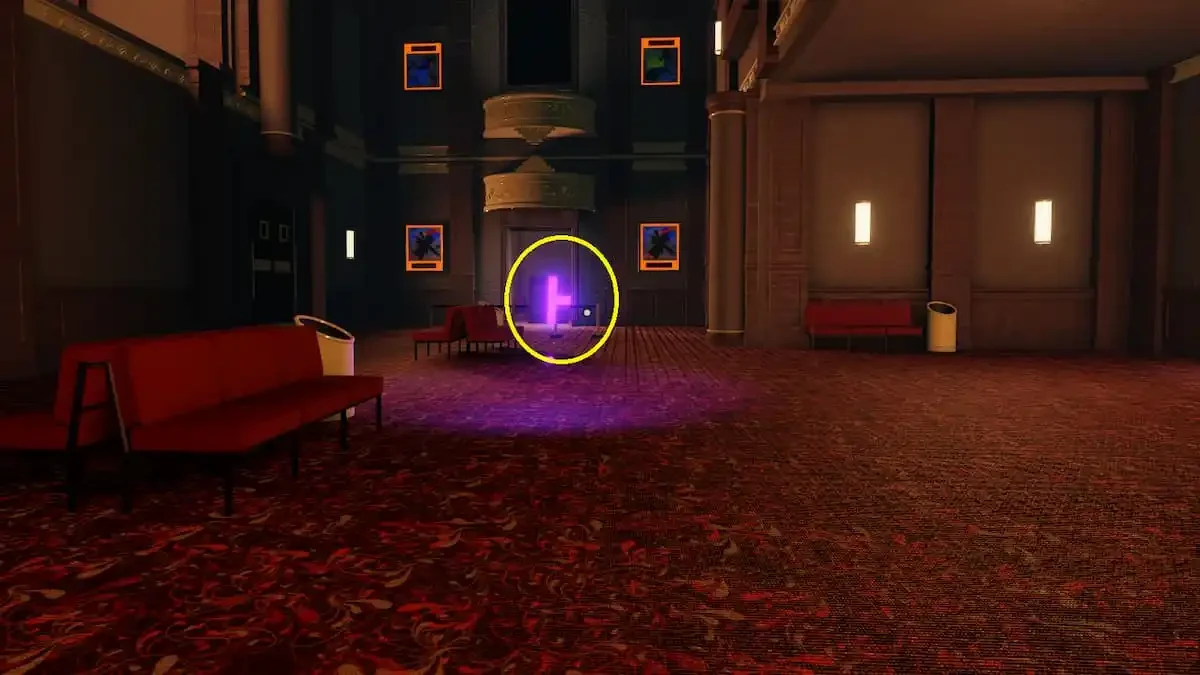
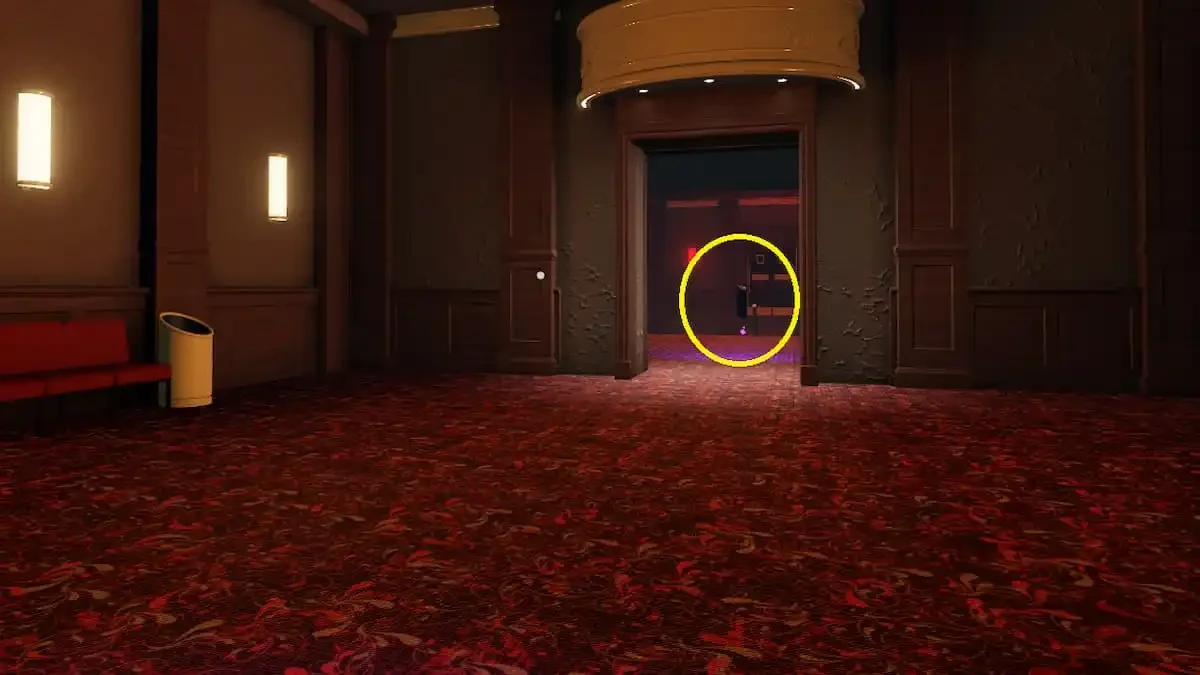
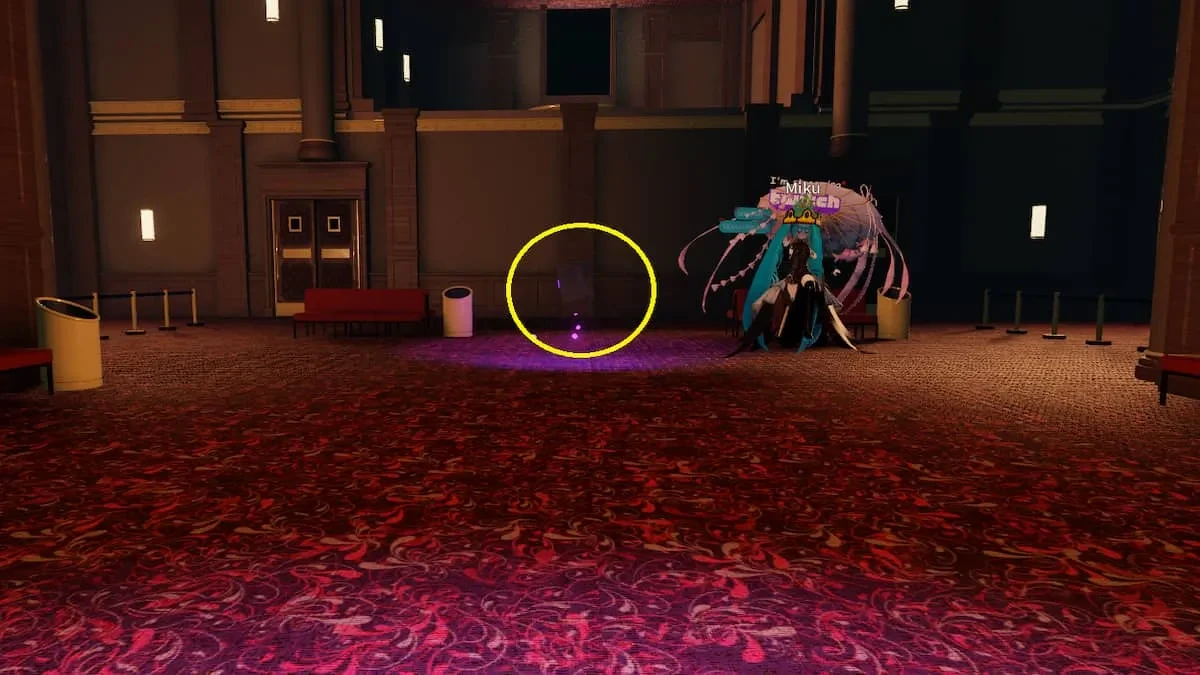
You need all five pieces before you can solve the board. Their spots aren't fixed, since the maze changes from time to time. The landmarks below are where pieces usually turn up, but nothing is guaranteed, so treat them as places to check rather than a route to follow.
| Landmark | Where to check |
|---|---|
| Room with four framed photographs | The center of the room, facing the back wall where the four framed photographs hang |
| Downward stairs at a maze corner | The start or end of the downward stairs, at a corner of the maze |
| Balcony-like area | The floor in front of the balcony-like area |
| Rounded corner or junction | The center of a rounded corner or junction that connects sections of the maze |
| Corridor to the Puzzle Room | The corridor that leads toward the final Puzzle Room |
You may reach one of these scenes from any side, so match the scene itself rather than a path. Once you're there, look over the area around it before moving on.
Room with four framed photographs
Downward stairs at a maze corner
Balcony-like area
Rounded corner or junction
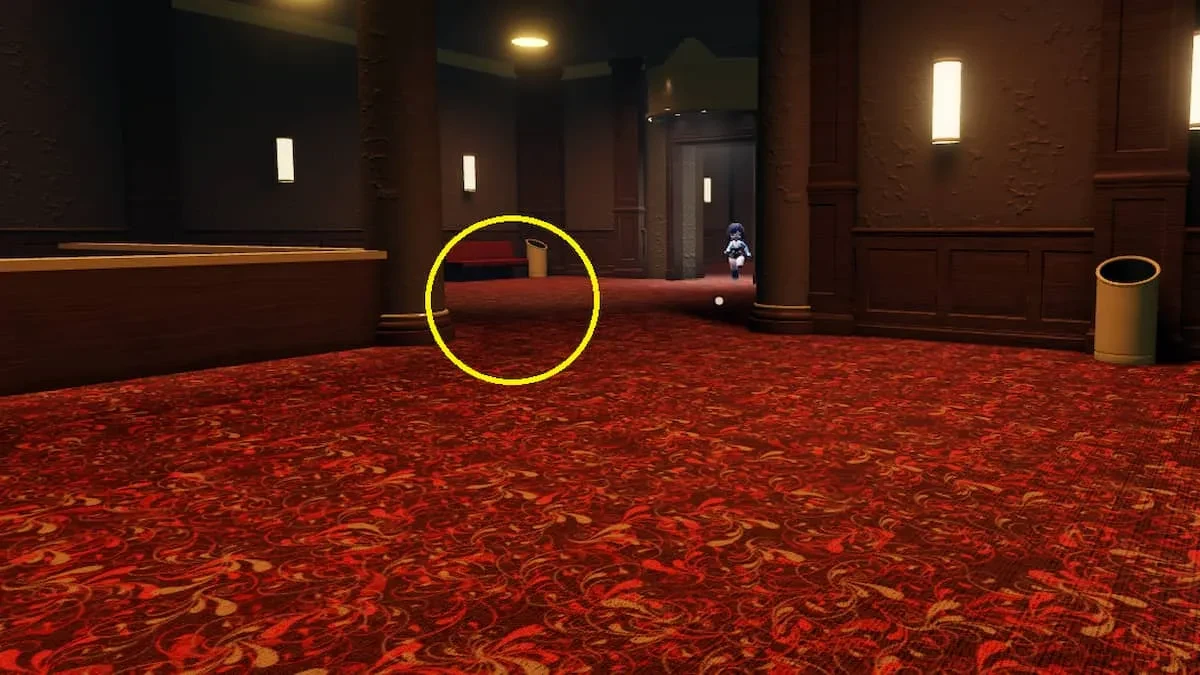
Corridor to the Puzzle Room
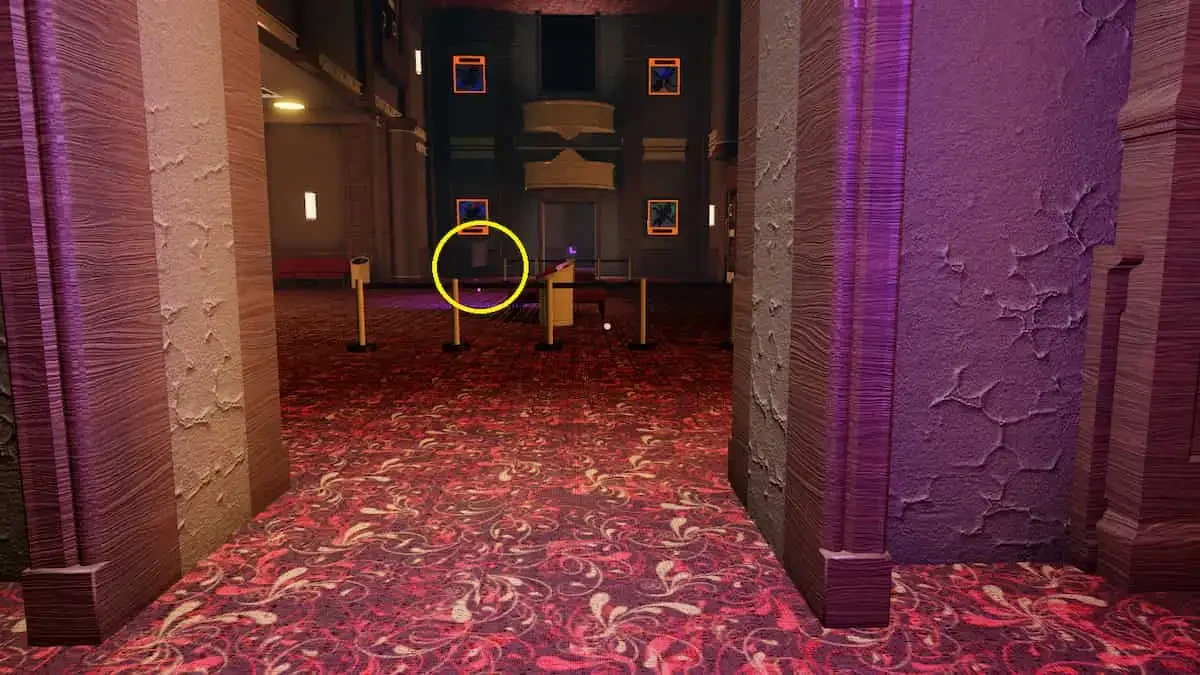
How to Stay Ahead of Seek on Floor I
Seek is the monster from DOORS, and it hunts you across Floor I while you search. A catch is the biggest risk on this floor. If Seek catches you, the whole floor restarts, and you have to find all five pieces again from scratch.
Two rooms are safe. Seek won't follow you into the Puzzle Room or the elevator room, so when Seek gets close, head for whichever one is nearer. Since a catch sends you back to the start, reaching safety early is better than waiting until Seek is right behind you.
How to Solve the Puzzle and Earn Night Relic I
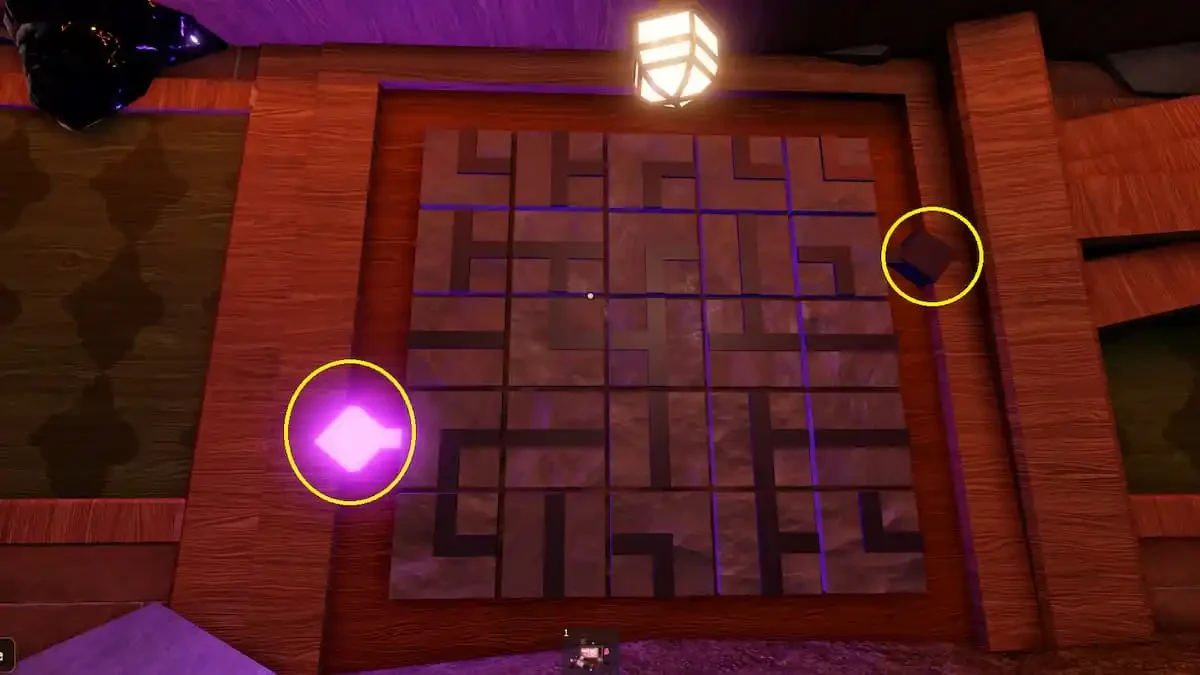
Once you have all five pieces, go to the Puzzle Room, which is behind a blue-barrier door. The board is on the left as you walk in, and you need to stand close to it to place your pieces.
The goal is to arrange the lines on the board so they form one continuous path between its start and end diamond nodes. The layout is different for each player, so solve the board in front of you rather than copying someone else's answer. Solving it earns Night Relic I.
How to Carry Night Relic I to the Lobby for the Lord Umberhallow Bloxikin
The reward isn't handed out at the puzzle. Carry Night Relic I back through the maze to the elevator room, then ride the elevator to the lobby. The Lord Umberhallow Bloxikin is granted once you reach the lobby with the relic.
Seek is still on the floor during the walk back, so don't get caught on the way. Keep an eye out for it until you're standing in the lobby with the relic.