

The fastest way to make money early in X4: Foundations is to take the best missions you can survive, then put that money into freighters and miners that keep earning while you do other things. Medium missions pay several times more than easy ones, so they give you the biggest early boost by a wide margin. X4: Foundations is a space game by Egosoft where credits buy ships and stations, and no single method pays a fixed amount, since rewards, prices and local supply all shift.
| Mission difficulty | Typical reward at low mission level |
|---|---|
| Trivial or very easy | 24,000 to 34,000 Cr |
| Easy | 34,000 to 47,000 Cr |
| Medium | 192,000 to 270,000 Cr |
| Hard | About 1,000,000 to 1,350,000 Cr |
| Very hard | About 9,600,000 to 13,500,000 Cr |
Take Medium Missions Instead of Easy Ones in X4: Foundations
Mission pay doesn't rise in a straight line. A medium job pays roughly six times what an easy one does, and a hard job pays about five times a medium. That jump is why your first habit should be to stop taking easy work as soon as you can survive a medium mission.
Taxi runs and mine clearing are fine for the first half hour, but after that they eat your time for much less money. Rewards also climb with the mission's level and with your standing with the client faction, so the table shows starting points rather than guaranteed amounts.
Missions only appear in the sector you're in, so opening the map in another sector won't reveal new work. When you fly within radar range of a station, its offers show up as icons on your HUD, radar and map, and in the Mission Offers tab. Open a briefing from that tab or from the map icon, and an accepted job moves to the Mission Manager tab.
The station you dock at also matters, because each type leans toward certain work:
- Defense platforms and pirate bases mostly offer combat jobs.
- Trade stations, equipment docks, wharves and shipyards mostly offer trade jobs.
- Faction headquarters mostly offer build jobs.
Offers refresh while you stay in a sector, up to seven per sector, and you'll see up to three extra offers when you have no active mission. Clearing your list brings in more work, so don't let finished jobs pile up. You can hold several missions at once, so a few short jobs can run side by side.
Which Missions Pay Well and Which to Skip
Some missions pay more than their name suggests, and others cost more than they look like they will. These are the ones to know early:
- Jobs that make you buy something get the cost back. Satellites, crew and inventory items you buy for a job are added to the payout at their top price, so deploying a satellite or hiring a pilot is pure profit.
- Signal leak missions pay 1.5 times the normal reward. They're secret jobs such as sabotage, hacking, boarding and passenger transport, and you find them by flying around stations in scan mode (Shift + 2). Many are illegal, and all carry more risk, so weigh that before you accept.
- Escort and patrol pay less per job. Escort pays about half the standard rate and patrol about a third, but patrol adds a kill bonus that grows sharply with ship size. A long patrol in a busy sector can still beat its base pay several times over.
- Assassination jobs are flagged as potentially criminal. Their briefing says so, so read it before you accept.
- Trapped ship rescues can cost reputation. If you keep the rescued ship, one version can push a friendly faction all the way to enemy, and the other takes five full reputation points off.
- Upkeep missions pay nothing. They handle small jobs for your own ships and stations. They keep your empire running, but they don't bring in credits.
Turn Loot and Lockboxes Into Early Credits
Loot is a side income, but it turns into cash quickly. Most items you pick up can be sold at a good profit to station traders. Dock at a station platform, walk to the Trader's Corner and speak to the trader, then choose "Show me your wares." Use the sliders to set quantities and confirm. Wares in your ship's hold sell through the station's Trade menu when you dock instead.
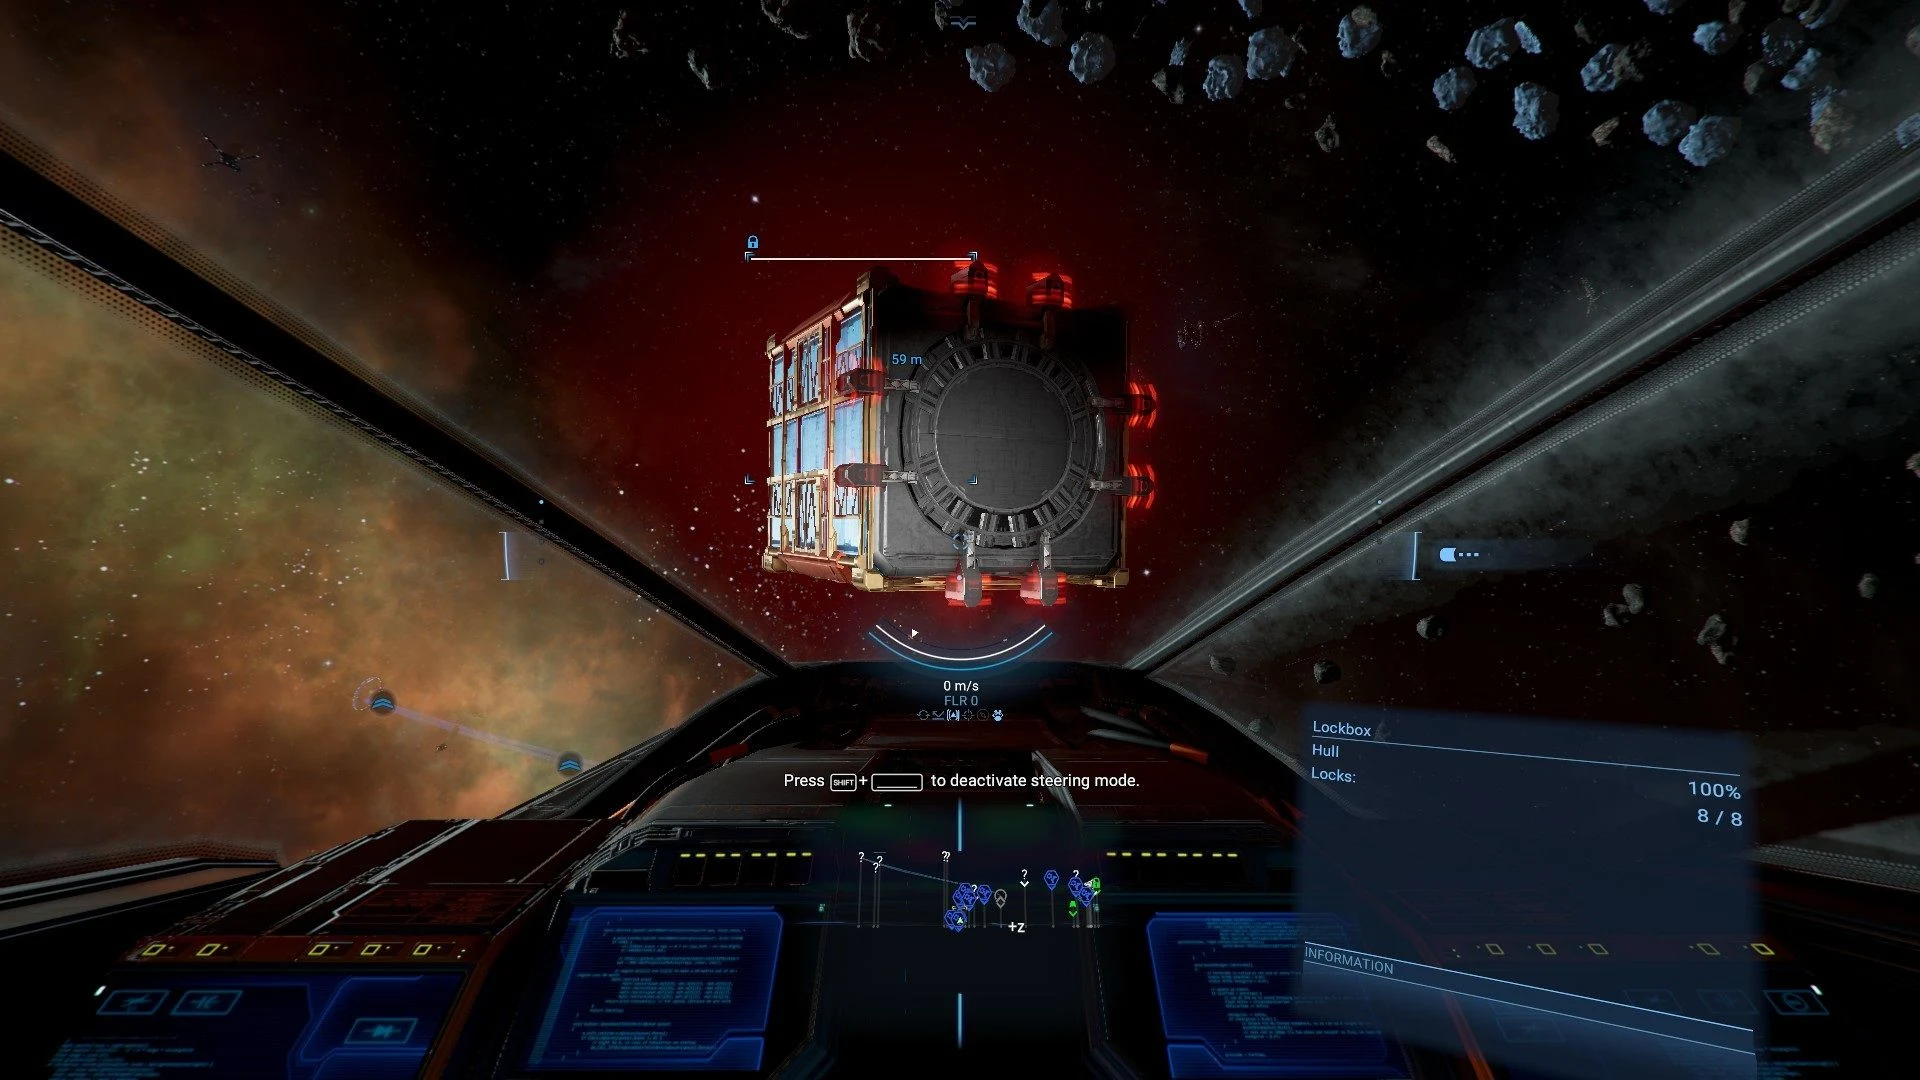
Lockboxes sometimes float in space, and you'll spot them on the long-range scanner or by flying past at the right moment. Each one has between 1 and 16 glowing red locks, and you shoot those locks off without destroying the box. Each lock you break drops items into your inventory, so more locks means more items. The game doesn't set a fixed cash value for a lockbox, so treat what drops as a bonus.
Use a low-power weapon, since some boxes are dangerous if they're destroyed up close. Nudging a box gently with your ship can slow its spin and make the locks easier to hit.
Asteroid fields sometimes show small glints of light, which come from crystal clusters sitting on the rocks. Shoot the cluster itself, since hitting the asteroid rarely releases the crystals. Depending on type, crystals sell for between 1,000 and 250,000 Cr each, and they can also be used for crafting. Hold O to use the Container Magnet, which speeds up collecting crystals and mineral fragments.
Keep a Captured Ship or Sell It at the Right Yard
A captured ship is worth keeping only if it will earn more in your fleet than a sale would bring. If it won't, sell it. Selling is quick, but the offer changes from one yard to the next, so compare before you accept.
- Select the ship on the map.
- Right-click a suitable faction Wharf or Shipyard and choose "Sell ship at."
- Read the offer on screen, and check other yards if you can.
Small and medium hulls sell at a Wharf. Large and extra-large hulls need a Shipyard with a matching construction size. The offer also depends on the ship's condition and loadout, so the same ship can get different offers at different yards.
Taking valuable equipment off before a sale can pay, but only when the upgrade screen shows that it pays better. Don't assume it does. Older ship-sale payout figures don't reliably apply to version 9.00, so go by the offer in front of you.
Buy a Freighter and Pick Cargo That Earns the Most
A freighter with a captain is where early money starts to run on its own. Flying cargo by hand is the slowest use of your time, though a few early runs help you learn which stations pay more. Once you can afford it, buy a freighter and let the captain do the trading.
The Mercury Vanguard is a common first freighter at around 173,000 Cr. The Vulture Sentinel carries nearly twice as much for around 309,000 Cr. Prices shift with the ship's setup and the offers you find, so treat them as rough figures.
Judge a ware by how much a full hold can earn, not by its price per unit. What counts is the gap between the buying and selling price, measured against how much space the ware takes up. A hold full of cheap, bulky goods like food and oil can out-earn a hold of expensive high-tech parts, because it fits far more units.
The two wares with the widest margins, Spacefuel and Spaceweed, are illegal. Smuggling them gets your ship scanned, fined and attacked by the local police, and it can wreck a reputation you'll need later.
Your ships near a station reveal its offers, and so do stations within radar range of your own satellites or stations. Satellites over busy trade hubs are a cheap way to keep prices in view. A faction's Trade Subscription also reveals its offers once you meet its reputation and cash requirements, and the cost varies a lot from one faction to the next.
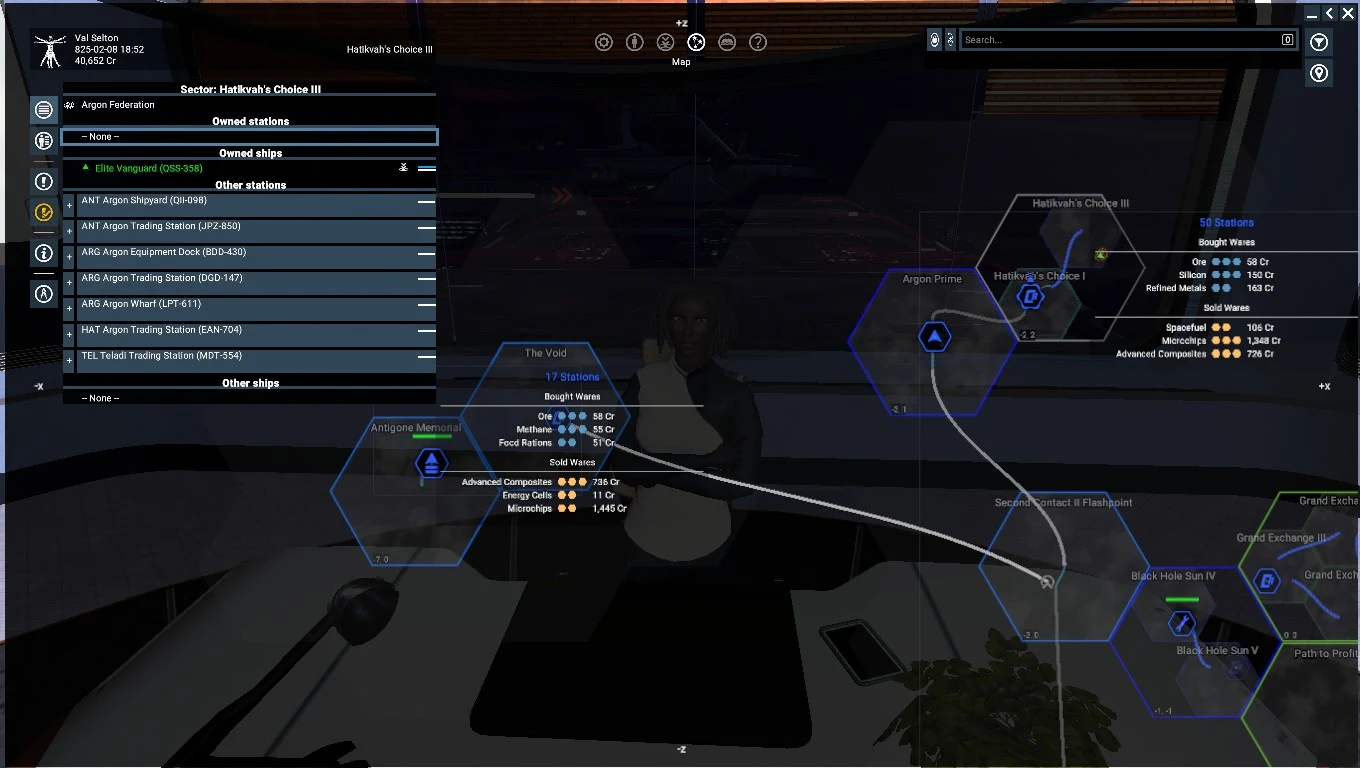
Set AutoTrade Correctly So Freighters Earn Without You
Once a freighter is set up, it keeps trading until you change its behavior, so your attention is free for other things. Setting it up takes five steps:
- Open the ship's Behavior menu and set AutoTrade as its default behavior.
- Pick the type. Local AutoTrade needs no pilot skill and trades one ware, staying in its home sector, which needs both a seller and a buyer for that ware. Advanced AutoTrade trades a list of wares across gates and needs a pilot with three stars. The menu shows what each type requires.
- Choose the wares it's allowed to trade. This list is its whitelist.
- Set the leash range, which controls how far it looks for stations to buy and sell at. Advanced AutoTrade reaches one gate for each star of the pilot's piloting skill, up to five gates. A trader assigned to a station uses the manager's management skill instead, if that's higher.
- Keep enough credits in your account, since traders pay from it and only buy what it covers.
Once a few freighters run this way, they can out-earn anything you'd fly yourself. When one sits still or circles while it searches, check these common causes:
- The pilot has fewer stars than the behavior needs.
- The range is too short to reach the stations you want.
- The ship can't carry the ware. A container freighter never trades ore, ice or gas, which need solid or liquid storage.
- It doesn't know a station's prices. Visit the station or place a satellite nearby so the offers show up.
- Nothing pays. A trader only buys where it can sell for more, so add wares, widen the range or choose a busier home sector.
- Your account is out of credits.
- A blacklist covers a station you can see.
- A large freighter has no cargo drones. Large ships move cargo with drones, and without any of its own, a big trader relies on the other side's drones and its trades can fail. Fit some.
Add Miners Where a Nearby Buyer Already Exists
Miners turn raw resources into money, and they can later feed your own stations. Selling to NPC stations, meaning the ones you don't own, needs no running costs, so a miner earns while you're busy elsewhere.
Start by matching the ship to the resource. Asteroid miners need solid storage for minerals such as Ore, Ice, Nividium and Silicon. Gas miners, which work in nebulae, need liquid storage for Helium, Hydrogen and Methane. A ship with the wrong hold can't carry what you want to mine.
Then follow these steps:
- Find a resource field you've discovered. Asteroid fields show as red tiles on the map and nebulae as blue ones, and miners only head to fields you've found.
- Make sure a station nearby buys that resource. Without a buyer close by, the haul just sits in the hold.
- Set AutoMine as the default behavior, pick the resource and set the operating range. Local AutoMine needs no pilot skill and stays in one sector, but check the requirements the menu shows.
- Sell to an NPC station, or feed a station you own.
Resource probes help you find a good field, since they show miners where to focus. Since version 9.00 they no longer raise mining efficiency, so don't buy them expecting a bigger yield. Resources also move: when a field is depleted, new resources can appear elsewhere in the region, so check your miners' results from time to time.
Don't haul ore yourself. It has one of the thinnest profits per cubic meter, so let a miner gather it and sell it or feed it to a station.
Build Your First Station Once Your Fleet Is Earning
A station turns credits into a steady flow of goods, but it's the biggest spend in this whole plan. A simple station with a basic dock and a small platform costs roughly 2 to 3 million Cr to build. Treat that as a planning number, since blueprints, plots, build materials and builders all change the price. Wait until you have a few million credits you can truly spare and your ships already earn without you.
- Choose a plot near the buyers of the goods you plan to make or sell.
- Add a dock and your first modules, fund the build storage with materials, and hire a builder.
- Once it's built, assign a manager and set a budget, then set what the station buys and sells. The manager controls its trade offers and assigned ships, and the station sells wares to interested NPC traders on its own.
- Assign ships to the station. A mining station can use a miner to bring in its own resource, and freighters can move wares.
For the first production module, pick one that needs no inputs, such as Energy Cell Production. That way the station doesn't need a supply chain running before it starts earning.