Roll once, place the gnome, and finish your first crop cycle
Your first target in Roll A Gnome is one complete sale: roll a gnome, place it, collect its crop output, and turn it into cash. That gives you a clear next choice instead of chasing a rare result before your garden can support it.
Players coming from Grow A Garden beginner tips may recognise the crop loop, but use Roll A Gnome's own prompts and current prices.
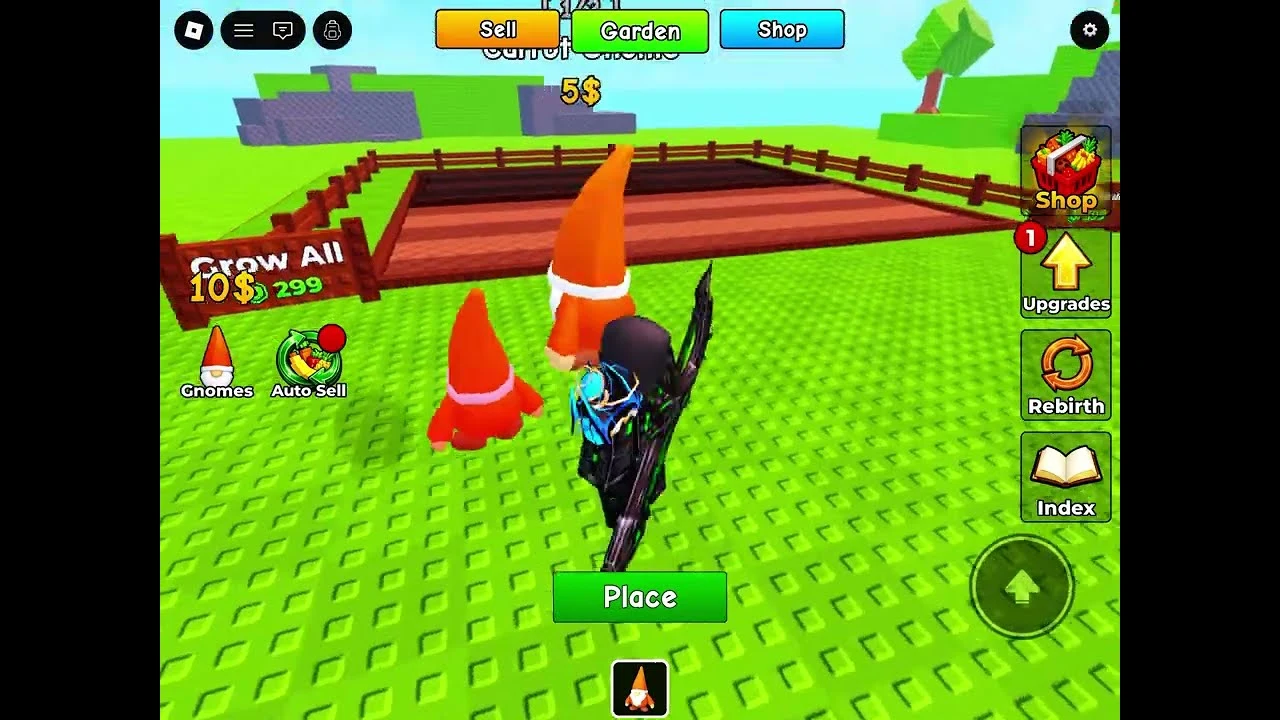
- Roll a gnome. Use the roll action and wait for the result. The game does not promise a specific first gnome.
- Place the gnome. Select the result, choose an open garden spot, and use the visible Place action. Keep it placed if you want it to produce crops.
- Let the garden run. A placed gnome plants crops, so wait until its output is ready.
- Collect the output. Use the current collect or harvest prompt and check your inventory.
- Sell the harvest. Find the current Sell interaction or area and turn the stored crops into cash.
An active garden should show planted gnomes and crop output, with the inventory showing what you can carry. Use that visible state as your check before spending more.
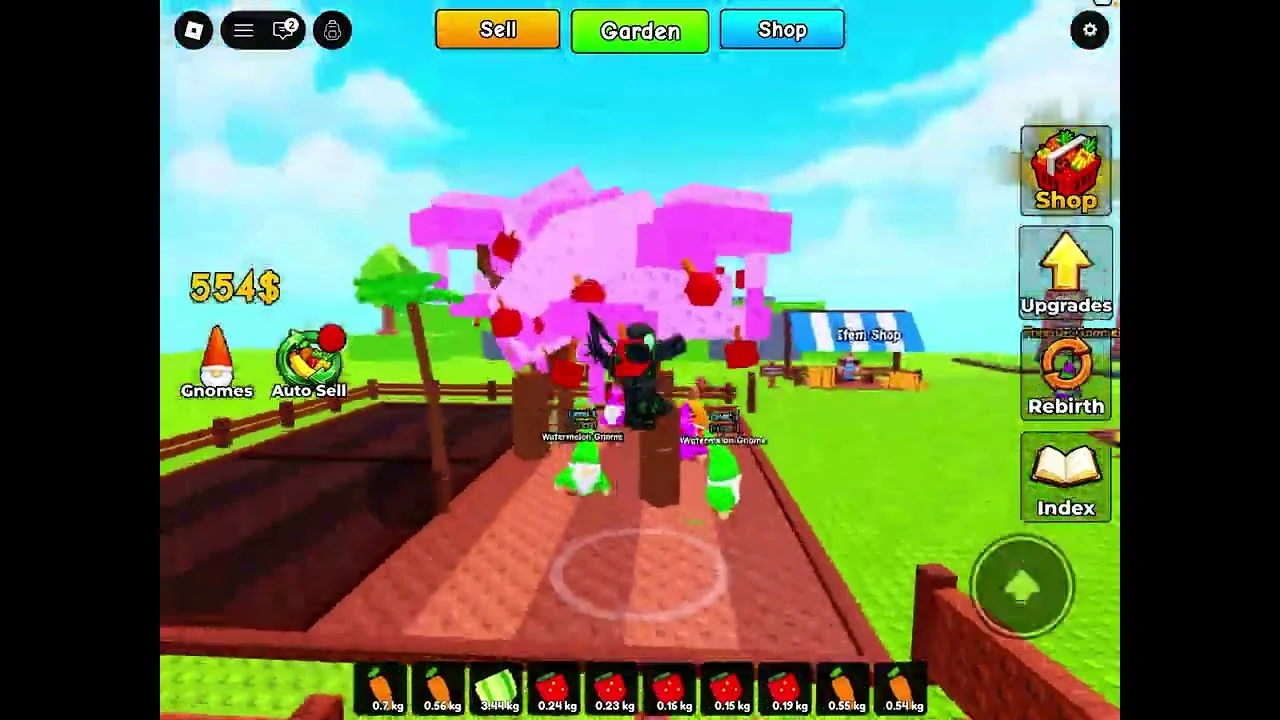
Offline growth is advertised. Leave a productive plot set up before logging out, then check the garden when you return. There is no fixed cap or payout to plan around, so use the result shown in your current server.
The experience advertises a +100% LUCK bonus for liking it and joining its current official group. After doing both, check the in-game state. The message does not define whether every displayed chance doubles.
Spend the first sale on the problem you can see
Do not empty your balance for another roll just because the button is tempting. Check what is blocked first: space, crop storage, or nothing at all.
The same bottleneck-first thinking appears in Greedy Growers' beginner progression, but keep its prices and unlocks separate from Roll A Gnome.
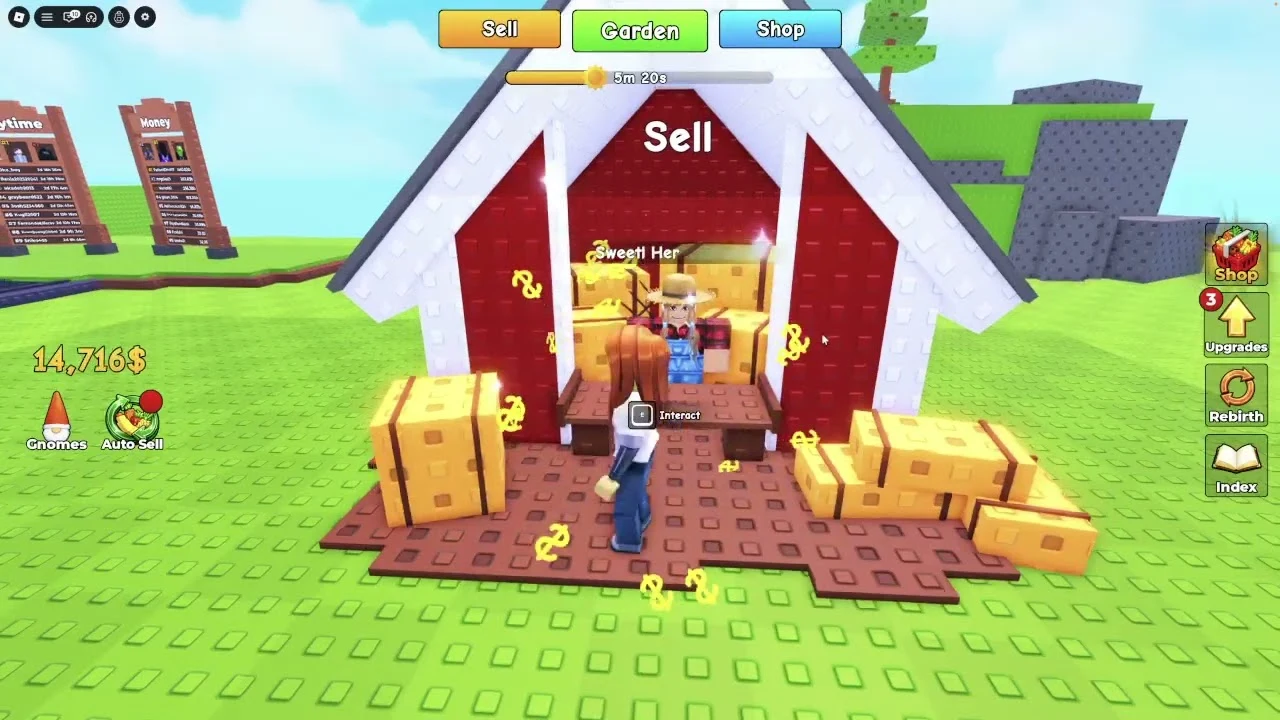
Find the current Sell label or interaction prompt to cash out your harvest. The red Sell building shown here helps you recognise the area, but its look or position can change after an update.
| If you see | Do next | Why it changes your choice |
|---|---|---|
| A gnome is idle because no garden spot is open | Check the current Garden or space option before rolling again. | A new roll needs somewhere to go. |
| An open spot remains and your balance can fund another cycle | Consider another roll. | You can place the result without draining your balance. |
| Harvest is ready or inventory is filling | Sell first, then check any clearly available convenience option. | Selling turns stored output into cash before another decision. |
| No clear bottleneck appears | Complete another cycle before spending. | The next cycle shows whether space, output, or rolls limit you. |
Read the current cost shown in your server before you buy. Expansion, roll quality, and convenience choices are live decisions, so a fixed spending order is not useful.
Let the visible bottleneck decide. Expand when space is blocking a placed gnome. Roll again when you can place the result and keep cash for the next crop cycle. Choose convenience when repeated manual actions are the real slowdown. If nothing is blocked, save and run another cycle. The garden keeps its own little accounts department.