In +1 TNT Mining on Roblox, TNT is only one part of the mining cycle. You first build Damage, place and ignite a TNT block, collect the fragments, sell them in the lobby, and reinvest the Cash before moving on to stronger TNT or deeper areas.
This beginner guide walks you through that first complete cycle, the PC controls for each tool, and what training, pets, upgrades, rebirths, and area gates change as you progress.
How to Start Mining in +1 TNT Mining
Follow this route for your first useful batch of Cash:
- Equip a TNT block. Select a TNT block from your available tools so you can build its Damage before you mine.
- Train your Damage. Use the Left Mouse Button repeatedly with the TNT equipped, or stand near the highlighted spots in the Training area to increase Damage automatically. Higher Damage produces a larger explosion.
- Enter the mining area and place TNT. When you are ready, place a TNT block in the designated mining area. You have a limited number of placements available at once, so use them as part of a complete trip rather than treating each placement as the end of the process.
- Equip the flint and ignite the TNT. The blast breaks the mining area into collectible blocks. Move near the fragments to pick them up.
- Return to the lobby. Going back to the lobby replenishes your available TNT supply, letting you prepare for another mining trip.
- Sell the blocks at the Sell station. This turns the fragments you collected into Cash, which is the resource you use for the next part of the loop.
- Reinvest the Cash. Visit the TNT shop for a stronger TNT block or use the Upgrades station to improve one of the stats described below. Then train, mine, sell, and repeat.
The key checkpoint is the Sell station: a blast only helps your progression after its blocks become Cash. The official game description also points to rarer blocks deeper in the mine, so the loop gradually connects bigger explosions and better equipment to new areas.
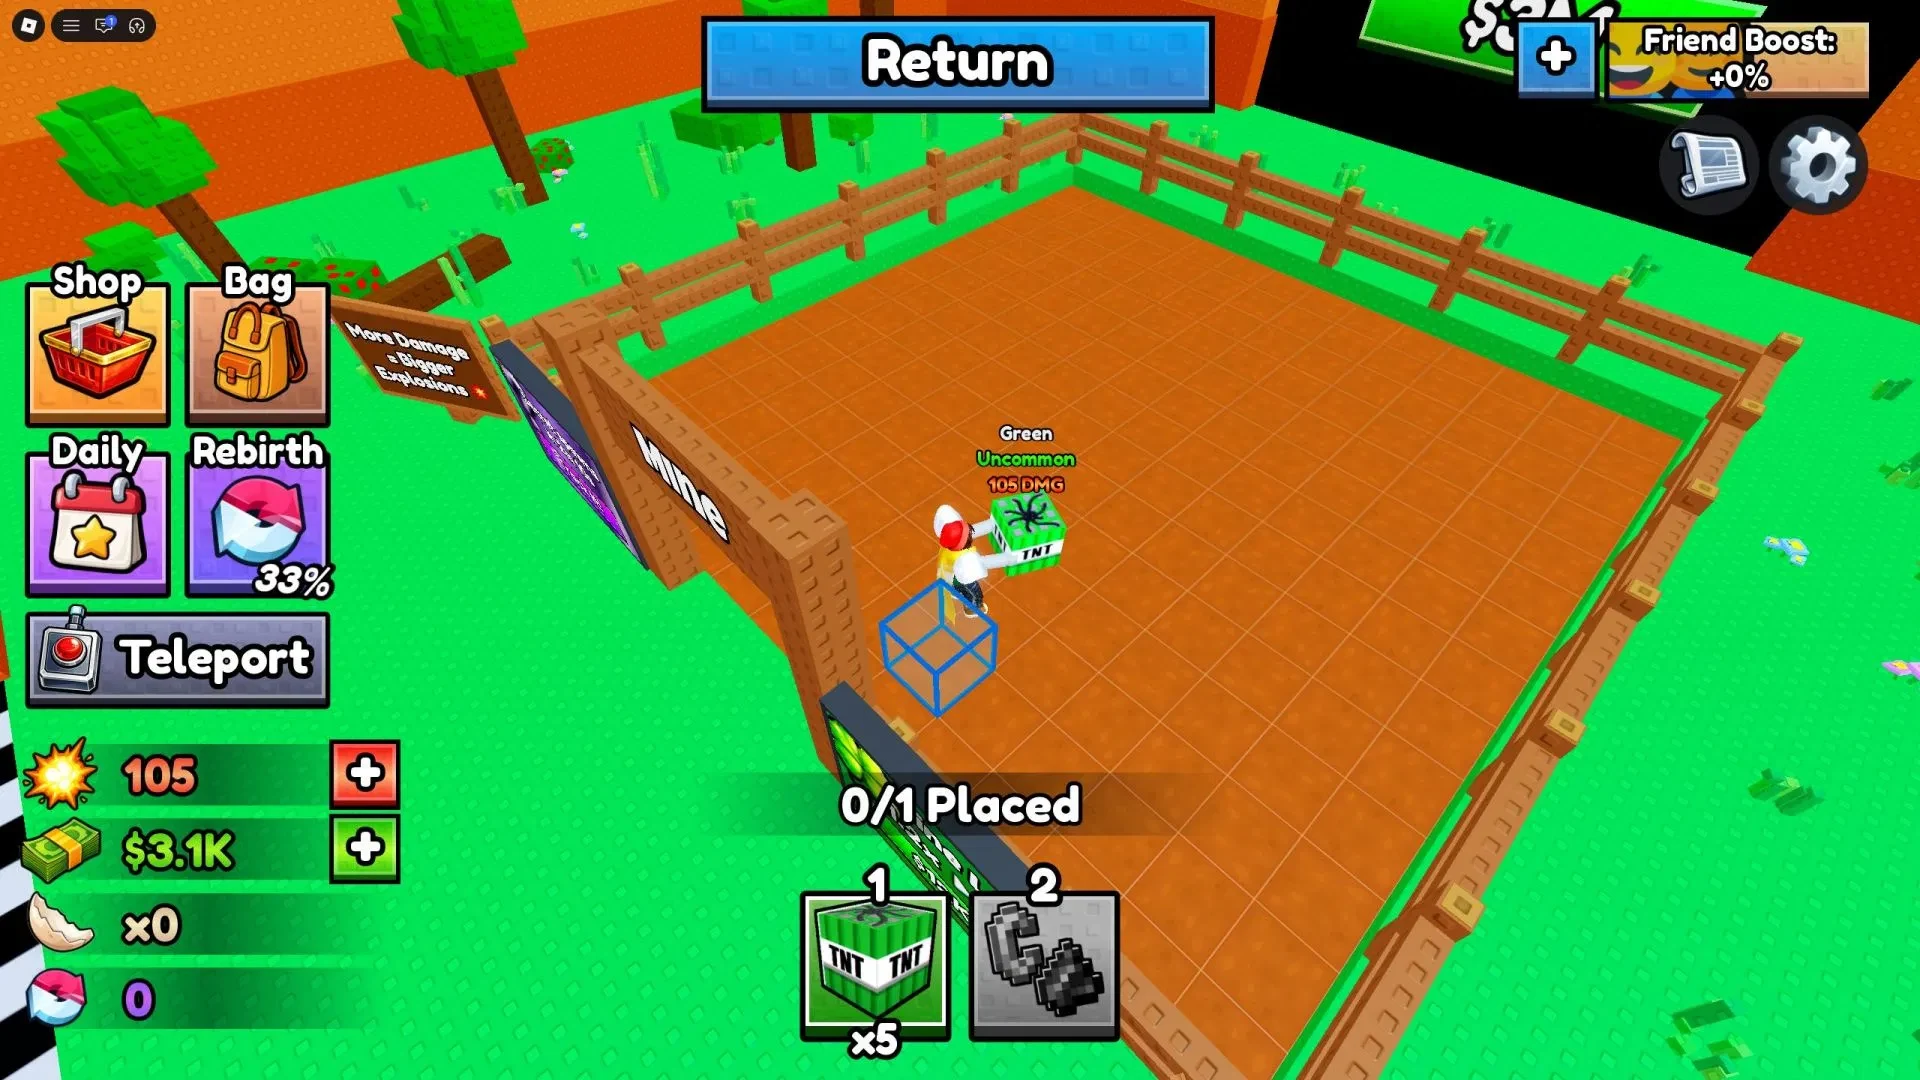
+1 TNT Mining PC Controls
These are the PC bindings for movement, interaction, tool selection, and tool use:
| Action | PC input | What it does |
|---|---|---|
| Move | W, S, A, D | Moves your character in the four directions. |
| Jump | Spacebar | Makes your character jump. |
| Interact | E | Interacts with a nearby station or game object. |
| Equip a tool | Number keys 1-0 | Selects the tool in the matching slot. |
| Use the equipped tool | Left Mouse Button | Uses the selected TNT, flint, or other tool. |
For the mining cycle, the number keys let you switch from TNT to flint, while the Left Mouse Button handles training and tool use. The game supports mobile and console as well, but these PC keys do not establish touch or controller mappings; use the controls shown for your platform.
+1 TNT Mining Training, TNT, Pets, and Upgrades
How Damage training and TNT work
You can train Damage manually by clicking with TNT equipped, or use the automated Training area by standing near its highlighted spots. Manual clicking is faster when you are actively playing, while the automated area lets Damage increase without constant tapping.
Training is not tied permanently to one TNT block. The Damage you build carries over when you switch TNT, and a TNT block's own baseline Damage stacks with that trained amount. In practice, upgrading your TNT changes the strength you bring into the mine without throwing away the training you have already completed.
What pets change
Pets can be equipped to give a passive multiplier to your training gain. That effect applies to both manual clicks and the automated Training area, so pets remain useful with either training method.
What the Upgrades station improves
Cash upgrades at the Upgrades station focus on four parts of the mining loop:
- TNT carry capacity: improves how much TNT you can carry.
- TNT placement limit: improves how many TNT placements you can use before returning to the lobby.
- Movement speed: helps you move between training, mining, and selling locations.
- Collection range: makes it easier to pick up blocks around the blast area.
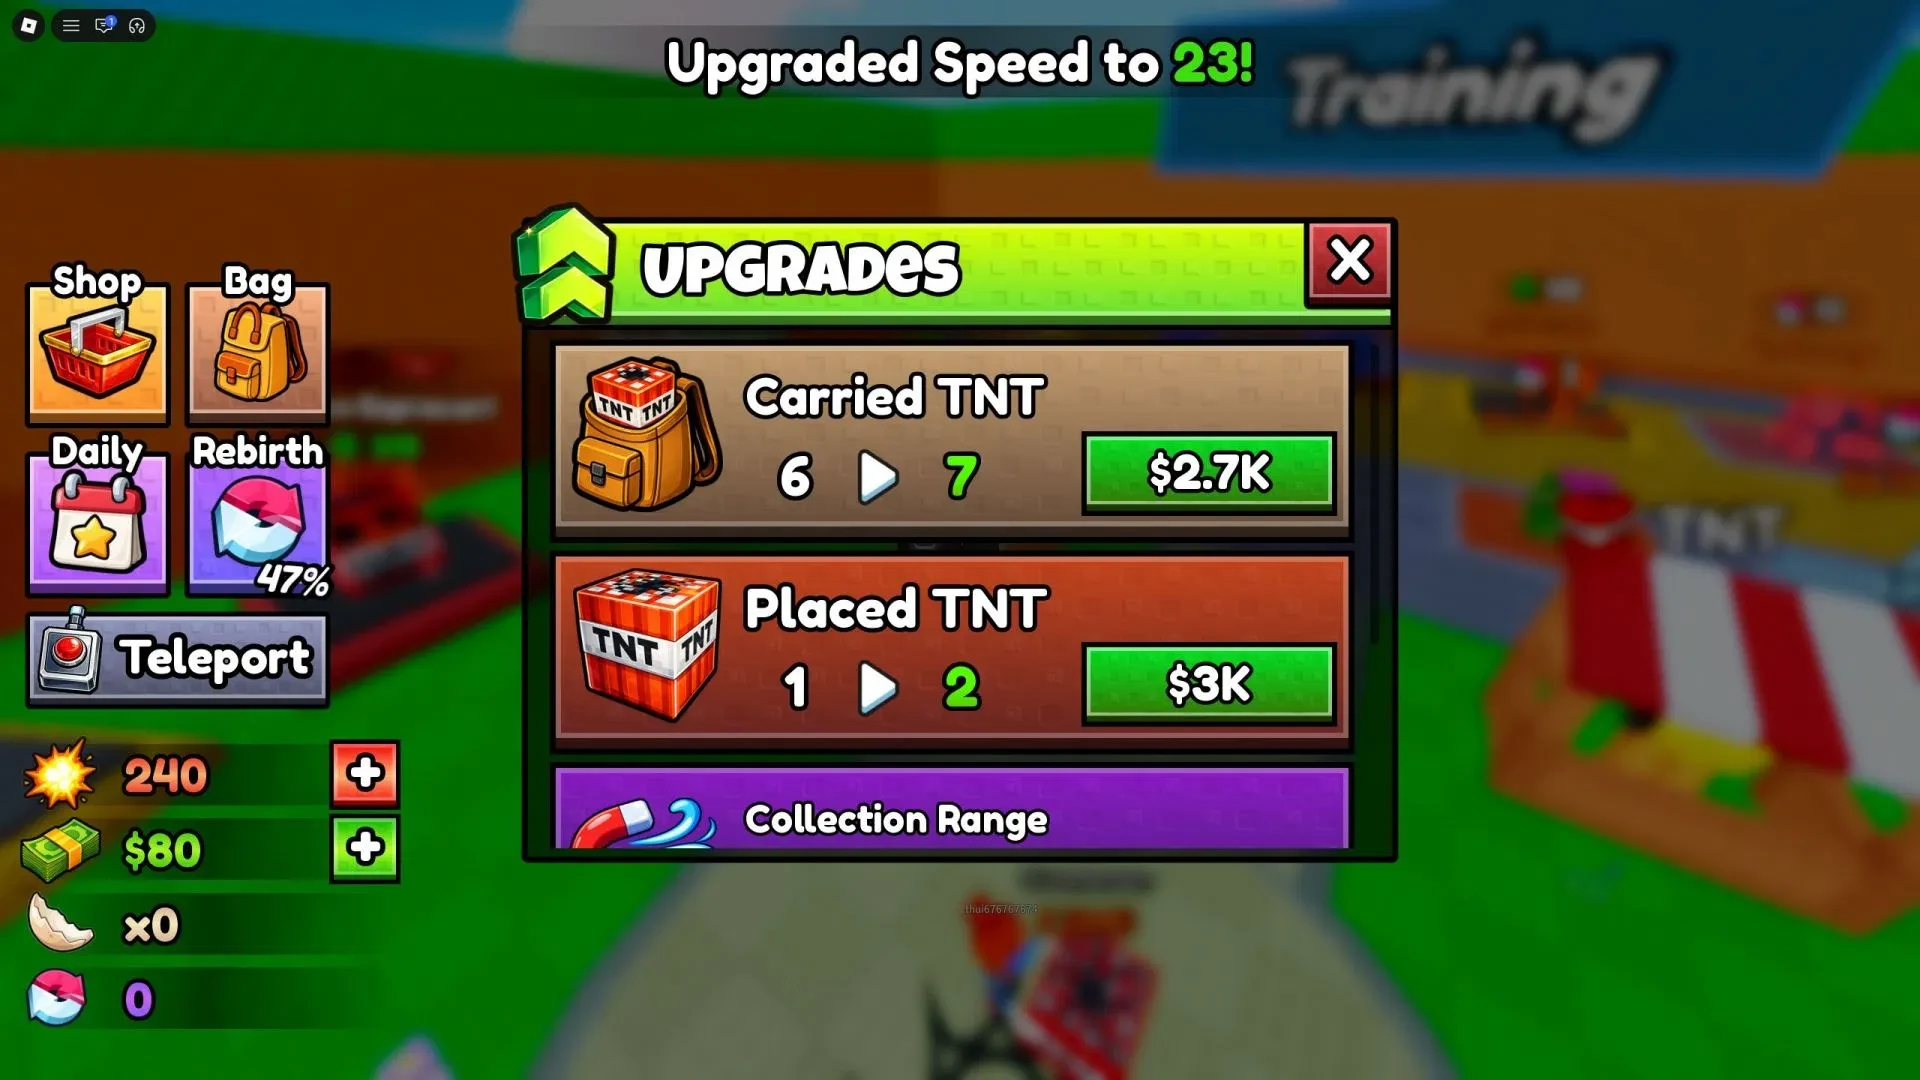
Choose the upgrade that addresses your current slowdown: carry or placement capacity if you are ending trips too soon, movement speed if travel is the friction point, or collection range if fragments are taking too long to gather.
+1 TNT Mining Rebirth and New Area Progression
Rebirth is a reset with a long-term benefit. It resets your Damage stat and levels to 1, but grants permanent multipliers for Damage and Cash earnings. Rebirths also open additional Training spots with better training multipliers, giving you another way to build Damage after the reset.
Because the reset trade-off matters, check the current rebirth requirement and multiplier in the in-game interface before using it.
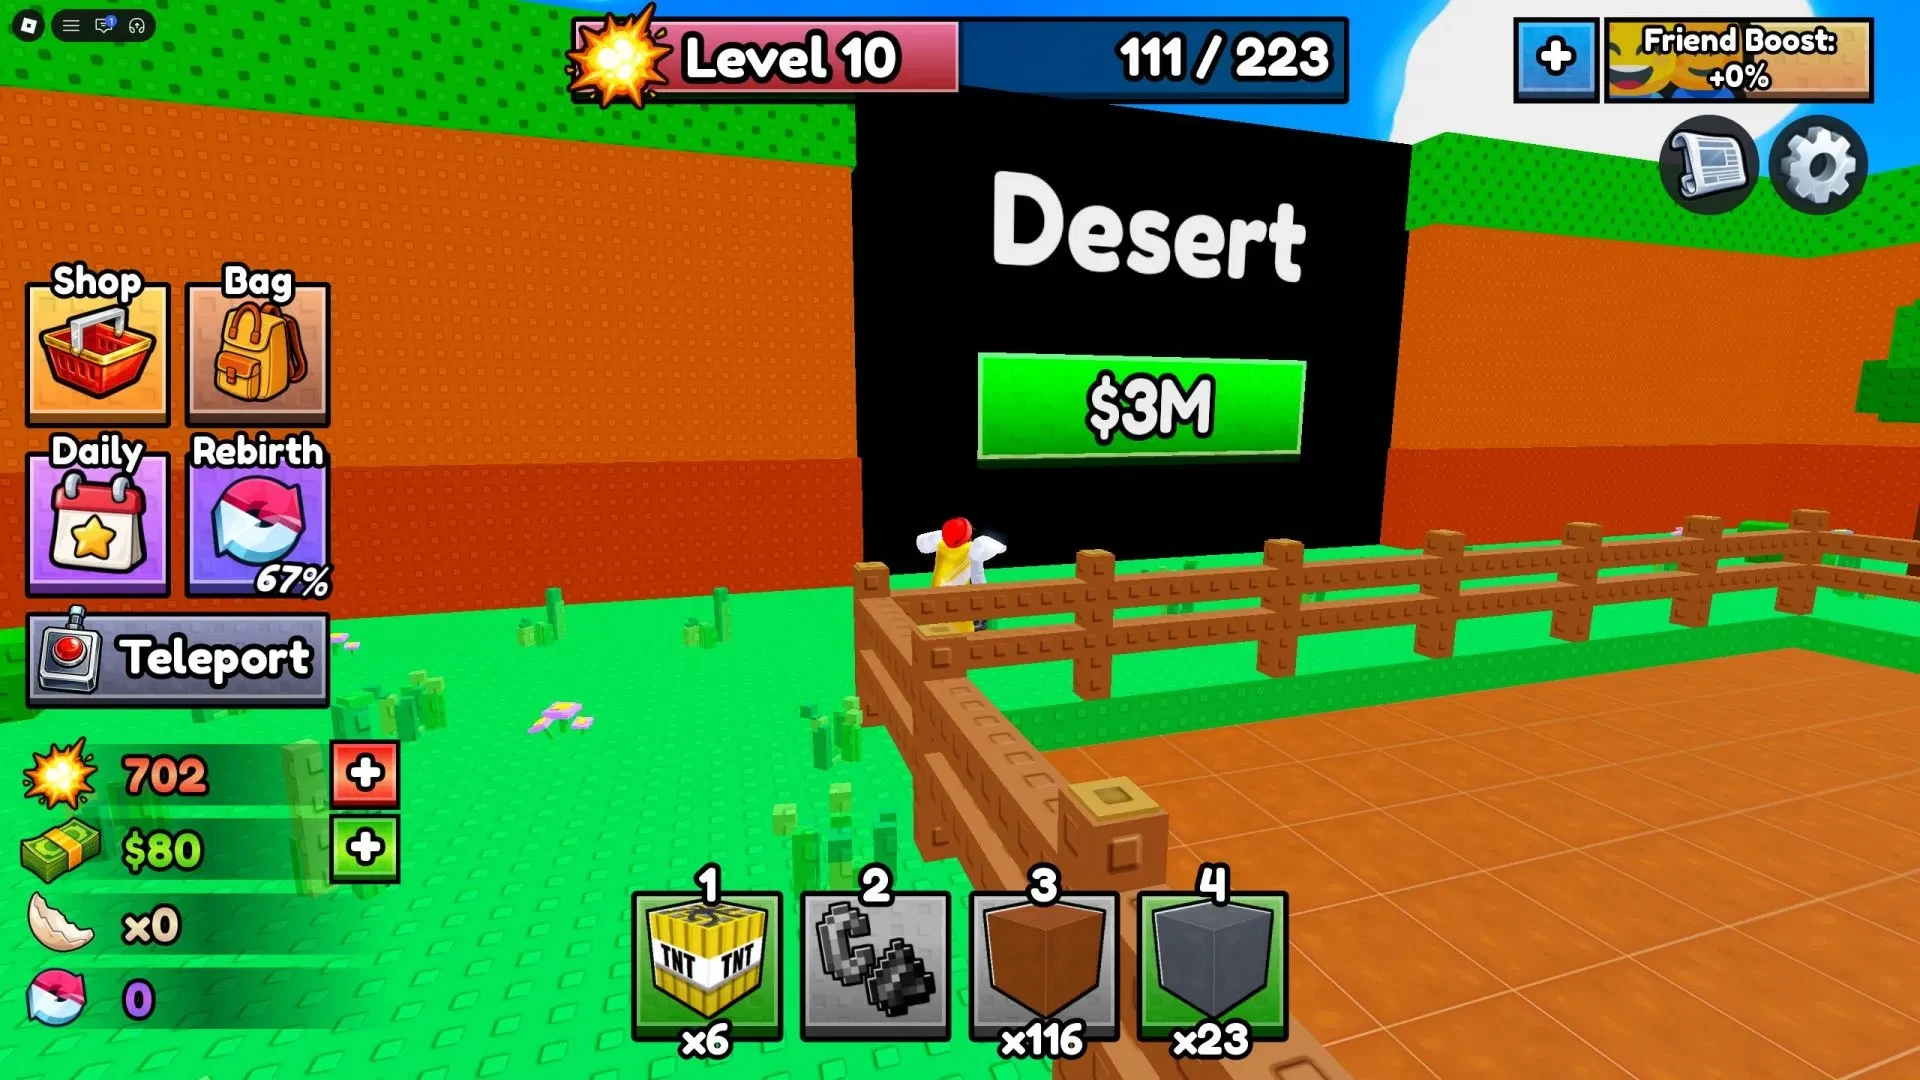
New areas use a Cash gate. Keep completing mining cycles until you meet the requirement displayed by the game, then go to the black wall at the far end of the mining area and click its green unlock button. After the way forward is unlocked, use the Teleport button to move between areas.
The same rule applies here: follow the amount and area name shown in your game instead of relying on an old threshold. Deeper parts of the mine are where the official description says rarer blocks can appear, making area access the next major destination after you have improved your Cash loop.
Once you have completed one train-to-Cash cycle, repeat it and spend each return trip on the improvement that fixes your current bottleneck. Build Damage before the blast, collect everything you can, sell it in the lobby, and use the values displayed by the game when you decide whether to buy stronger TNT, upgrade a stat, unlock an area, or take a rebirth.