Your first Lift a Cube run makes more sense once you know why the first cube will not move: start push-ups, compare your Strength with the next cube's Recommended value, and only then begin the lift minigame. The repeatable route is simple: train, lift, earn Cash, improve your setup, and travel farther.
This beginner guide covers the first session, the PC controls, the best way to choose early upgrades, and the checks to make when a cube refuses to lift.
How to Start Lift a Cube and Build Strength
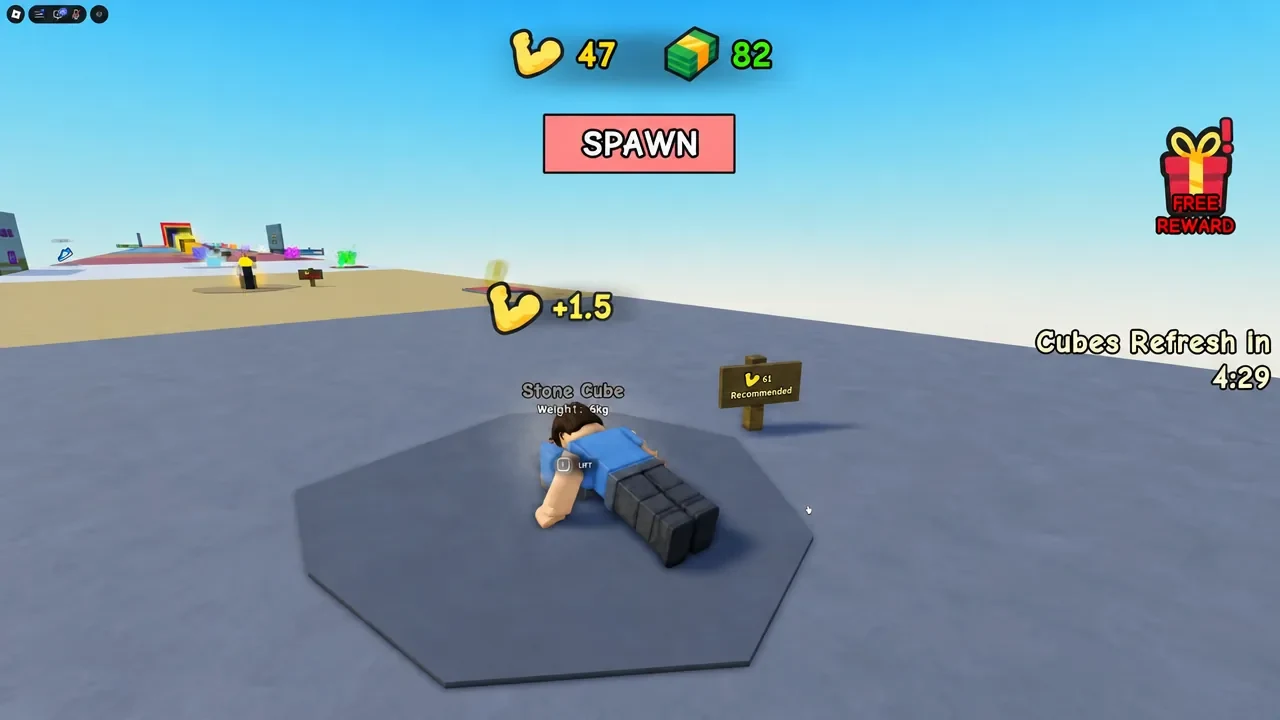
Start at the training pad by pressing the Train button at the bottom of the screen, or press 1 on a PC. Your avatar performs push-ups automatically, and your Strength rises as the push-ups continue. The default gain is one Strength point per push-up.
A small multiplier bubble can appear while you train. Click it when you see it for a brief boost to that push-up, then let the automatic training continue.
Use these controls on PC:
| Action | Control |
|---|---|
| Move | W, S, A, D |
| Jump | Spacebar |
| Interact | E |
| Start training | Train button or 1 |
| Play the lift minigame | Left Mouse Button |
There is no fixed amount of Strength you need for the whole map. Read the next cube's live Recommended strength value, keep training until your displayed Strength meets or exceeds it, and then go test that cube. That check prevents you from wasting time on a lift your current setup cannot complete.
How to Lift Cubes for Cash in Lift a Cube
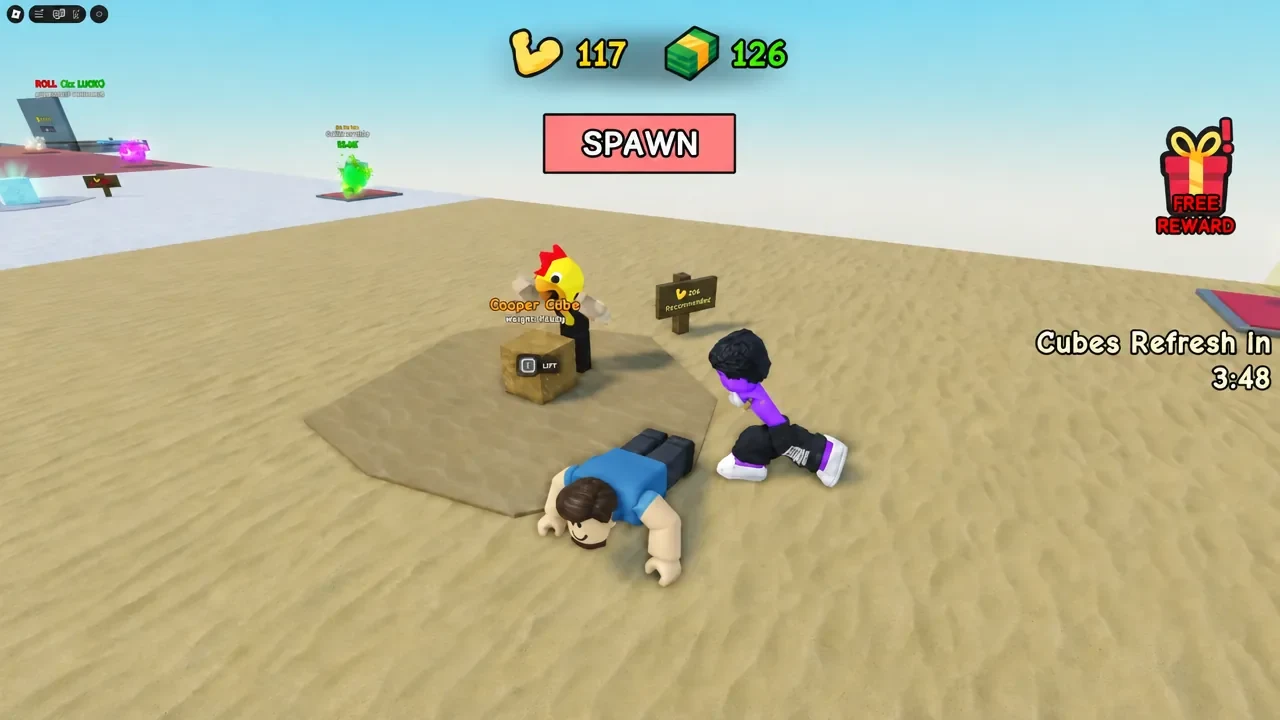
Every cube shows its weight and a Recommended strength value. Use that label as your readiness check instead of relying on a fixed online cube chart, since the next useful target is the one currently in front of you.
- Walk up to the cube and read its weight and
Recommendedstrength. If your Strength is below the recommendation, return to the training pad and build it up first. - Move close enough for the
LIFTprompt to appear, then pressEto interact. If you cannot see the prompt, take a few steps closer.
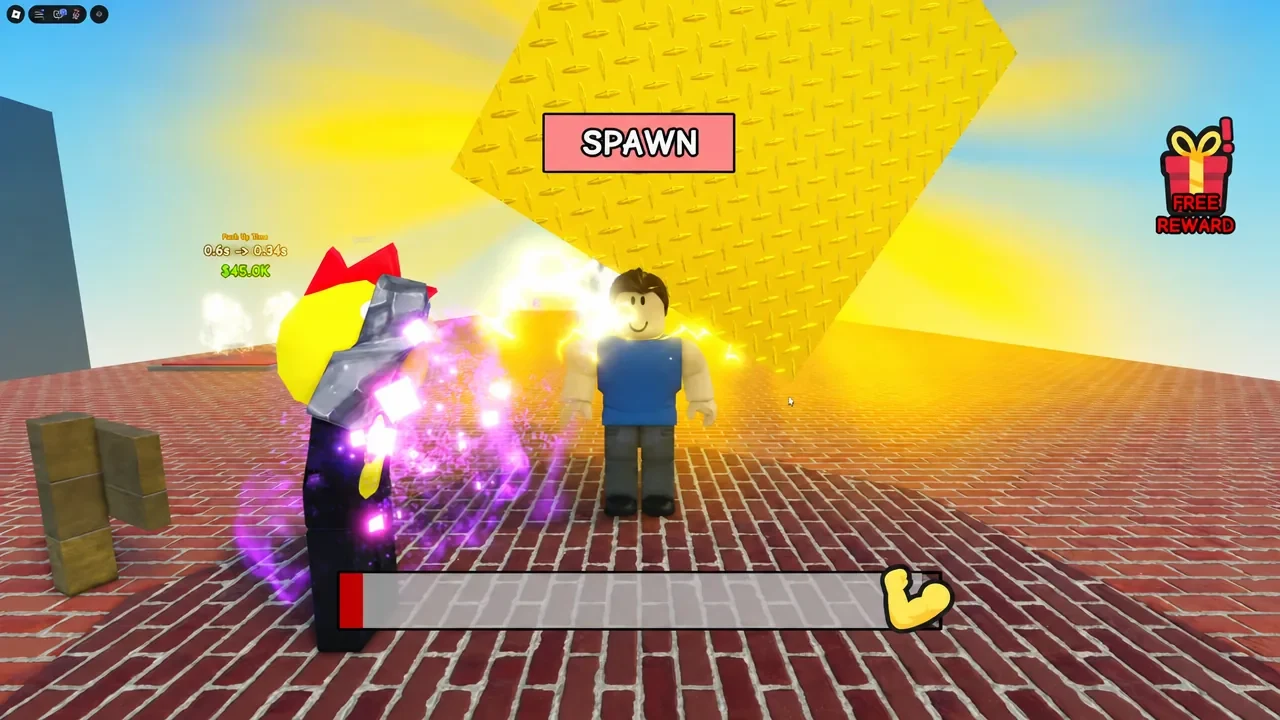
- Rapidly tap the Left Mouse Button to move the lift icon or bar toward the right. Keep tapping through the minigame until it reaches the right side.
- A successful lift raises the cube overhead and adds Cash to your total. Heavier cubes pay more than lighter ones, and cubes can be lifted repeatedly.
That gives you the first complete progression cycle: train until the displayed requirement is reachable, lift the cube, collect Cash, and use the reward to make the next cycle easier. If the cube stays down, do not keep repeating the attempt without checking your Strength against the label.
What to Buy With Cash in Lift a Cube
Cash is spent at upgrade pads throughout the map. The available improvements focus on movement speed and training speed, so choose the one that removes the slowest part of your next train-to-lift cycle.
- If building Strength takes most of your time, prioritize a training-speed improvement.
- If walking between the training pad and cubes is the delay, a movement-speed improvement can help more.
- If you have not saved enough for a dependable upgrade, keep some Cash instead of spending the whole balance on a chest roll.
After buying an upgrade, return to the same train, lift, and spend loop and judge the next bottleneck from what you see in the game. The exact prices can change, so follow the amount shown on the current upgrade pad rather than a price from an older guide.
How Arm Materials and Chests Improve Training
The Arm Materials Chest uses Cash to roll random arm materials. Materials have rarities and displayed Strength multipliers, and a better multiplier makes your push-up training more productive. That makes the chest a useful long-term improvement when your training rate, rather than movement or lift timing, is holding you back.
Before you roll, compare the chest cost with the next upgrade you can reliably afford. After a roll, use the material with the better displayed Strength multiplier where the game gives you an equip or keep choice. Do not plan around an exact unlock amount, price, rarity table, or sample multiplier from another guide; the live chest UI is the useful authority for those values.
How to Progress to Heavier Cubes in Lift a Cube
Once a cube is easy to lift, move farther through the map and read the next visible cube. Farther sections introduce heavier cubes and tougher challenges, so the next label becomes your next checkpoint.
Repeat this route:
- Train until the next cube's displayed recommendation is within reach.
- Lift that cube and collect its Cash payout.
- Spend only where the current bottleneck is slowing the next cycle.
- Move forward when the cube is manageable, then check the next live requirement.
The long-term goal is to work toward the end of the map. You do not need a permanent cube-stat table to make progress: the live Strength display and the recommendation on the next cube tell you when to train more, spend Cash, or move on.
Lift a Cube Beginner Mistakes and Fixes
The LIFT prompt does not appear
Move closer to the cube. The interaction prompt only becomes useful when you are within range, so changing your position is the first check.
The cube will not move
Read the displayed Recommended strength again and train until your Strength reaches it. If the requirement is not met, tapping through the bar will not make the cube lift.
The lift bar is not moving
During the lift minigame, rapidly tap the Left Mouse Button to move the icon or bar toward the right. This is separate from the E press that starts the interaction.
A lift feels slow
Train beyond the minimum when extra Strength will save you from repeating a weak attempt. Then check whether the real bottleneck is push-up speed, your current Arm material multiplier, or a training or movement upgrade. Fix the slowest part of the next cycle and retest the next visible cube.
Once a cube feels comfortable, use it as a Cash source while you prepare for the next label ahead. If progress stalls, compare the live requirement with your Strength first, then decide whether more training, a better material, or a targeted upgrade will help most.