An empty plot in Build a +1 Obby can feel like a dead end because buying a part does not finish the job. You need to place a connected set, start Play Your Obby, step across the pieces, end the run, and visit the Collect Zone before you can reinvest. This guide takes you from the post-tutorial shop visit through the first cash cycle, the beginner tutorial check, and the systems you can use next.
What Is Build a +1 Obby?
Build a +1 Obby is the Roblox experience by Aeolian Harp where you buy ASMR parts from a shop, place them at your base, build an obstacle course, and earn Cash from the course. The official listing frames the player-facing goal as building an obby and trying to make a popular course.
For your first session, think of it as a build-and-run loop inside the experience rather than a Roblox Studio tutorial: buy a part, equip it, place it on your plot, collect available Cash, play the course, step across the pieces, end the run, and collect again. Once that cycle makes sense, you can spend the next payout on a larger or more ambitious build.
How to Start Building in Build a +1 Obby
After the opening tutorial, use the Cash you are given and find the plot assigned to you. The ASMR Shop and Parts Shop are positioned near the plot, so your first purchase and your first placement happen in the same area. Start at the ASMR Shop because the first route uses two pieces from that shop, then keep the Parts Shop in mind for the later tutorial step.
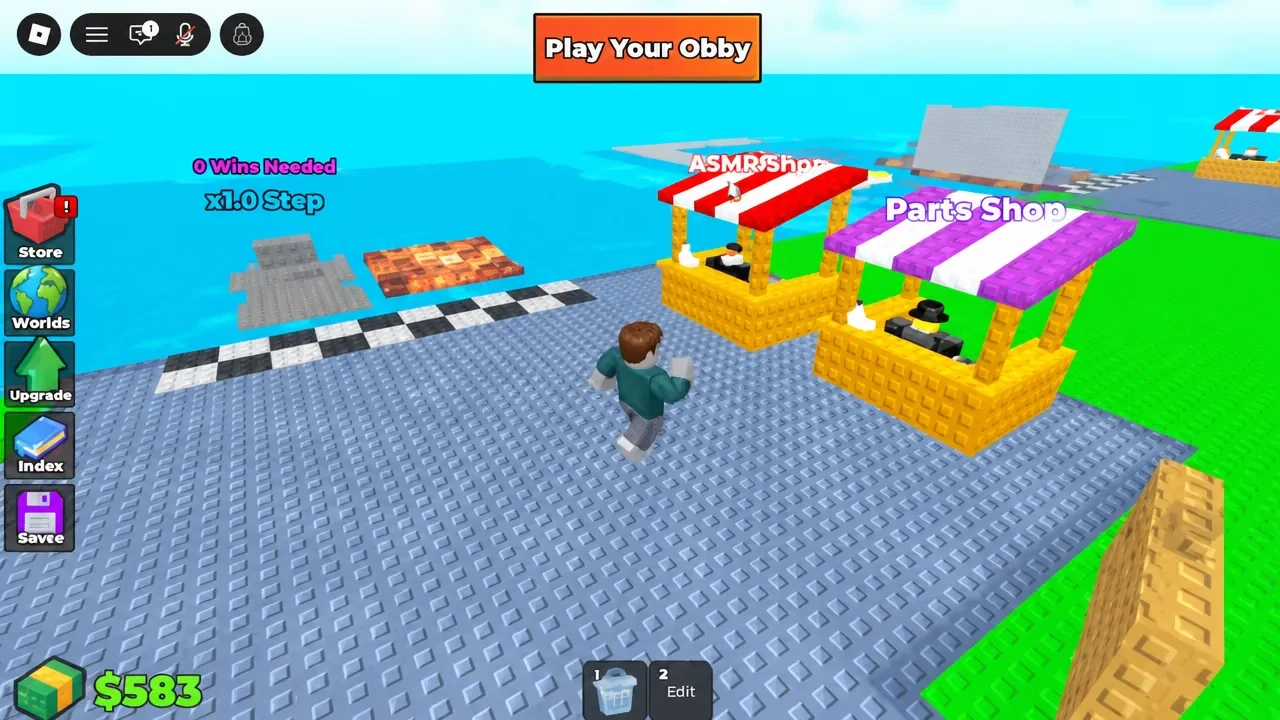
You do not need a separate questline or hidden unlock for this route. You need an assigned plot, enough of the tutorial's starting Cash for the listed shop items, and access to the two nearby shops.
How to Build Your First Obby in Build a +1 Obby
The item names and prices in this guide are a snapshot of the beginner route, not a permanent shop guarantee. Stock changes periodically, so check the shop again if a named item is unavailable.
| Shop | Item | Price | Purpose |
|---|---|---|---|
| ASMR Shop | Treadmill (x1) | $100 | First piece in the starter route |
| ASMR Shop | Chocolate Keyboard | $35 | Place beside the Treadmill to form the starter run |
Buy both items, equip them from your inventory, and place them side by side on the plot so you can move directly from one piece to the next. If the layout needs a rotation, follow the placement prompt shown on your screen to place or rotate the equipped block.
When both pieces are on the grid, walk to the Collect Zone before starting the run. That collection step gives you a clear starting point for the first cash cycle and keeps the build, play, and reinvest actions in the right order.
How to Play Your Obby and Collect Cash
The Collect Zone is beside your course and appears as a green collection area or button. Walk into it to bank the available Cash and check the displayed counter. This is the step that turns the money generated by placed parts into funds you can use for another purchase.
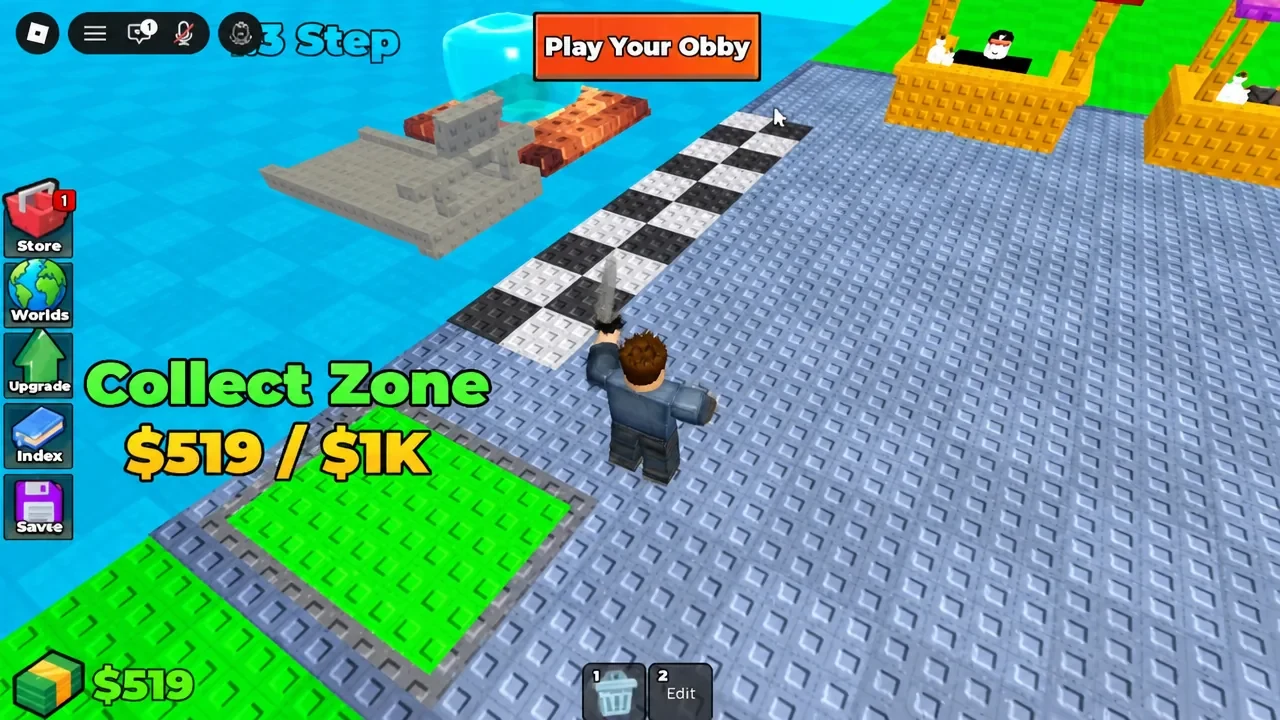
After collecting, return to the plot and choose Play Your Obby. The run starts at the course launch platform. Move across every part you placed, rather than stopping at the starting platform, because Total Speed and level-progress readouts rise when you actually step on the placed pieces. If the progress does not move, check that you touched each part and that the pieces make a continuous route.
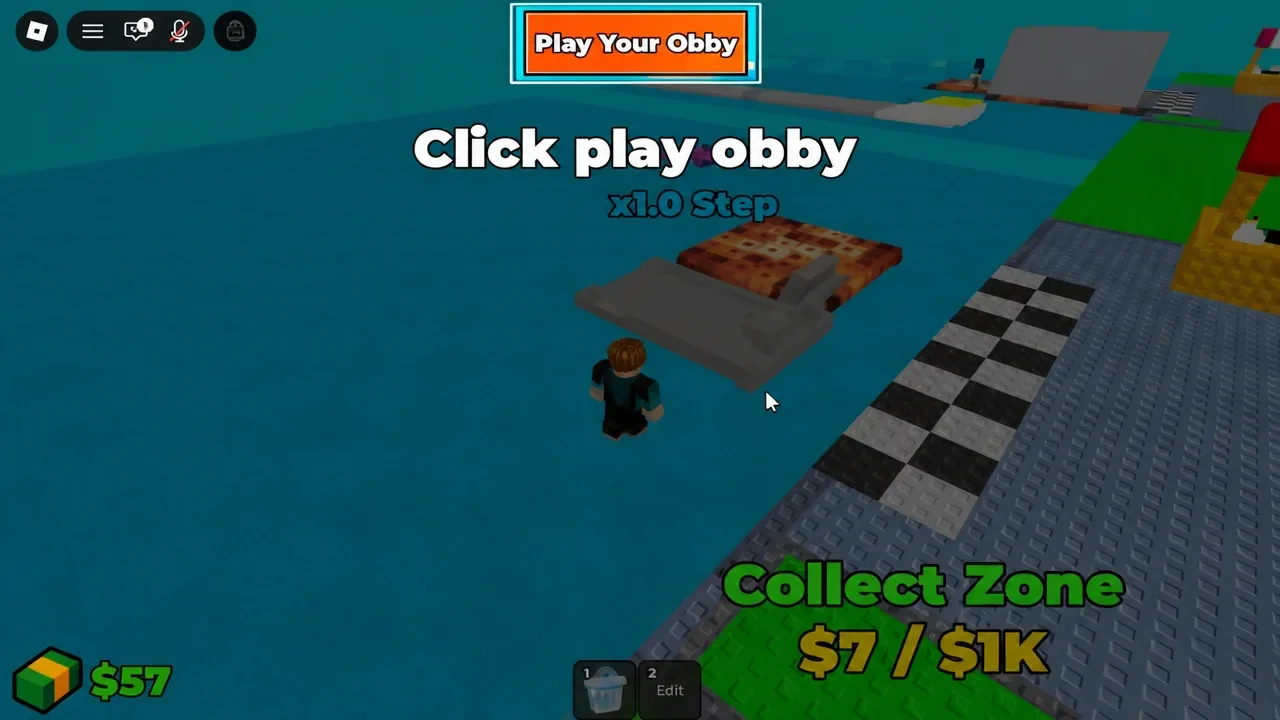
When you finish the run, click End Obby to return to building mode. Visit the Collect Zone again so the next available funds are banked before you buy another piece. The basic order is therefore: place, collect, play, step across the course, end the run, and collect again.
Keep your first design connected and easy to test. Payout behavior for different layouts is not settled, so do not treat a longer, harder, prettier, or more popular course as a guaranteed money multiplier. The supported beginner goal is to learn the repeatable build, run, and collect cycle first.
How to Finish the Build a +1 Obby Tutorial
After the first run, continue with one more ASMR part and then one regular part.
- Return to the ASMR Shop, buy Needoh for $150, equip it, and place it on your plot.
- Walk to the Collect Zone and collect again.
- Go to the Parts Shop, buy Small Floor for $25, and place it on the plot.
- Check for the message
Tutorial complete! Keep building your +1 obby!
That message is the useful completion check for this route. If one of the named pieces is not in stock, check the shop again after its stock refreshes and follow the current in-game objective rather than substituting an unsupported item.
Build a +1 Obby Controls for New Players
On PC, move with these basics:
| Action | Input |
|---|---|
| Move | W, S, A, D |
| Jump | Spacebar |
For shops, the Collect Zone, Play Your Obby, and End Obby, use the interaction prompt shown in the experience. Select or equip a block from your inventory before you try to place it.
After you equip a block, follow the placement prompt shown on your screen to place or rotate it.
Build a +1 Obby Shops, Block Types, and Upgrades
The two shop categories serve different building decisions. ASMR parts are generally the higher-earning option, but their shapes can be harder to fit into a clean course. Regular blocks are easier to place and useful as framework, although they are generally lower-earning than ASMR parts.
Cash can also be spent on three named upgrades: Money Capacity, Max Placement, and Obby Size. Their labels point to the three constraints they address: how much Cash you can hold, how many pieces you can place, and how much space you have for the obby. Use the current in-game descriptions for exact prices, and choose the upgrade that matches the limit you have reached.
How Worlds and Collaboration Work in Build a +1 Obby
Use the Worlds menu when you want to inspect other players' courses, look for building inspiration, or save your own course. Saving another course requires a Cash-purchased save slot, so it is a later option after you understand the first collection loop.
The Collaborate feature lets you invite another player to your plot. Visitors use their own blocks and supplies and do not earn money while visiting, so treat collaboration as a way to build together rather than a way to share the plot's payout.
Once the tutorial is complete, keep the next step simple: add a piece that connects to the route, test it through Play Your Obby, step on every placed part, end the run, and collect before reinvesting. That rhythm gives you a reliable way to understand each new block before you expand the course.