

Ordinary portals fall to squads of squires and archers, which you send from the banner outside your outer wall for 4 coins per squad. The Cliff Portal works differently. Squads can break it, but it rebuilds itself, so the only way to clear the island for good is to bomb the cave behind it. The bomb is bought beside your fully upgraded town center, and how you get there depends on your campaign.
| Campaign | Technology to unlock | Upgrade needed before buying the bomb |
|---|---|---|
| Base game (medieval) | Stone mine on island 2 (10 coins), then iron mine on island 4 (20 coins) | Iron Keep |
| Shogun | Stone mine on island 2 (10 coins), then iron mine on island 4 (20 coins) | Iron Keep |
| Dead Lands | Stone mine on island 2 (10 coins), then iron mine on island 4 (20 coins) | Iron Keep |
| Norse Lands | Birch camp on island 2 (10 coins), then pine camp on island 5 (20 coins) | Highest pine-enabled town center tier |
In every campaign, the bomb itself costs 18 coins.
How to Recruit Squires and Archers for Portal Attacks
Archers are the easy part. The bow vendor sits by your first campfire from the start, and it can hold up to four bows at a time, so recruits can pick one up and become an archer. Squires take more work. You hire them by buying shields at the castle keep, and the castle keep requires stone.
- Recruit archers from the bow vendor at your first campfire.
- Unlock stone on the second island, then upgrade your town center to the castle keep.
- Buy shields at the castle keep to hire squires, at 4 coins each.
- Assign each squire up to four archers.
The stone mine matters beyond squires. Once it's built, stone technology applies to every island in the campaign, so one trip to the second island covers the rest of your run. In each squad, the squire moves out first as the vanguard and shields the archers while they shoot, so a squad needs both to work.
How to Send Squads Against a Small Portal in Kingdom Two Crowns
Small portals sit in the forest around town. To attack one, walk to the banner by your outer wall and pay 4 coins for each squad you want to send. Each order sends one squad toward the nearest portal in that direction, and you can launch several at once.
Portals don't regain health between attacks, so the damage you do sticks. Even a failed attempt moves the portal closer to falling. Progress can still feel slow, because archers sometimes miss or turn to fight the Greed instead of the portal.
Destroying a small portal triggers a Greed counterattack wave. Once it's down, it never reforms, so the win is permanent, but the wave is the price. Attack in the morning with full squads, and keep the walls behind your squads strong.
Upgrading Squires to Knights for Late Portal Fights
The Greed defend their portals harder as the campaign goes on, and squires alone won't hold up in the late assaults. Knights are the step up, and each one has its own squad of archers following it. Once iron is in play, the forge sells swords for 12 coins, and buying a sword promotes a squire into a knight.
The forge handles swords and knight upgrades, but it doesn't sell the bomb, so don't go looking for it there.
How to Clear the Dock Portal
The dock portal guards the far side dock, and it's much tougher than an ordinary portal. It has far more health, and its tentacle attack hits anything within reach. Send three squads for this one, since that's the safer number against it.
Like other portals, it doesn't regain health between attacks, so you can keep wearing it down over several tries.
What Happens When Only the Cliff Portal Is Attacked
The Cliff Portal is the entrance to the cave, which is the Greed's home on each island. When squads destroy it, it rebuilds itself over three days, and it doesn't spawn Greed while it's rebuilding. The rebuild pauses while you're away on another island, so the clock stops until you return.
That gives you breathing room, but it doesn't end the threat. The cave keeps producing Greed until you bomb it, and destroying the Cliff Portal isn't required before the bomb run.
How to Unlock the Bomb in Kingdom Two Crowns
Iron is the turning point. The iron mine on island 4 unlocks iron technology for every island at once, but that doesn't hand you the bomb. You still have to sail back to the island with the cave, upgrade its town center to the Iron Keep for 20 coins, and buy the bomb beside that fully upgraded keep.
Upgrades are paid island by island, so save coins for the keep on the island with the cave.
Bomb Unlocks in Norse Lands, Shogun and Dead Lands
Shogun and Dead Lands follow the same iron route as the base game, ending at the 20-coin Iron Keep before the bomb. In Shogun, Ronin lead the assaults in the squire's place.
Norse Lands has no iron. Birch and pine replace stone and iron, so you unlock pine on island 5, then return to the island with the cave. Upgrade its town center to the highest pine-enabled tier and buy the bomb there. In Norse Lands, hunter archers also need shields before they can join assault squads.
How to Prepare for the Cliff Portal Bomb Run
- Clear small portals on the cliff side where you can. The bomb escort moves slowly, so every portal you remove means fewer attacks on the way.
- If the cliff is far from town, build walls closer to it, or keep your upgraded walls between the town and the cliff.
- Start on the recovery day after a Blood Moon if you can. Portals skip the night after a Blood Moon, and waves still come at night while you march, so this is the safer window.
- Bring at least 28 coins. The bomb costs 18, entering the cave costs 5, and lighting the fuse costs 5. Town upgrades, recruits and equipment cost extra, so keep spare coins to reinforce the escort along the route.
- Feed your mount before you go, and pick one that can make the return trip. A strong attack doesn't guarantee enough stamina to get out.
How to Escort the Bomb Into the Cave
- Buy the bomb beside the fully upgraded keep. The purchase gathers your escort automatically: up to two squads led by squires or knights, plus up to three builders to push the bomb.
- Walk the bomb to the Cliff Portal and pay 5 coins at the bomb to enter. Your whole escort follows you in.
- Clear the Greed nests as you go. Each nest spawns greedlings when you get close, and the number of nests rises with the island, from one on island 1 to five on island 5.
- Keep leading the bomb deeper while your archers destroy the nests in front of you.
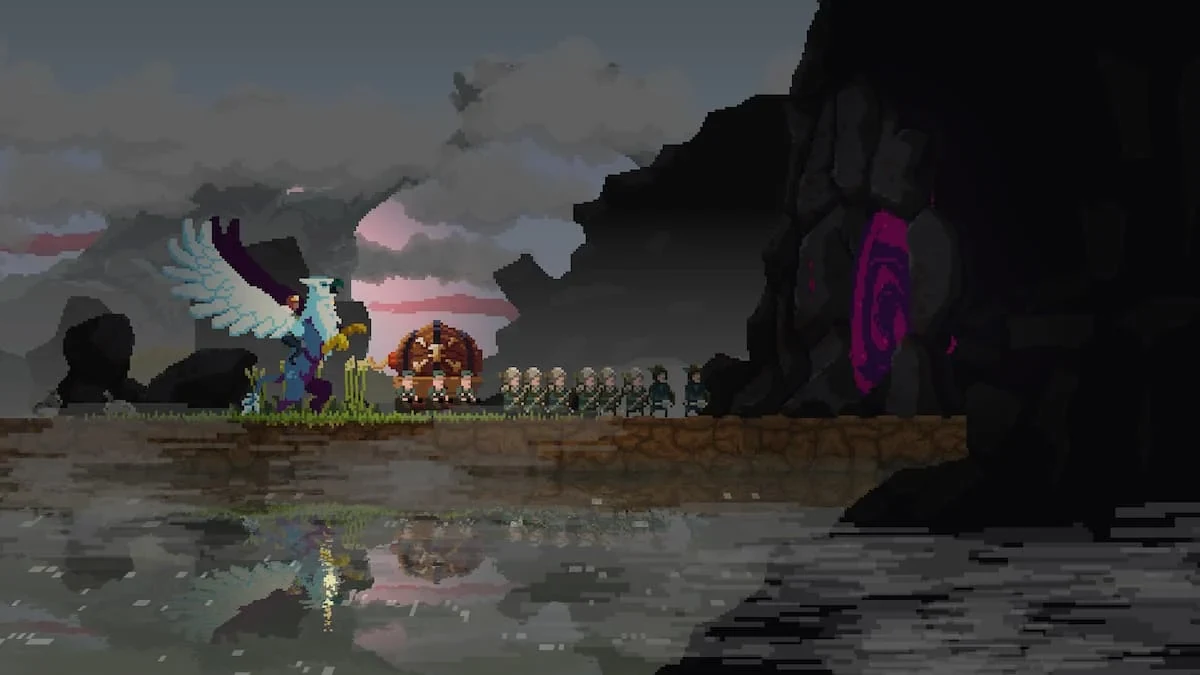
How to Light the Fuse and Escape the Blast
At the heart of the cave, pay 5 coins to light the fuse. A final, strong Greed wave erupts, and you have only a short time to get clear. Run for the entrance immediately, and don't wait to see how the wave goes.
Rest your mount's stamina before you light the fuse, because the run out depends on it. A griffin is a good pick for the escape on later islands.
What Bombing the Cave Permanently Secures
Bombing the cave removes that island's Greed source for good. Any portals still standing on the island can no longer spawn Greed, so the island is permanently safe. A fully cleared island also stops decaying while you're away, so the work you put in keeps.
Escaping matters for your crown, not for the island. If you don't make it out in time, the explosion still secures the island, but you lose the crown and any gems in your purse.