

To upgrade a weapon or piece of armor permanently in Crimson Desert, take it to a blacksmith and choose Refinement. Each item can be raised up to 10 levels, and every level uses the materials listed for that specific piece, such as Iron Ore, Timber, or hides. From level 5 onward, you also need Abyss Artifacts.
| Gear | Materials needed |
|---|---|
| Weapons | Ores such as Iron Ore and Copper Ore |
| Plate armor | Iron Ore |
| Wooden shields | Timber |
| Leather armor | Hides and bones |
| Soft armor and cloaks | Cloth Pieces and Fleece |
| Jewelry | Gems, hides, and bones |
| Refinement levels 5 to 10 | Standard materials plus Abyss Artifacts |
Refinement is the permanent layer of upgrades. Two other systems sit alongside it: Abyss Gear, which Witches fit into equipment sockets, and Grindstones and Anvils, which give short-term boosts. The table shows the usual materials, but exact amounts change with the item and its level, so check the list in the game before you gather.
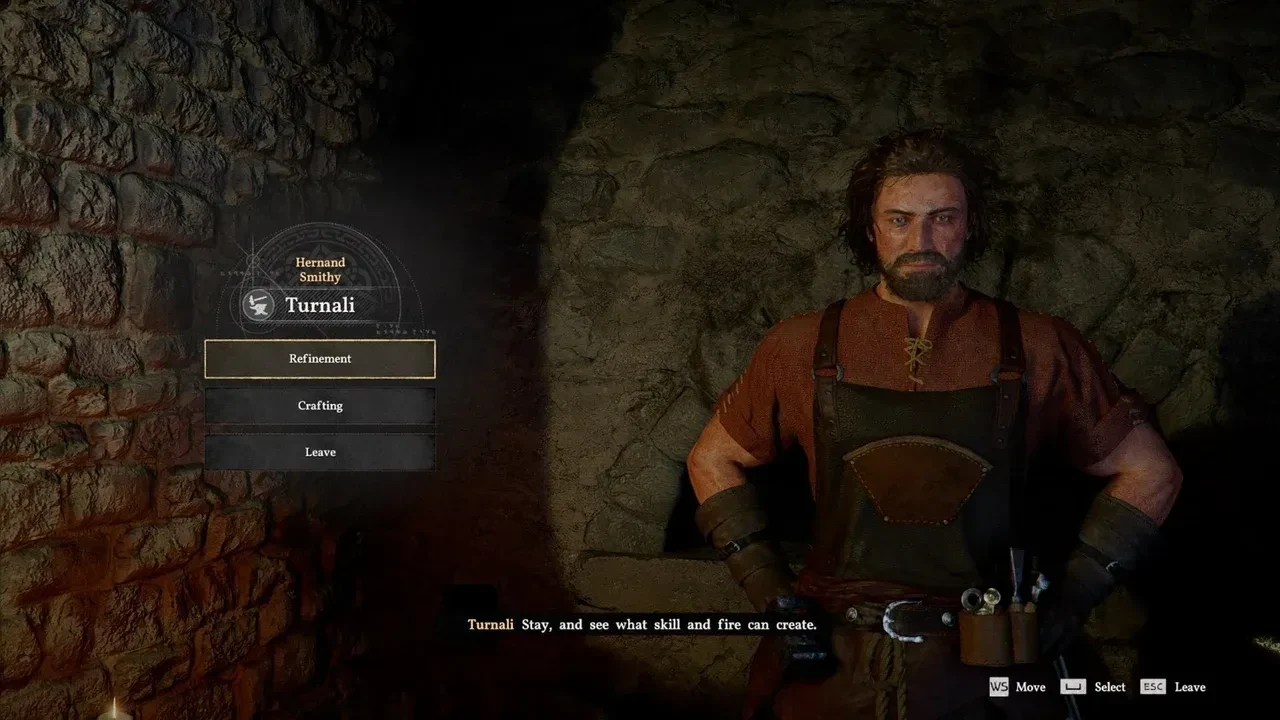
How to Unlock Refinement in Crimson Desert at Turnali's Smithy
Refinement stays locked until you finish Turnali's Request, an early commission in Hernand, the starting city. Turnali runs the Hernand Smithy, which is the first blacksmith you'll reach. To complete the quest, you deliver Fine Timber, then use Refinement on the Bekker Shield during the tutorial.
Once that tutorial is done, you can refine at other blacksmiths you find as you travel. You don't have to keep coming back to Hernand to upgrade your gear.
How to Refine a Weapon or Armor Piece Step by Step
Refinement works the same way at every blacksmith. You can upgrade weapons, armor, shields, and jewelry one level at a time, and each step costs materials only, with no silver fee.
- Talk to a blacksmith and choose Refinement.
- Select the weapon, armor, shield, or jewelry you want to upgrade.
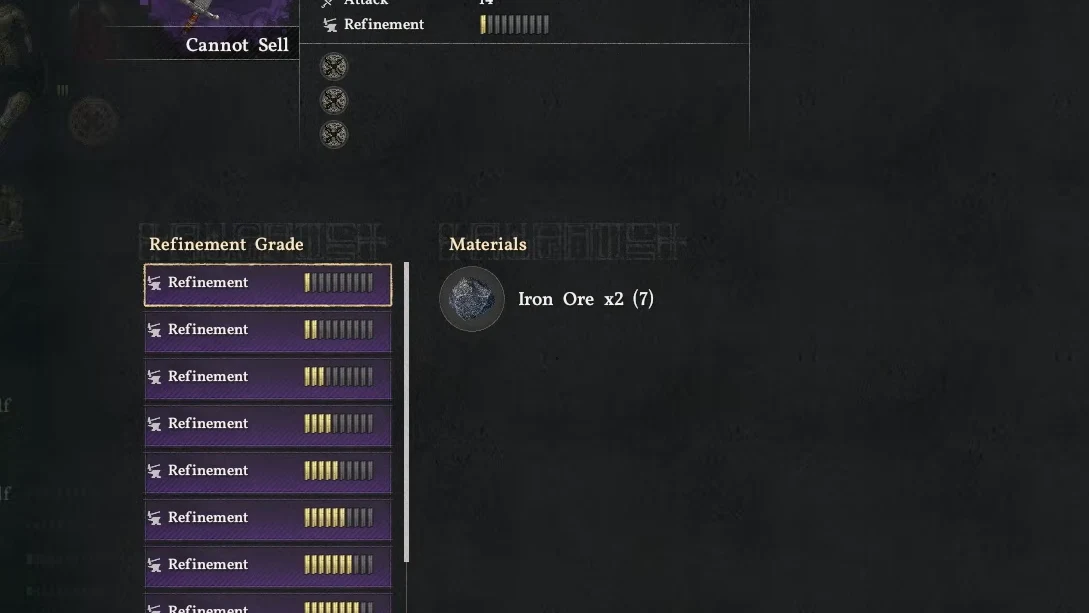
- Review the material list for the next level, and confirm if you have what it asks for.
- Repeat the process one level at a time until the piece reaches level 10.
Check the full list before you go to a blacksmith. Open the item in your inventory, choose Inspect, and then open Refinement Information. It shows the requirements for each level, so you can gather what you need for several upgrades in one trip.
Where to Get the Materials Each Gear Type Needs
Most materials come from three activities out in the world, plus one shop.
- Ore: Mine ore deposits with a Pickaxe.
- Timber: Fell trees with an axe.
- Hides and bones: Hunt wildlife.
- Cloth Pieces and Fleece: Buy them at the Provisioner's Shop in Hernand, or pick them up from enemy loot.
Ore is worth stocking up on, since both weapons and plate armor call for Iron Ore. It also helps to keep a few inventory slots free as you travel, so you can grab materials when you come across them.
Why Levels 5 to 10 Need Abyss Artifacts
Levels 1 to 4 use ordinary materials only. Starting at level 5, each upgrade also asks for Abyss Artifacts on top of the standard list. Artifacts are also used to unlock skills, so every one you put into gear is one you can't spend on a skill.
Before you reach level 5, decide where your Artifacts should go. Refine the gear you plan to keep, and hold off on spending Artifacts on pieces you may swap out soon. Artifacts come from quests, Abyss Cresset puzzles, enemies, and Sealed Abyss Artifact challenges, so watch for them as you explore and complete quests.
Save Materials With Refinement Tokens and Storage Chests
Refinement Tokens can save you materials at the lower levels. Each token raises a piece by one level, up to level 4, without using the materials on the list. They come as rewards from certain main and faction quests, so keep an eye on what each quest gives you.
Storage helps too. Materials kept in a Sturdy Gatherables Chest count toward refinement, so you don't have to carry them around with you.
How to Undo a Refinement With Extraction
Extraction, added in update 1.06.00, lets a blacksmith roll back a piece's refinement by one or more levels, including all the way to its original level. The item is not destroyed, so you keep the gear and get back some of what you put into it. How much you recover depends on the material type:
- Special materials, including Abyss Artifacts and Aeserion's Scale, return in full.
- Common materials, such as Iron Ore, Copper Ore, and bloodstones, return at about 70%.
This is useful when you want to change your plans without losing a weapon or armor piece you've already invested in. Because common materials don't come back in full, think about your target level before you roll back a heavily upgraded piece.
How to Add Abyss Gear Through a Witch
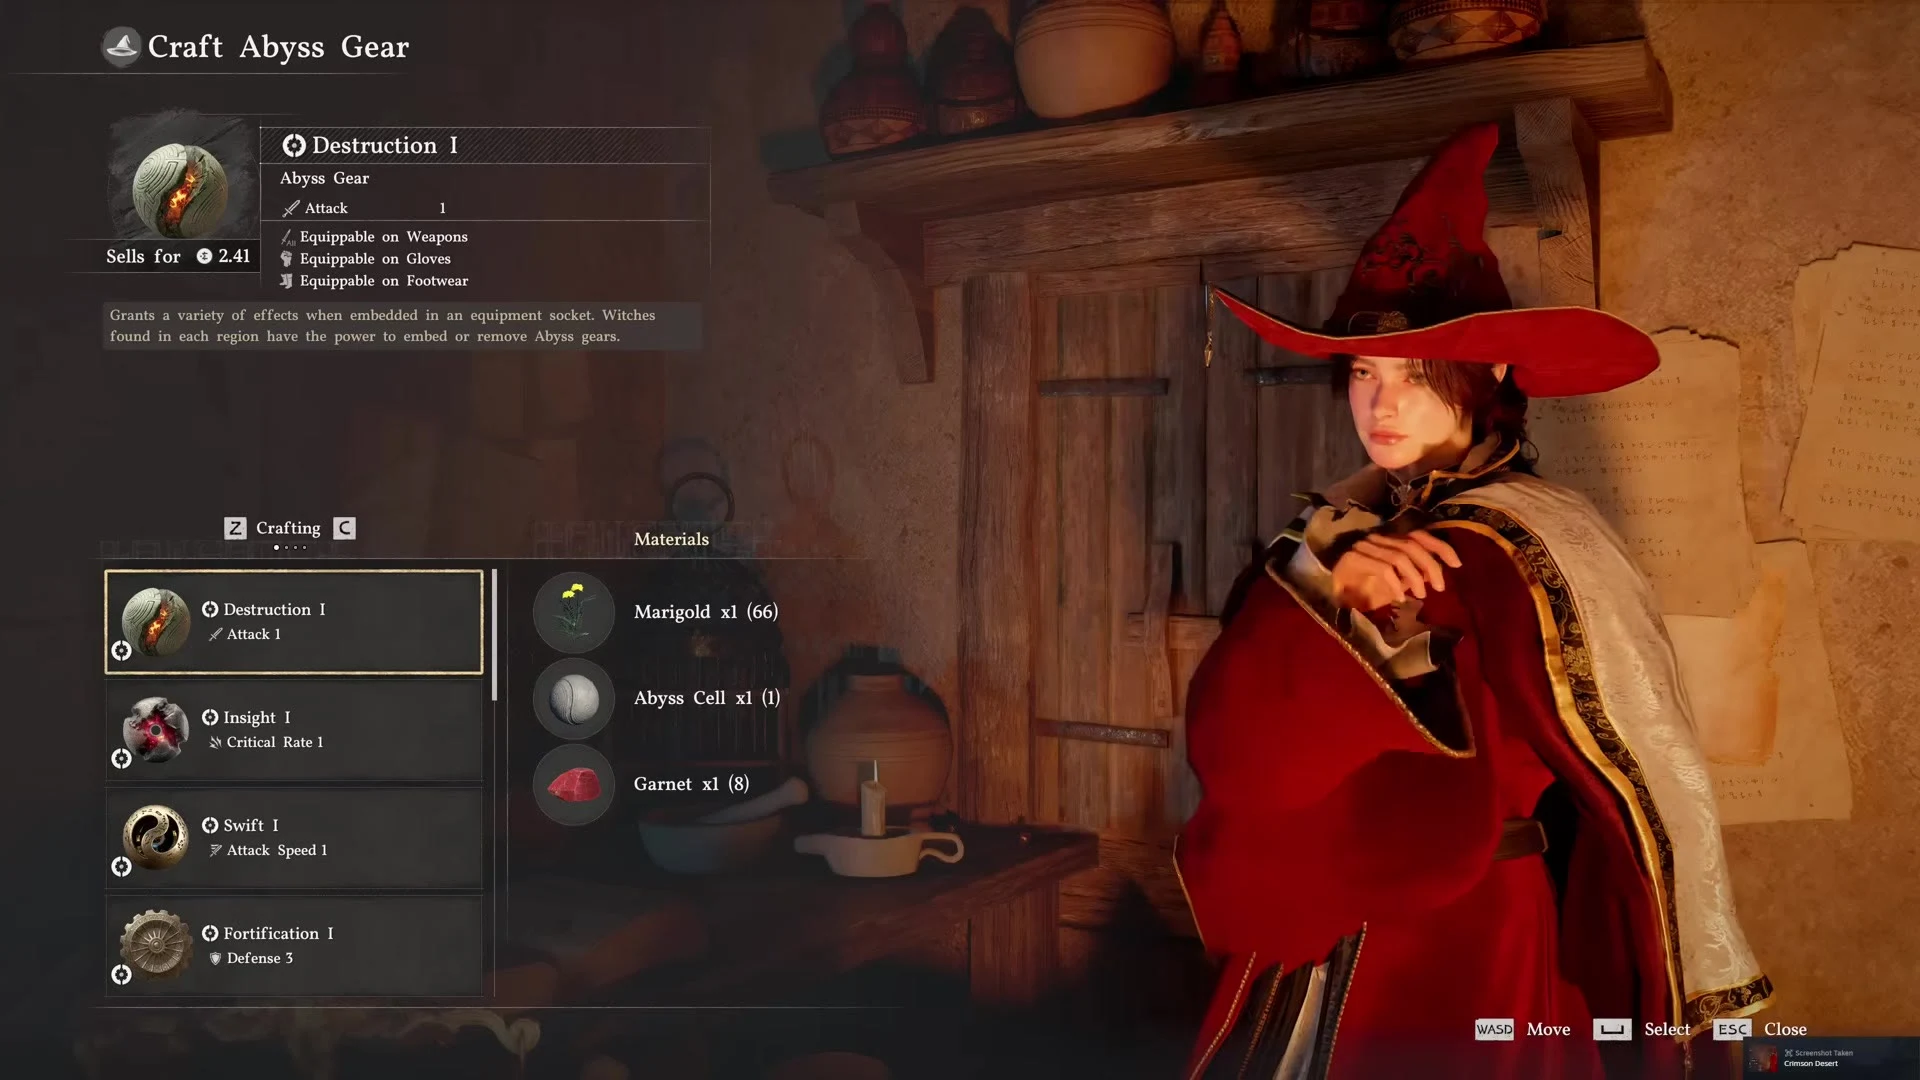
Abyss Gear is the second layer of upgrades. It fits into equipment sockets and gives either passive stat bonuses or active abilities. Witches handle the work of embedding it, creating sockets, and crafting new gear. The Abyss Gear tutorial begins at the start of Chapter 3, and that's when Witch services become available.
To add a piece to your equipment:
- Visit a Witch and open the Embed Abyss Gear service.
- Choose the weapon or armor piece you want to modify.
- Place compatible Abyss Gear into an open socket.
Gear comes from exploring, opening chests, defeating enemies, completing quest and challenge rewards, and crafting with a Witch. Some boss gear comes with effects already socketed. Socket counts aren't the same for every item, so check the piece's menu and the Witch's menu before you plan a build.
When to Use Grindstones and Anvils for Temporary Boosts
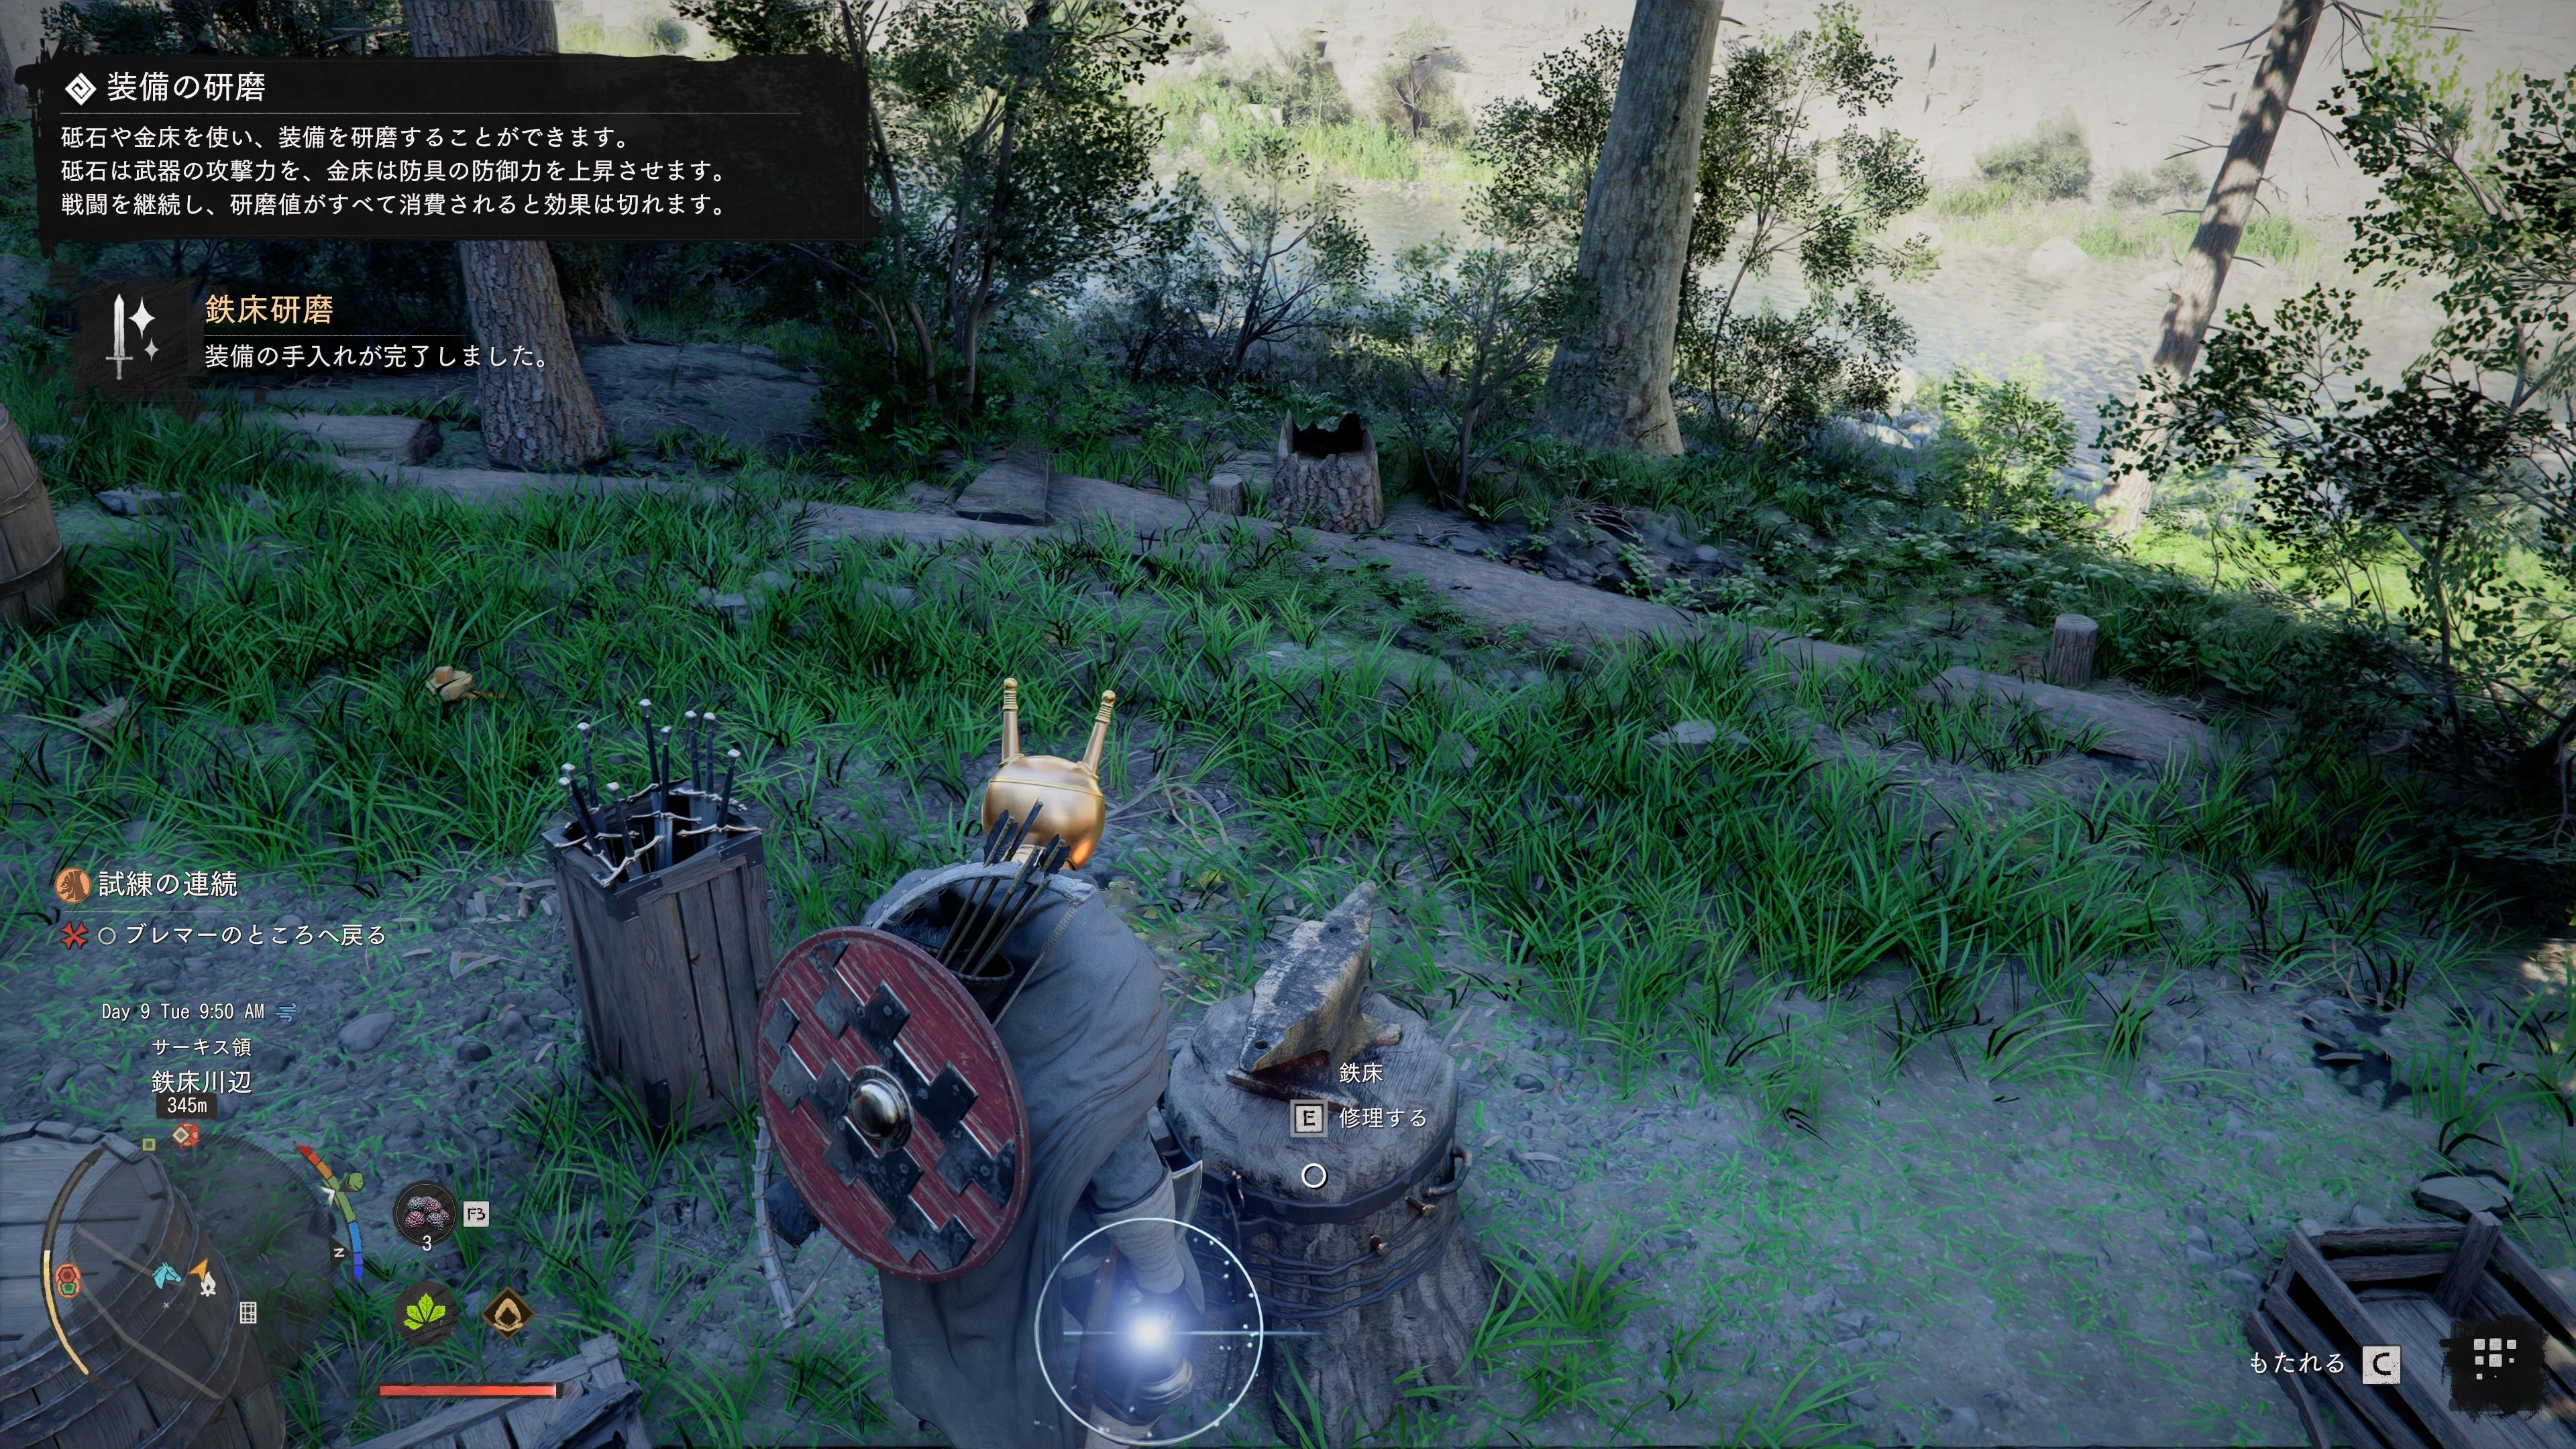
Grindstones and Anvils are not part of Refinement. You'll find them at camps and near blacksmith shops. Interacting with a Grindstone temporarily raises your equipped weapon's Attack, and an Anvil temporarily raises your equipped armor's Defense.
Use them right before a tough fight, such as a boss battle, rather than hours earlier. The boost fades as time passes, so timing your use close to the fight gets you the most out of it.