Drill to Earth's Core is a co-op Roblox game where you and your team ride a giant drill down through the planet, one layer at a time. Enemies are the main obstacle on the way down. They start as simple monsters near the surface and get tougher and more dangerous the deeper you go, with bosses, mimic chests and bounty miners along the way. Some of them drain your fuel or knock gear off the drill, so knowing how each kind behaves matters a lot.
Enemy Type
Regular Enemies
Goblin
The first common enemy, which walks up and attacks with close-range claw hits.
- Health
- 100 HP
- Speed
- -
- Damage
- 4
- Sell Value
- 10 Coins
- Bounty Value
- -
- Fuel Value
- 5 Fuel
- Appears In
- Grass Layer and lower layers; Level 1 to 3 Dungeons
- Drops
- Coal
Loot Goblin
A fast goblin that steals the drill's most valuable item and runs.
- Health
- 80 HP
- Speed
- 26
- Damage
- 3
- Sell Value
- 20 Coins
- Bounty Value
- -
- Fuel Value
- 5 Fuel
- Appears In
- Stone Layer and lower layers, where the drill stops near goblins
- Drops
- Coal and any items it stole
Spider
A regular enemy found in deeper layers and in several dungeon types.
- Health
- 100 HP
- Speed
- 24
- Damage
- 6
- Sell Value
- 20 Coins
- Bounty Value
- -
- Fuel Value
- 5 Fuel
- Appears In
- Fossil Layer and lower layers; Spider Tunnels and dungeons
- Drops
- -
Bat Minion
A small flying enemy that starts appearing in the Crystal Layer.
- Health
- 80 HP
- Speed
- 27
- Damage
- -
- Sell Value
- 50 Coins
- Bounty Value
- -
- Fuel Value
- 5 Fuel
- Appears In
- Crystal Layer and lower layers
- Drops
- -
Vampire
A mansion enemy whose corpse can be sold or burned for fuel.
- Health
- 200 HP
- Speed
- 24
- Damage
- 12
- Sell Value
- 100 Coins
- Bounty Value
- -
- Fuel Value
- 5 Fuel
- Appears In
- Vampire Mansion in the Clay Layer and lower layers
- Drops
- Gold Ore and Gold Bar
Goblin Knight
An arena goblin with stronger stats than the common goblins.
- Health
- 1,000 HP
- Speed
- 23
- Damage
- 20
- Sell Value
- 250 Coins
- Bounty Value
- -
- Fuel Value
- 15 Fuel
- Appears In
- Goblin's Arena in the Crystal Layer and lower layers
- Drops
- Coal and Steel Sword
Mole Man
A heavy-hitting enemy found from The Abyss onward and in Level 3 Dungeons.
- Health
- 2,000 HP
- Speed
- 24
- Damage
- 30
- Sell Value
- 1,000 Coins
- Bounty Value
- -
- Fuel Value
- 25 Fuel
- Appears In
- The Abyss and lower layers; Level 3 Dungeons
- Drops
- Stone variant: Diamond 60%, Emerald 35%, Ruby 5%
Enemy Type
Dungeon and Wall Bosses
Goblin Brute
A slower, tougher goblin that also closes the Level 1 Dungeon boss room.
- Health
- -
- Speed
- -
- Damage
- -
- Sell Value
- 40 Coins
- Bounty Value
- -
- Fuel Value
- 10 Fuel
- Appears In
- Dirt Layer and lower layers; final wave of a Level 1 Dungeon
- Drops
- Coal
Goblin Lord
The Level 2 Dungeon boss has a 1% chance to drop the Goblin Lord Crown.
- Health
- 3,000 HP
- Speed
- -
- Damage
- 25
- Sell Value
- 500 Coins
- Bounty Value
- -
- Fuel Value
- 25 Fuel
- Appears In
- Final wave of a Level 2 Dungeon; Goblin's Arena throne
- Drops
- Coal 25%; Goblin Lord Crown 1%
Goblin Champion
The Goblin's Arena boss drops Champion armor pieces and a hammer.
- Health
- 10,000 HP
- Speed
- 20
- Damage
- 80
- Sell Value
- 3,000 Coins
- Bounty Value
- -
- Fuel Value
- 25 Fuel
- Appears In
- Goblin's Arena in the Crystal Layer and lower layers
- Drops
- Champion's Helmet, Chest, Legs, and Hammer
Fire Widow
The Spider Dungeon boss attacks with burning webs.
- Health
- 10,000 HP
- Speed
- 80
- Damage
- 100
- Sell Value
- 3,000 Coins
- Bounty Value
- -
- Fuel Value
- 35 Fuel
- Appears In
- Spider Dungeon in the Crystal Layer and lower layers
- Drops
- Five high-tier chests; Fire Widow Crown
Wolf Bat
The 100 km wall boss is stunned at 0 HP, then heals to full after 10 seconds.
- Health
- 5,000 HP
- Speed
- 25
- Damage
- -
- Sell Value
- Cannot be sold
- Bounty Value
- -
- Fuel Value
- Cannot be used as fuel
- Appears In
- Glowing Core boss wall at 100 km; every 100 km in Infinite Mode
- Drops
- -
Enemy Type
Special Enemies
Watcher
The Mineshaft threat moves only while no player is looking at it and kills on contact.
- Health
- 500 HP
- Speed
- -
- Damage
- Instant kill at close range
- Sell Value
- Cannot be sold
- Bounty Value
- -
- Fuel Value
- Cannot be used as fuel
- Appears In
- Mineshaft
- Drops
- -
Bombo
A walking bomb that disables the drill setup and can only be damaged by pickaxes or explosives.
- Health
- -
- Speed
- -
- Damage
- -
- Sell Value
- Cannot be sold
- Bounty Value
- -
- Fuel Value
- Cannot be used as fuel
- Appears In
- -
- Drops
- -
Blinker
A cloaked flier that teleports away from attacks and throws wind orbs.
- Health
- 250 HP
- Speed
- Teleports
- Damage
- -
- Sell Value
- Cannot be sold
- Bounty Value
- -
- Fuel Value
- Cannot be used as fuel
- Appears In
- Crystal Layer and lower layers; appears at night
- Drops
- Phantom Essence 5%; 30% if Golden
Fuel Leech
A crystal worm that catches the drill, clings to its fuel tank, and drains it.
- Health
- 50 HP
- Speed
- -
- Damage
- Drains 1 Fuel per second
- Sell Value
- Cannot be sold
- Bounty Value
- -
- Fuel Value
- Cannot be used as fuel
- Appears In
- Crystal Layer and lower layers; hidden in crystal-heavy rock
- Drops
- Gem chance 25%: Diamond 20%, Emerald 4%, Ruby 1%
Ore Worm
It hides in ore, then attaches to a player and deals damage over time.
- Health
- 100 HP
- Speed
- 35
- Damage
- 1 per second
- Sell Value
- Cannot be sold
- Bounty Value
- -
- Fuel Value
- Cannot be used as fuel
- Appears In
- Inside ore
- Drops
- -
Void Spider
A named Spider Dungeon wave enemy with a separate Void Spider badge.
- Health
- -
- Speed
- -
- Damage
- -
- Sell Value
- -
- Bounty Value
- -
- Fuel Value
- -
- Appears In
- Final wave of the Spider Dungeon in the Crystal Layer and lower layers
- Drops
- -
Mimic
A wooden chest that turns into a chasing enemy and explodes after 10 seconds.
- Health
- -
- Speed
- -
- Damage
- -
- Sell Value
- -
- Bounty Value
- -
- Fuel Value
- -
- Appears In
- Wooden Chests
- Drops
- -
Magma Fuel Leech
A Glowing Core variant that drains fuel based on the drill's maximum capacity.
- Health
- -
- Speed
- -
- Damage
- Drains 1% of maximum drill fuel per second
- Sell Value
- -
- Bounty Value
- -
- Fuel Value
- -
- Appears In
- Glowing Core
- Drops
- -
Enemy Type
Bounty Targets
Bandit Miner
A bounty target whose base value is multiplied tenfold when sold to the Bounty Hunter.
- Health
- 100 HP
- Speed
- 21
- Damage
- 7
- Sell Value
- -
- Bounty Value
- 10–40 Coins; 10× when sold to the Bounty Hunter
- Fuel Value
- -
- Appears In
- -
- Drops
- Bandit Miner Chest, Bandit Miner Helmet, Standard Rifle
Void Bandit Miner
The Void version of a Bandit Miner has higher health and a larger bounty range.
- Health
- 150 HP
- Speed
- 15
- Damage
- 10
- Sell Value
- -
- Bounty Value
- 40–60 Coins; 10× when sold to the Bounty Hunter
- Fuel Value
- -
- Appears In
- -
- Drops
- Standard Rifle
Crazy Miner
A fast bounty target that can drop its chest, helmet, and a Rusty Sword.
- Health
- 150 HP
- Speed
- 23
- Damage
- 15
- Sell Value
- -
- Bounty Value
- 10–40 Coins; 10× when sold to the Bounty Hunter
- Fuel Value
- -
- Appears In
- -
- Drops
- Crazy Miner Chest, Crazy Miner Helmet, Rusty Sword
Void Crazy Miner
The Void version of a Crazy Miner deals more damage and has a larger bounty range.
- Health
- 200 HP
- Speed
- 19
- Damage
- 20
- Sell Value
- -
- Bounty Value
- 40–60 Coins; 10× when sold to the Bounty Hunter
- Fuel Value
- -
- Appears In
- -
- Drops
- Rusty Sword
How Enemies Change as You Dig Deeper
The drill follows a fixed route through the ground, so your main job is keeping it moving forward. Goblins are the first enemies you meet near the surface, and spiders, vampires, bat minions and mole men show up as you go deeper. Each layer brings its own mix, so the same run gets harder the further you get.
Regular enemies are the everyday monsters you run into as you drill. The Drill Defense upgrade is worth knowing about for them, since it adds damage against enemies on the sides of the drill.
Enemy Mutations Explained
Mutations are special versions of an enemy with different traits. They start in the Stone layer, and most layers after it bring a new kind, so the mix keeps changing as you dig. Past 100 km, every regular enemy comes with the Void and Fire mutations.
Giant enemies are larger and sturdier but slower, and Void enemies are tougher. Electric enemies move faster, while Toxic enemies wear down your health over time and cut back how well you heal. Frozen enemies slow you down when they hit, and Fire enemies set you alight, which keeps hurting for a while after the hit.
Most mutations make an enemy worth more when you sell it or use it as fuel. Golden enemies are the most valuable to sell.
Enemies with the Stone mutation only take damage from pickaxes or explosives. They also explode when they die, so don't stand right next to one as it goes down.
What Enemies Drop: Ore, Gems and Fuel
A defeated Stone enemy drops one ore or gem, and the kind depends on its size. Smaller ones most often give coal or iron, while the largest ones mostly give emeralds and rubies. These drops only come from Stone enemies.
Goblin bodies are worth collecting, too. Each one can be used as fuel or sold for Coins.
Dungeon Bosses and Boss Rooms
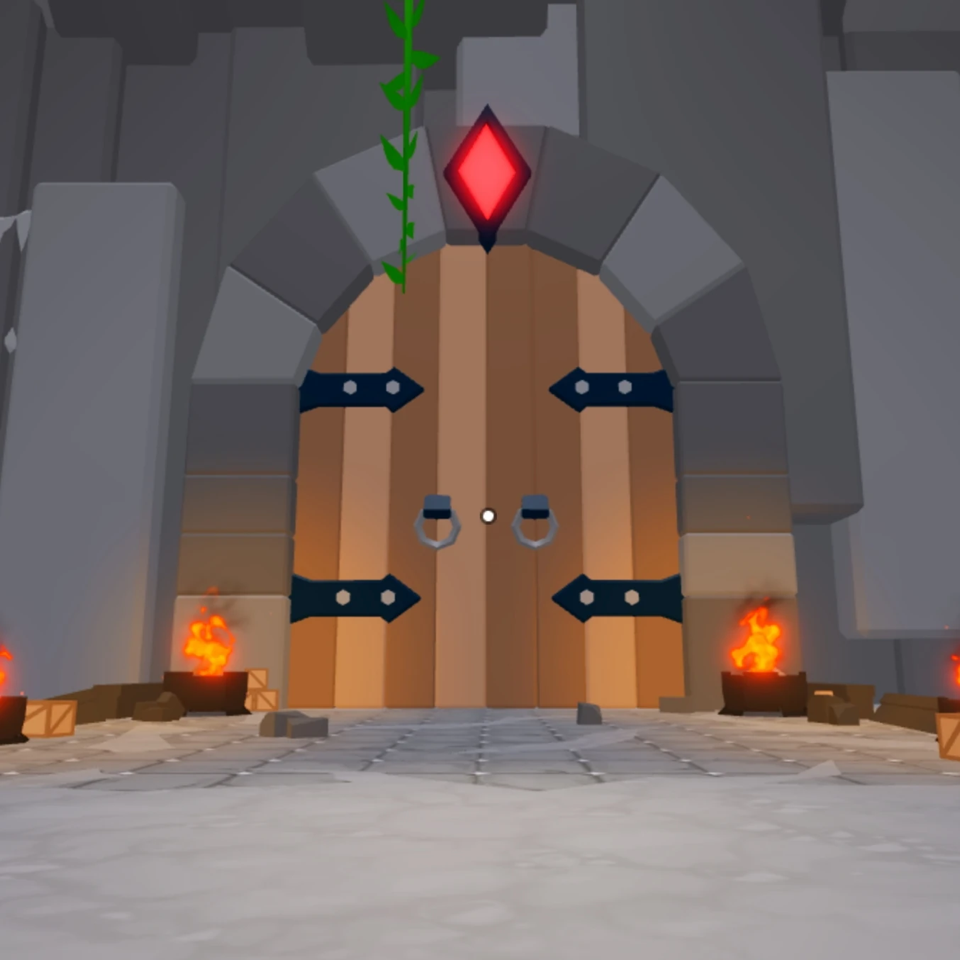
Dungeon boss rooms have two stages. The first is a wave of enemies that has to be cleared, and the route stays shut until you do. The second stage puts you against the boss itself, which has more health and more powerful attacks than the enemies before it.
Several bosses come from the same families as the regular monsters, just tougher. A Goblin Brute is a slower, sturdier version of the standard goblin, and it turns up in the boss wave of a Level 1 dungeon. A Goblin Lord ends the final wave of a Level 2 dungeon.
Beating a boss room leaves chests behind.
Mimic Chests and Why They Explode
Mimic chests look like ordinary treasure chests until they attack. They can't be killed, so stay out of their way.
A mimic charges up before it explodes. Get clear as soon as one starts to charge, since the explosion is what hurts.
Fuel Leeches, Watchers and Bombo
Special enemies work differently from regular monsters. The Fuel Leech clings to your fuel tank and drains it, which makes it a fuel problem before it's a fight. Fuel powers the furnace that breaks through the walls ahead, so a drained tank costs you progress.
The Watcher only moves when nobody is looking at it, and it kills on contact. Keep it in view and don't let it reach you, since being close to it is an instant kill.
Regular weapons don't work on the Watcher or Fuel Leech, so you'll need a pickaxe or explosives for those. Bombo is a walking bomb that disables your drill setup, and its blast can knock the items around it loose from the drill. It's safer to deal with Bombo well away from the drill for that reason.
Blinkers teleport, throw wind orbs and dodge bullets, so they're harder to pin down than a standard enemy. None of these special enemies leave anything you can sell or use as fuel, so fighting them won't pay you back. Fuel Leeches and Bombo tend to matter most, since they go after your fuel and your gear.
Bounty Miners and the Bounty Hunter Class
Bounty targets are miners carrying a bounty, such as Bandit Miners and Crazy Miners. Their Void versions carry bigger bounties than the standard ones.
Bounties are worth much more than their coin value when they're sold through the Bounty Hunter class, which is built around hunting them. If you plan to hunt bounties often, that class is the one to pick.
Boss Walls and the 100 km Wall
Each layer ends in a boss wall, and the drill has to break through it before the next layer opens. The wall opens caves on both sides of the drill, and enemies spill out of them during the fight. More enemies come from behind the drill while you're fighting, so the fight isn't only in front of you.
Some boss walls carry their own problem. The Clay layer's wall is covered in Void, and it drains your fuel to zero the moment you arrive, so keep fuel ready to refuel once you get there.
The 100 km boss wall is guarded by the Wolf Bat. When the Wolf Bat drops to zero health, it's stunned rather than gone, and it recovers, so don't count the fight as over the moment it falls.
FAQ
Do Loot Goblins steal from you?
Yes. A Loot Goblin, which first shows up in the Stone layer, grabs the strongest item on your drill and flees with it.
Are bounty miners worth fighting without the Bounty Hunter class?
Their drops make them worth it. Bandit Miners drop armor and a Standard Rifle, and Crazy Miners drop armor and a Rusty Sword.