Drill to Earth’s Core can look like a straight drive toward the center of the planet, but your first run works better as a loop: explore dungeons for fuel and loot, survive the combat rooms, then use checkpoints to turn spare loot into Coins and better supplies. The official Roblox experience combines monster fights, dungeon rewards, drilling, and vehicle upgrades as you work toward Earth’s core. This guide covers the controls and the decisions that keep the drill moving, without pretending to map every deep-run area.
What Is Drill to Earth’s Core?
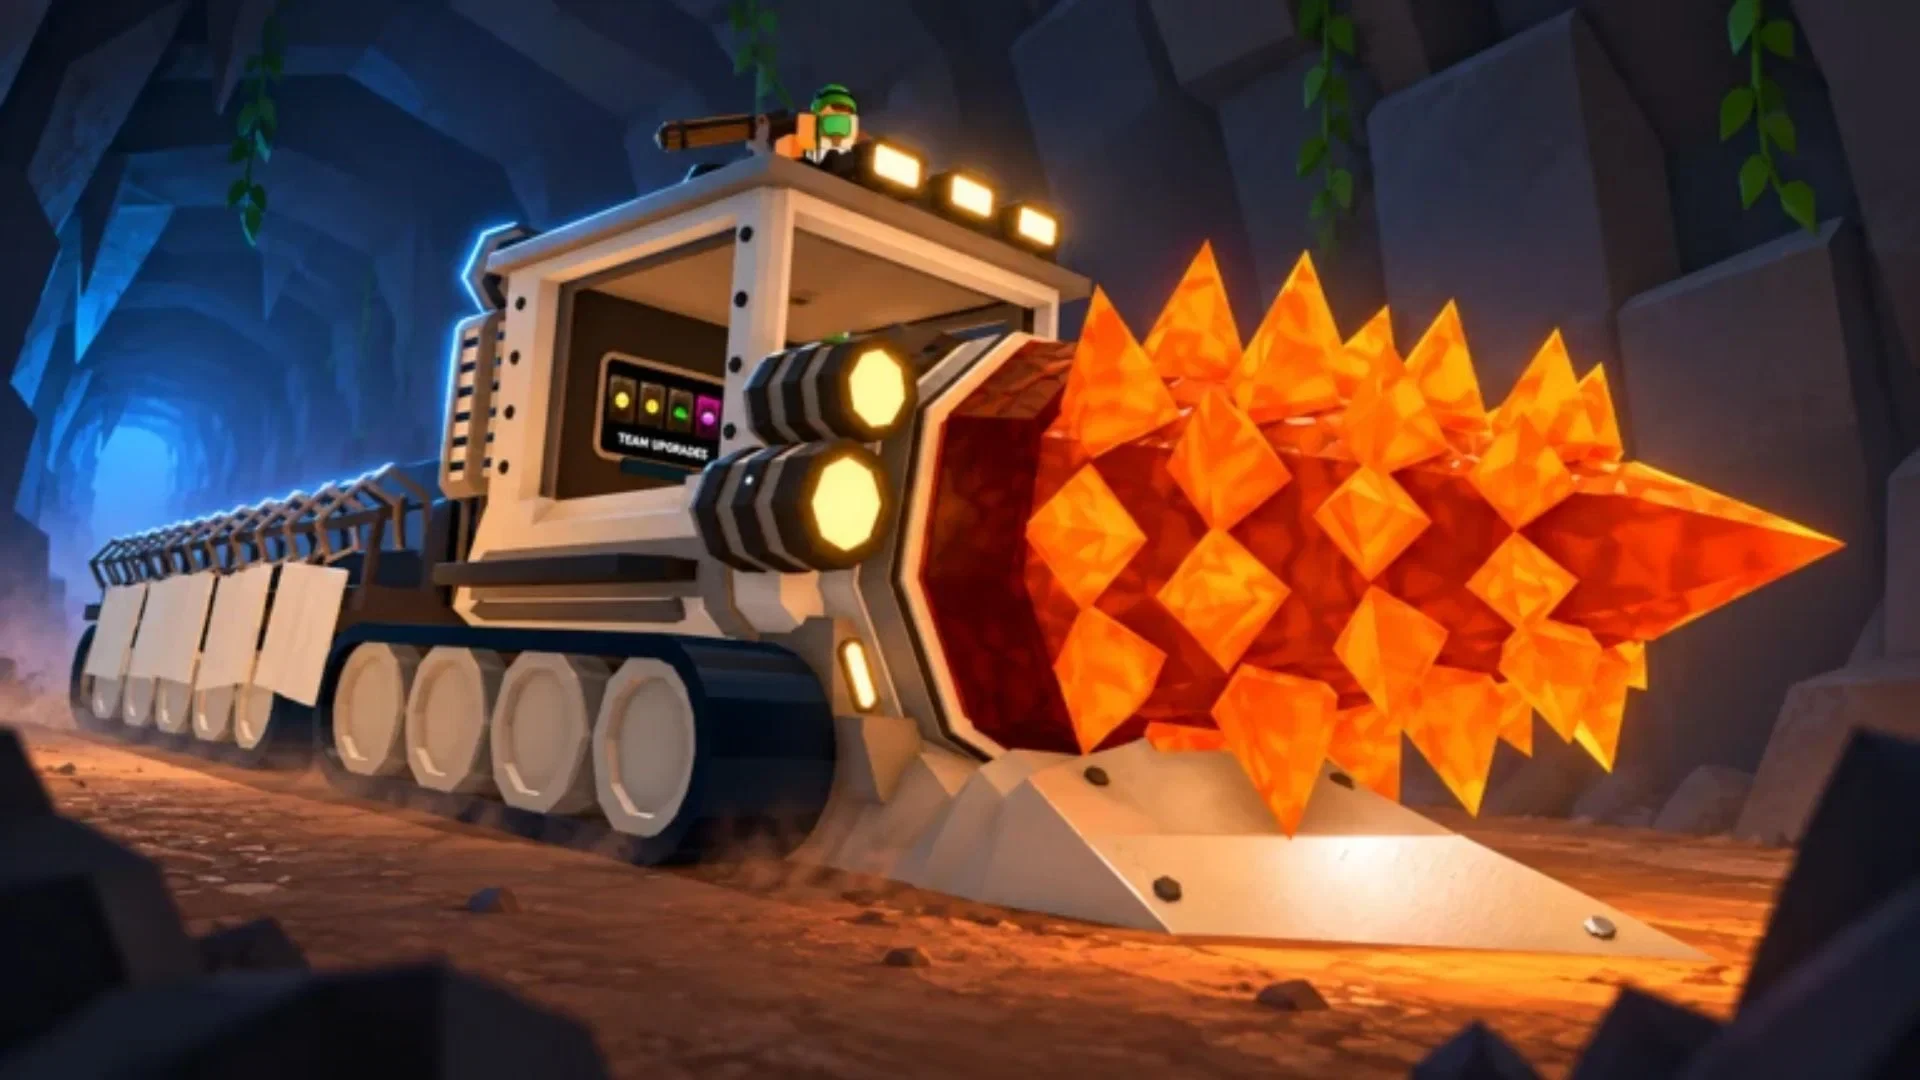
The drill machine breaks through walls and carries your progress from one dungeon to the next. Dungeons are where you gather fuel and loot, but they also introduce enemies that can slow or stop your travel. At each checkpoint, sell what you do not need for the furnace, then turn Coins into gear, consumables, or healing items before leaving again.
Think of the run as two linked economies: fuel keeps the vehicle moving, while sale loot funds the equipment that helps you survive. Once you understand that split, the game’s progression is much easier to follow.
Drill to Earth’s Core Controls for New Players
The following keyboard and mouse layout is a compact reference for the experience. Treat it as version-sensitive, since control prompts can change with updates.
| Action | Input | What it does |
|---|---|---|
| Move | W, S, A, D | Move your character |
| Jump | Spacebar | Jump |
| Interact | E | Interact with a nearby prompt |
| Equip a tool | Number keys (1-0) | Select a tool slot |
| Use a tool | Left Mouse Button | Use the equipped tool |
| Store an item | F while the cursor highlights it | Put the highlighted item into your bag |
The F key is especially important for inventory management. Its behavior depends on the cursor context: the table uses it for storing a highlighted item, while selling requires you to use F with your cursor not pointed at anything to take an item out of your bag.
How to Start a Run and Keep the Drill Fueled
Once the run begins, treat dungeon loot as both your fuel supply and your income source. Pick up fuel and other loot, then put combustible items into the drill’s furnace to refuel it. Do not assume every valuable-looking pickup belongs in the sell pile: the drill needs combustible material to break through walls, while other items are better saved for Coins at the next checkpoint.
During travel, the drill is mostly on rails, so you have limited control over its direction beyond moving forward. Zombies may attack and can halt progress. If they start stopping the drill, disengage and defeat them. A high health pool may let you keep drilling through some hits, but treat that as an option rather than a beginner default.
What to Do in Drill to Earth’s Core Dungeons
Search the explorable section first
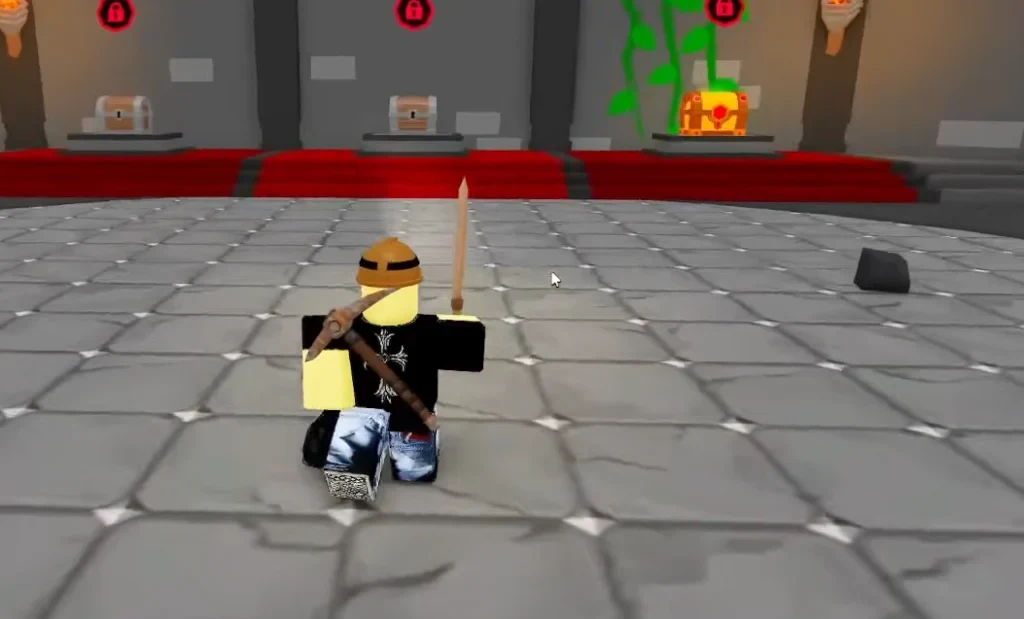
Each dungeon starts with a short explorable area before the boss room. You can skip it, but doing so leaves useful loot behind. Walk through the area, collect fuel and other resources, and deal with enemies before entering the boss room. That extra time gives you more material for the furnace and more items to sell later.
Clear the boss room in two phases
The boss room has two distinct phases:
- Enemy waves: Defeat the enemies that swarm the room. Progress does not continue until this phase is cleared.
- Boss battle: Fight the boss, which has a larger health pool and stronger attacks than the regular enemies.
Defeating the boss rewards you with multiple chests. Open or claim those rewards before moving on so the dungeon’s most valuable payoff does not get left behind.
How to Sell Loot and Buy Gear at Checkpoints
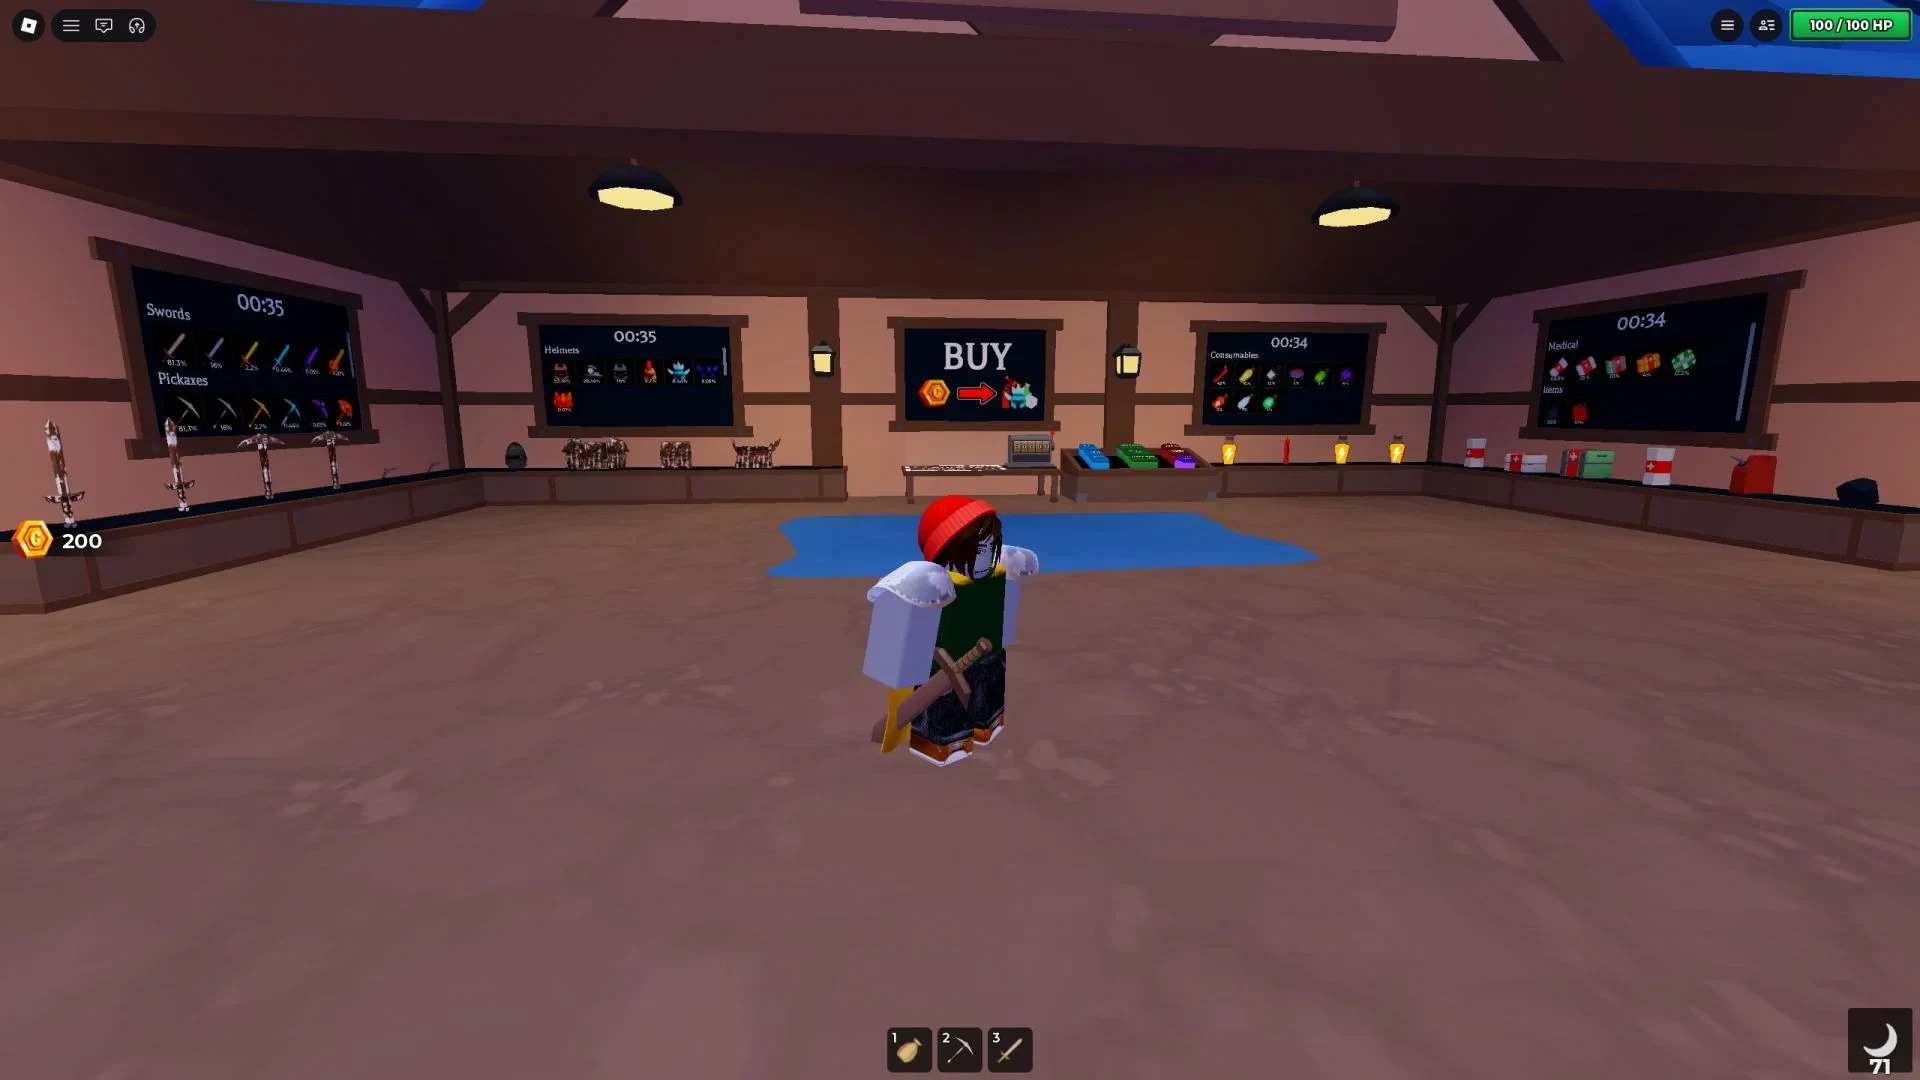
After a certain number of cleared dungeons, you reach a checkpoint. These areas give you time to turn surplus loot into Coins and prepare for the next stretch. The selling sequence is precise:
- Use
Fwith your cursor not pointed at anything to remove the item from your bag. - Check the value shown beneath the item’s name while it is out of the bag.
- Make sure nothing is equipped, then use the Left Mouse Button to drag the item to the sell station.
- Use the Coins from the sale to prepare for the next dungeon.
Before selling, decide whether an item is more useful as furnace fuel or as sale loot. Supplying the drill comes first because the vehicle is what breaks through the walls and opens the next area.
Checkpoints also offer armor and weapons, along with consumables and healing items. Compare the options you actually see at the checkpoint and spend Coins on the weakness most likely to end your next run: combat durability, damage, or recovery. You do not need an exact price list or a fixed build to make a useful first purchase.
How Classes Help Beginners
Classes are lobby choices that grant permanent bonuses, so they shape your starting baseline instead of changing one item in a single dungeon. Choose from the in-game description and pick a bonus you understand. The exact price, name, rarity, and strength of every class are not needed for a first run, and a class choice does not replace the basic fuel, dungeon, and checkpoint loop.
A Simple Beginner Loop for the Next Dungeon
Use this order when your first run starts to feel chaotic:
- Keep the drill supplied by collecting fuel and feeding combustible items into the furnace.
- Search each dungeon’s explorable section for fuel and sale loot instead of rushing straight to the boss room.
- Clear the enemy waves, defeat the boss, and collect the reward chests.
- At the checkpoint, remove surplus loot with
F, check its value, and drag it to the sell station with nothing equipped. - Spend Coins on the available armor, weapons, consumables, or healing items that help you survive the next dungeon.
- Leave with the drill fueled and repeat the loop in the next area.
If the run starts to feel messy, return to the central decision: fuel keeps the drill moving, while sellable loot buys the survival tools that make the next dungeon manageable. Deeper routes and class optimization can wait until this loop feels automatic.