If you spawn into Build and Kill Zombies on Roblox and see a garage full of parts, your first goal is not to find a magic car recipe. It is to turn the parts your current game shows into a car the builder will let you drive. The experience runs on a simple loop: build, drive into or around zombie groups, earn Cash, return when the run ends, and improve the next attempt.
This beginner guide takes you from the home base to chassis placement, then explains the PC prompts, run HUD, fuel limit, and next upgrade decision. The live labels and requirements in your version of the game take priority, especially when B or F is used in a different mode.
How Build and Kill Zombies Works: Build, Drive, Earn, Upgrade
Each attempt has a building phase and a driving phase. You prepare the car at home, take it into the field, then return to spend what you earned on the next test.
| Phase | What you do | What to watch |
|---|---|---|
| Home base | Inspect the current Vehicle and Weapons options, roll or reroll if offered, and buy displayed parts when needed. | The parts and requirements currently shown by your interface. |
| Builder | Select the parts you want and place them on the vehicle chassis. | The requirements that determine whether the car can launch. |
| Field | Use Drive, steer through zombie hordes, or take gaps and jumps to avoid them. | Distance, Cash, speed, and fuel. |
| Return and upgrade | Use the visible Return prompt or finish the run when fuel is depleted, then spend Cash on a displayed change. | Whether one measurable change improves the next run. |
You do not need to solve the whole build before your first drive. A usable baseline tells you what the current car can do, which makes the next part or upgrade easier to judge.
How to Build Your First Car in Build and Kill Zombies
Start at the home base and work from the parts that are actually available to you. The broad categories described for the experience include Engines, Fuels, Wheels, Blocks, and Supports, while the builder can expose separate Vehicle and Weapons options. Rather than follow an unverified fixed starter recipe, use the requirements and prices shown by your current interface.
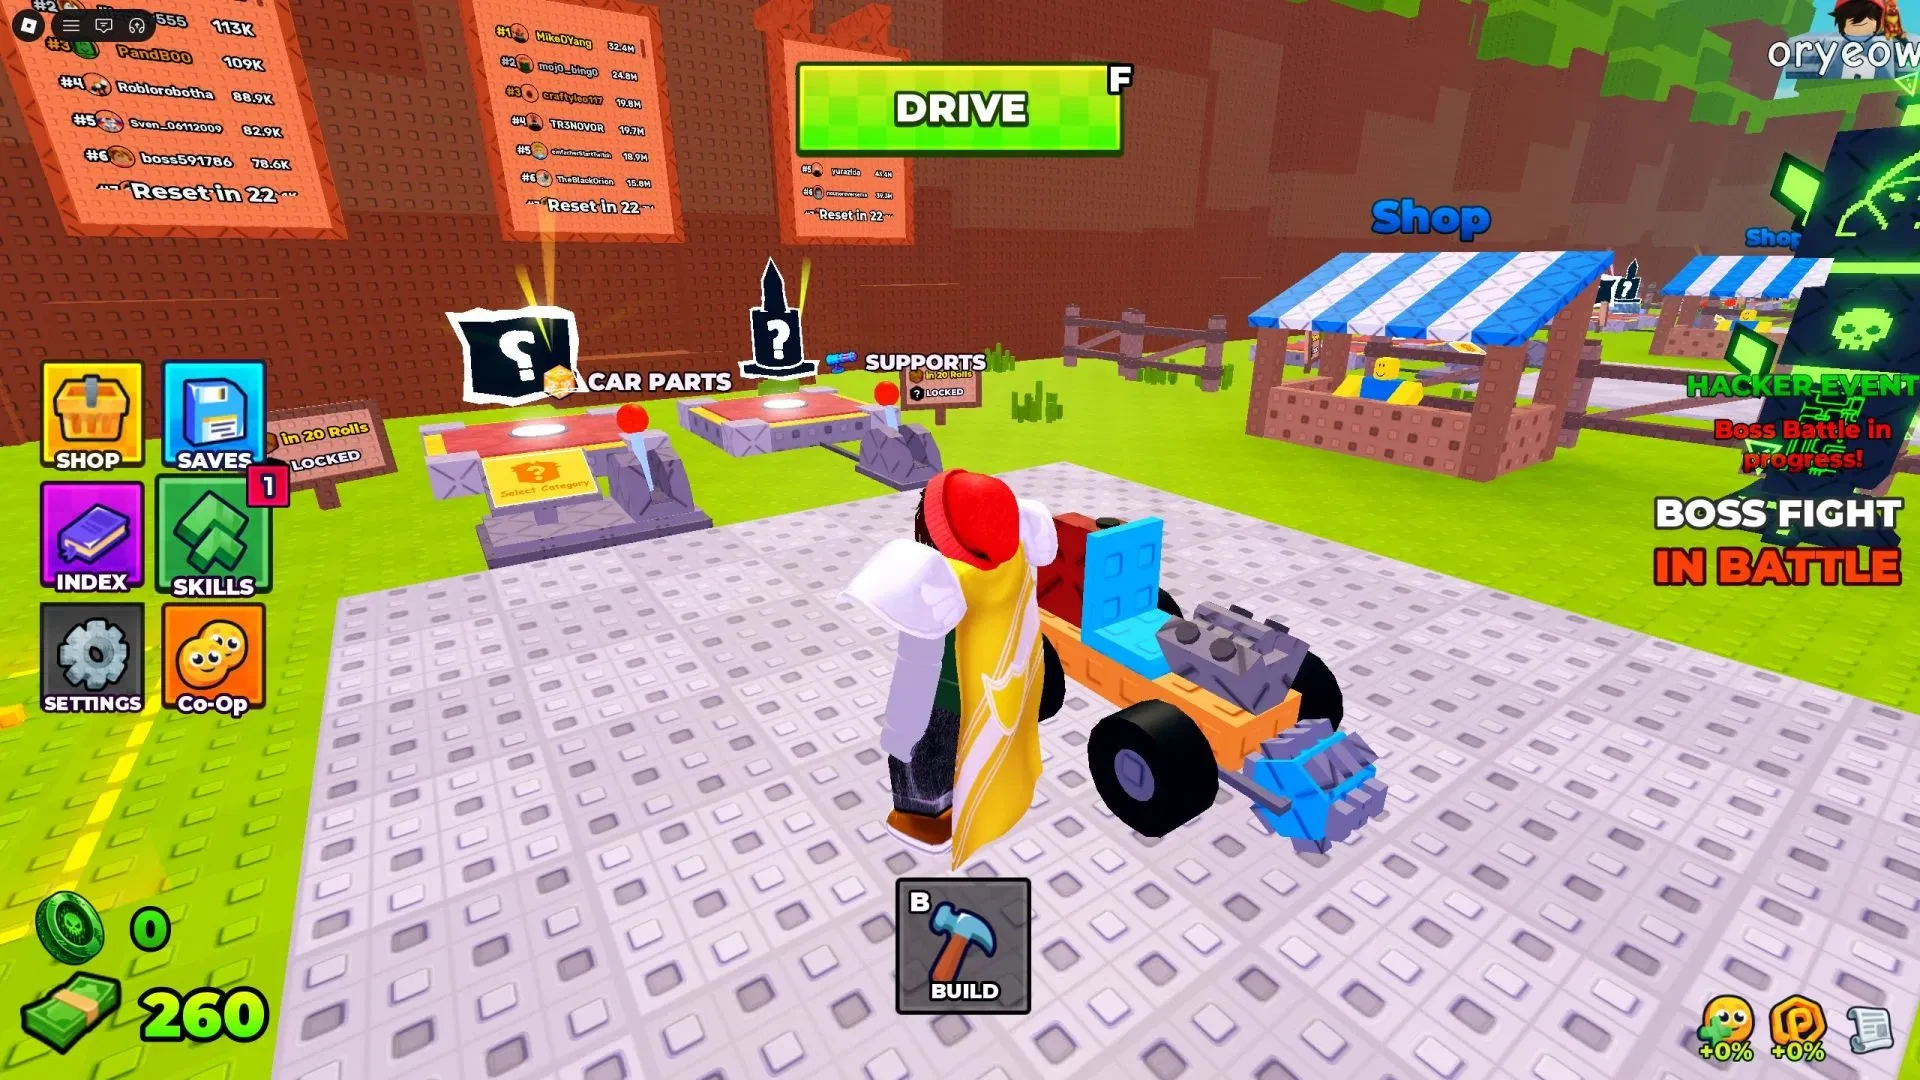
- Inspect the available parts. Check the current Vehicle and Weapons choices at the home base. If the game offers rolls, rerolls, or category selection, use the options it currently shows, and buy a displayed part when the interface requires it.
- Open the builder. Use the on-screen Build control to enter the placement view. Do not assume the same keyboard key will have the same label in every mode.
- Place the selected parts. Put the parts on the vehicle chassis with the mouse. Use the live placement prompts for rotation, canceling, or deleting a part if you need to adjust the layout.
- Check for the launch prompt. When the game accepts the build, it exposes a Drive control, often as a green prompt at the top of the screen. If that prompt is not available, look at the requirements shown in the builder instead of guessing which starter part is missing.
The important completion condition is not a specific collection of parts. It is seeing that the current build is allowed to launch. Once it is, take the car into the field and use that run to learn what needs changing.
Build and Kill Zombies PC Controls: Build, Drive, and Return
The following is a PC reference, not a universal map for every device or version. The B and F keys can be labeled differently by mode, so the prompt currently shown on screen is the final authority.
| Input | Use | Context |
|---|---|---|
W/A/S/D | Move | Directional movement reference. |
Spacebar | Jump | Use it when controlling the character or when the current mode exposes jump input. |
E | Interact | Use it for nearby interactions shown by the game. |
B | Build menu or another mode action | The general reference lists B for the Build menu, but a different builder state may show another prompt. Follow the live label. |
F | Drive or Return to base | The same key can start a drive at the home base and return you from a run, depending on the current mode. |
Mouse click | Place a selected part | Used while arranging parts on the chassis. |
R | Rotate a selected part | Placement-mode reference. |
X | Cancel placement | Placement-mode reference. |
Q | Delete a selected part | Builder editing reference. |
If a key seems unresponsive, first check that the game window has focus rather than a text field, then check whether you are at the home base, in the builder, or already driving. A green button or current text label can take precedence over an older shortcut list. On touch devices, use the buttons shown by the current game interface instead of applying this keyboard table.
How to Drive and Earn Cash in Build and Kill Zombies
The first drive is best treated as a baseline run. You are learning how the current car handles, how quickly fuel disappears, and how the run HUD responds, not proving that the first build is perfect.
- Start the run. Use the visible Drive control, which may be the F key or a green button at the top of the screen.
- Choose your route. Steer into zombie groups when the car can handle them. If a group is too dense or the build is still weak, use gaps or jumps to avoid it.
- Read the run HUD. Keep an eye on distance, Cash, speed, and fuel while you drive. Distance covered and zombies killed both affect the Cash you earn, so do not judge a run by distance alone.
- Return before the run becomes a guess. Use the live Return prompt when you want to end the attempt. Fuel steadily drains during a drive, and when it reaches zero the documented loop sends you back to the home base so you can buy or test more parts.
There is no useful fixed Cash-per-kill or fuel-duration number to memorize here. Compare the values your own run displays, then use that information when deciding whether to change the car or simply try a different route.
Build and Kill Zombies Upgrades, Skills, and Car Presets
After a run, spend Cash on a change the current interface actually offers. The general progression is to upgrade the car and repeat the build-to-drive loop, while optional systems can give you more ways to shape the next experiment.
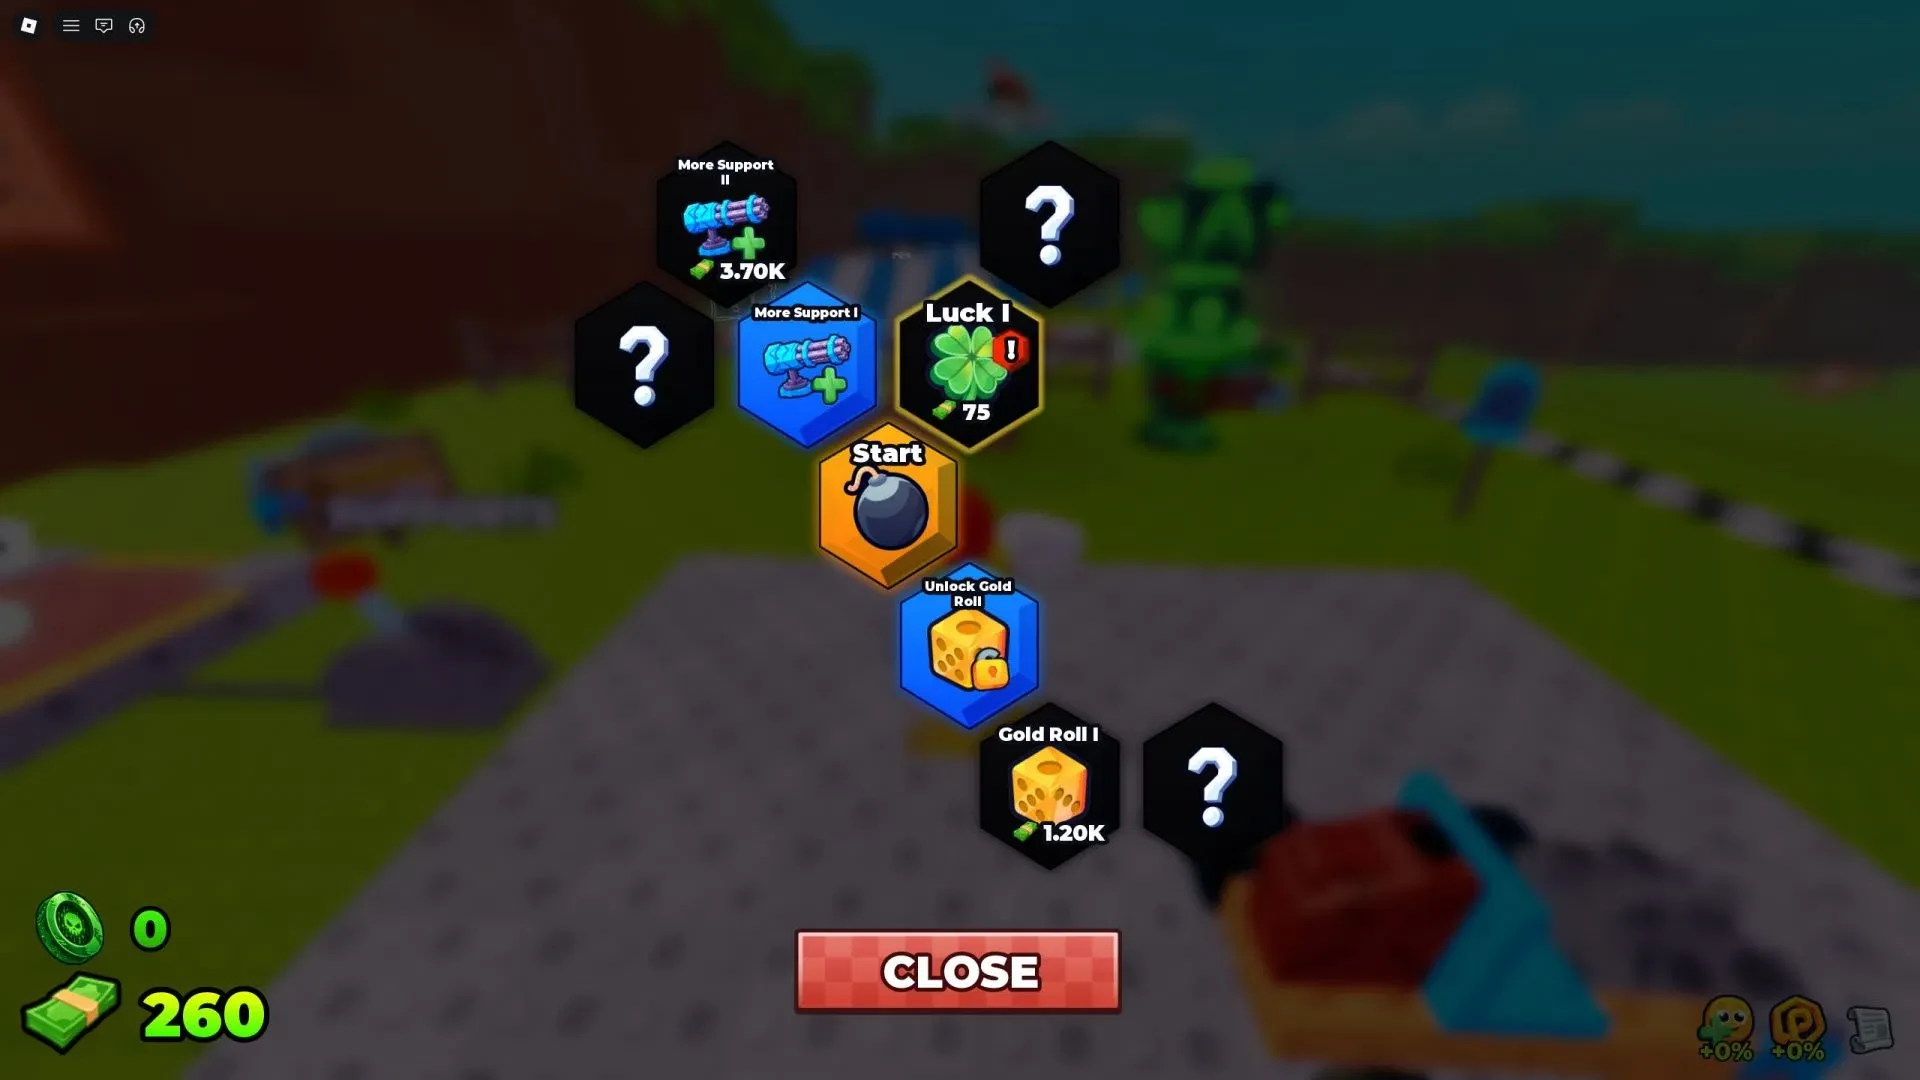
You may see a Skills menu with bonuses related to Luck, roll options, or support capacity. The experience also describes Select Category rolls, an Index for tracking parts, and a Car Builds beacon for presets when you own the required parts. Use those systems as ways to organize your next test. A preset can provide a baseline, but it is not a guarantee of the best possible car.
For a useful comparison, keep the first change small:
- Run the current build and note the distance and Cash shown by the HUD.
- Change one visible part, placement, or displayed upgrade.
- Repeat a similar route and compare the result, including how the car handled and how much fuel remained.
Changing one thing at a time makes it possible to tell what helped. A full redesign may feel exciting, but it also makes it difficult to know which part or upgrade caused the difference.
Beginner Mistakes to Avoid in Build and Kill Zombies
- Treating a shortcut list as universal: B and F can change meaning with the current mode. Look at the prompt before assuming a key failed.
- Chasing a fixed starter recipe: Use the parts, prices, and requirements shown by the current build screen instead of copying an old shopping list.
- Changing too many things at once: Make one part, placement, or upgrade change, then run the car again so the comparison means something.
- Assuming farther is always better: Distance matters, but Cash, kills, speed, and fuel tell you more about whether the run was useful for your current build.
- Ignoring the return state: Watch the fuel and use the visible Return prompt. Waiting for an empty tank is not the only reason to end a run.
Run one clean baseline with the parts currently available, return when the live prompt or fuel state tells you to, and record the distance and Cash. Then make one clearly identified change and repeat the drive. That loop gives you a reliable next decision without requiring a universal best car.