

To build a base in Subnautica 2, you first need the Habitat Builder, a tool that stays locked until you scan two of its fragments out in the world. Once you craft it, place a small Corridor and attach a Hatch so you have a way in, then add Solar Panels on the outside to power it. Build close to the Lifepod, the cramped pod you start in, so you can keep using it while the new base gets going.
| Item | Ingredients | Where it's made or placed |
|---|---|---|
| Basic Battery | 2 Copper, 1 Acidic Raion Pouch | Resources section |
| Scanner | 2 Titanium, 2 Quartz, 1 Basic Battery | Lifepod fabricator, Personal section |
| Copper Wire | 2 Copper | Resources section |
| Habitat Builder | 2 Titanium, 1 Glass, 1 Basic Battery, 1 Copper Wire | Fabricator, after two fragment scans |
| Corridor | 2 Titanium (default size) | Placed with the Habitat Builder |
| Hatch | 1 Titanium, 1 Quartz | Attached to a Corridor or Room |
| Solar Panel | 1 Titanium, 2 Quartz | Placed outside the habitat |
| Room | 5 Titanium | Placed with the Habitat Builder, if available |
How to Unlock the Habitat Builder in Subnautica 2
The Habitat Builder is the tool that places base pieces, and it stays locked until you scan two of its fragments. Scanning requires a Scanner, so craft that first. Start with these steps:
- Craft a Basic Battery in the Resources section from 2 Copper and 1 Acidic Raion Pouch.
- Craft a Scanner in the Personal section of the Lifepod's fabricator using 2 Titanium, 2 Quartz and the battery.
- Scan two Habitat Builder fragments.
The Welcome Center is the place to start. It's a colony ruin southeast of the Lifepod, and one fragment sits in an open crate just to the right of the entrance by the sign. The second is in a cave under the building. Salvage the metal blocking the hole in the floor, swim down, and check the crate at the bottom.
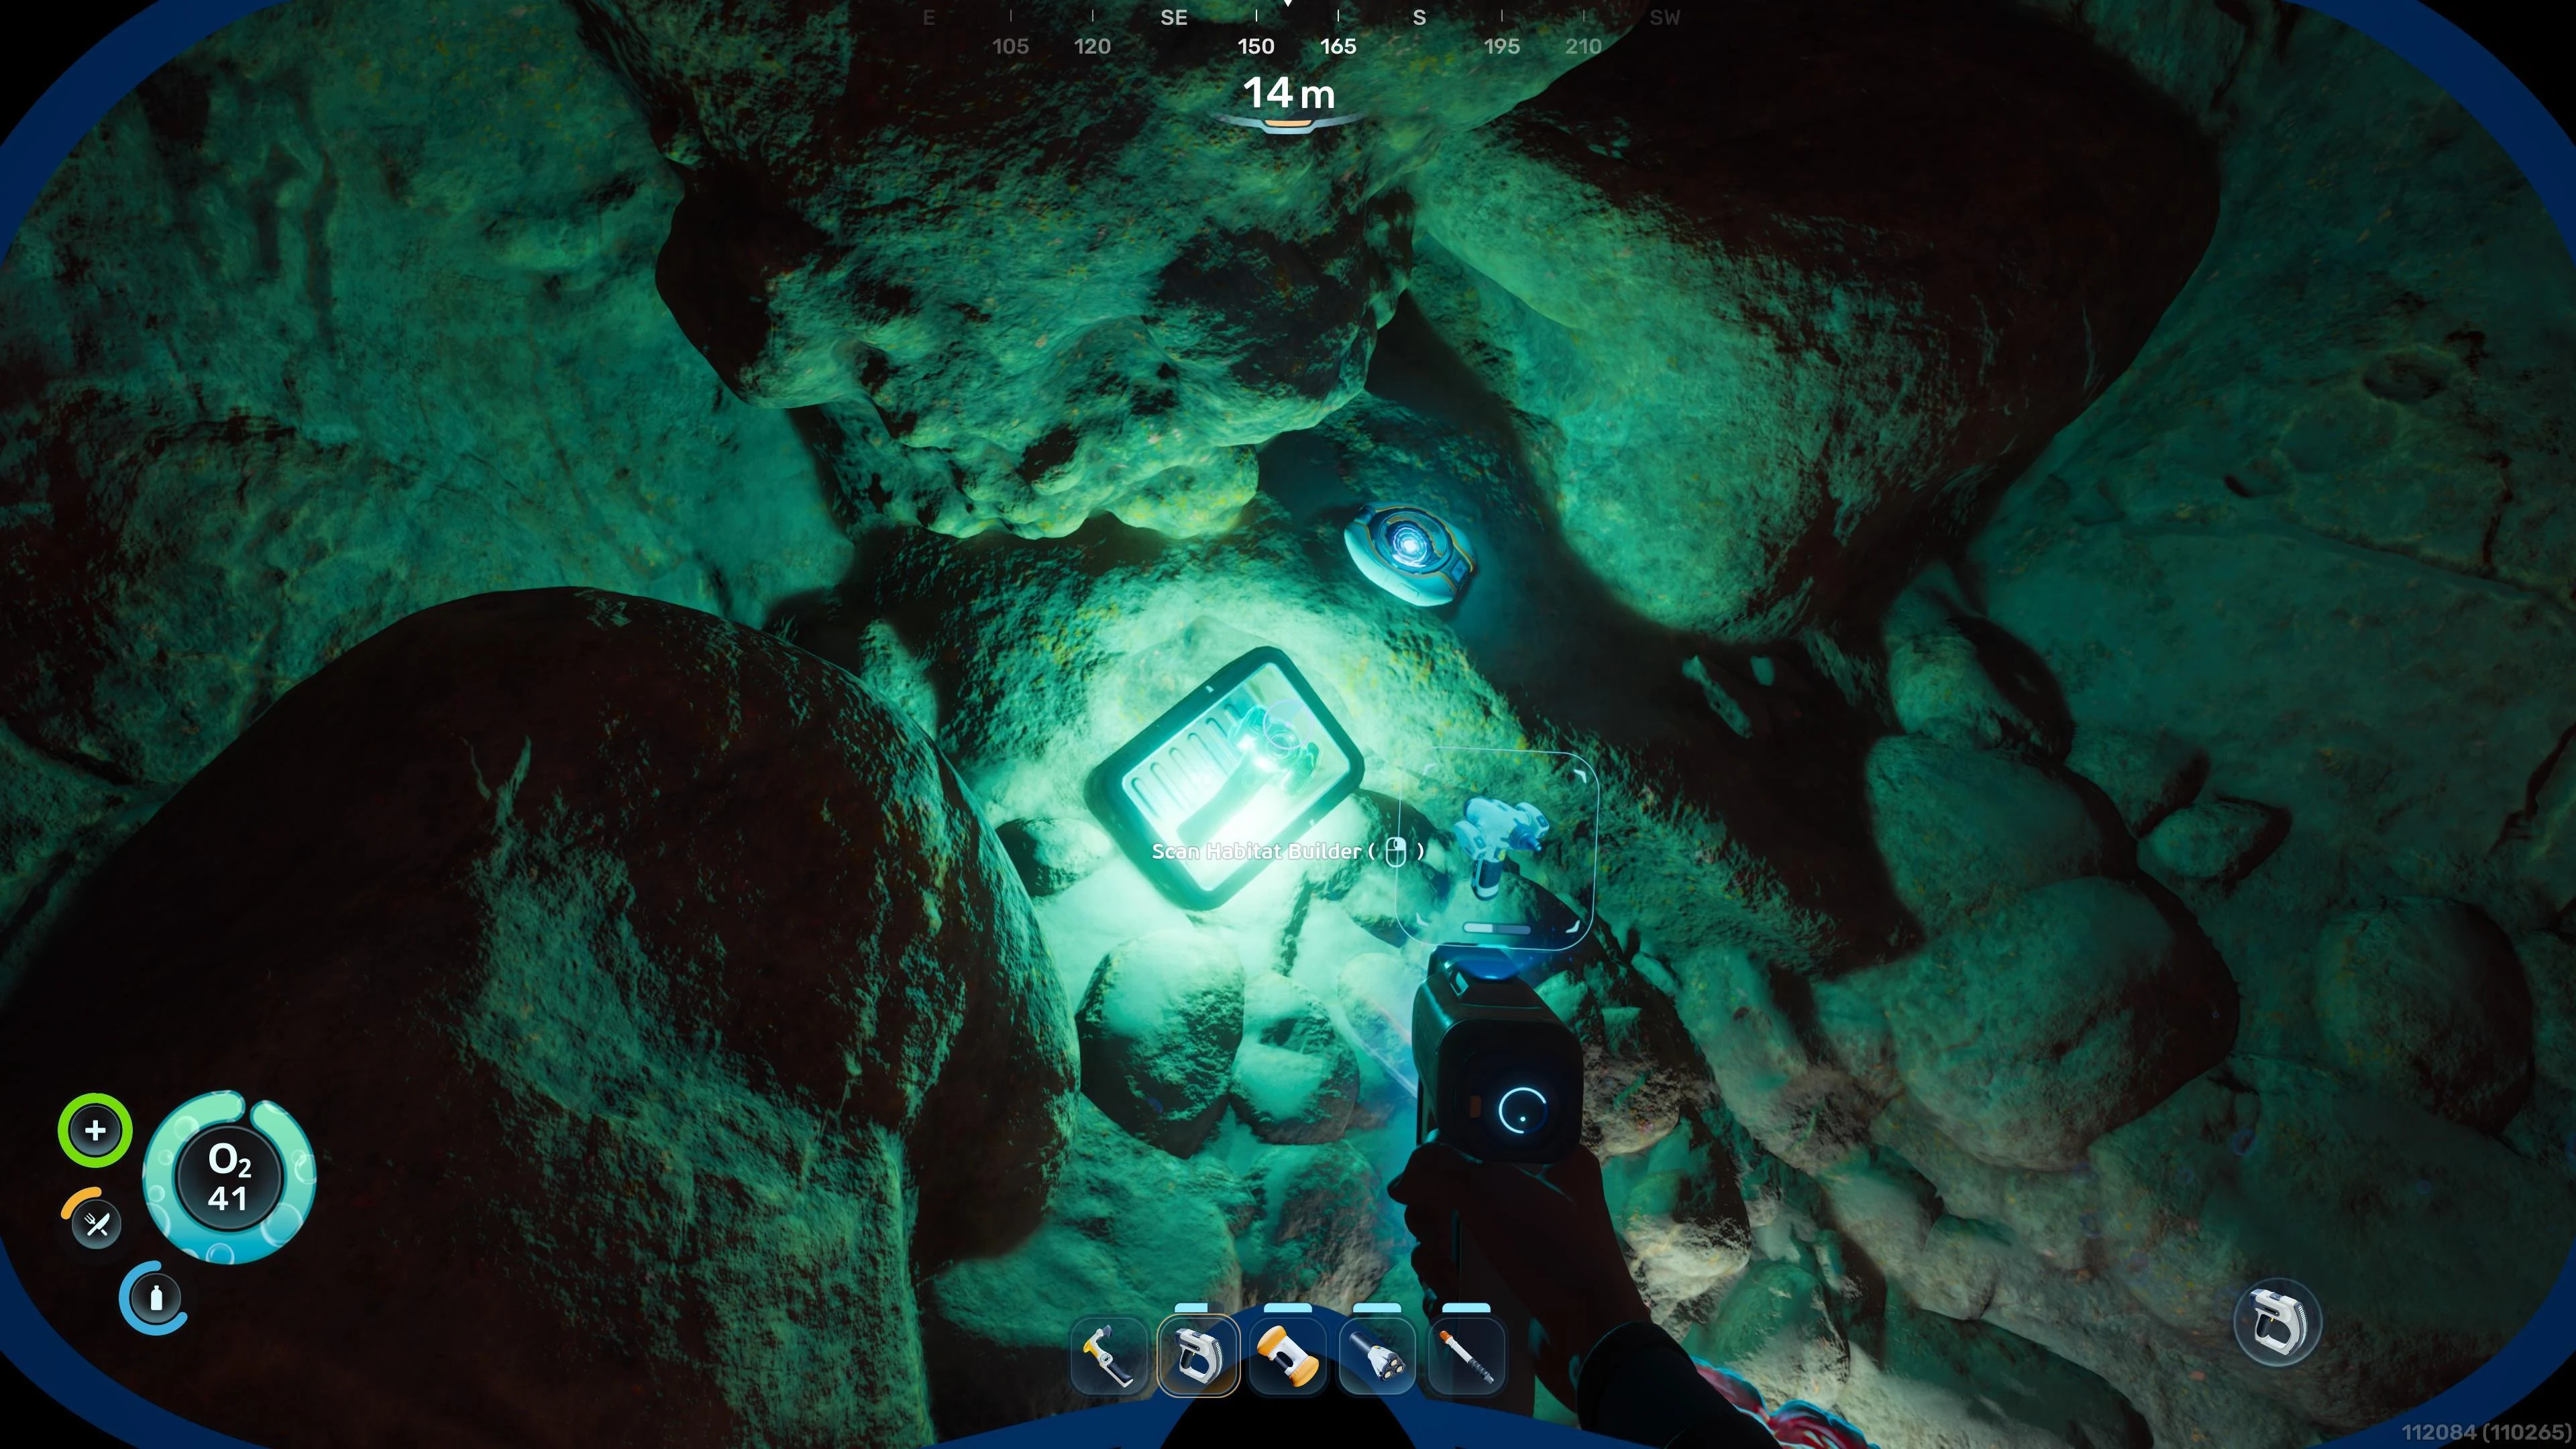
Fragments can also turn up at other nearby sites, so if one spot comes up empty, check around the Welcome Center and at Camp One, which also has a fragment. Once two are scanned, the Habitat Builder blueprint unlocks.
How to Craft the Habitat Builder
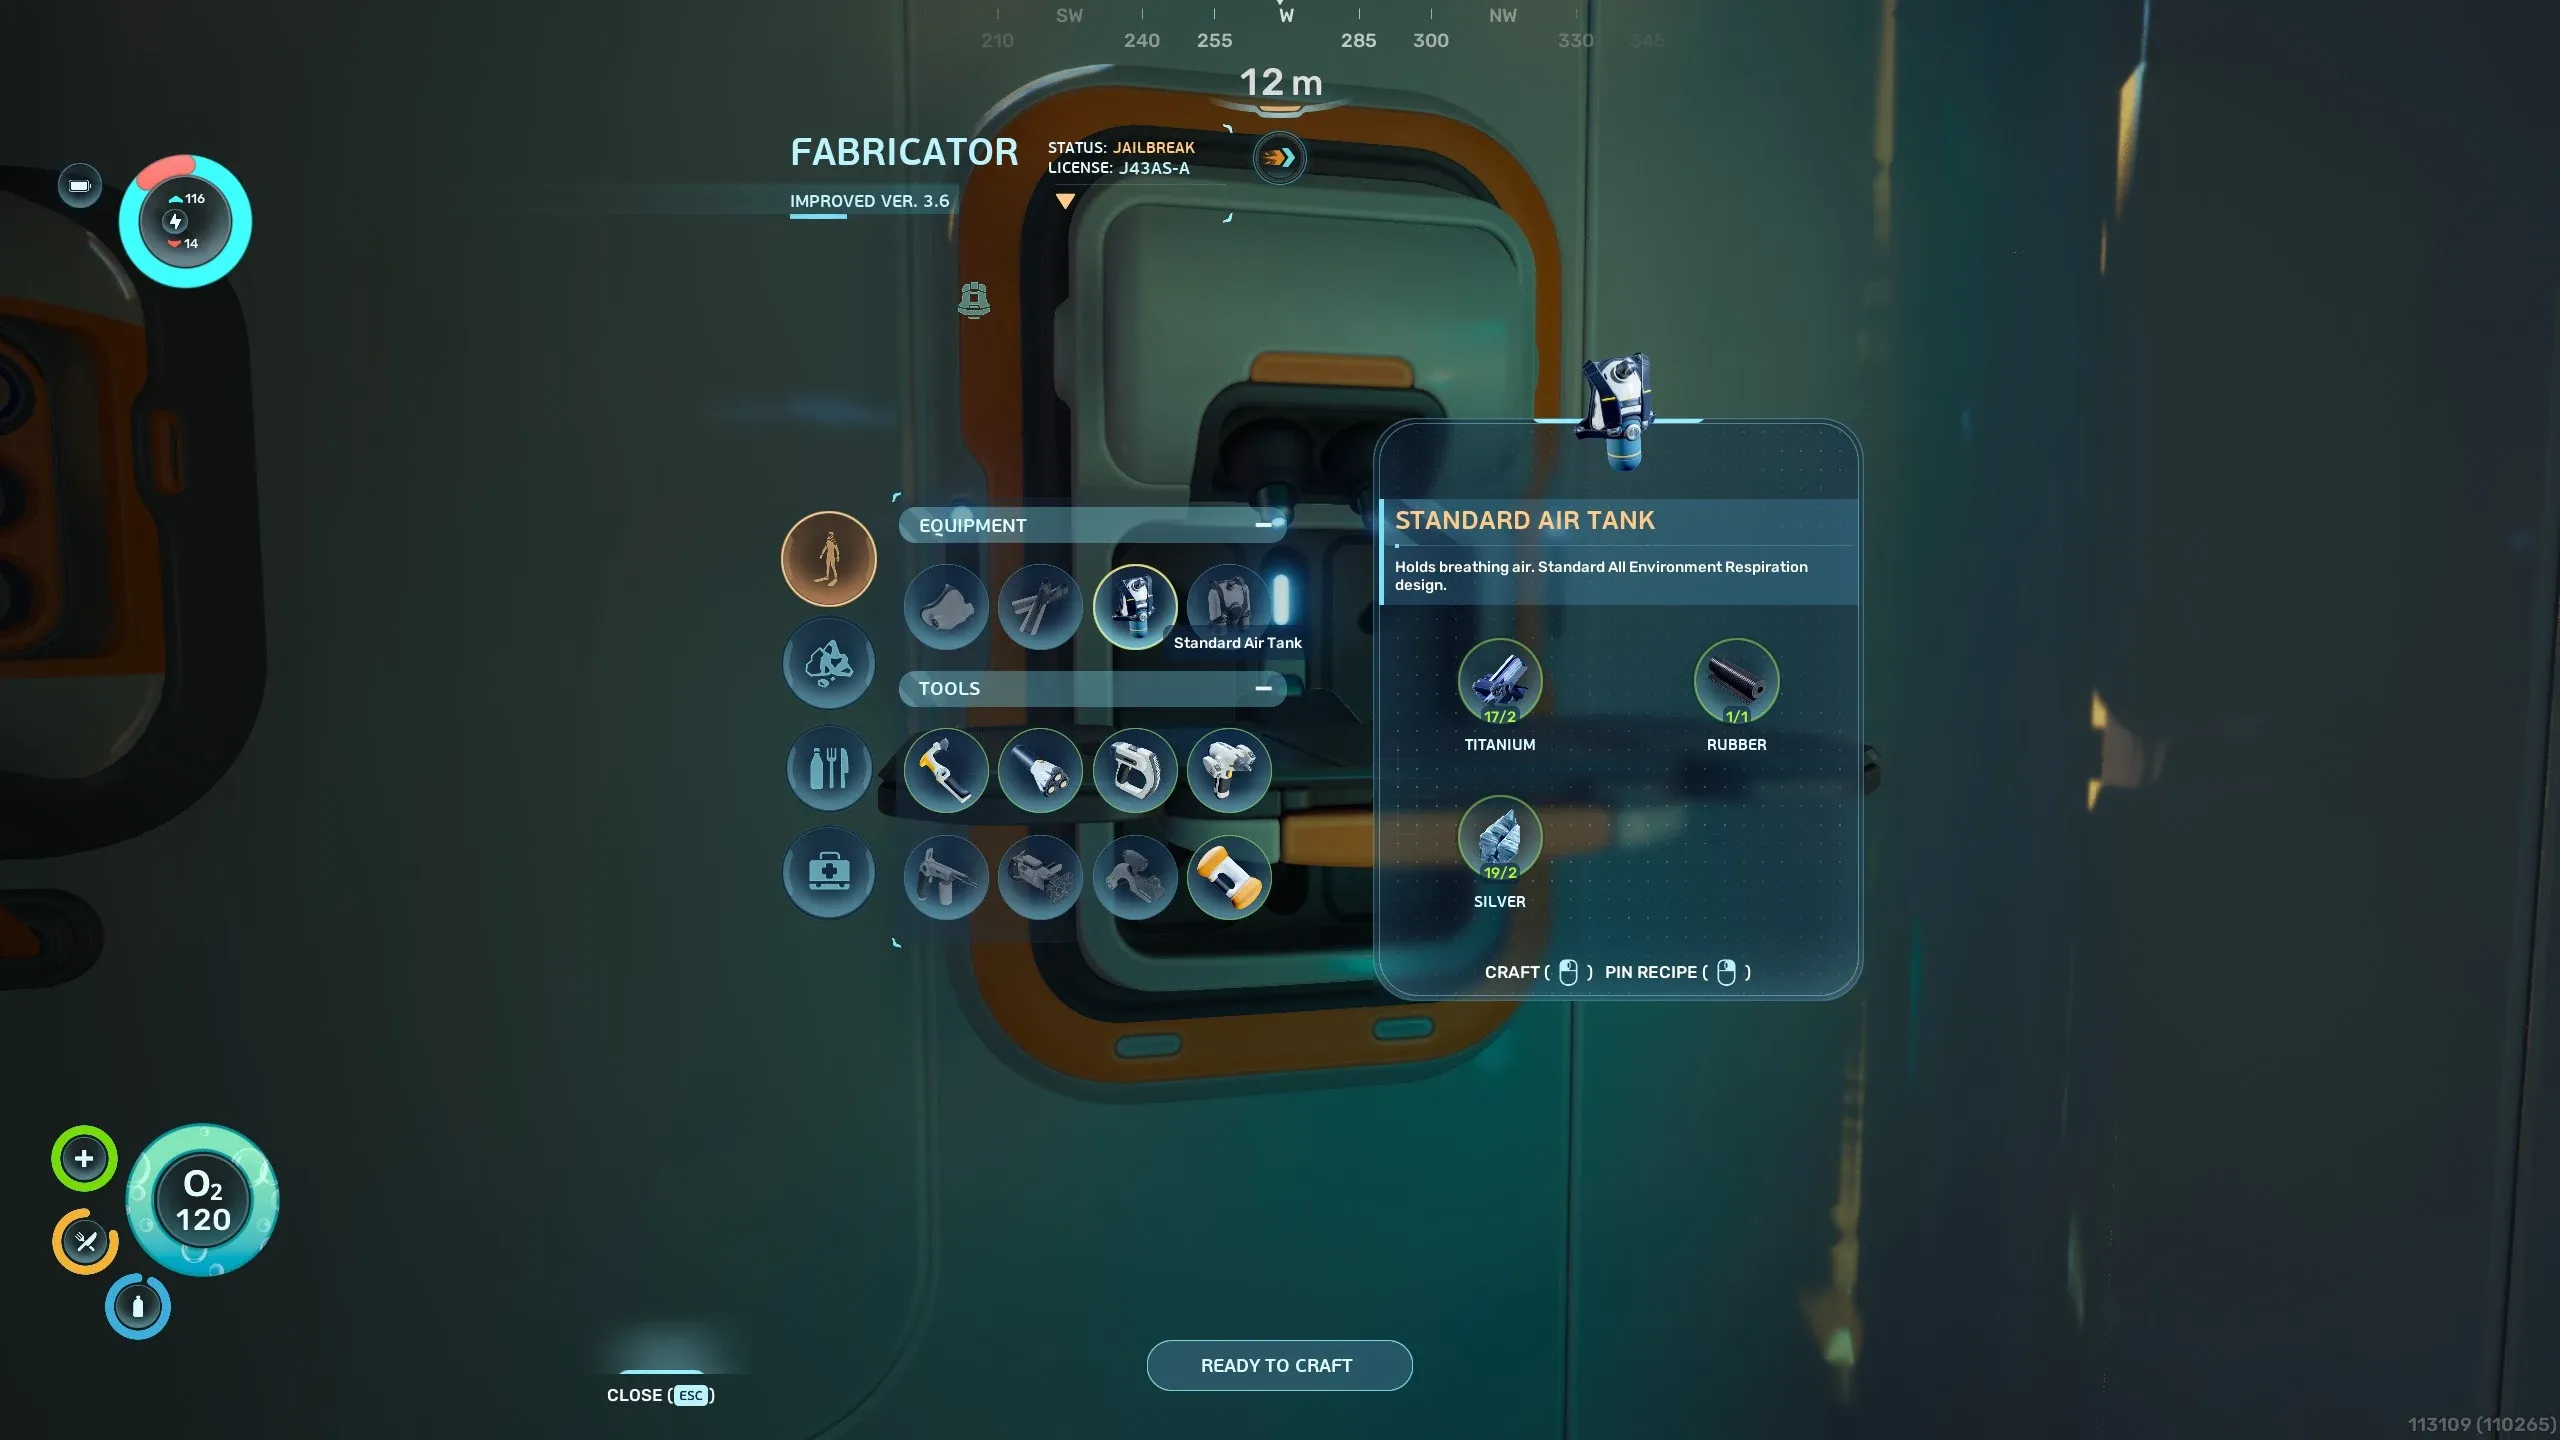
With the blueprint unlocked, craft the Habitat Builder at a Fabricator, such as the one in your Lifepod. The recipe calls for:
- 2 Titanium
- 1 Glass
- 1 Basic Battery
- 1 Copper Wire
The battery and wire both come from the Resources section, so it helps to plan the whole early chain before you leave the pod. The Scanner and the Habitat Builder together need two Basic Batteries and one Copper Wire, which adds up to 6 Copper and 2 Acidic Raion Pouches. Gather those first so you aren't stuck partway through.
How to Place a Corridor and Hatch
Keep your first build small so your early Titanium goes further. The placement process is short:
- Move the Habitat Builder into your hotbar, then select it with its number key or the d-pad on controller.
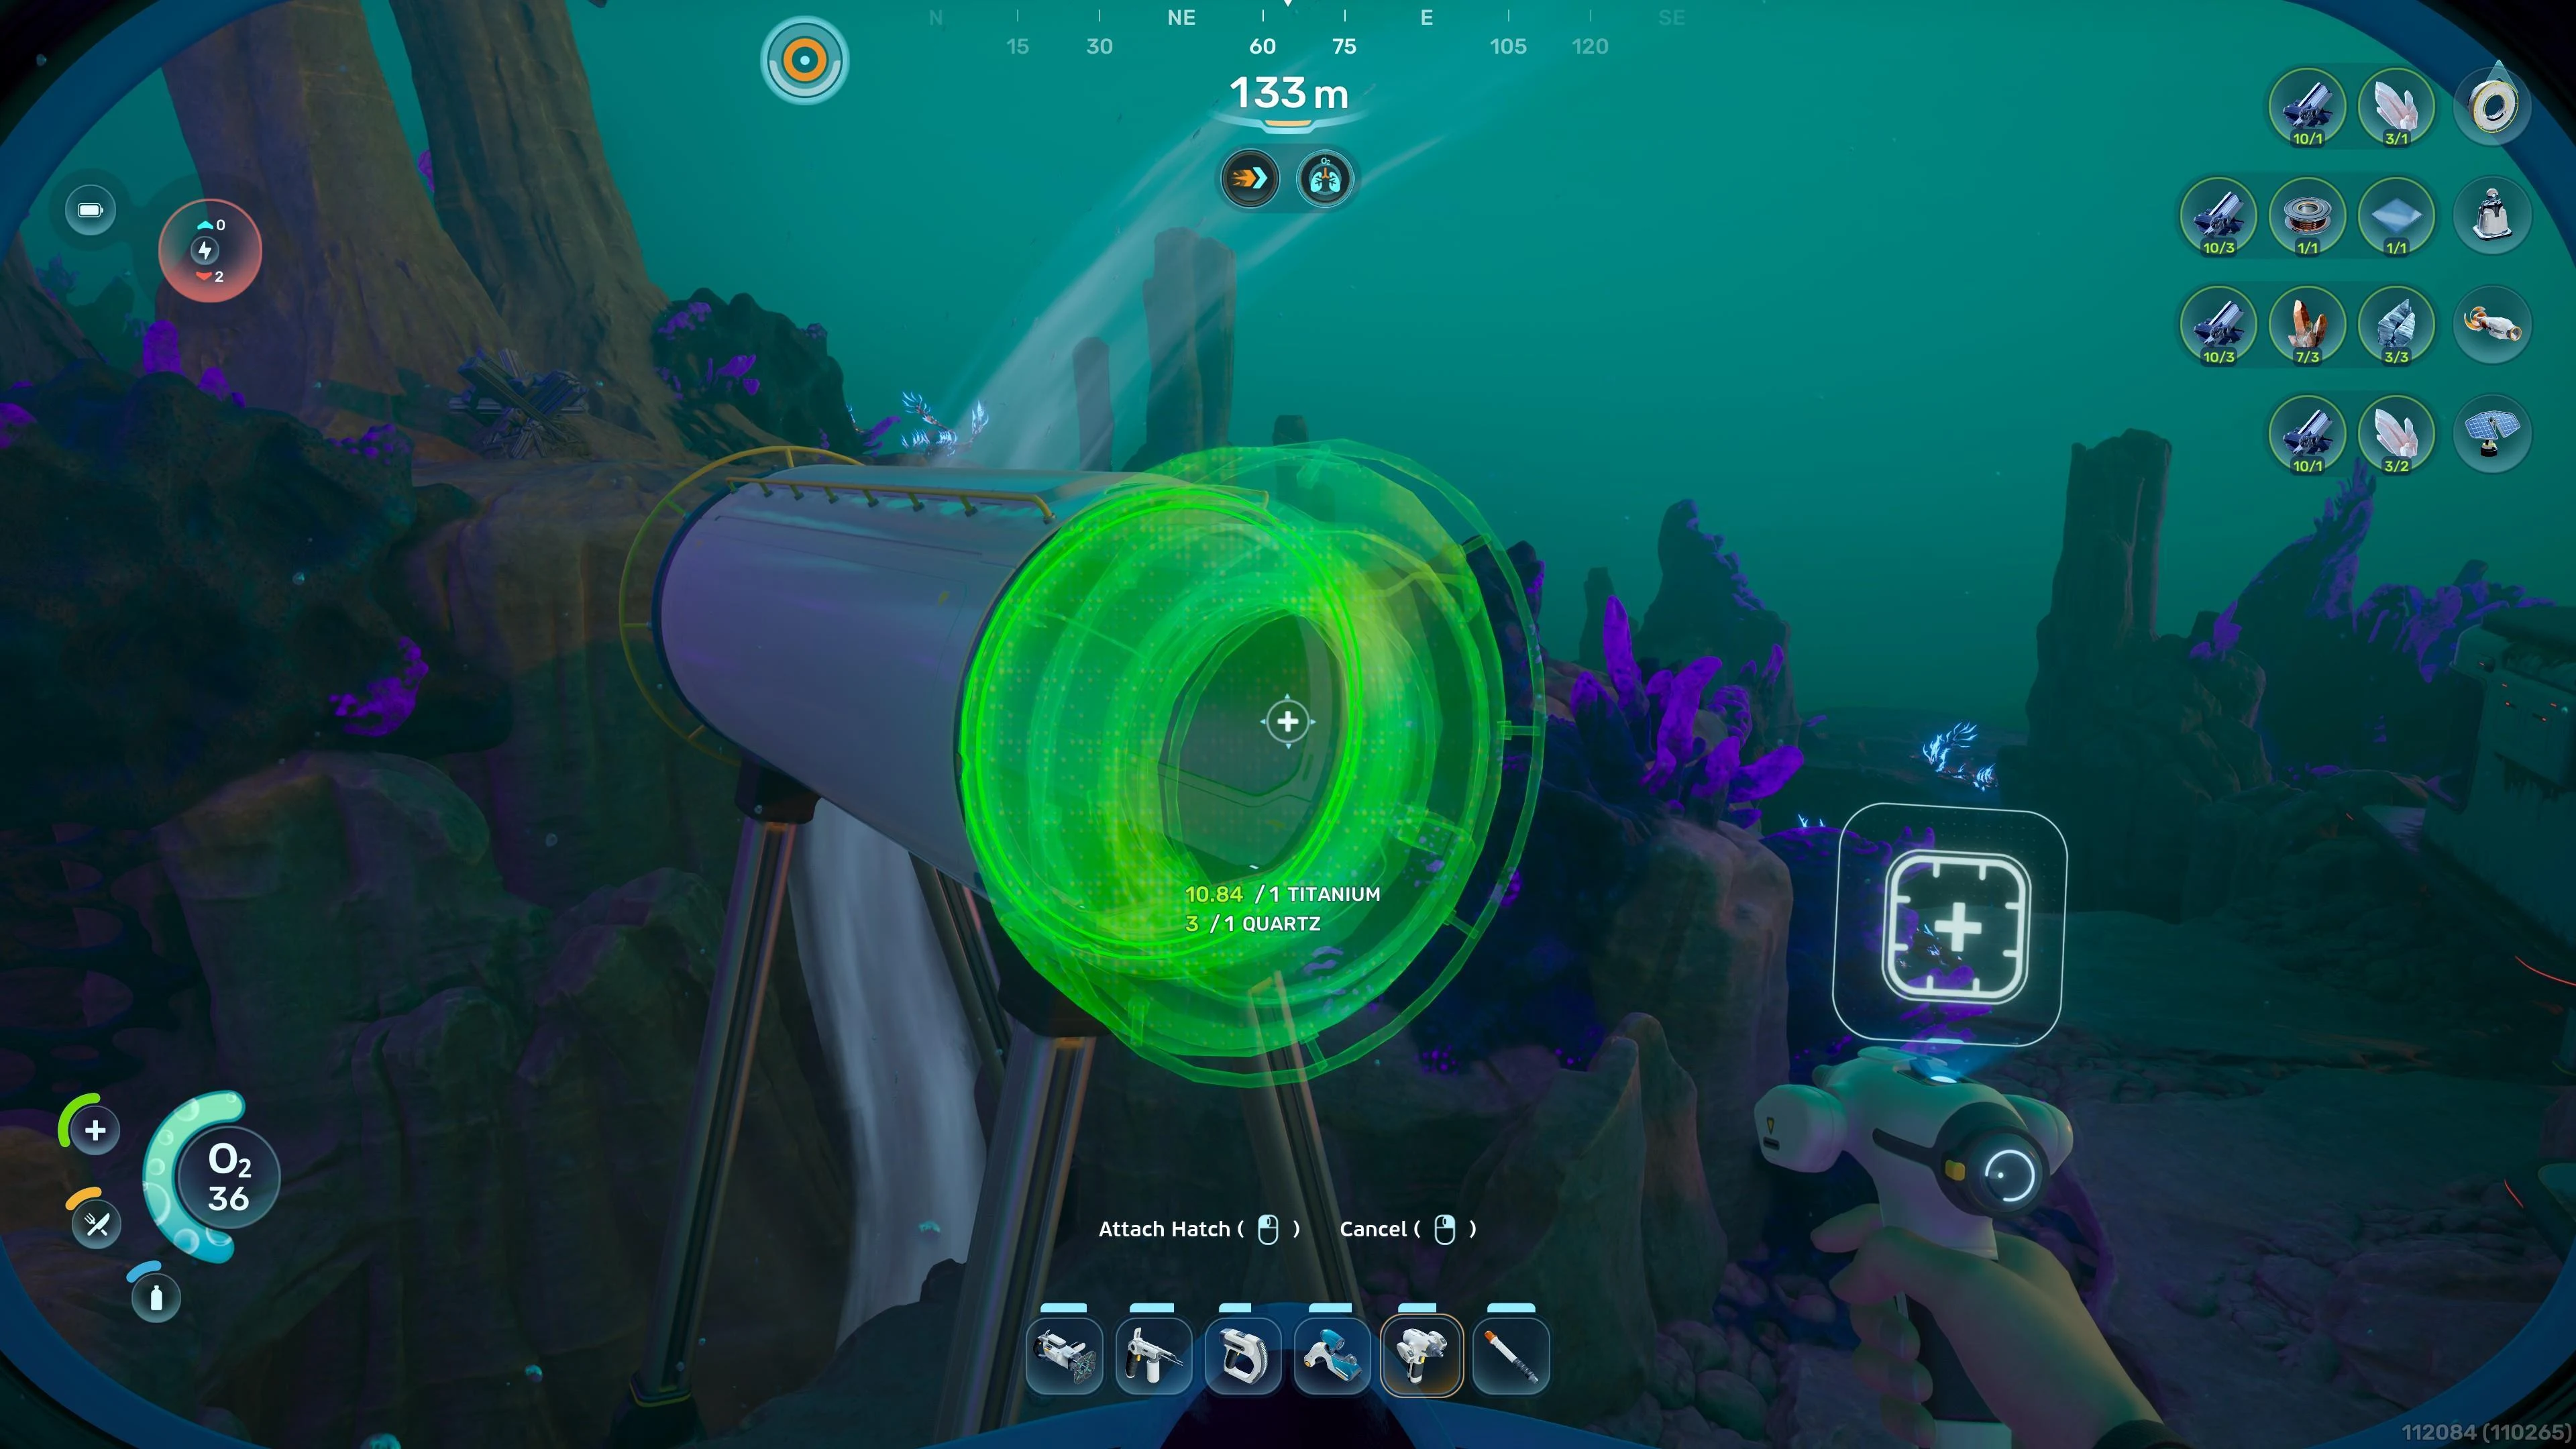
- Press right-click (LT on controller) to open the menu, and choose a Corridor.
- Pick a small size and place it. A default Corridor costs 2 Titanium, and larger sizes cost more because they use more material.
- Attach a Hatch for 1 Titanium and 1 Quartz.
The Hatch matters more than it looks. It's what allows entry and exit, so without one you have no way to step inside, and the base can't give you air. Build the Corridor first, then attach the Hatch before you try to enter.
You'll see Rooms in the menu at 5 Titanium each, but don't plan your first base around one. Check the menu to see whether Rooms are available to you, and build with a Corridor and Hatch in the meantime. If you want to remove a piece, press Q, then left-click (Y, then A on controller). The piece comes down and its components are refunded, so a bad spot won't cost you the materials.
How to Power Your First Base With Solar Panels
Solar is your first power source, and the Solar Panel is the piece that keeps the lights and air on. Each one costs 1 Titanium and 2 Quartz, and it goes outside the habitat, on the roof. A panel produces between 1 and 8 energy per second, but its output drops at night and in deep water, so don't assume one panel is enough everywhere or at all times.
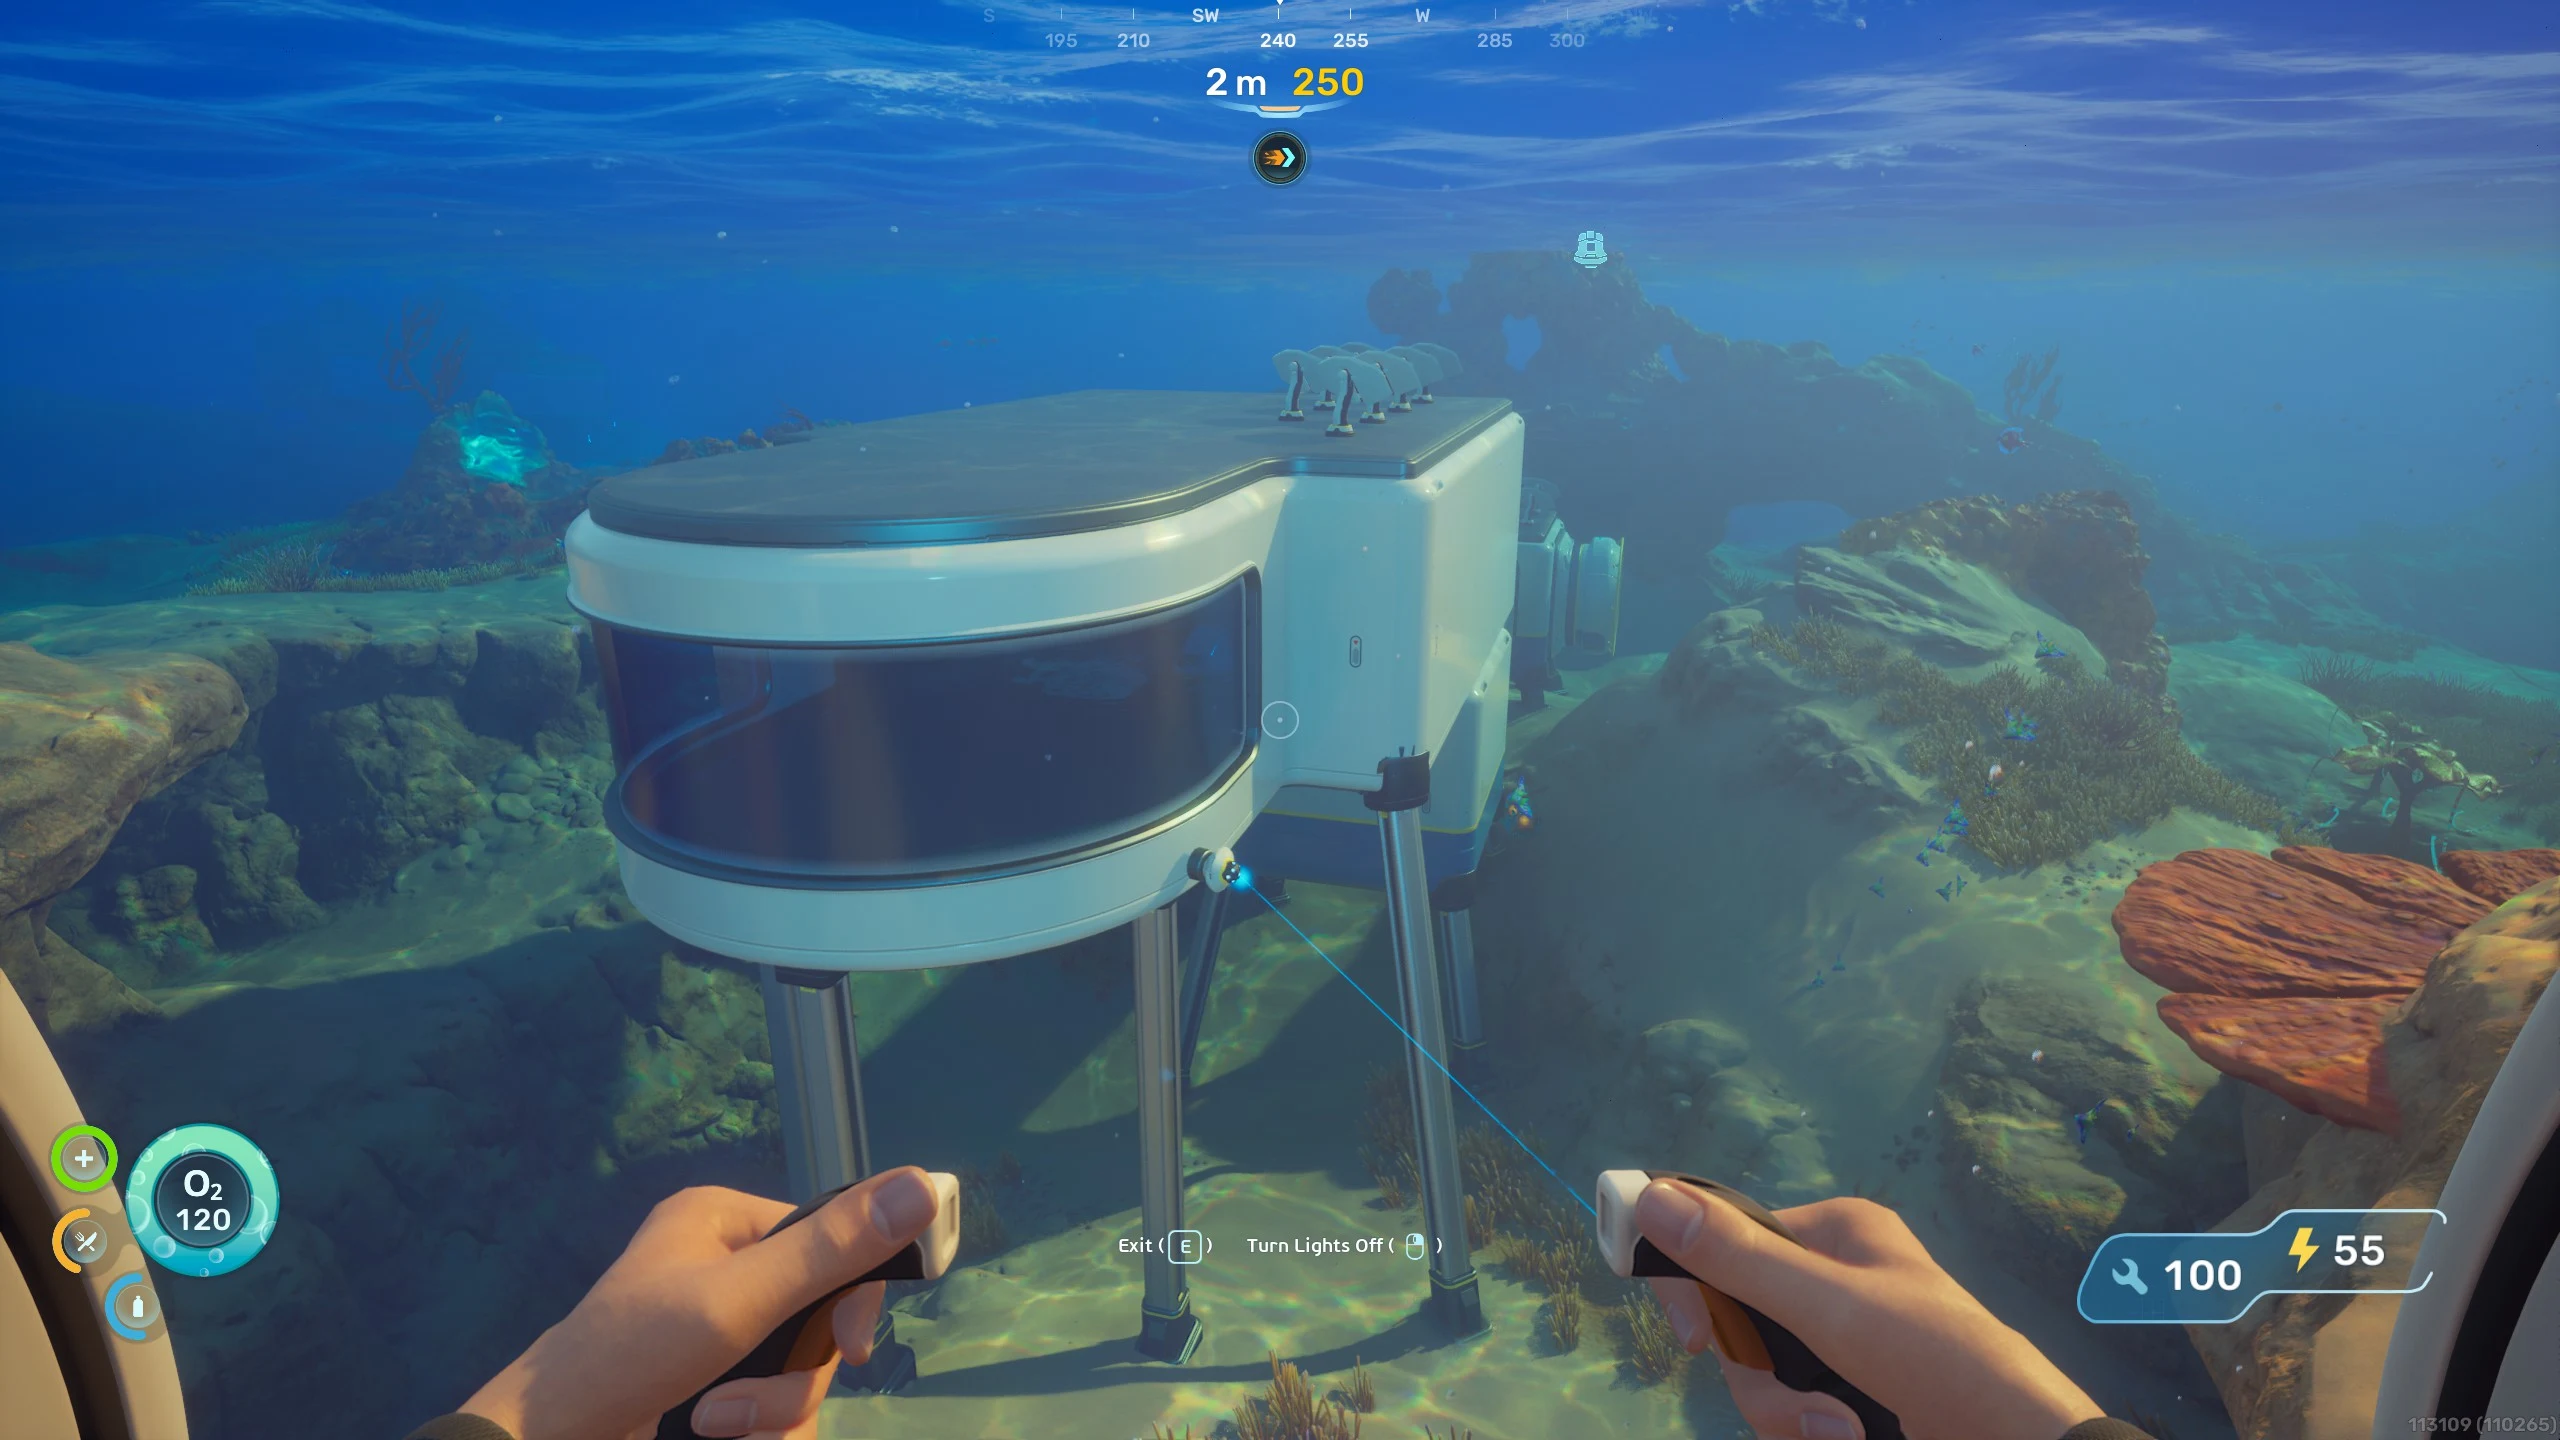
Power and air are linked. A powered base restores oxygen while you're inside, but if the power being drawn exceeds what's coming in, oxygen production stops along with the interior machines. Keep these points in mind as you build:
- Walk up to the base to see its power input and draw in the top-left of the screen.
- Keep the base in shallow water.
- Add panels when the draw starts to catch up with generation.
- Don't rely on the base for air if its power fails.
Why Your First Base Should Sit Beside the Lifepod
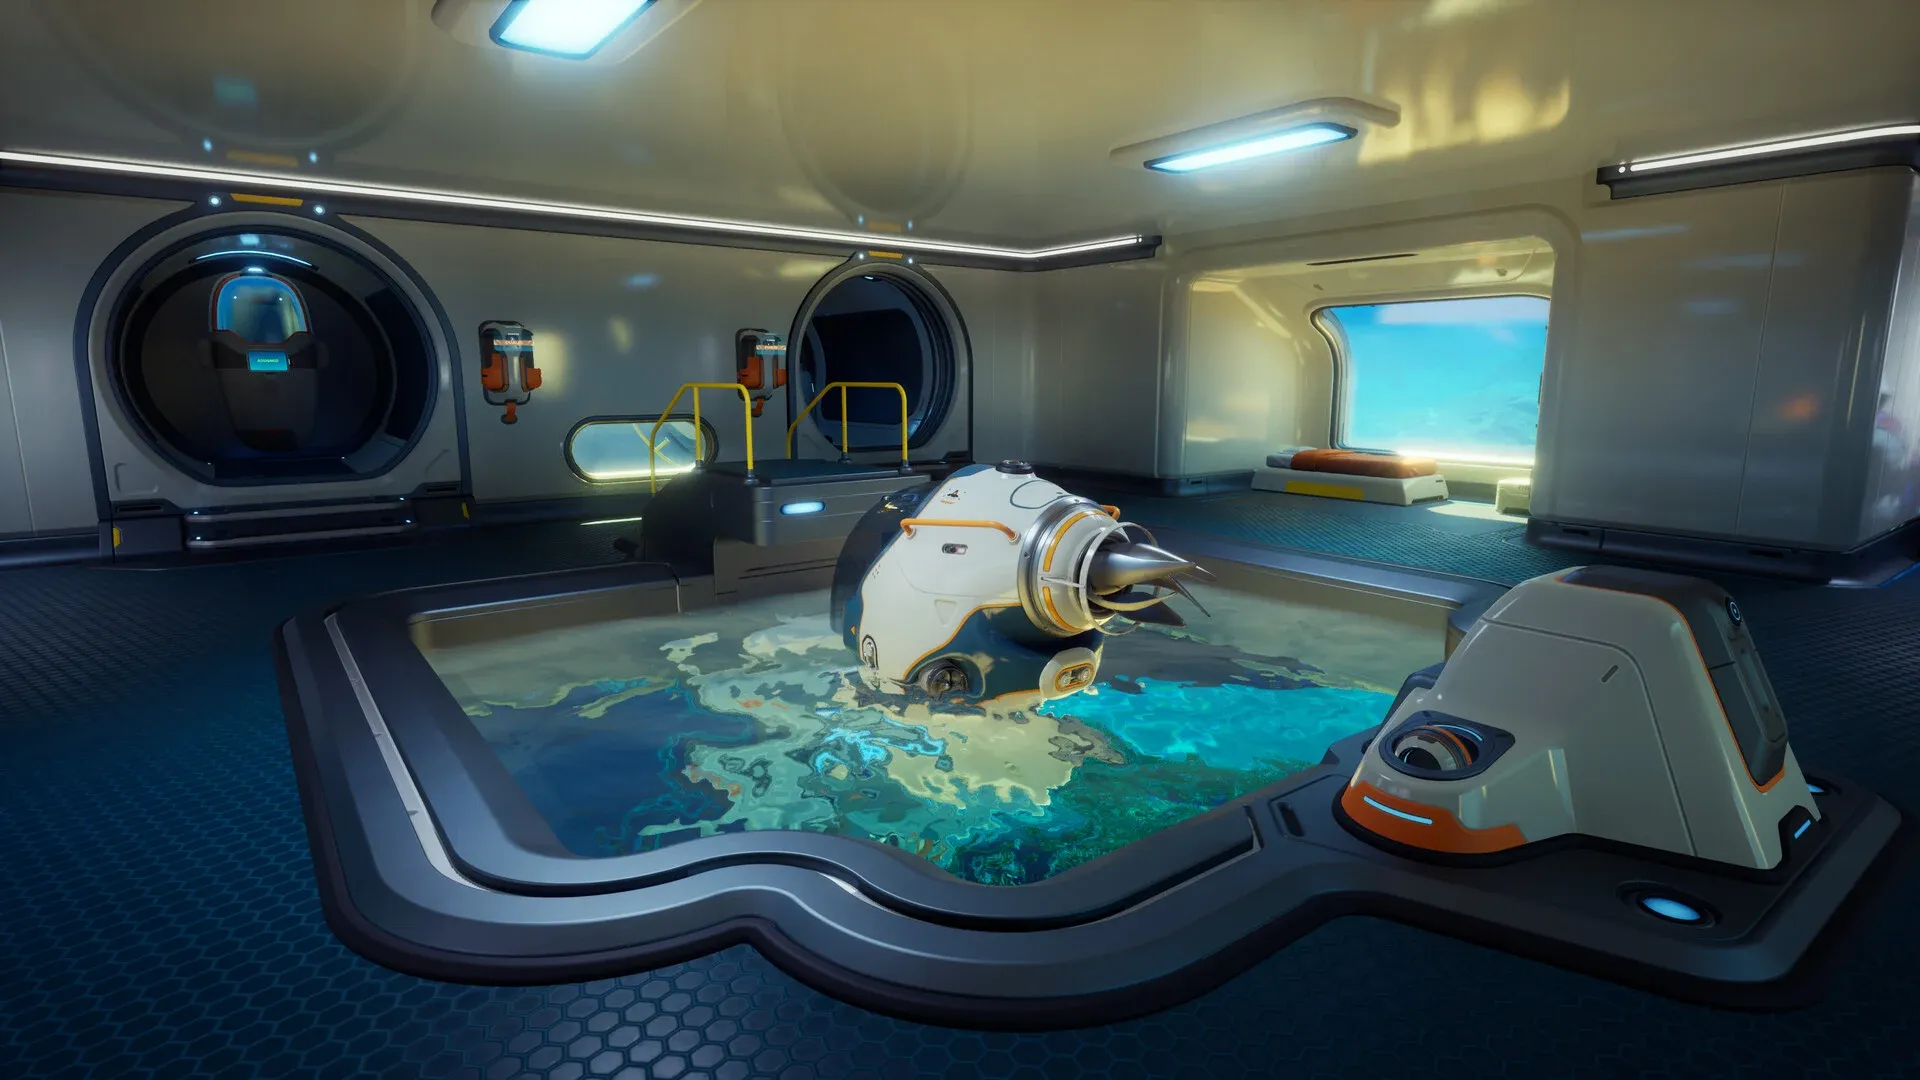
For your first base, build right under or next to the Lifepod. The pod sits above the water, so it gives you a safe place to refill oxygen, and it also has storage and a Fabricator for crafting while the base is still small.
Staying close also saves you from rebuilding the pod's jobs early. Your AI, NoA, and your respawn point are already there, so you don't need to spend materials on them yet. Early on, solar is your only power, and its output drops at night, so the base can run short of power and stop making air after dark. Being near the pod gives you somewhere to breathe while you wait for better power.
Other Early Base Sites to Consider
The Lifepod is the simplest choice, but a few other spots are worth knowing about.
- Old Habitat: About 300 meters north of the Lifepod, you'll find rock structures with a couple of enormous jellyfish-like creatures draped over them, along with the crumbling remains of a base. Hostile fish patrol the area, but they won't follow you into the caves directly under the rock structures. Those caves hold copper, silver and titanium deposits, and a small colonist's bunker at the bottom gives you a quick place to catch a breath while you gather.
- Cicada Wreck (Lander Garage): About 400 meters northeast of the Lifepod sits a huge piece of wreckage. The water is murky and the wreck isn't scenic, but there's a lot of lead, along with quartz, copper and a little titanium around it. It's also in the direction the story pushes you, so you'll spend less time backtracking later.
- Camp One: The open water around Camp One has resources and a natural current, but Hammerheads and other threats are in the area. It's a better pick once you can handle that wildlife and the spot suits where you're heading next.
- The western edge: Don't plan a base there. The starter area ends about 300 meters west at a barrier with an Early Access warning, and past it there's only water and bare rock, because the map isn't finished yet.
Where Strong Currents Fit Into Your Power Plans
Currents matter once you unlock the Hydroelectric Turbine. A turbine placed in a natural current produces power more reliably than Solar Panels, and it connects to your base through a Power Transmitter. Turbines are a later upgrade, so use these spots for planning rather than your first build:
- About 60 meters east of the Lifepod, a strong current runs right up to the surface, which suits a pair of turbines.
- At Old Habitat, a strong natural current runs along the seafloor between the two rock structures.
- A long current runs right beside the Cicada Wreck.
- About 130 meters southwest of the starting area, a resource-rich cliff has an undercurrent.