

Dyson Sphere Program is a factory-building game, and Interstellar Logistics Stations are the hubs that let you move items between planets. To set one up, research Interstellar Logistics System, craft the stations and vessels, then set the item to Remote Supply at the exporting station and Remote Demand at the receiving station. Space Warpers only come into play when the route crosses into another star system.
| Part | What it does | Requirements |
|---|---|---|
| Interstellar Logistics System | Unlocks the station and the vessel | Research. Needs Planetary Logistics System, High-Strength Titanium Alloy, and Reinforced Thruster |
| Interstellar Logistics Station | Sends and receives cargo between planets | 1 Planetary Logistics Station, 40 Titanium Alloy, 20 Particle Containers |
| Logistics Vessel | Carries cargo between planets and star systems | 10 Titanium Alloy, 10 Processors, 2 Reinforced Thrusters |
| Logistics Carrier Engine level 4 | Unlocks warp travel and adds a Space Warper slot to the station | Needed only for routes between star systems |
Research and Craft the Parts for Interstellar Logistics
Start with the research, because Interstellar Logistics System unlocks both the station and the vessel. Crafting the station also uses a Planetary Logistics Station as an ingredient, so you need one ready before you can build it. You can craft the station in an Assembler.
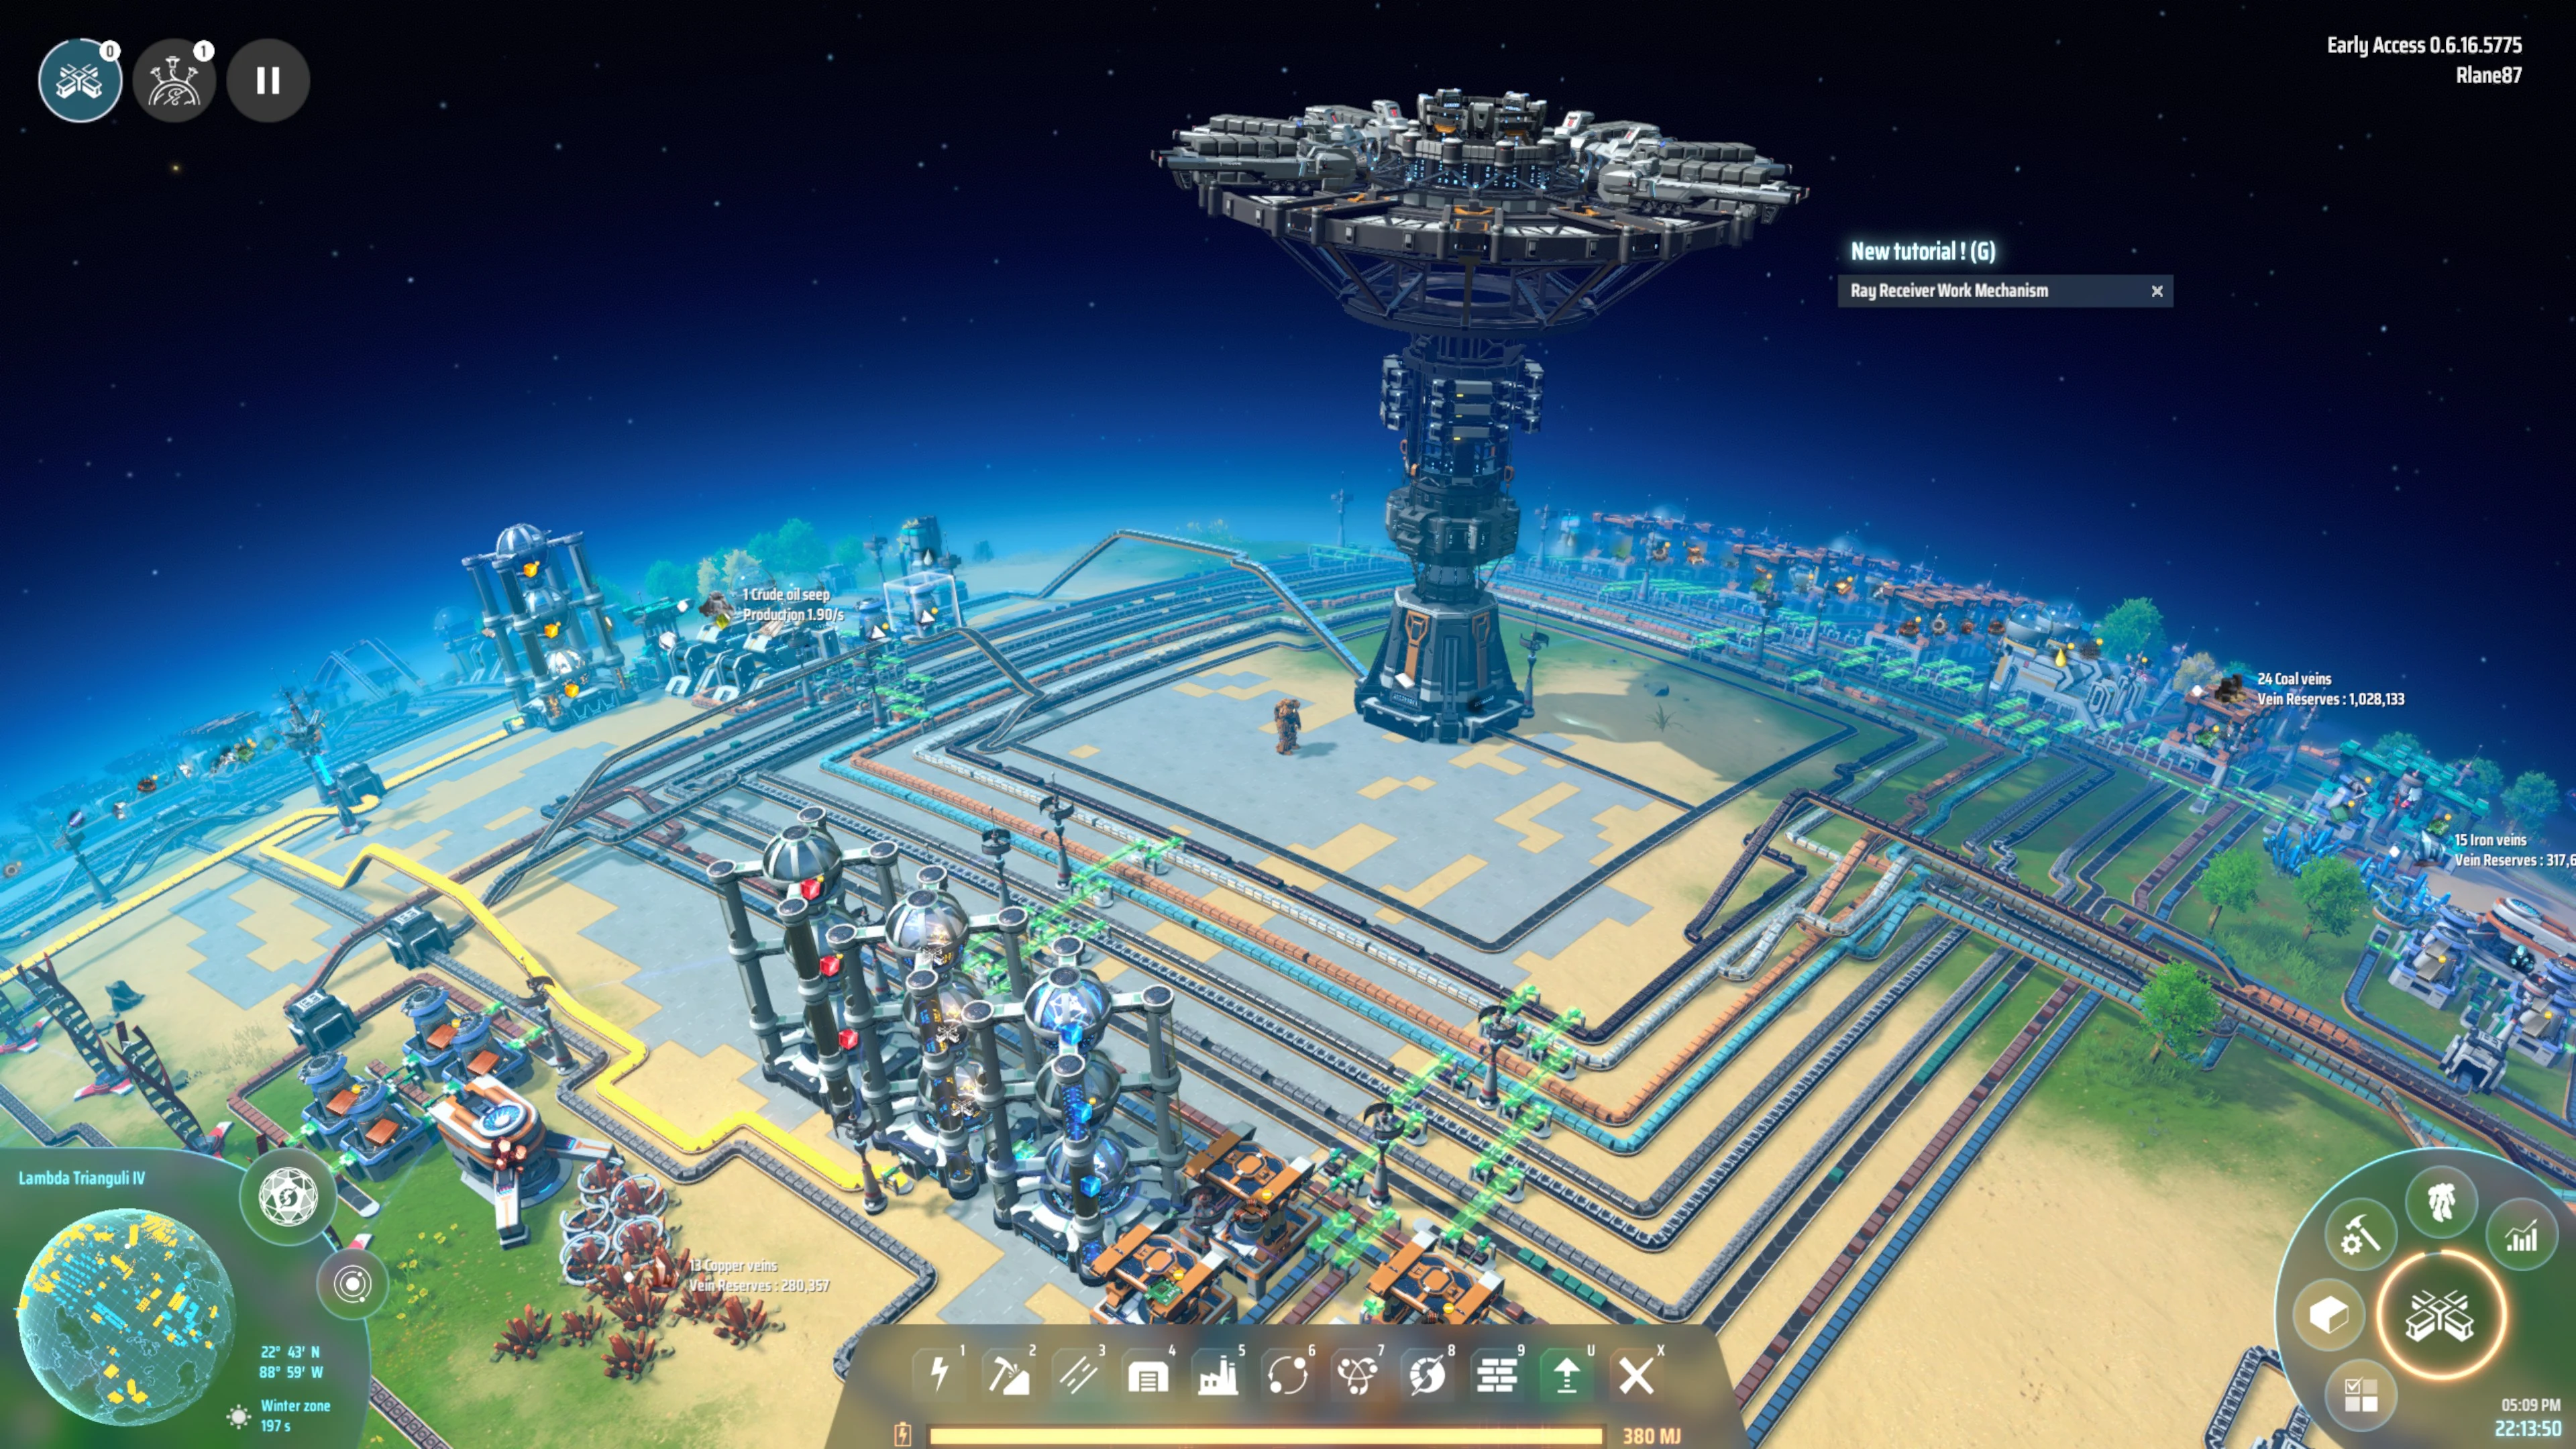
The harder part is the materials. Titanium alloy is made from titanium ingots, steel, and sulfuric acid, and Particle Containers depend on sulfuric acid as well. A steady chemical supply needs to be running before the station is realistic.
Titanium veins don't appear on your starting planet, so you'll need to find a titanium-rich planet in your star system and set up mining there. Bring the ingots home to research and build the first parts. That hand-hauling is what gets the chain started.
How Interstellar Logistics Station Slot Modes Work
Each station has five item slots, and every slot is set on its own. The six modes split into three groups. Local Supply and Local Demand move items on the same planet using Logistics Drones. Remote Supply and Remote Demand move items between planets and star systems using Logistics Vessels. The Storage modes keep stock out of the logistics network while still letting you add or remove items by hand or by belt.
For this setup, you only need the Remote modes. A Remote Supply slot needs a Remote Demand slot holding the same item on the other station. If one end is set to the wrong mode, the station can hold the right item and still nothing moves.
Set Remote Supply at the Exporting Station
Build the first station on the planet where your item is made, close to the production line. Run the output belt from your smelters into a station port. Belts plug straight into the ports, so you don't need a sorter, but set the slot for the item the belt actually carries, such as ingots rather than ore.
Before you configure anything, watch the stock rise. Once the item is building up in the station, assign it to a slot and set that slot to Remote Supply. This lets the station offer its stock to stations on other planets. Give the slot a nonzero storage limit as well, so the station has room to collect.
The exporter can stay passive. It doesn't dispatch vessels, so it doesn't need vessels or station power to work as a pickup point. The mines, smelters, and everything else upstream still need a working grid. You can power the exporter, but on a small outpost grid there's little reason to add a station charging load for it.
Set Remote Demand and Connect the Receiving Station
Place the second station where its output belt can reach the factory that uses the item, without running belts across half your base. Connect it to the power grid, assign the same item to a slot, and set that slot to Remote Demand. As with the exporter, give the slot a nonzero storage limit so it has room to accept shipments.
Next, draw a belt outward from one of the station's ports and set the belt's filter to the item. Assigning the item to a slot doesn't send it down every outgoing belt on its own. The filter tells the station which item to pull out, and without it the output stays empty even after a shipment arrives.
Then check two separate things. Watch the station's inventory to confirm the shipment arrived, and watch the output belt and the assembler to confirm the factory can use it. If the assembler is missing another ingredient, the item backs up even when transport works, so fix that machine instead of rebuilding the route.
Load Vessels and Power the Dispatching Station
Vessels belong in a station's vessel inventory, not your personal inventory, so they have to be loaded into a station before any trip can start. In a simple setup, load them into the receiving station, since that's the station dispatching the trips. Each vessel flies to the exporter, picks up the item, and returns, drawing its dispatch energy from the station that owns it.
Ten is the most vessels a station can hold, not the number you need. One fleet is enough to set up a basic route. Each vessel carries 200 items before capacity upgrades, and Logistics Carrier Capacity level 13 raises that to 2,000, so early routes move smaller loads until you upgrade.
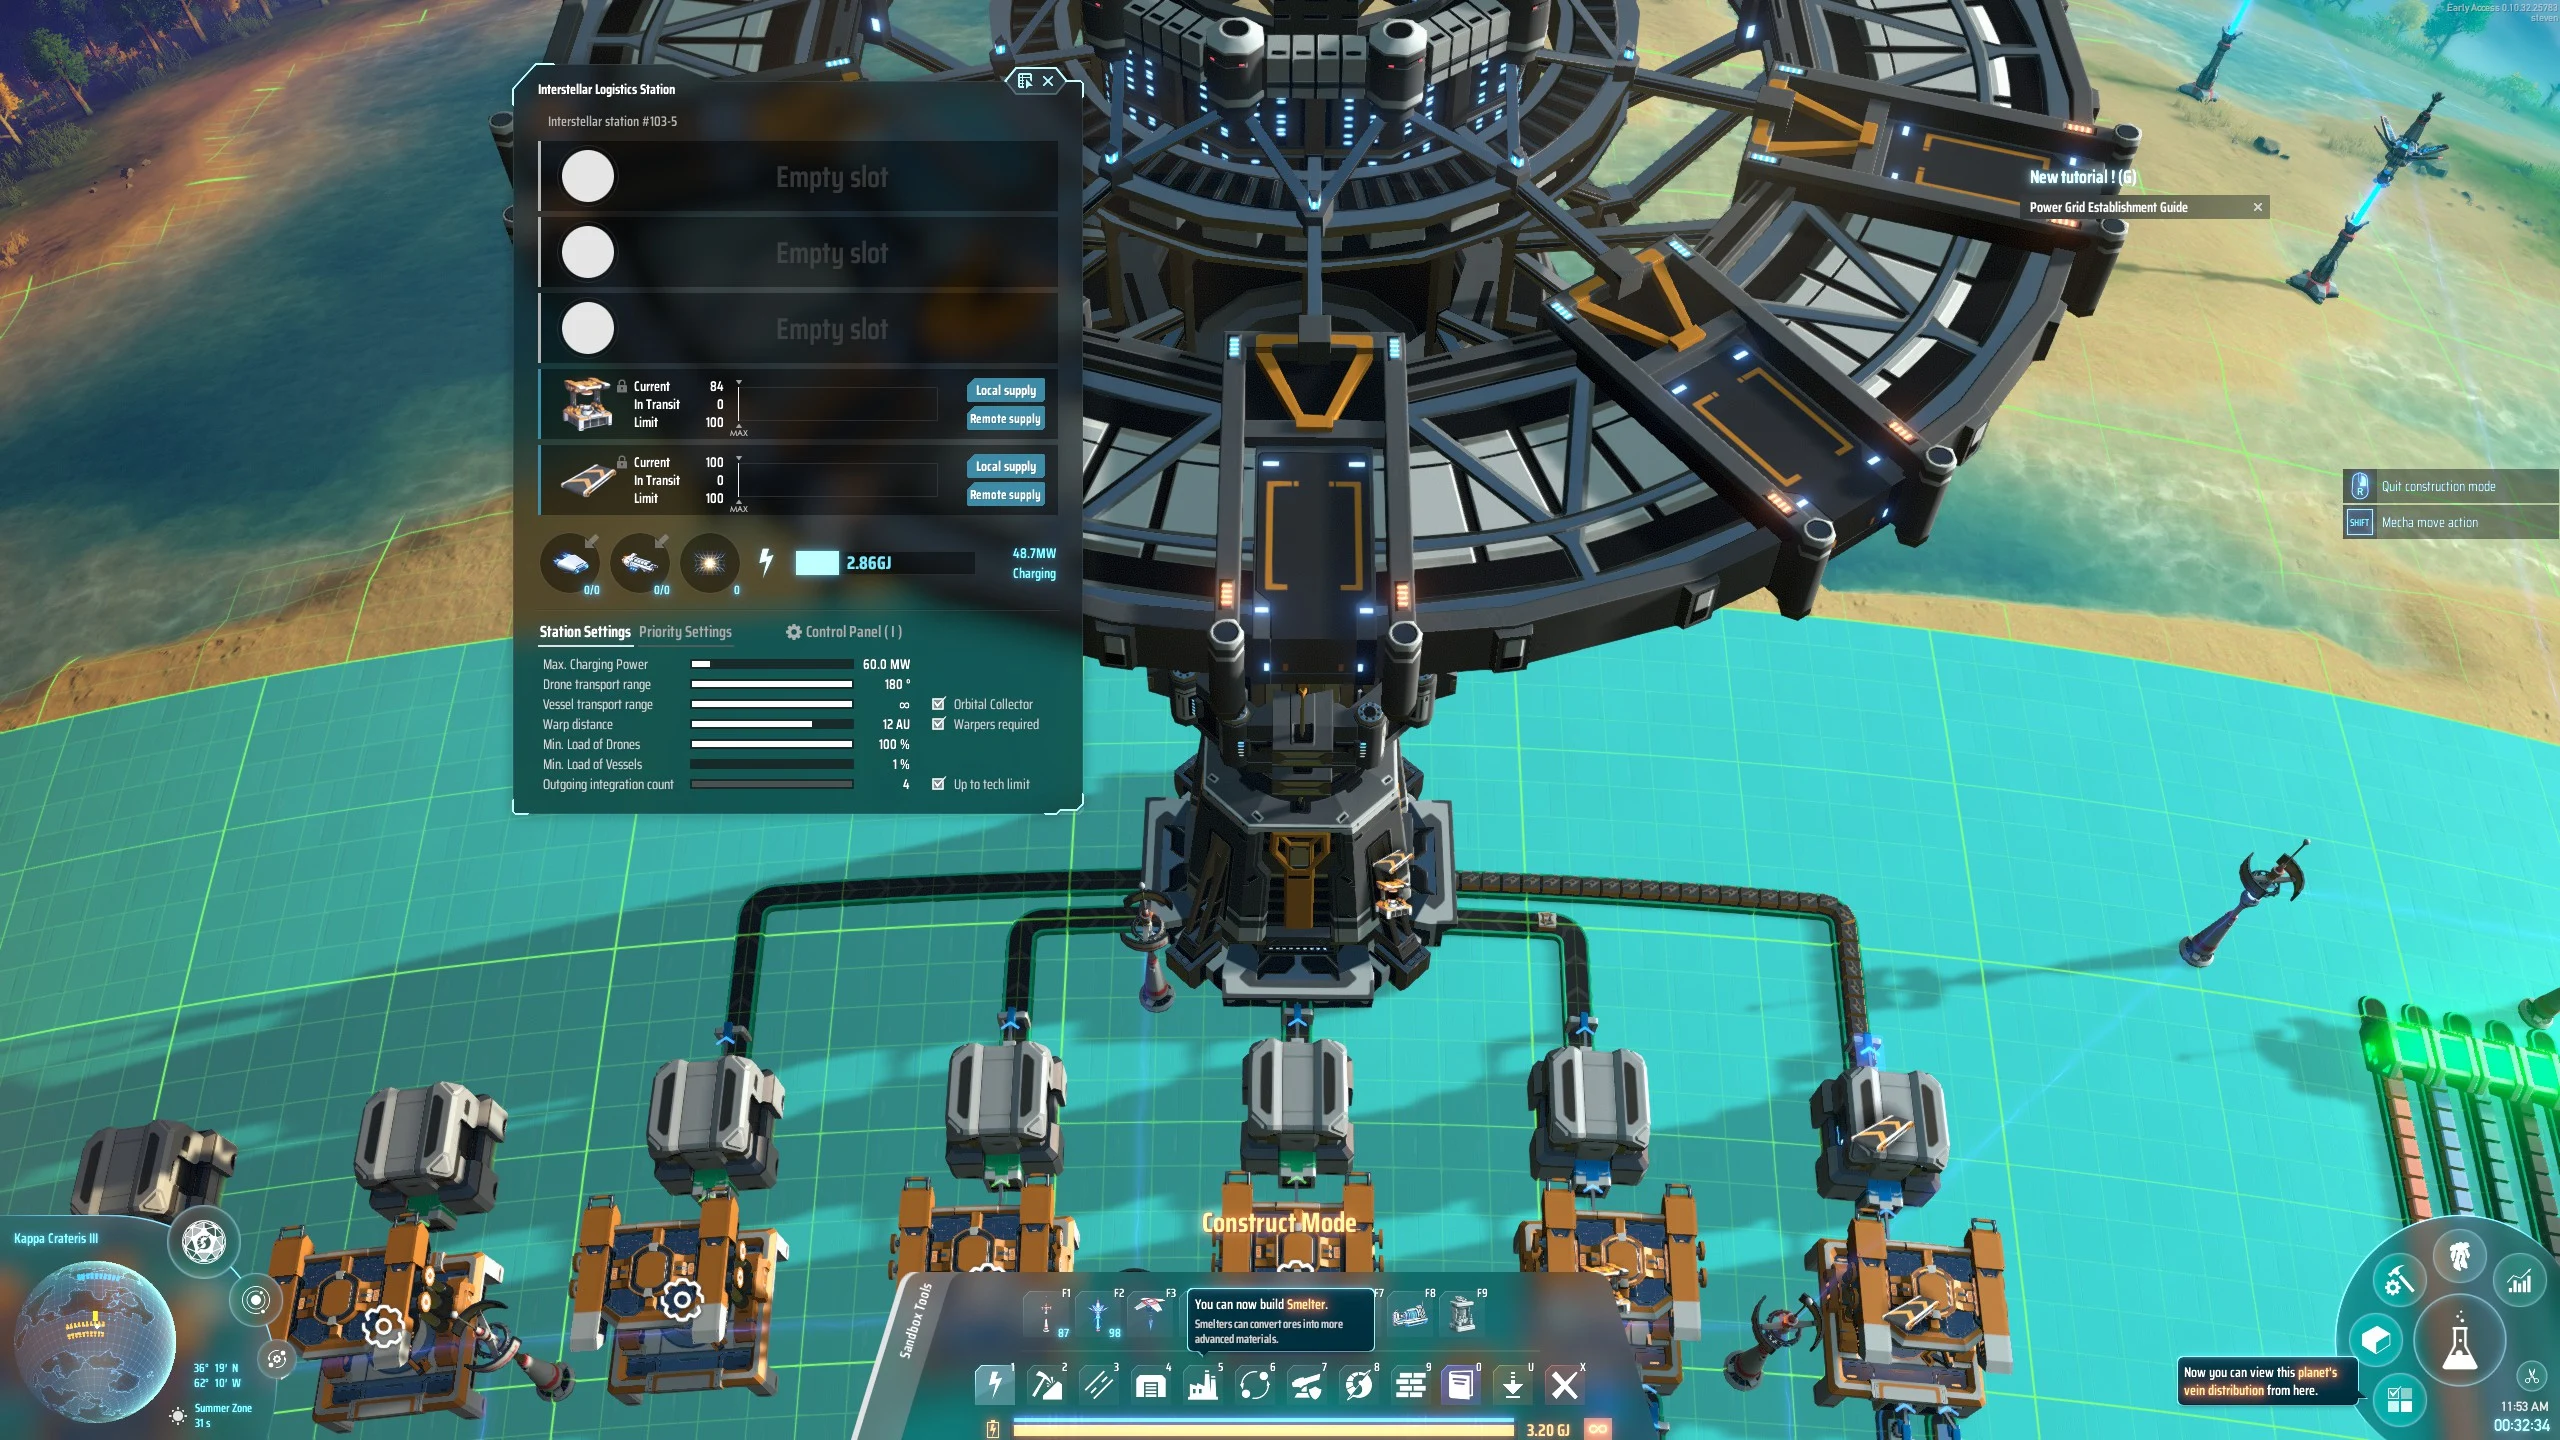
Power is the other thing to watch. A dispatching station with low stored energy draws heavily to charge, and that draw eases as it fills. The first charge can overload a weak grid, especially on a new planet. Check that stored energy is actually rising, and if charging pushes demand past your generation, lower Max Charging Power or add generation.
The minimum load setting controls how much cargo a vessel waits for before it fulfills a request. Lowering it allows smaller early shipments, which proves the connection sooner, but each smaller batch means more trips for the same cargo. If the exporter is still building up stock, a high minimum load can make a working route look broken, so either let stock accumulate or lower the setting for now.
Add Space Warpers for Star-to-Star Routes
Shipments between planets in the same star system don't need warpers. Trips to another star system do. Vessels can't cross between stars unless warp is enabled, and Logistics Carrier Engine level 4 unlocks warp travel and adds a Space Warper slot to the station. You can leave warp off for routes that stay within one star system.
An inter-star round trip uses two Space Warpers, one for each leg. Warpers aren't a fuel tank for the vessel. The vessel uses the station's electricity to dispatch, and it uses up warpers when it warps. Supply the warper slot by belt or through remote logistics so the route runs without you carrying them by hand.
If warpers run out and the Must Equip Warpers option is off, vessels still leave, but they can take many hours to arrive. Turn that option on if you would rather vessels wait for warpers than make a very slow trip.
Test the Route and Fix It When Nothing Moves
One delivery proves the two stations can exchange cargo, but it doesn't prove the route can keep up. Run the factory normally and watch several cycles. The exporter should refill after each pickup, the station should recharge between trips, and the factory should stay fed. If the receiver keeps running low while the exporter sits full, the limit is dispatch frequency, charging, or vessel count. If the exporter never builds stock, the limit is production.
When a route stalls, work through these checks in order, and change one setting at a time. Changing both stations at once makes it hard to tell which change helped.
- Nothing moves at all: Confirm both ends hold the same item, with Remote Supply at the exporter and Remote Demand at the receiver.
- Nothing leaves the exporter: Confirm production is running, the belt reaches a station port, and the stock is high enough to meet the minimum load.
- No trip starts from the receiver: Confirm vessels are loaded, the station has power, and its stored energy is rising.
- A loaded exporter is ignored: Confirm the transport range covers the destination, and that warpers are stocked if the route crosses star systems.
- Items arrive but stay put: Confirm the receiver has free capacity, the output belt's filter is set to the item, and the consumer has its other ingredients.
A vessel waiting at the receiver isn't automatically a fault. If demand is already met, waiting is the correct behavior.