The top Hatsu in Beyond Nen are Godspeed, Jajanken, and Big Bang Impact, the strongest affinities are Enhancement and Transmutation, and the best techniques are Ten and Ryu. Hatsu are the special Nen abilities you roll for in this Hunter x Hunter Roblox game, and your affinity determines which of them you can get.
| Tier | Hatsu | Affinity | Technique |
|---|---|---|---|
| S | Godspeed, Jajanken, Big Bang Impact | Enhancement, Transmutation | Ten, Ryu |
| A | Arrow, Toolbox, Ripper Cyclotron, Rising Sun, Crazy Slots | Emission, Conjuration | Shu, Ken |
| B | Paper Manipulation, Aura Corruption, Super Attack, Boost, Enchanting Music | Manipulation, Specialization | Ko, Zetsu, Gyo |
| C | Earth Sludge, Fan Beam | — | — |
Beyond Nen Hatsu Tier List: Which Abilities to Roll For
A Hatsu defines the moves you fight with, so it's worth choosing carefully. The strongest ones give you a way to open a string of hits, keep it going, and finish it, along with a way to break through an opponent's guard. The weaker ones leave a gap you have to fill from somewhere else.
S tier: Godspeed, Jajanken, and Big Bang Impact
Godspeed (Mythical, Transmutation). Lightning Palm opens combos, Thunder Bolt closes them, and both break guard, so you can keep pressure on a blocker. Speed of Lightning lasts 30 seconds and lets a successful dodge put you behind your opponent. Raging Whirlwind and the Whirlwind counter bypass block and can't be parried, but you can't spam either one. That makes Godspeed the pick for sticking to an opponent.
Jajanken (Mythical, Enhancement). Rock and Paper finish combos, and Scissors extends them. Scissors breaks guard and keeps the string going, so you can cash out with Rock. Pure Rage gives you a stronger set of moves for 30 seconds, but its five-minute cooldown means timing matters more than using it the moment it's ready. Jajanken can turn one opening into a big burst of damage.
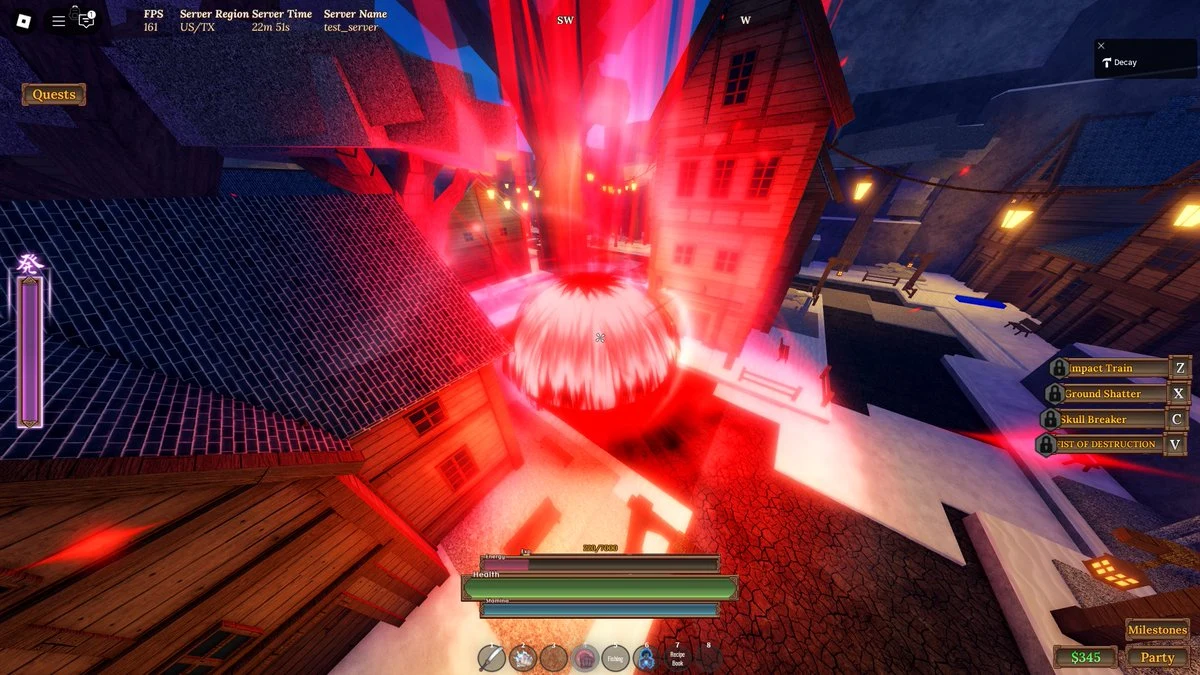
Big Bang Impact (Legendary, Enhancement). Impact Train and Ground Shatter can open or end a combo, Skull Breaker extends it, and Fist of Destruction adds damage over several ticks. Each move threatens a guard break, and Skull Breaker can't be parried. The full combo kit works without a transformation, which makes it an easy keep for repeat fights and farming.
A tier: strong picks with clear jobs
Arrow (Legendary, Emission). Ice Arrow starts combos, Poison Arrow extends them, and Lightning Arrow and Flame Arrow break guard. Healing Arrow restores 35 HP over time, so save it for a quiet moment rather than counting on it mid-combo. Ice into Poison also sets up Flame, which gives the ranged kit a plan beyond trading shots.
Toolbox (Uncommon, Conjuration). Wrench Assault and Ruthless Saw extend combos, Strong Hammer can start or extend one, and Screw Thrust finishes the string. Wrench Assault breaks guard and can't be parried, which gives this Uncommon roll a real answer to defensive players. It's a steady pick if you want consistent pressure without changing your moveset every fight.
Ripper Cyclotron (Rare, Enhancement). Ripper Strike and Ripper Demolition can be charged for more damage, but both can be blocked or parried, so a long charge gives your opponent time to react. Ripper Pummeling breaks guard, extends combos, and can't be parried, though its 32-second cooldown gives your opponent a window to push back. Charge the first two when you have an opening, and save Pummeling for the moment it can land.
Rising Sun (Extraordinary, Transmutation). Pain Packer unlocks the rest of the kit once you drop to 50% HP, and damage rises as your health falls. Sun Judgement hits especially hard. Getting to half health is the price of entry, so Rising Sun is a comeback pick rather than the one to run for routine farming.
Crazy Slots (Extraordinary, Conjuration). Roulette gives you a scythe, gun, or wand, and each comes with its own moves. The wand can heal, the gun has a charged shot, and Grim Reaper is shared across all three. Crash Fairy can start or extend a combo. You're planning around a kit you don't fully control, though, and that costs some consistency.
B tier: situational picks
Paper Manipulation (Legendary, Manipulation). Paper Lance can open or end combos, Paper Storm extends them, and Paper Spike is a guard-breaking finisher. Lance and Storm give you a full combo route, so you have something to work with before you bring in extra Nen skills. The damage is modest next to the stronger kits, and its moves can be parried, so mixing up your timing gets more out of it than repeating one string.
Aura Corruption (Unknown Rarity, Specialization). Parasite Mask starts combos, and Aura Rot and Black Funeral can break guard. Aura Rot also heals you for 30 HP, though it has a 50-second cooldown. It's a pick for drawn-out fights, especially when you can land the guard break and the heal in the same exchange. The rest of the kit doesn't offer the same sustained pressure as the higher tiers.
Super Attack (Uncommon, Enhancement). Gut Punch opens or extends combos, while Super Punch and Super Smash finish them. All three moves break guard, and their short cooldowns make it easy to keep a rotation going. It's a solid early keep, but the hits are lighter, and every move can be parried.
Boost (Rare, Specialization). Boost increases damage from basic attacks, Nen moves, and weapon skills, but it doesn't deal damage on its own. It works best on a build that already has reliable damage, because it makes the rotation you already use hit harder. It doesn't supply an opener, an extender, or a guard break, so a character still putting its kit together will need those from somewhere else.
Enchanting Music (Rare, Manipulation). Sleep stuns for 3.5 seconds, Rhythm Shock extends combos, and Rhythm Burst finishes them. Sleep can be blocked or parried, and the follow-up damage is light, so the stun only pays off if you can use the time it buys. That's why Music is mainly a PvP pick.
C tier: starter rolls
Earth Sludge (Common, Transmutation). Earth Fists boosts Weapon and Strength by 10% for one minute, which helps most when your damage comes from fists or weapons. Sludge Field extends combos and Sludge Splash breaks guard, but neither adds much burst. It's best while you're gearing up, then swap it out once you can get a fuller kit.
Fan Beam (Common, Emission). Fan Blast breaks guard, and Glory of Heaven breaks posture and stuns to extend a combo, which opens a window for a follow-up from a weapon or skill. It works as a starter roll, but with only two moves and limited damage, you'll rely on the rest of your build for most of the fight.
Beyond Nen Affinity Tier List: Which Affinity to Build Around
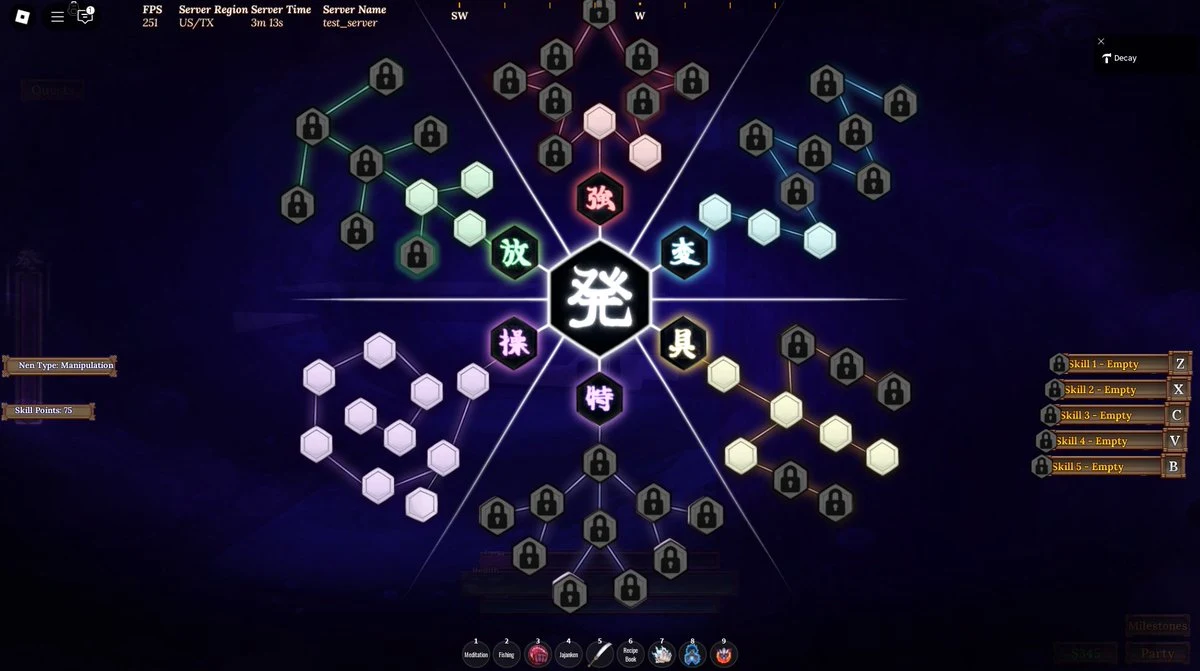
Each affinity opens its own skill tree in full and lets you borrow skills from others, so it sets the base of your build. Choose it before you chase specific Hatsu.
S tier: Enhancement and Transmutation
Enhancement (Melee). Enhancement gives you a defense buff, full access to its tree, and up to eight skills each from Transmutation and Emission. Chaos Fist breaks guard and extends your combo, and the defense buff makes it easier to trade at close range. It's a strong starting point, and Jajanken and Big Bang Impact both fit a melee build.
Transmutation (Burst). Transmutation gives you a power buff, full access to its tree, and up to eight skills each from Enhancement and Conjuration. Godspeed is the chase roll, but Mud Stomp gives you a guard break while you work toward it. The extra room in Enhancement and Conjuration lets you build around melee combos or add utility, so this affinity has plenty to offer before you roll its best Hatsu.
A tier: Emission and Conjuration
Emission (Range). Emission gives you a stamina buff, full access to its tree, and up to eight skills each from Enhancement and Manipulation. Nen Blast and Powerball both break guard and can't be parried, and Blast Jump helps you reset the spacing when someone closes in. Arrow is the Hatsu to build around here, while Fan Beam is a weaker reason to commit to the affinity.
Conjuration (Utility). Conjuration gives you full access to its tree and up to eight Transmutation skills. Rope Binding goes through block and can't be parried, which answers someone who prefers to sit behind their guard. Toolbox is the predictable Hatsu to pair with it, while Crazy Slots can offer strong options if you're comfortable playing around the weapon you draw.
B tier: Manipulation and Specialization
Manipulation (Crowd Control). Manipulation builds around control, with full access to its tree and up to eight Emission skills. Mind Scramble stuns and extends combos, while Maddening Gaze applies fear through block, so pair those openings with a reliable damage skill from Emission. Paper Manipulation and Enchanting Music fit a control build, but if you want more damage from your Hatsu, Enhancement or Transmutation is the better direction.
Specialization (Hybrid Builds). Specialization can learn skills from all six trees, including up to eight each from Manipulation and Conjuration. It's the choice when you already know the exact mix you want, such as Manipulation's control paired with Conjuration's utility. That mix takes more planning than the affinities above it, which is why it sits lower.
Beyond Nen Technique Tier List: Ten, Ryu, and When to Use Each
Techniques are general boosts, and each one suits a different kind of fight. Some raise your stats, while others help in a specific situation, such as hiding from other players. The right pick depends on whether you're pushing for damage or trying to survive a trade.
S tier: Ten and Ryu
Ten (All-Rounder). Ten gives you +15% Strength, +16% Stamina, and +10% Durability. Those bonuses are spread across damage and staying power, so Ten is the default for a fight you can't predict. You can push for damage and still take a hit if the exchange turns against you.
Ryu (Stance Switch). Ryu has two stances. Strength stance gives +35% Strength, +22% Stamina, and −15% Durability, while Defense stance gives +35% Durability, −15% Strength, and −22% Stamina. Use Strength when you're setting the pace, since it hits harder than Ten and costs less Durability than Ko. Defense is for weathering pressure, and when you're still trying to win trades, Ten's all-around bonuses are the safer call.
A tier: Shu and Ken
Shu (Weapon Damage). Shu gives +40% weapon damage. If your weapon does most of the work, that bonus is hard to ignore. For a build that leans on Nen skills or Hatsu, Ten's spread of stats is the better fit, since Shu only boosts weapon damage.
Ken (Defense). Ken gives +5% Strength, +11% Stamina, and +20% Durability. That's twice Ten's Durability bonus, with a little Strength and Stamina still included, so it's the pick when you keep losing close trades. Ryu's Defense stance goes further on Durability, but Ken lets you keep pushing back without giving up Strength or Stamina.
B tier: Ko, Zetsu, and Gyo
Ko (Burst). Ko gives +50% Strength and −80% Durability. The payoff is big, but a bad read can hand the other player an even better opening, so save it for a punish you're confident will land. If you're trading blows, Ryu's Strength stance gives you a gentler version of the same push.
Zetsu (Stealth). Zetsu makes you invisible to players who aren't using Gyo. It helps you slip past someone or pick an angle before a fight starts. Gyo can reveal you, so once the other player has you spotted, Ten or Ken is the better choice for the exchange.
Gyo (Detection). Gyo reveals players using Zetsu and lets you see items covered in Nen. If someone keeps disappearing on you, it's the direct answer, and it's useful outside fights when you're hunting for Nen-covered items. In a straight fight with someone you can already see, a stat technique usually does more for you.