


Farm Together 2 pays coins for every harvest, so the fastest way to earn is to plant the crop that brings in the most coins per hour from the ones you can unlock. Your Farm Level rises as you play and opens up new crops, trees, fish, and animals. Lettuce is the starting point, Zucchini takes over at Farm Level 4, and Lombardy Cabbage becomes the best pick at Farm Level 9 once its prerequisite is met.
| Farm Level | Crop | Needs | Grows in | Cost per plot | Coins per harvest | Growth time | Coins per hour |
|---|---|---|---|---|---|---|---|
| 1 | Lettuce | Nothing | All four seasons | 15 | 35 | 10 min | 120 |
| 4 | Zucchini | Nothing | Spring, Winter | 40 | 80 | 15 min | 160 |
| 9 | Lombardy Cabbage | Lettuce Lv. 15 | Spring, Winter | 100 | 145 | 12 min | 225 |
| 25 | Lodge Zucchini | Zucchini Lv. 20 | Summer, Autumn | 450 | 530 | 18 min | 267 |
| 27 | Kyoto Carrot | Carrot Lv. 25, Cosmic Purple Carrot Lv. 10 | Summer | 520 | 610 | 20 min | 270 |
| 36 | Canary Melon | Watermelon Lv. 10 | Spring, Summer | 800 | 900 | 20 min | 300 |
| 40 | Lobbericher Carrot | Carrot Lv. 35, Cosmic Purple Carrot Lv. 20, Kyoto Carrot Lv. 10 | Spring | 845 | 940 | 15 min | 380 |
| 78 | Napa Cabbage | Green Cabbage Lv. 50 | Summer, Autumn | 3,000 | 3,200 | 30 min | 400 |
| 79 | Lunar White Carrot | Cosmic Purple Carrot Lv. 50, Kyoto Carrot Lv. 25, Lobbericher Carrot Lv. 15 | Winter | 2,615 | 2,775 | 20 min | 480 |
| 155 | Broad Bean | French Bean Lv. 50, Soy Bean Lv. 40 | Autumn, Winter | 8,450 | 8,750 | 30 min | 600 |
Coins per hour is what a plot earns each hour after subtracting the cost to replant, based on how long the crop takes to grow. All figures use each item's base level. The Lv. numbers in the Needs column are levels that other crops must reach before you can unlock this one. Each row is the best-paying crop you can plant at that Farm Level once its requirements are met, so reading the table from top to bottom shows the path in order.
Start With Lettuce and Move to Zucchini at Farm Level 4
Lettuce is the right first crop for three reasons. It's cheap to plant, it finishes quickly, and it grows in all four seasons, so your plots never go idle because of the calendar. Early on, coins are tight, and a crop you can plant all year keeps your starting plots earning while you save for bigger purchases.
Zucchini is the first real upgrade. At Farm Level 4 it earns more per hour than Lettuce, so it's the better pick whenever the season allows. The catch is that it grows only in Spring and Winter, so when Summer and Autumn arrive, switch back to Lettuce rather than leaving plots empty.
Keep a reserve of coins for replanting. Every crop costs coins each time you plant it, so spending your whole balance on new plots leaves you unable to refill the ones you just harvested. A small cushion keeps every plot earning.
How to Pick Crops by Coins per Hour
Harvest size alone can be misleading. A crop that pays a big harvest after a long wait can earn less per hour than a smaller crop that finishes quickly. Coins per hour shows what a plot earns over time after replanting, which makes it a fair way to compare crops.
Before you plant, check three things in the table:
- Season. A crop only grows in the seasons listed. A crop that only grows in Summer needs a partner for the other seasons, so pair crops that cover different times of year.
- Prerequisites. The Lv. numbers are the levels other crops must reach first. You can't skip them, so you'll need to grow those crops until they reach the level listed.
- Upfront cost. Higher-paying crops cost more per plot, so the jump to them takes savings. Price out every plot you plan to fill before you switch.
This is why the table lists cost and season next to the rate. A high coins-per-hour number with a tight season or a steep price may not be the right choice for your farm yet.
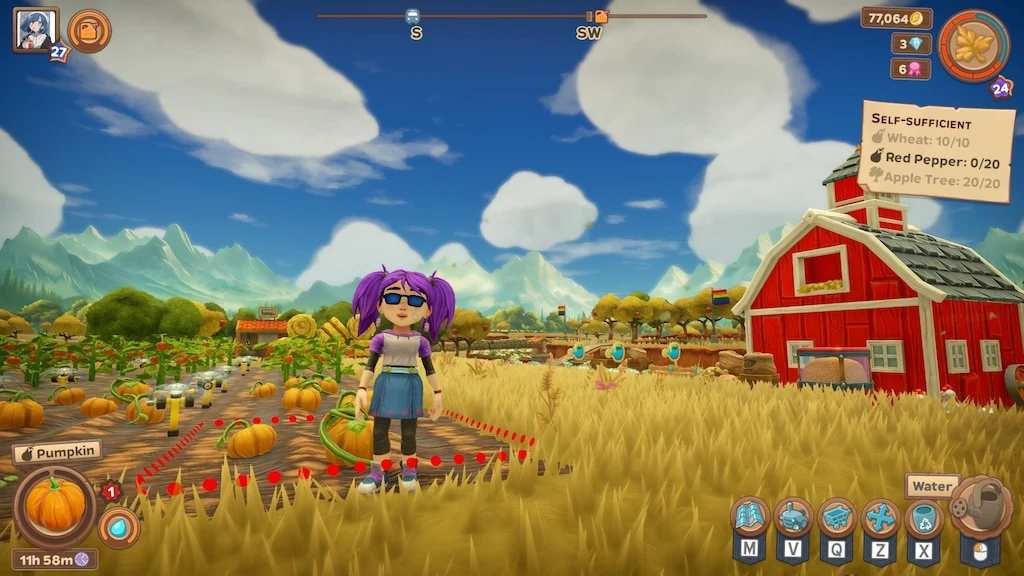
Work Up the Crop Ladder From Farm Level 9 to 155 in Farm Together 2
Lombardy Cabbage is the first big step after Zucchini, and it rewards the Lettuce you've already grown, since it needs Lettuce raised to level 15. It grows in Spring and Winter, the same seasons as Zucchini, so it's an upgrade for those months. Its partner comes soon after, because Lodge Zucchini at Farm Level 25 fills the other half of the year.
Lodge Zucchini grows in Summer and Autumn and needs Zucchini raised to level 20. It pays nearly as well per hour as Kyoto Carrot, which unlocks at Farm Level 27 but grows only in Summer and needs two carrot varieties raised first. Lombardy and Lodge together cover all four seasons, which makes them a strong pair for a long stretch.
Canary Melon at Farm Level 36 brings a higher rate for Spring and Summer, and it needs Watermelon raised to level 10. Lobbericher Carrot at Farm Level 40 pays more still, but it grows only in Spring and requires three carrot varieties raised first. If you want that crop, start raising the carrot family well before you reach that level.
Napa Cabbage at Farm Level 78 is a strong Summer and Autumn crop, though its cost is much higher than anything before it. Lunar White Carrot at Farm Level 79 is the top Winter crop until Broad Bean arrives. Its requirements reach back into the carrot family, including Lobbericher Carrot at level 15, so treat it as a longer project.
Broad Bean at Farm Level 155 has the highest coins per hour of any crop at base level, and it grows in Autumn and Winter. It needs French Bean and Soy Bean raised first, and its upfront cost is well beyond anything earlier on the ladder. Build toward it gradually, and only commit once your savings can cover several plots at that price.
Keep Plots Growing While You're Offline and Watered
Time keeps moving in Farm Together 2 when you're not playing, so your crops keep growing while you're away. Before you log off, plant a crop with a longer growth time on the plots you can. A longer timer keeps that plot busy for more of the time you're gone.
Watering is the other easy boost. Crops grow twice as fast when they're properly watered, so a watered plot finishes each cycle in half the time and earns coins twice as quickly. The figures in the table assume no watering or sprinklers, so a watered plot will beat them.
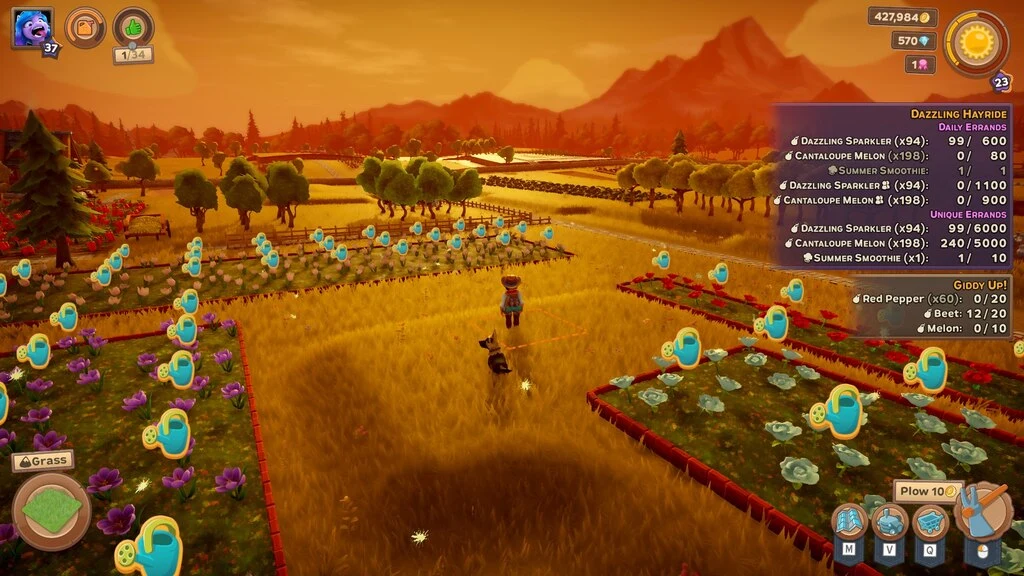
The goal is simple: keep every plot busy while you're playing and while you're away. Every hour a plot sits empty is an hour without coins.
Sell Surplus in Town and Fill Townspeople's Requests
Town is where your harvests turn into spending money. Sell the produce you don't need to keep, then use the coins on decorations and upgrades. Selling as you go keeps coins coming in steadily instead of waiting on a single big sale.
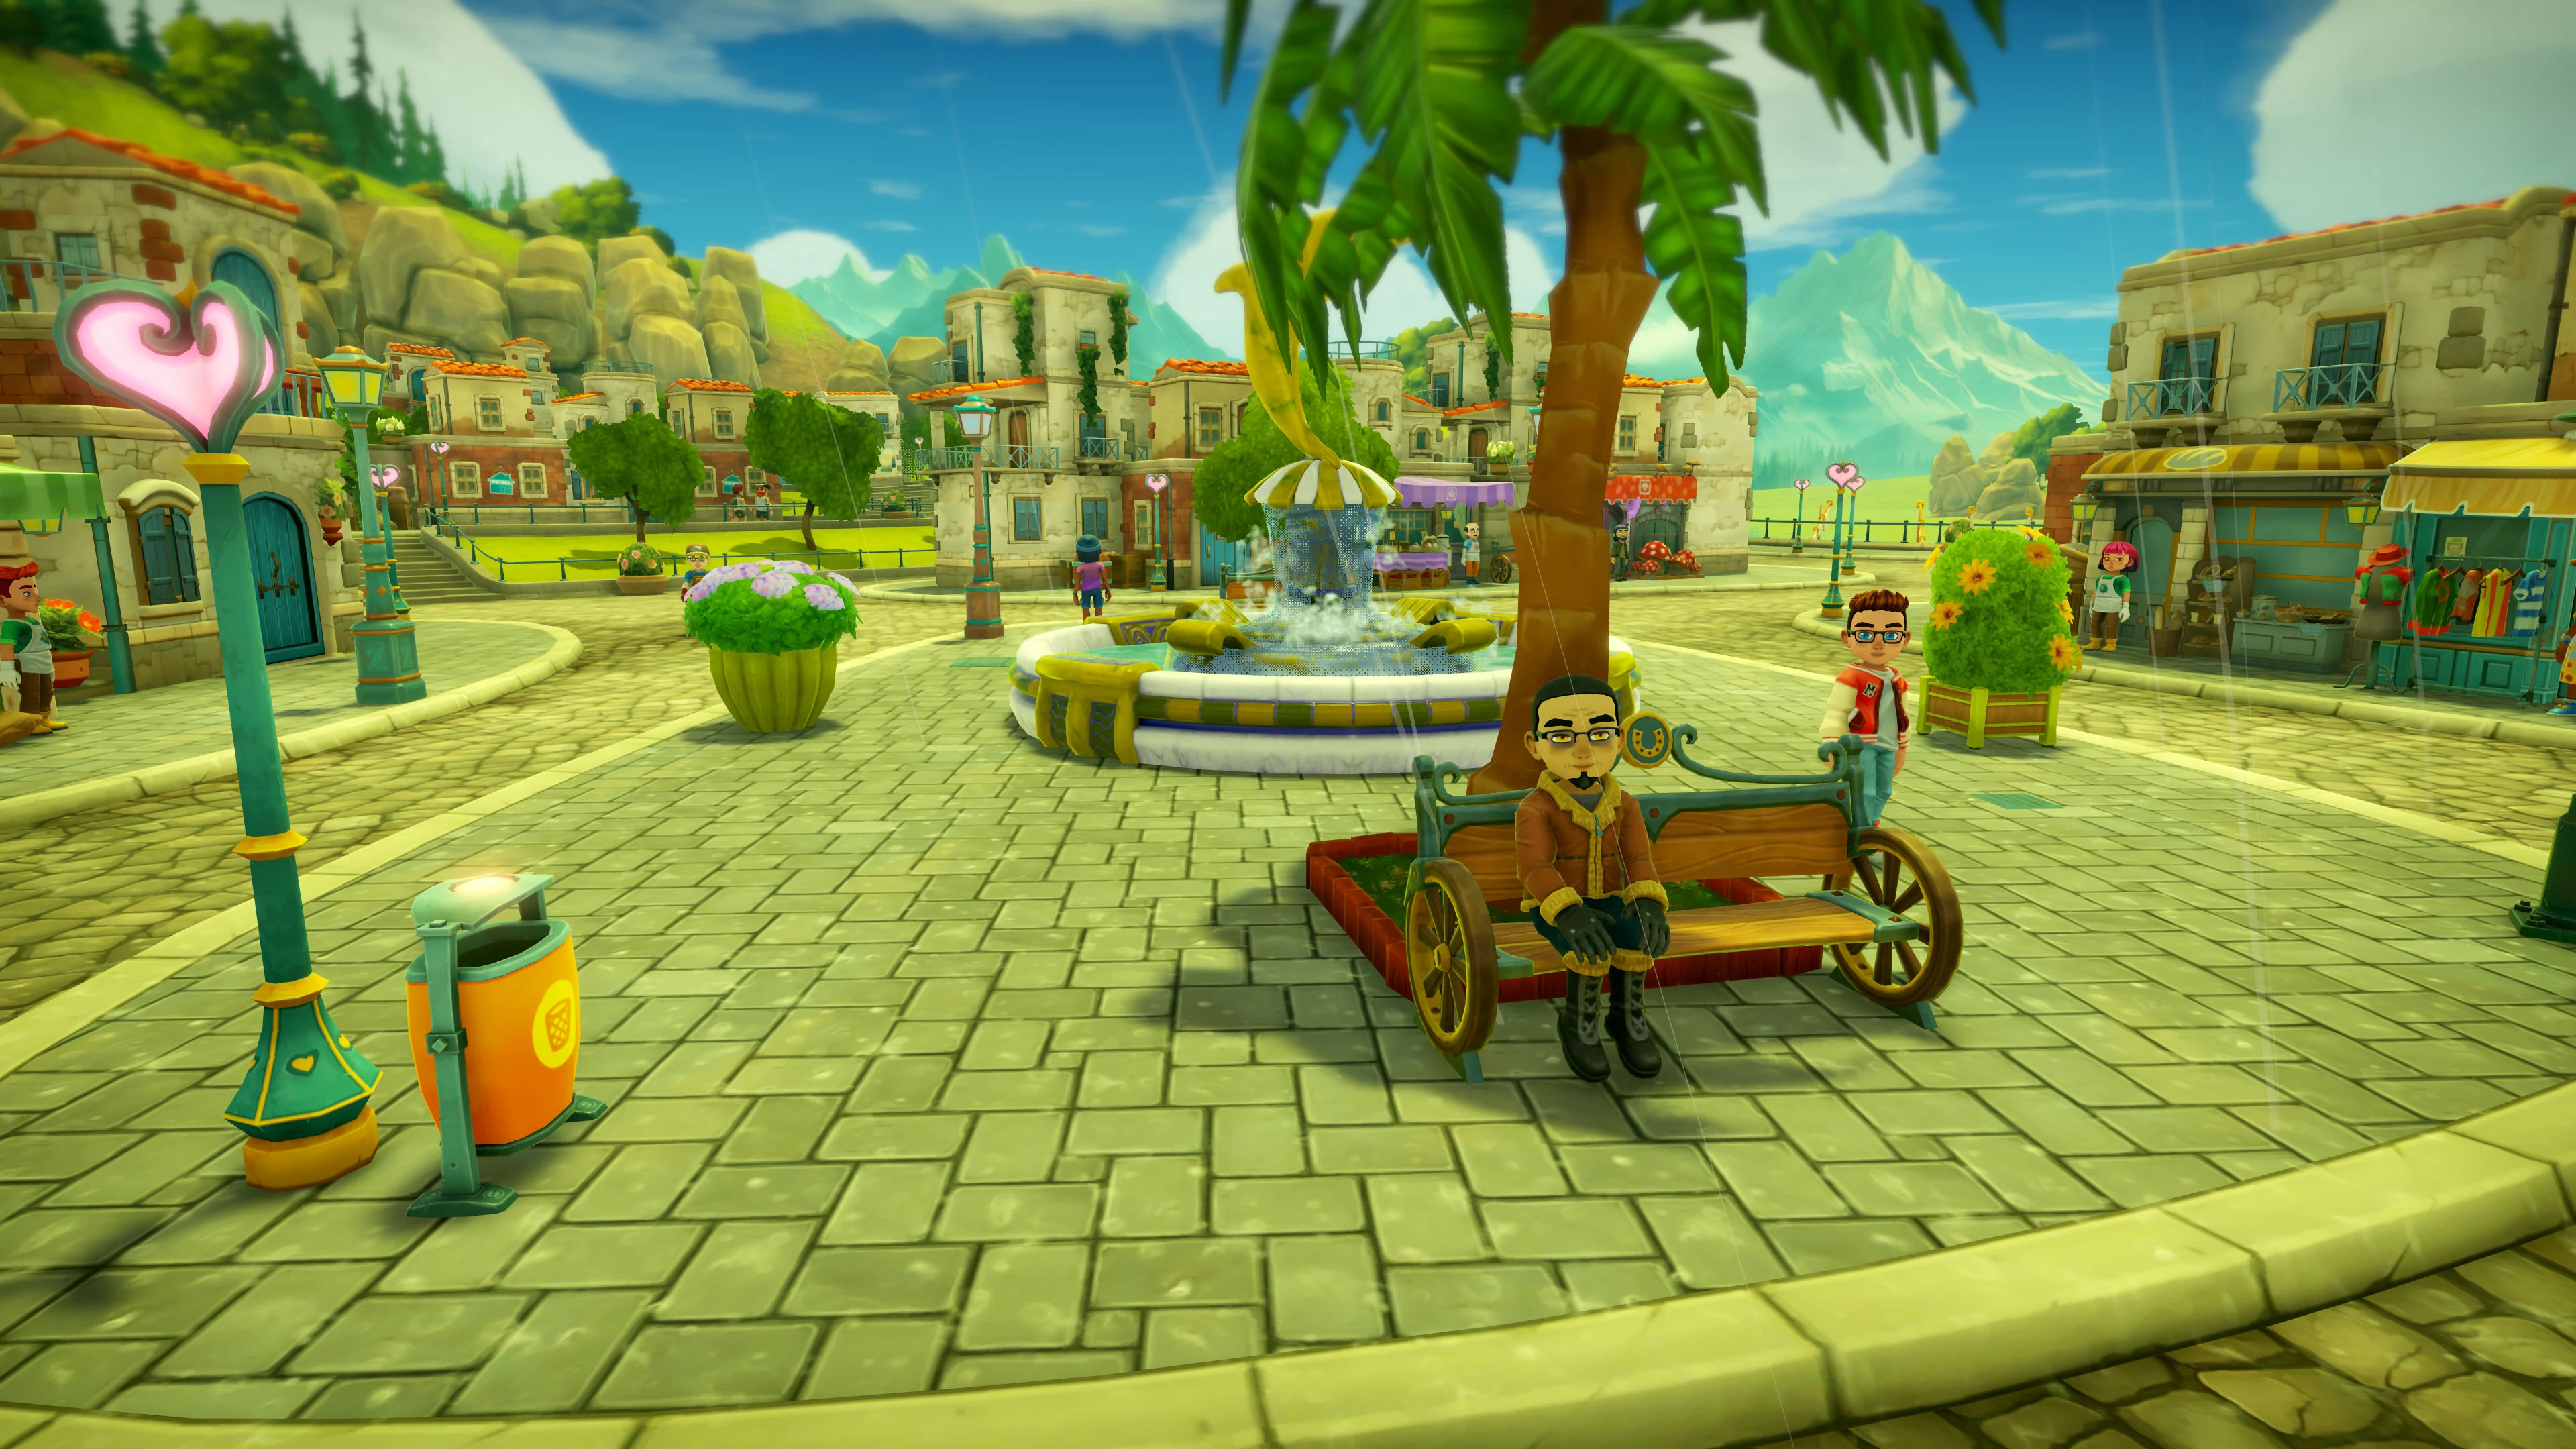
Townspeople also post requests. When you have the items they ask for, fill the request to keep them happy and collect the reward. Check Town on each visit, since a request can often be filled with a harvest you already have.
Automate Repeat Work With the Tractor and Farmhands
The tractor's automatic mode takes over repeated field work, which is where a big farm loses much of its time. The game doesn't give an exact speed boost, but it's built for the tedious tasks that slow a large farm down. Let the tractor handle the repeats while you plan your planting and selling.
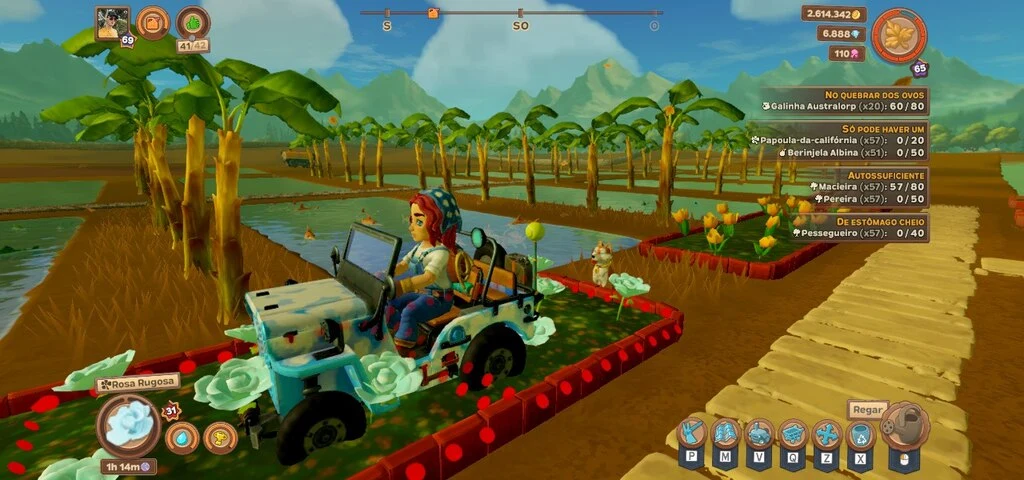
Farmhands are the next step. They unlock through the Farmhands Union at Farm Level 40, and you can assign them to:
- Planting, harvesting, and watering crops
- Harvesting trees
- Feeding and harvesting animals
- Harvesting fish
Assigning them to these jobs keeps your plots working while you're busy elsewhere on the farm. Farmhands only work on the land you're on, though. If you switch to another land, they stop working on the one you left, so keep them assigned to the land where you spend the most time.
Trees, Fish and Animals: Best Picks by Farm Level
Trees, fish, and animals are the next step once your crops are running smoothly. Each one has a one-time item cost, so their per-hour figures work differently from crops and can't be compared directly with them. Compare options within the same group, and look at the upfront cost and break-even, which is the number of harvests it takes to earn back what you paid.
By Farm Level 5, these are the strongest options in each group:
- Trees: Pear Tree, unlocked at Farm Level 4. It costs 250 coins and produces 20 per harvest in Spring, Summer, and Autumn, for about 52.94 coins per hour. It breaks even after 13 harvests and needs Apple Tree Lv. 10 and Lemon Tree Lv. 5.
- Fish: Clownfish, unlocked at Farm Level 1. Each pond tile costs 160 coins, and it pays 18 per harvest every 34 minutes, about 31.76 coins per hour. It breaks even after 9 harvests.
- Animals: Leghorn Chicken, unlocked at Farm Level 1. It costs 150 coins and pays 25 per harvest every 20 minutes, about 75 coins per hour. It breaks even after 6 harvests.
At higher Farm Levels, these are the strongest picks in each group:
- Trees: Pinkerton Avocado, unlocked at Farm Level 220. It costs 64,000 coins and produces 550 per harvest in Autumn and Winter, about 970.59 coins per hour. It breaks even after 117 harvests and needs Hass Avocado Lv. 60 and Gwen Avocado Lv. 30.
- Fish: San Francisco Piranha, unlocked at Farm Level 235. Each pond tile costs 77,000 coins, and it pays 600 per harvest every 34 minutes, about 1,058.82 coins per hour. It breaks even after 129 harvests and needs Pike Piranha Lv. 75, Red-Bellied Piranha Lv. 50, and Black Piranha Lv. 25.
- Animals: Californian Rabbit, unlocked at Farm Level 180. It costs 54,000 coins and pays 730 per harvest every 45 minutes, about 973.33 coins per hour. It breaks even after 74 harvests and needs Alaska Rabbit Lv. 60, Flemish Giant Rabbit Lv. 40, and Harlequin Rabbit Lv. 20.
The higher-level picks take a lot of savings and many harvests to pay back, so treat them as goals for when your farm is earning steadily.
If you're building fish ponds, size matters. Returns in coins start to shrink past about 36 tiles, so that's a good size to aim for if coins are your main goal. Extra tiles still give you full fish resources and XP, but they add less money.
Reinvest in Productive Plots Before Decorations
Decorations make your farm look good, but they don't produce coins. When you have money to spend, put it into plots that earn first, so the coins you spend come back to you through harvests. Decorations can come once your money-makers are running.
When your land has no room for the producer you want to add, unlock the next land. There are nine lands in total, and the price and requirements climb less steeply after the sixth, so the later lands are a smaller step up.