
Use your starter Pebbles in every room, then buy Throwing Range before anything else. Those two help in almost every crossing, which puts them at the top of the Don't Splash tier list.
Don't Splash is a horror platformer on Roblox where you cross flooded rooms by jumping between bridges and platforms to reach the exit. The monster reacts to every splash, whether you make it or a thrown item does, so most of the equipment and upgrades are tools for pulling it away from your path.
| Tier | Item | Type | Cost / level-1 cost | What It Does (first upgrade level) |
|---|---|---|---|---|
| S | Pebbles | Equipment | Starter item; refills cost 5 Coins for 1 or 25 Coins for 5 | Skip across the water and make small splashes that draw the monster away |
| S | Throwing Range | Upgrade | 150 Coins at Level 1 | At Level 1, pebbles and bottles fly 10% farther |
| A | Bottles | Equipment | 150 Coins | One loud splash that pulls the monster to a spot you choose, even from far away |
| A | Flare | Equipment | 450 Coins | Stuns the monster for 5 seconds, then locks out another stun for 8 seconds |
| A | Pebble Skipping | Upgrade | 150 Coins at Level 1 | At Level 1, each pebble splashes 4 times instead of 3 |
| A | Rescue Rope | Equipment | 250 Coins | Pulls a downed teammate onto a platform from farther away; one use per room |
| A | Rescue Speed | Upgrade | 150 Coins at Level 1 | At Level 1, the rescue pull takes 2.8 seconds instead of 3.0 |
| B | Wind-up Toy | Equipment | 300 Coins | Waddles through the water, making noise for 6 seconds |
| B | Rope Reach | Upgrade | — | At Level 1, the rope reaches 14 studs instead of 12 |
| B | Flare Radius | Upgrade | — | At Level 1, flares reach 11 studs instead of 10; the 5-second stun stays the same |
| C | Toy Battery | Upgrade | — | At Level 1, the toy's noise lasts 7 seconds instead of 6 |
How to Order Don't Splash Purchases Solo and in a Group
The tiers measure how often an item is the answer to a bad crossing. A-tier items fix specific failures, like a monster that ignores your pebbles or a teammate you can't reach, so they become the next purchases once those problems show up. B and C tiers cover narrower jobs, and you can leave them until a run calls for them.
Solo players have no teammate to rescue, so the rescue purchases drop out of the plan. After the opening pair, buy the A-tier tools as your rooms call for them.
In a group, Rescue Rope and Rescue Speed move up the order, since a downed teammate can be brought back onto a platform. Both become worth buying early instead of after the lures.
Buying From the Purple EQUIPMENT and Yellow UPGRADES Stalls
Equipment and upgrades are sold at two separate stalls in the lobby, so check the right one before you spend Coins. Equipment is what you carry into a run, while upgrades change how well that equipment works. Both stalls spend the same Coins, so each purchase is a choice between a new tool and a stronger one you already own.
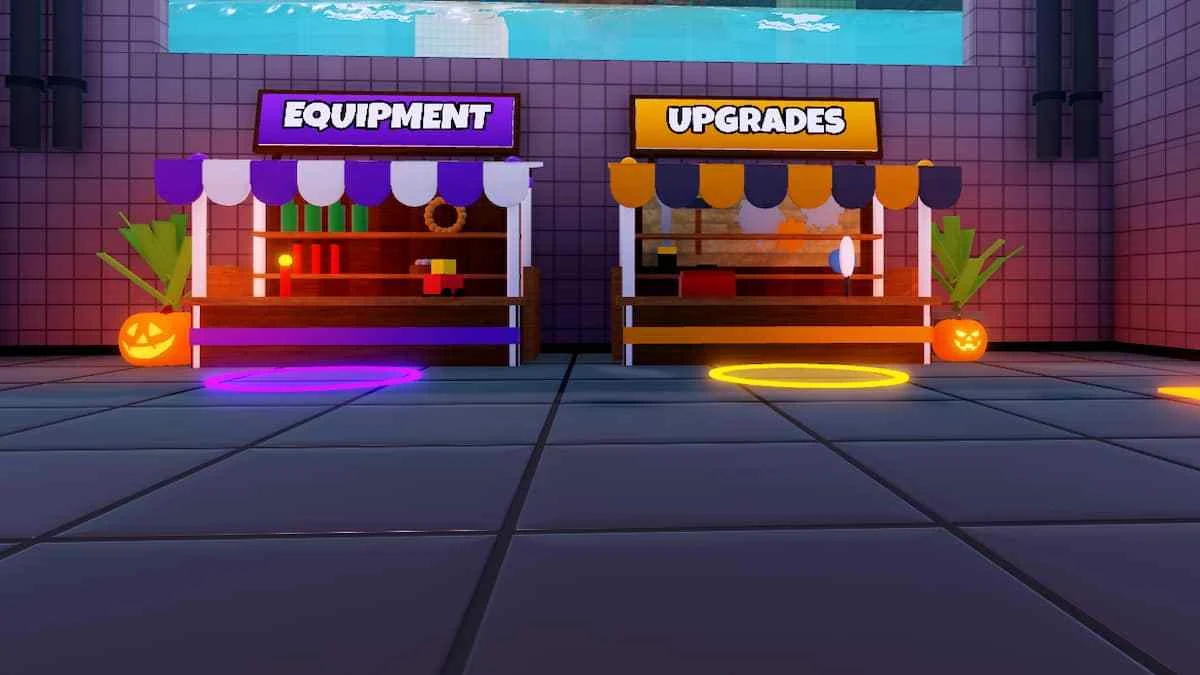
- Purple EQUIPMENT stall: Bottles, Flare, Rescue Rope, and the Wind-up Toy.
- Yellow UPGRADES stall: the six upgrades, from Throwing Range to Toy Battery.
Throwing Range and Pebble Skipping Fix Different Problems
Pebbles run out, so spend them on the splashes that change how a crossing goes, and save Coins for upgrades that make each splash count. Throwing Range helps when a throw falls short of the spot you need. It improves pebbles and bottles together, so one purchase lifts two tools.
Pebble Skipping solves a different problem. The pebble reaches the water, but the monster doesn't turn toward it. Throwing Range won't fix that, since the throw is already landing where you aimed.
When Bottles and Flare Are Worth Buying
Bottles are the step up from pebbles, and their advantage is control. You pick where the monster ends up, so you can plan the crossing around that spot. Buy them once pebbles can no longer move the monster off your route, and keep pebbles for the small jobs.
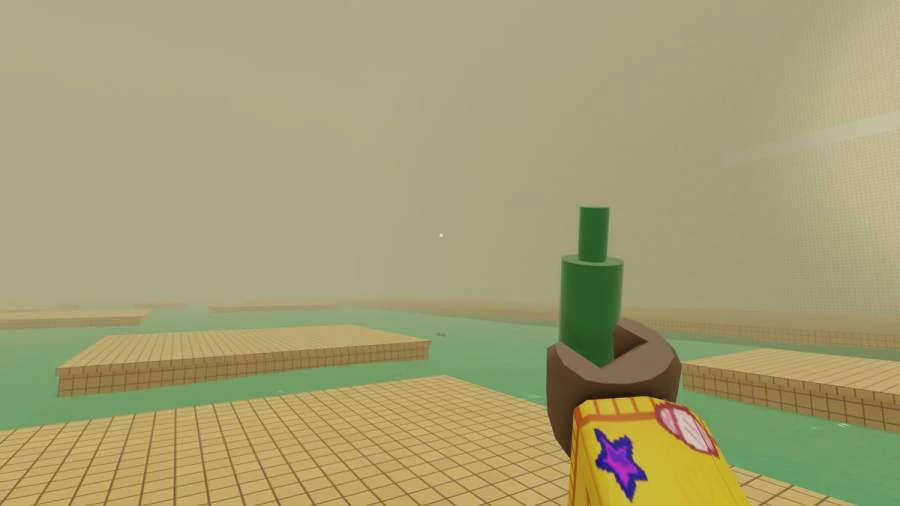
Flare is the emergency tool. A hit stuns the monster and opens a window to get past it, but a second stun is locked out, so the window is the plan: move on while it lasts. Save it for when the monster is already close and a lure can't pull it away in time.
Rescue Rope and Rescue Speed for Group Runs
Rescue Rope is the group's rescue tool because it reaches farther than a regular revive. Carry one when a teammate is likely to fall somewhere a normal rescue can't reach. Its main trade-off is the limit on ropes, which hurts most in rooms where several teammates go down.
A separate 30-Robux pass permanently unlocks a reusable rope. Because it's bought with Robux, it doesn't take Coins away from your other purchases.
Rescue Speed makes the same pull faster, so it helps when a rescue reaches the teammate but finishes too late.
Lower-Tier Trade-Offs: Wind-up Toy, Rope Reach, Flare Radius, and Toy Battery
The Wind-up Toy suits moments when you want noise spread over time rather than one splash. Its noise runs out fairly quickly, so it works best as a short distraction, which is why it sits in B tier.
Rope Reach only helps when distance is what makes a rescue fail, which is a different problem from timing. Flare Radius is for when your flares keep landing at the edge of their area. It doesn't lengthen the stun, so it won't help when the stun wears off before you get across.
Toy Battery adds only a little noise time, so it's worth buying when the toy is your main lure. If the toy is a backup, other upgrades will do more for you.