

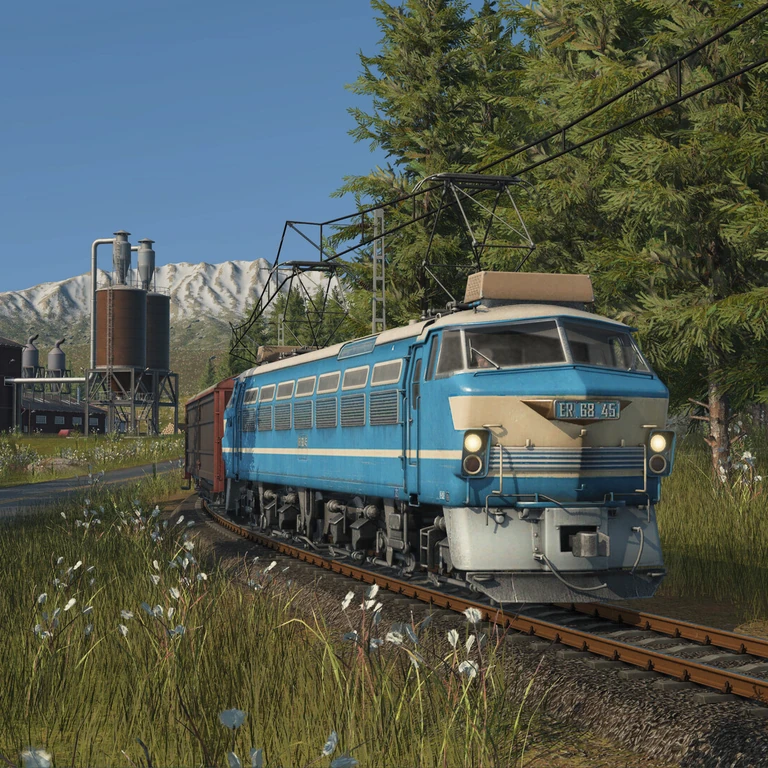
Transport Fever 3 is a transport tycoon game about building and running a transport company. You move people and goods by road, rail, water and air, using trains, trucks and other vehicles, and you judge every route by whether it earns money. There are two main ways to play: the Campaign, which is eight historical missions with set maps and goals, and Free Game, where you build on a randomly generated or handcrafted map for as long as you like.
You start by picking a need, such as a town that wants its people moved or a factory that needs goods brought in. Next you build the roads, tracks, stations or other stops that connect the two places. Stops alone don't move anything, so you create a line and assign vehicles to it, since the vehicles are what carry people and goods along it. Then you watch the deliveries and passenger trips come in, and you compare what you earn with what the vehicles and construction cost, which tells you whether the route is worth keeping.
Once routes are running, you keep an eye on delays and bottlenecks, and you expand them as towns grow and develop new demands. Towns bring their own challenges along the way, including traffic, noise and pollution. In the Campaign, you work toward each mission's goals. In Free Game, you climb the company ranks from junior toward tycoon by helping your connected towns grow.
- Developer
- Urban Games
- Publisher
- Paradox Interactive
- Release
- Worldwide: 2026-09-29
- Platforms
- Windows, macOS, Linux, PlayStation 5, Xbox Series X|S
Game data
Vehicles
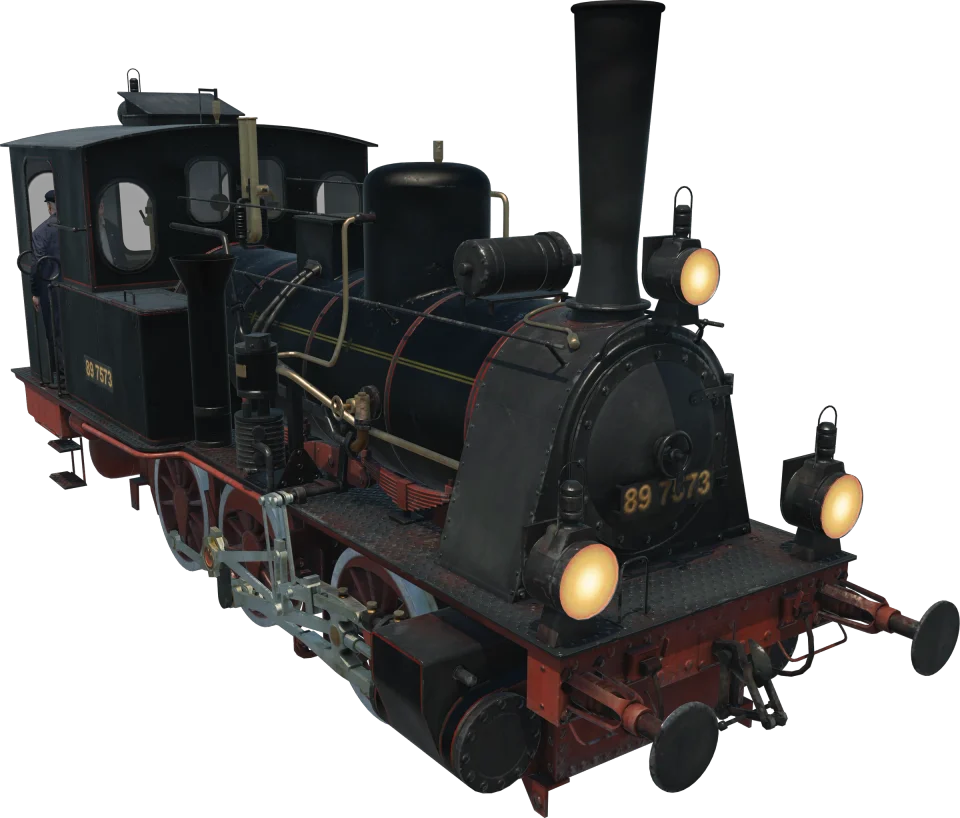
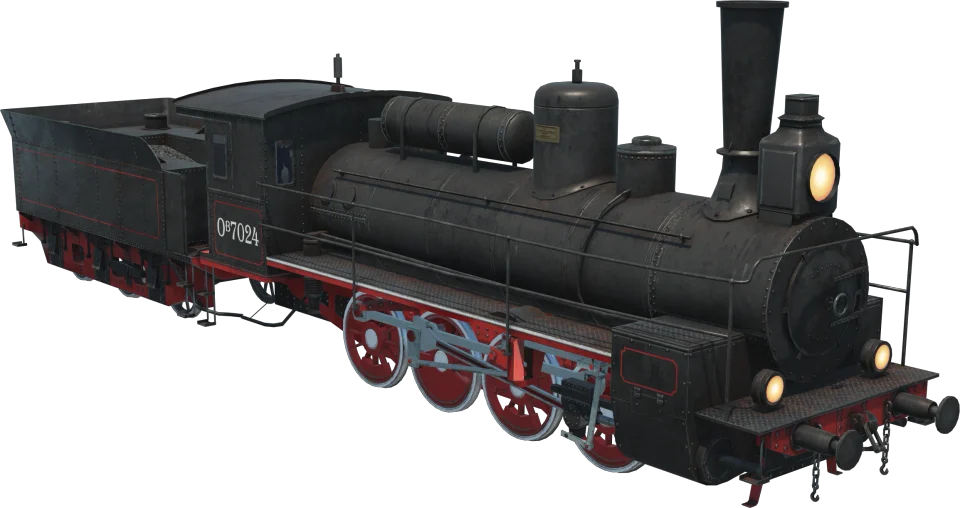
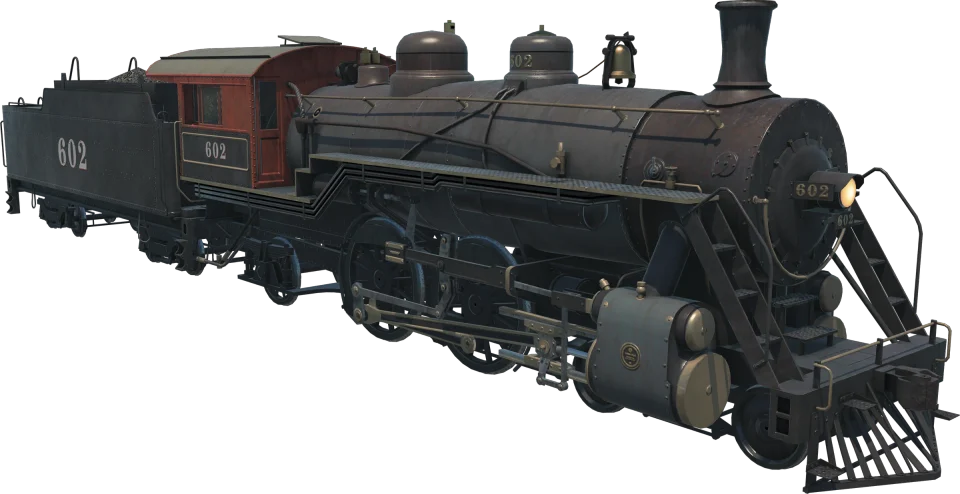
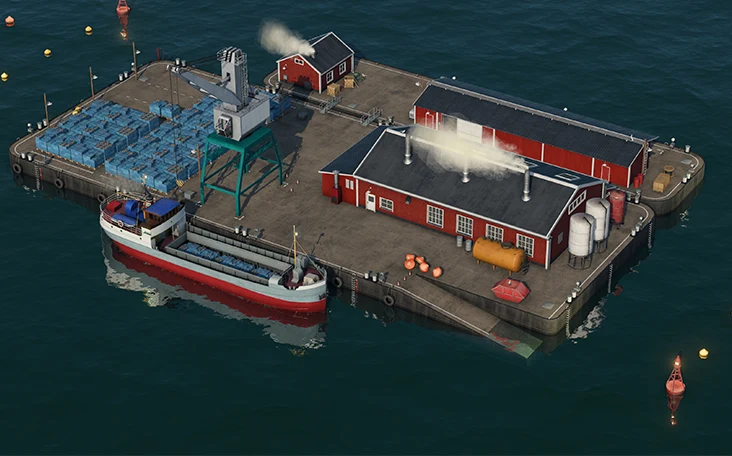
Vehicles in Transport Fever 3 include trains, trams, buses, trucks, ships, planes and helicopters. Each type runs on its own kind of route and moves passengers, cargo or both, depending on the model. Models arrive and retire over the years, so the choices change as the game moves through its timeline. Each one's speed, capacity and cargo group helps decide which vehicle fits a route.



Industries
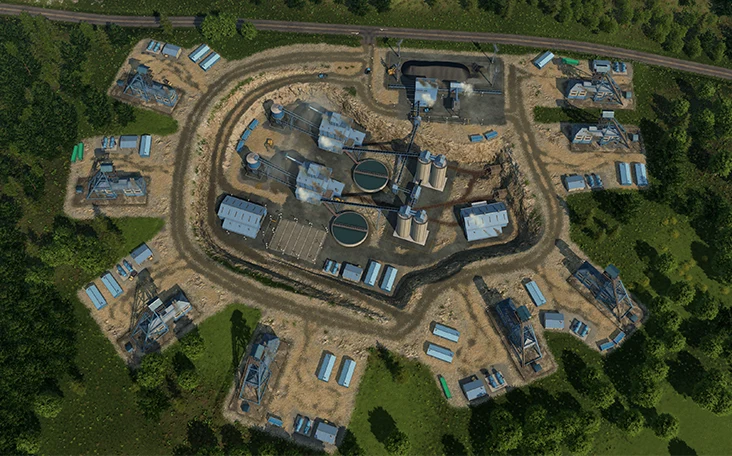
The industries in Transport Fever 3 are the places that produce and process the cargo your vehicles carry. Raw industries such as mines, farms and logging camps produce goods on their own, while processing industries like steel mills and factories turn those goods into products for towns and other industries. Passenger workers and booster cargoes such as fertilizer, tools and machines can raise output, and climate decides which industries show up on a map.




Cargo
Cargo types are the goods that move between industries and towns in Transport Fever 3. They are sorted into four handling groups: bulk, liquid, flatbed and goods. Each one has a role in the production chain as a raw material, an intermediate product, a booster or an end product. Some cargo types only appear in certain climates, so what you can ship depends partly on your map.


Transport Fever 3 Controls
| Action | Desktop |
|---|---|
| Move camera | W, A, S, D, or hold the right mouse button and drag |
| Rotate camera | Q, E, or hold the mouse wheel |
| Tilt camera | R, F, or hold the mouse wheel |
| Zoom camera | X and Y (Z on some keyboard layouts), or roll the mouse wheel |
| Pause | Space |
| Cycle game speed | Tab |
Transport Fever 3 gameplay tips
Start with the tutorial or the first few Campaign missions. The early missions introduce the main features step by step, and the quickstart tutorial teaches the basics inside a Free Game. Learning how routes, stops and vehicles fit together on a smaller job makes the bigger maps far less overwhelming.
Choose your start year before you build anything. Free Game start years run in ten-year steps from 1900 to 2020, and the year you pick decides which vehicles and infrastructure are available. Deciding first means every route you plan uses options that are actually available in that era.
Read the land before you commit to a transport mode. Free Game offers four climates: Temperate, Subarctic, Dry and Tropical. Climate changes how the map looks and which industries can appear, and terrain changes which transport modes are useful. Look at the land on your map before choosing road, rail, water or air, so your first route suits the terrain.
Serve a town's first demands well before more of them unlock. Each town starts with one commercial and one industrial cargo demand. Towns climb 18 levels, from Small Hamlet to Large Metropolis, and more demands unlock at levels 5, 7, 9 and 11. The reason is that towns grow when their needs are met, and each new demand is another delivery your network has to handle.
Check passenger connections before adding vehicles once Passenger Supplies is maxed. A town reaches its top Passenger Supplies rating at 50% public-transport line usage. Once the rating is capped, more vehicles won't push it any higher, so look at your passenger connections first.
Choose Industry Density based on the kind of map you want. Industry Density sets how many industries a map starts with. Lower density gives you fewer industries that each produce more, while higher density gives you more industries that each produce less. It changes how many industries appear, not how any industry makes its goods.