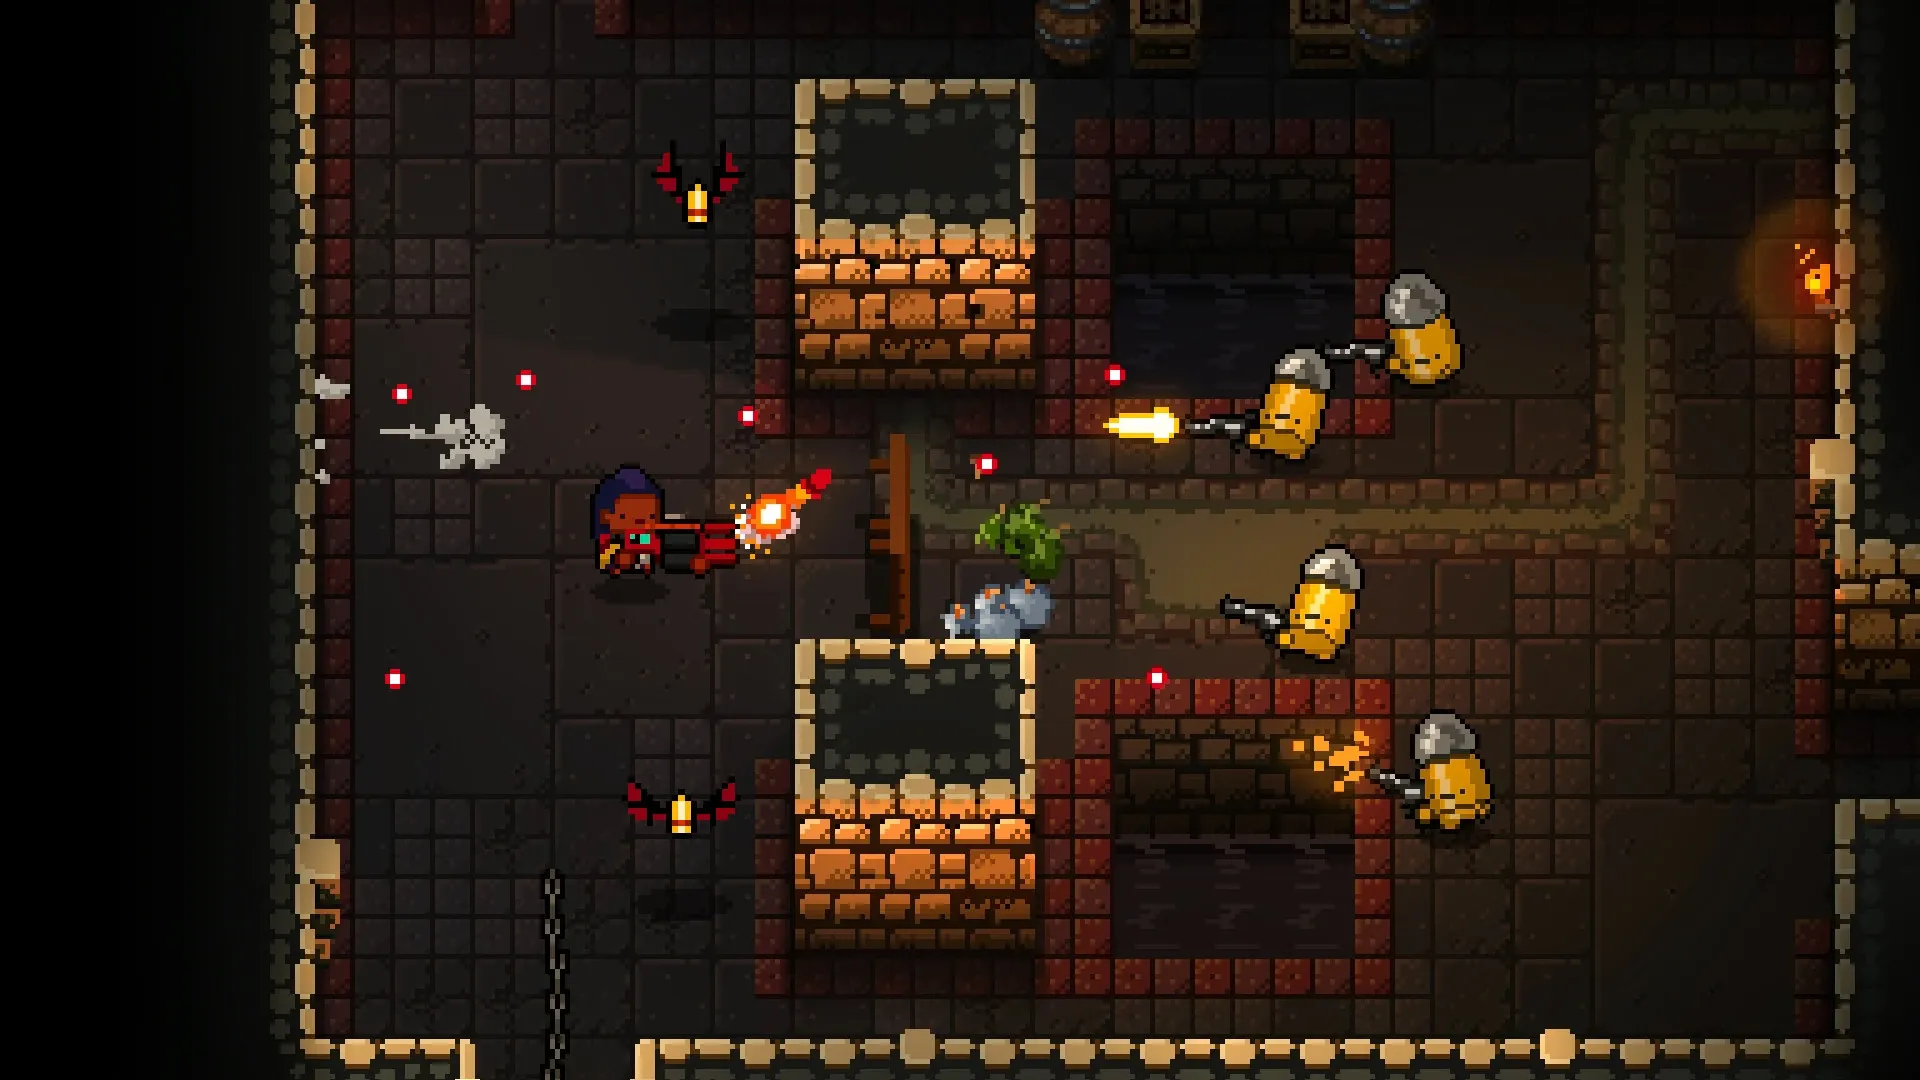

Enter the Gungeon has hidden chambers between its main floors, and each one has its own way in. The Oubliette and Abbey of the True Gun come from hidden routes on floors one and two, while the Resourceful Rat's Lair and R&G Dept. need specific setup on floors three and four. Bullet Hell is the sixth chamber. It opens only after you defeat the pasts of the four starting Gungeoneers, and you reach it from the Forge's Aimless Void.
| Secret floor | Sits between | What you need | How you get in |
|---|---|---|---|
| Oubliette | Keep of the Lead Lord and Gungeon Proper | 2 keys | Put out the fireplace, then use the hidden switch |
| Abbey of the True Gun | Gungeon Proper and Black Powder Mine | The Old Crest from the Oubliette | Place the Old Crest on the altar in Gungeon Proper |
| Resourceful Rat's Lair | Black Powder Mine and Hollow | Gnawed Key, 1 key, 2 blanks | Open the hidden hatch in a Black Powder Mine room |
| R&G Dept. | Hollow and Forge | 1 Master Round, 2 guns or items | Sell them to the Sell Creep in Hollow |
| Bullet Hell | Sixth chamber | Pasts of all four starting Gungeoneers defeated | Walk onto the Aimless Void's central platform after defeating the High Dragun |
Opening the Oubliette Hatch From Keep of the Lead Lord
The Oubliette sits between Keep of the Lead Lord and Gungeon Proper, and its hatch is hidden behind a fireplace. Keep of the Lead Lord always has a fireplace room, so you can plan for it on every run. The fire has to go out before you can crawl in, and a water barrel is the usual way to put it out.
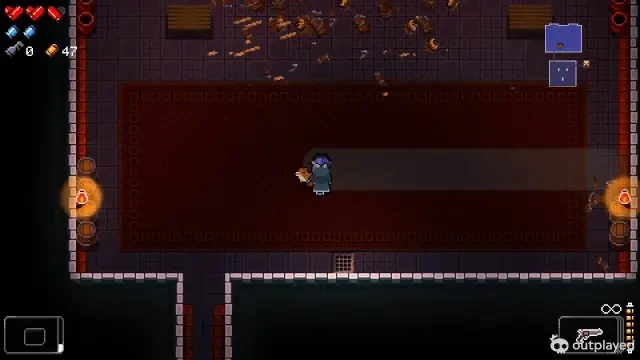
- Find the fireplace room in Keep of the Lead Lord. A blue water barrel is inside it or in a room next to it.
- Push the barrel next to the fireplace to put out the flames.
- Crawl into the fireplace and use the hidden switch.
- A hidden room with a trapdoor appears on your map. The trapdoor has two locks that each take one key, so bring two keys.
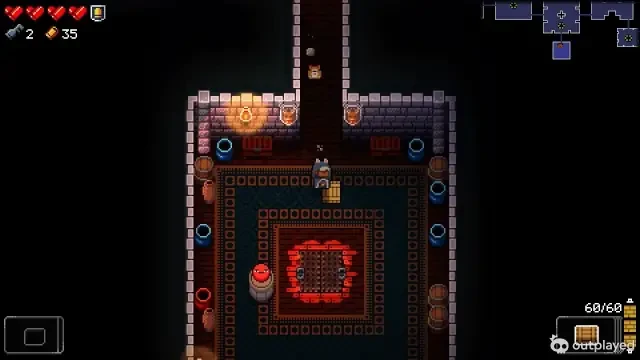
Trusty Lockpicks or a Drill can stand in for a normal key here. If the barrel is gone, a non-oil goop works as the water source instead, and Mega Douser or Coolant Leak can also do the job.
Water barrels are fragile, since enemy attacks and explosions can destroy them. Position it carefully while you clear the room. After your first visit, the barrel usually spawns in or right next to the fireplace room on later runs, which makes the setup quicker.
Carrying the Old Crest to the Abbey of the True Gun
The Abbey of the True Gun is reached with the Old Crest, which sits on a pedestal in a small room the Oubliette always has. That room has a 50% chance of being locked, so budget one more key if you need to get in. Once you have the Crest, you have to handle it carefully, because it's easy to lose.
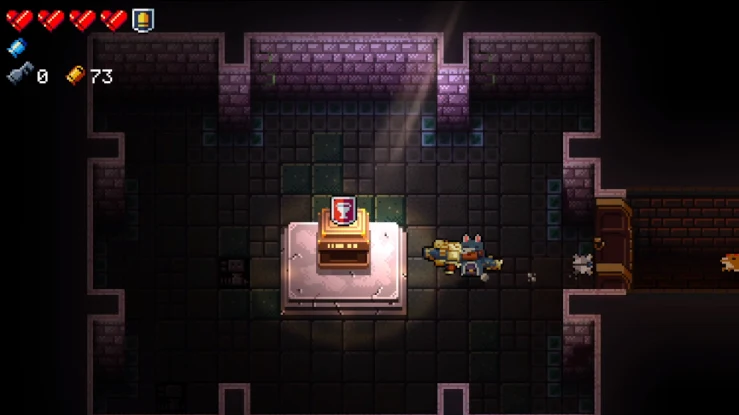
The Crest takes up an armor slot, and any damage destroys it, including damage that ordinary armor would normally absorb. Armor you pick up sits in front of the Crest, so armor can't protect it. Full Metal Jacket is the only exception, since it can spend a Blank to absorb a hit. Self-damage from Cigarettes destroys the Crest too.
- Take the Old Crest from its pedestal only when you're ready to carry it the whole way.
- Carry it through the rest of the Oubliette and all of Gungeon Proper without taking a single hit.
- Find the Altar Room in Gungeon Proper. It's a long vertical room with six sarcophagi along it and a seventh beside the altar.
- Interact with the altar while you're still carrying the Crest, and place it there. That moves the seventh sarcophagus and reveals the stairs into the Abbey.
Expect tougher enemies once you arrive. Some rooms in the Abbey hold permanently Jammed enemies, which deal and take significantly more damage no matter your Curse level.
Building the Bullet and Buying the Gnawed Key for the Rat's Lair
The Resourceful Rat's Lair asks the most from you, and it starts with the Bullet That Can Kill The Past. The Gnawed Key won't appear in Bello's shop in Gungeon Proper until that Bullet has been built, and building it is what opens the Lair route. The Bullet is assembled from four parts, and you can hand each one to the Blacksmith in the Forge on a different run. Every part you turn in stays turned in.
- Prime Primer: bought from Bello's shop for 110 coins.
- Arcane Gunpowder: found in Black Powder Mine.
- Planar Lead: found in Hollow.
- Obsidian Shell Casing: revealed when you destroy the skull of Dragun after defeating it.
With the Bullet built, buy the Gnawed Key from Bello's shop in Gungeon Proper. The first purchase costs 1,000 casings in total, and you can pay it off across several runs. After that first full payment, it costs 115 casings on every later run, and discount effects never lower its price.
For the Lair itself, bring the Gnawed Key, one regular key, and two blanks. The regular key can be swapped for a Shelleton Key, AKEY-47, or Trusty Lockpicks, but nothing replaces the Gnawed Key.
Opening the Resourceful Rat's Lair Hatch in Black Powder Mine
Once the Bullet is built, a random combat room in Black Powder Mine has three harmless rats marking the hidden hatch. The route from there runs along minecart tracks and through two hidden passages before the final hatch.
- Find a combat room in Black Powder Mine with three rats running around the floor, and clear it.
- Reveal the hidden hatch. You can walk back and forth over the floor until a tile kicks up a larger than normal dust cloud, spray liquid on the ground, or use a Blank anywhere in the room. Short-range blank effects like Blank Bullets won't work, and the hatch never appears in a shop room.
- Open the hatch with your regular key and drop in.
- Walk along the minecart tracks to the dead end. Don't ride the cart, because it sends you backward again and again.
- At the dead end, use a Blank to open the first hidden passage. If you have Armor, you can fall into the nearby pit instead, which reveals the same passage and saves that Blank.
- Walk to the next dead end and use your second Blank to open the second hidden passage. There's no pit here, so this Blank can't be saved the same way.
- Open the final hatch with the Gnawed Key to enter the Lair.
Revealing the hatch by walking or spraying liquid saves your Blanks for the passages, which need two. Bloodied Scarf is the bigger shortcut, since it lets you teleport past both hidden passages and skip both Blanks.
Solving the Resourceful Rat's Lair Maze With Infuriating Notes
The Lair is a maze of six rooms, and each room offers a choice of exit direction. Only one exit in each room is correct. A wrong choice sends you back to the previous room, and a second wrong choice drops you into an elevator to Hollow, which ends your Lair run.
The correct order is revealed by Infuriating Notes. Six of them are scattered across all floors of the game, and they appear at random each run, so pick them up whenever you see them. Each note ends with a cheese-wedge arrow pointing one way through the maze. The more notes you collect, the more of the correct sequence you know before you enter.
The route stays the same for every save file on the same installation, but it can differ between installations. Candle-carrying rats wander the Lair and are harmless on their own, but if you're carrying any Curse, they turn Jammed and deal damage on contact.
Reaching R&G Dept. by Selling to the Sell Creep in Hollow
R&G Dept. sits between Hollow and Forge and has no link to the other secret floors. If you enter Hollow with a Master Round, a special room with the Sell Creep is guaranteed, and that's where the trade happens.
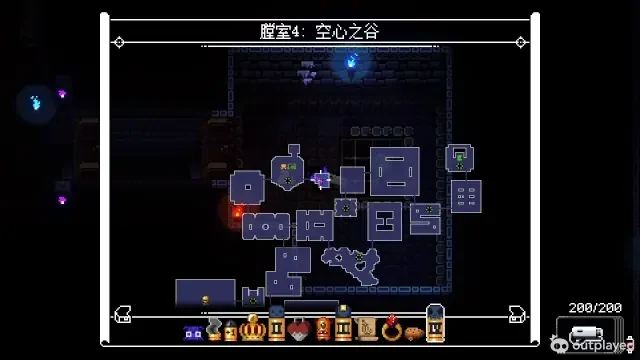
- Enter Hollow with a Master Round and find the Sell Creep room.
- Sell one Master Round and two other guns or items to the Sell Creep. If you want to trade anything else first, sell the Master Round last.
- After the third sale, the grate opens. Jump down through it to reach R&G Dept.
The price is steep. A Master Round marks a boss you cleared without taking damage, and you give up two usable items on top of it. R&G Dept. has no shop and few pickups, so only make the trade when your loadout has clear surplus. If your core weapon or survivability items are borderline, selling them rarely pays off.
When you're done, there's no exit elevator after you beat Agunim. Jump off the rooftop arena to reach the Forge.
Unlocking Bullet Hell From the Forge's Aimless Void
Bullet Hell is the sixth chamber, and it's tied to the four starting Gungeoneers, the playable characters you begin with. It opens once you've killed the pasts of the Pilot, Marine, Convict, and Hunter. Each past is confronted with the Bullet That Can Kill The Past, so have that built before you start.
- Kill the pasts of the Pilot, Marine, Convict, and Hunter.
- Defeat the High Dragun.
- Go into the Forge's Aimless Void and walk onto the central gun-cylinder platform.
- On your first visit after meeting those conditions, the Lich's skeletal hand drags you into Bullet Hell. This first trip is forced, except in Challenge Mode and Blessed Mode.
After that first entry, a rift on the platform leads to Bullet Hell and stays available. You can walk around it to skip the chamber whenever you don't want to go in. Building the Bullet is a separate gate from this one, and you don't have to carry it on your current run to enter Bullet Hell.