
Time, Wind and Flame are the strongest magics in Clover RPG, Lesser Demon and Lesser Angel are the top races, and Bloodfiend and Valor are the best weapon enchantments. For weapons, Ceremonial Greataxe and Mournblade lead the heavy class, Balmung leads medium, and Clover Gauntlets leads light. Clover RPG is a Roblox action RPG where your magic comes from random rolls, so it helps to know which results are worth building around.
| Tier | Magic | Race | Enchantment |
|---|---|---|---|
| S | Time, Wind, Flame | Lesser Demon, Lesser Angel | Bloodfiend, Valor |
| A | Light | Dark Elf, Elf | Nova, Frostbite, Static Chain |
| B | Lightning, Shadow, Beast | Eldritch, Dryad | Lurk |
| C | None | None | None |
| D | None | Human | None |
Best Magic in Clover RPG: Time, Wind and Flame Lead
Clover RPG has seven magics, and each one is a set of skills your character builds around. Each magic has its own roll chance, skill count, passive count and range of skill cooldowns.
| Magic | Roll chance | Skills | Passives | Skill cooldowns |
|---|---|---|---|---|
| Time | 1% | 6 | 3 | 12 to 26 s |
| Wind | 20% | 7 | 2 | 11 to 16 s |
| Flame | 22% | 6 | 4 | 10 to 18 s |
| Light | 22% | 6 | 2 | 9 to 60 s |
| Lightning | 15% | 6 | 3 | 10 to 25 s |
| Shadow | 15% | 6 | 2 | 10 to 50 s |
| Beast | 5% | 6 | 0 | 9 to 13 s |
Tiers measure how a magic plays in a fight, not how often it rolls. Time rolls only 1% of the time, yet it sits in S because it combines crowd control with recovery. Some picks suit a specific playstyle: PvE means questing against monsters and bosses, and PvP means fighting other players.
- Time (S): Time Stop suspends nearby enemies in a bubble while draining their health, Palm Thrust traps a target before it explodes, and Slow Zone slows every enemy in an area. Chrono Surge and Warping Blitz help you reposition, and Rewind undoes damage from the last few seconds. It suits players who want to control a fight and recover from a bad moment, in both PvE and PvP.
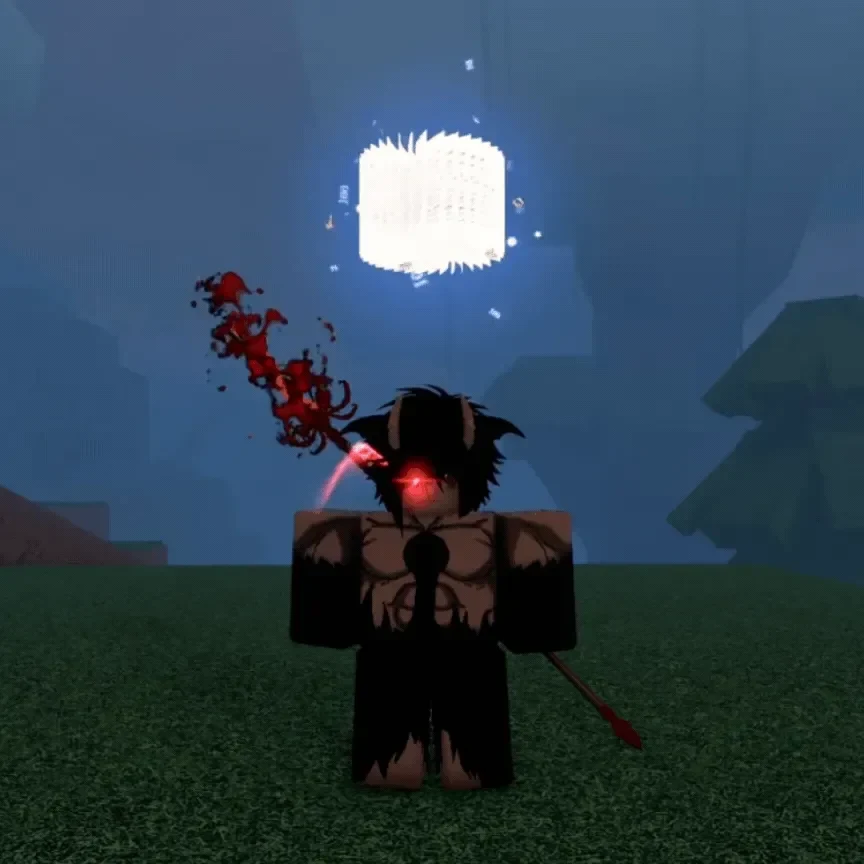
- Wind (S): All seven of its skills move enemies or you. Gale Sphere pushes enemies back, Tornado flings them away, Gale Rupture and Gale Updraft lift you into the air, and Tempest Palm hurls a target skyward. Wind has no defensive skill, so its S placement comes from control and movement. Aerial Efficiency cuts its mana costs by 30% while you're airborne, which fits a kit built around lift. It suits crowd fights.
- Flame (S): Flame has four passives, the most of any magic. Binding Flame holds nearby humanoids in place, Fire Stomp stuns, and Fiery Grapple grabs a target and detonates it. Blazing Dive and Fiery Grapple also move you, and Infernal Defiance stops an execution attempt with a stun, though its 60-second cooldown limits how often you can use it. It suits burn builds and group fights, since Scorching Barrage covers a wide area.
- Light (A): Light offers a direct healing skill. Divine Light heals you on a 60-second cooldown for 8 energy, and holding right-click on it creates a field that heals nearby allies. Blindstrike blinds targets hit by magic abilities, but none of Light's skills hold or stun, which keeps it at A. It suits solo questing and support play, where staying alive matters more than controlling the fight.
- Lightning (B): Lightning has three passives, but two depend on conditions. Rain Dancer needs rain, and Lightning Pulse only works while Lightning Shroud is active. It suits players who like transforming mid-fight and cheap, quick attacks, such as Lightning Barrage at 5 energy.
- Shadow (B): Dark Haste briefly cripples an enemy, and Shadow Tendril slows and tethers a target, but the tendril's 50-second cooldown limits how often you can use it. Fear The Shadows only adds damage at night. It suits players who fight at night or want the homing orbs of Shadow Annihilation.
- Beast (B): Beast has six skills and no passives, so its power comes entirely from those skills. All six recharge in 9 to 13 seconds, the narrowest cooldown spread of any magic, and each costs 25 to 30 energy. The short cooldowns on its gap closers let you keep pressing into enemies, which suits aggressive play. The trade-off is that none of its skills heal or defend you, so it relies on pressure rather than staying power.
Best Races: Lesser Demon and Lesser Angel Lead
Race sets passive bonuses from the moment you create your character. S-tier races have large, clear combat effects, A-tier races have a clear effect that helps one kind of build, B-tier races have useful but modest bonuses, and D-tier races have no combat effect.
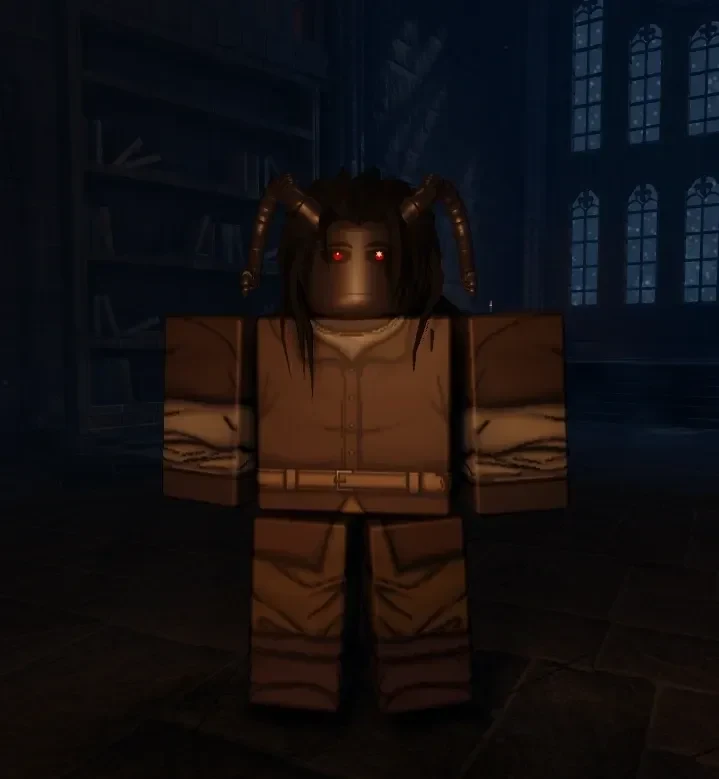
- Lesser Demon (S): Wrath Unbound adds 2.5% physical damage for each melee hit you land without being hit, up to 10 stacks, which is 25% at the cap. Hellsworn speeds up Devil Contract progress and lengthens Devil Mode. The race also adds 5% physical resistance and 20 Health. It suits melee players who avoid taking hits, since the bonus only builds on hits landed while you're untouched.
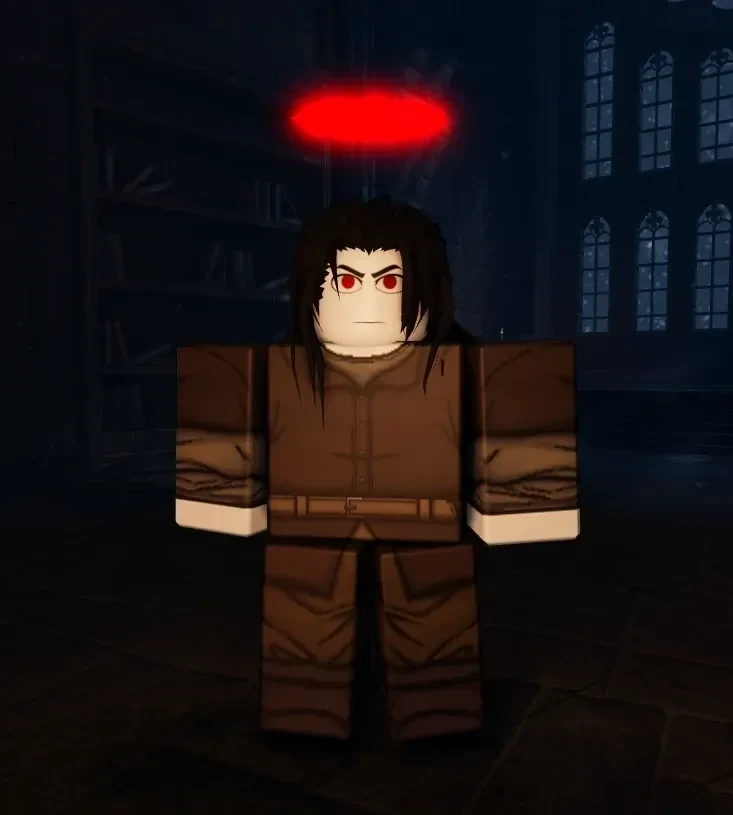
- Lesser Angel (S): Divine Retribution means once per life, a hit that would kill you instead heals you for 15% of your health. Heavenbound speeds up Spirit Contract progress. The race adds 10% magic resistance and 40 Energy, the largest energy bonus of any race. It suits players who want to survive long or risky fights.
- Dark Elf (A): Spellcaster adds 5% spell damage, along with 10% more mana regeneration and 10 Energy. Those are clear gains, but smaller than the S-tier bonuses. It suits spell-focused builds.
- Elf (A): World Tree's Blessing makes spells cost 15% less mana, and the race adds 20 Energy. It suits casters who spend mana quickly.
- Eldritch (B): Corrupt Physique adds 2.5% physical damage, 10 Health and 2 Max Resolve. Each number is small, but they apply in every fight, which suits physical builds that want a little extra health.
- Dryad (B): Nature's Grace boosts your health regeneration while wounded, and the race adds 10 Energy. The regeneration is most useful in fights where you keep taking hits and need to recover between them. The Energy is a modest bonus, so Dryad sits level with Eldritch.
- Human (D): Entrepreneur makes items you sell to NPCs fetch 15% more. Human has no stat bonuses and no combat effect, so it's the weakest pick for fights. It suits players who mainly want the selling bonus.
Best Weapon Enchantments: Bloodfiend and Valor Lead
Enchantments are extra effects a weapon can carry. S-tier picks either add to your own damage or healing, A-tier picks put a status effect on the enemy, and B-tier picks move you.
- Bloodfiend (S): It steals health from the target after several hits, healing you. It's the only enchantment here that heals you, and it suits longer fights where healing from your hits adds up.
- Valor (S): It adds 15% damage while your health is above 70% or below 30%, and it switches off between 30% and 70%. The active ranges cover 60% of the health bar, and the middle 40% is where it's off, so it isn't on for every moment of a fight. It's still the only enchantment here that raises damage directly, which is why it sits in S despite the condition. It suits players who want a big damage boost and don't mind it dropping out in the middle of their health bar.
- Nova, Frostbite and Static Chain (A): Nova burns the target, Frostbite freezes it, and Static Chain shocks it. All three are hit-triggered, so they need several hits to go off rather than every strike. They affect the enemy rather than boosting you, which puts them one step below the S-tier picks. They suit players who want an extra status effect on the targets they hit.
- Lurk (B): It teleports you behind the target after several hits. It doesn't add damage or healing on its own, so it's the lowest enchantment here. It suits melee players who want to reposition quickly.
Clover RPG Weapon Tiers by Class: Heavy, Medium and Light
Clover RPG sorts its 53 weapons into heavy, medium and light classes. Each weapon's proficiency number is the minimum it requires, and Craftable marks weapons you can craft. Weapon tiers are judgment calls rather than a calculated score. Damage sets the starting band, and minimum proficiency, reach and craftability move a few weapons across a line.
Heavy Weapons
| Tier | Weapon | Damage | Proficiency | Craftable |
|---|---|---|---|---|
| S | Ceremonial Greataxe | 23 | 8 | No |
| S | Mournblade | 22 | 7 | No |
| S | Elkstrider | 21 | 6 | Yes |
| S | Wanderer's Edge | 21 | 6 | Yes |
| A | Executioner's Axe | 20 | 5 | No |
| A | Primeval Battleaxe | 20 | 7 | Yes |
| A | Bone Reaper | 19 | 7 | No |
| A | Highland Axe | 19 | 3 | No |
| B | Carnage Cleaver | 18 | 6 | No |
| B | Splinterspike | 18 | 6 | No |
| B | Buster Sword | 17 | 3 | No |
| B | Vulcan's Greatsword | 16 | 3 | No |
| B | Mourning Edge | 15 | 4 | No |
| C | Claymore | 13 | 2 | No |
| D | Dull Longsword | 9 | 1 | No |
Heavy has the highest damage in the game, topping out at 23 with Ceremonial Greataxe. Its S tier starts at 21 damage. Ceremonial Greataxe and Mournblade rank highest because they hit hardest, even though they need more proficiency than the craftable pair, Elkstrider and Wanderer's Edge. Mourning Edge hits for 15, the top of the C range, but its requirement of 4 lifts it into B.
Bone Reaper and Primeval Battleaxe have the longest reach in the game at 10, which helps them hold A despite needing 7 proficiency. Highland Axe sits in A because it needs only 3 proficiency for 19 damage.
Medium Weapons
| Tier | Weapon | Damage | Proficiency | Craftable |
|---|---|---|---|---|
| S | Balmung | 17 | 8 | No |
| A | Blue Mystbloom Staff | 16 | 7 | No |
| A | Pink Mystbloom Staff | 16 | 7 | No |
| A | Dragnipur | 15 | 7 | No |
| A | Cinderblade | 15 | 5 | Yes |
| A | Skullspire Blade | 14 | 6 | No |
| A | Purple Widowbane | 14 | 6 | No |
| A | Red Widowbane | 14 | 6 | No |
| A | Purple Hachiman | 14 | 4 | No |
| A | Red Hachiman | 14 | 4 | No |
| B | Wayfarer's Scimitar | 13 | 4 | No |
| B | Gold Trishula | 12 | 4 | No |
| B | Silver Trishula | 12 | 4 | No |
| B | Vulcan's Spear | 11 | 3 | No |
| C | Vulcan's Cutlass | 10 | 3 | No |
| C | Assembly Blade | 10 | 2 | No |
| C | Katana | 9 | 2 | No |
| C | Kamo Spear | 9 | 2 | No |
| C | Eldritch Staff | 9 | 2 | No |
| D | Legendary Kata | 6 | 1 | No |
| D | Novice Blade | 6 | 1 | No |
| D | Rustic Spear | 6 | 1 | No |
Balmung is the strongest medium weapon at 17 damage, which makes it the only S pick in the class. Medium has the widest A tier, with nine weapons, so you'll have several strong options before Balmung's requirement of 8 proficiency becomes realistic.
Cinderblade is the standout among them, with 15 damage at a requirement of 5, and it can be crafted. Dragnipur also hits for 15 but needs 7 proficiency and can't be crafted, so Cinderblade is the easier of the two to reach.
Light Weapons
| Tier | Weapon | Damage | Proficiency | Craftable |
|---|---|---|---|---|
| S | Clover Gauntlets | 18 | 5 | No |
| S | Luminous Thorn | 15 | 7 | No |
| S | Elderthorne | 14 | 6 | Yes |
| A | Arachne's Venom Fang | 12 | 7 | Yes |
| B | Bloodthorne | 13 | 8 | No |
| B | Bronze Ironclad Gauntlets | 11 | 5 | No |
| B | Rose Ironclad Gauntlets | 11 | 5 | No |
| B | Skullsplitter | 11 | 5 | No |
| B | Winding Thorn | 10 | 3 | No |
| C | Vulcan's Rapier | 9 | 3 | No |
| C | Eldrean Sickle | 9 | 5 | No |
| C | Vulcan's Knife | 8 | 3 | No |
| C | Assembly Fang | 7 | 2 | No |
| D | Dull Gauntlets | 6 | 1 | No |
| D | Dull Rapier | 6 | 1 | No |
| D | Dull Dagger | 5 | 1 | No |
Clover Gauntlets is the top light weapon at 18 damage, and its requirement of 5 is the lowest of the three light S-tier picks. Luminous Thorn (15 damage, 7 proficiency) and Elderthorne (14 damage, 6 proficiency, craftable) complete the S tier. Light tops out lower than heavy, so proficiency and craftability carry more weight in its placements.
Bloodthorne hits for 13, which would normally land in A, but its requirement of 8 and short reach of 7.75 drop it to B. Eldrean Sickle hits for 9, but its reach is only 4, the shortest of any weapon in the game, so it sits in C.
Which Weapons to Aim For in Clover RPG: Proficiency and Crafting
- Start with the low requirements. Highland Axe (heavy) hits for 19 and needs only 3 proficiency, which is the most damage of any weapon at that requirement. Buster Sword and Vulcan's Greatsword (heavy), Vulcan's Spear (medium) and Winding Thorn (light) also need 3, so they're good options on the way up.
- Work toward the top picks. Ceremonial Greataxe and Balmung both need 8 proficiency, the highest requirement among the top weapons, so they're later goals. Mournblade needs 7, and Clover Gauntlets needs 5, which makes it the most reachable light S-tier weapon.
- Check the craftable options. Six weapons can be crafted. Elkstrider, Wanderer's Edge and Elderthorne are the craftable S-tier picks, each needing 6 proficiency. Cinderblade needs only 5 and is the lowest-requirement craftable weapon, while Primeval Battleaxe and Arachne's Venom Fang need 7.
- Replace the D-tier weapons first. The Dull set (Dull Longsword, Dull Gauntlets, Dull Rapier and Dull Dagger), along with Legendary Kata, Novice Blade and Rustic Spear, all need only 1 proficiency and top out at 9 damage. They're the easiest weapons to start with and the first to swap out once a stronger option is in reach.