Cash and Gems do different jobs in Survive a Million Monkeys. Cash helps you survive the match in front of you, while Gems improve later attempts in the hub. Treat each run as a loop: start with a basic weapon, turn monkey defeats into Cash, survive as many waves as possible, then spend the Gems you earn on future Weapons or Classes.
How the Survive a Million Monkeys run works
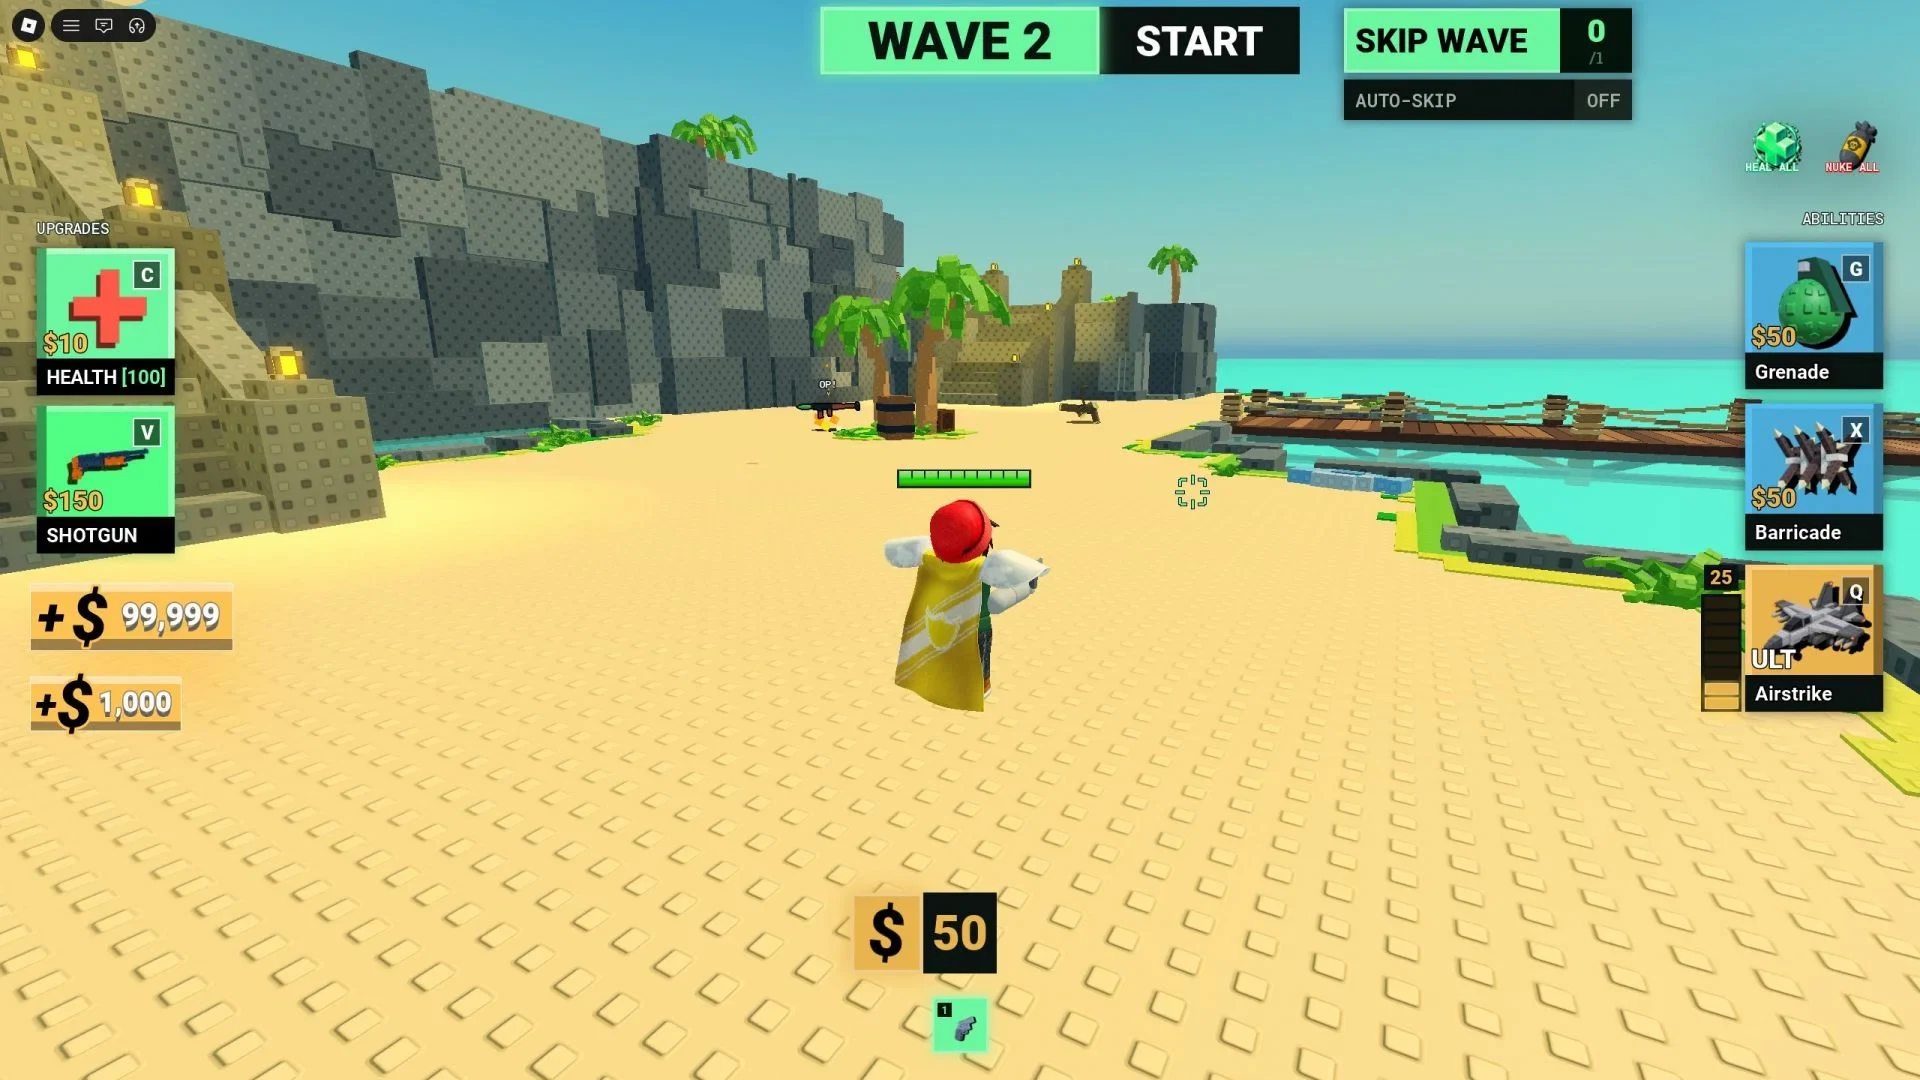
A run starts on an island with a basic pistol or another weapon in the same starting tier. Use it to defeat the first monkeys and build the temporary Cash balance that powers the rest of that attempt.
- Start with the weapon you have. Defeat monkeys on the island to earn Cash.
- Spend Cash during the run. You can raise your Weapon tier, raise your health pool, place barricades, or toss grenades.
- Keep clearing waves. The number of monkeys and the pressure they create rise as the run continues.
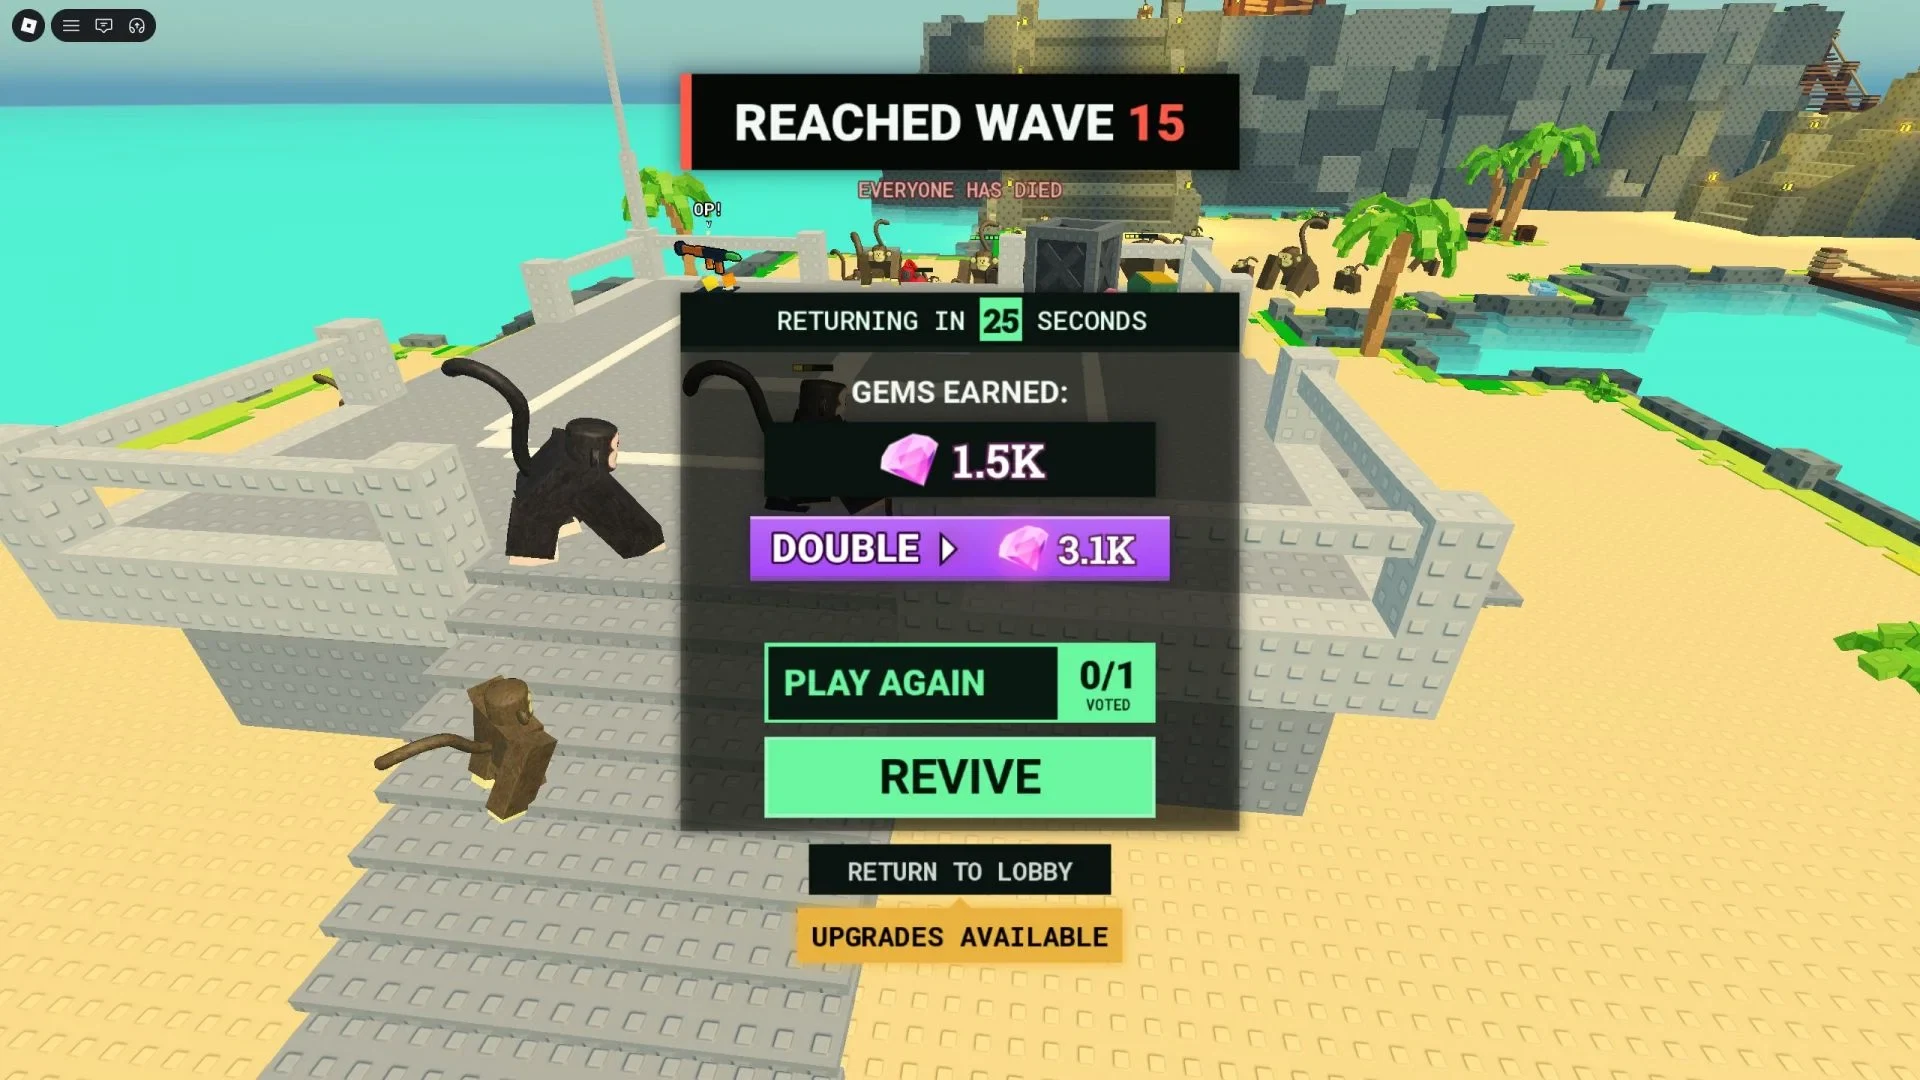
- Convert the result into Gems. When the run ends, Gems are awarded based on the monkeys and waves you cleared.
Cash only lasts for the current run, so it is not the currency to save for the hub. Gems are the part of the result that carries into future attempts, where you can unlock Weapons and Classes.
Survive a Million Monkeys controls and in-run upgrades
The basic controls cover movement and shooting. The other shortcuts change upgrades, utilities, and your Class Ultimate.
| Action | Input | What it does |
|---|---|---|
| Move | W, A, S, D | Move around the island |
| Jump | Spacebar | Jump |
| Aim | Mouse | Aim your weapon |
| Shoot | Left mouse button | Fire your weapon |
| Upgrade Weapon | V | Raise the current Weapon by one tier during the run |
| Upgrade health | C | Raise the health pool by one tier during the run |
| Toss grenade | G | Spend Cash on a grenade |
| Place barricade | X | Spend Cash on a barricade |
| Ultimate move | Q | Trigger your Class-specific Ultimate when it is available |
The two upgrade shortcuts change your run's baseline. V improves the Weapon tier by one step, and C improves your health pool by one tier. Grenades and barricades are different: they cost a fixed amount of Cash and do not have a separate upgrade path. Use them as immediate tools when you need damage or space.
The Ultimate does not use Cash. Its timing comes from your monkey defeats, so the Q shortcut has a separate role from the Cash controls.
Survive a Million Monkeys weapon tiers and hub unlocks
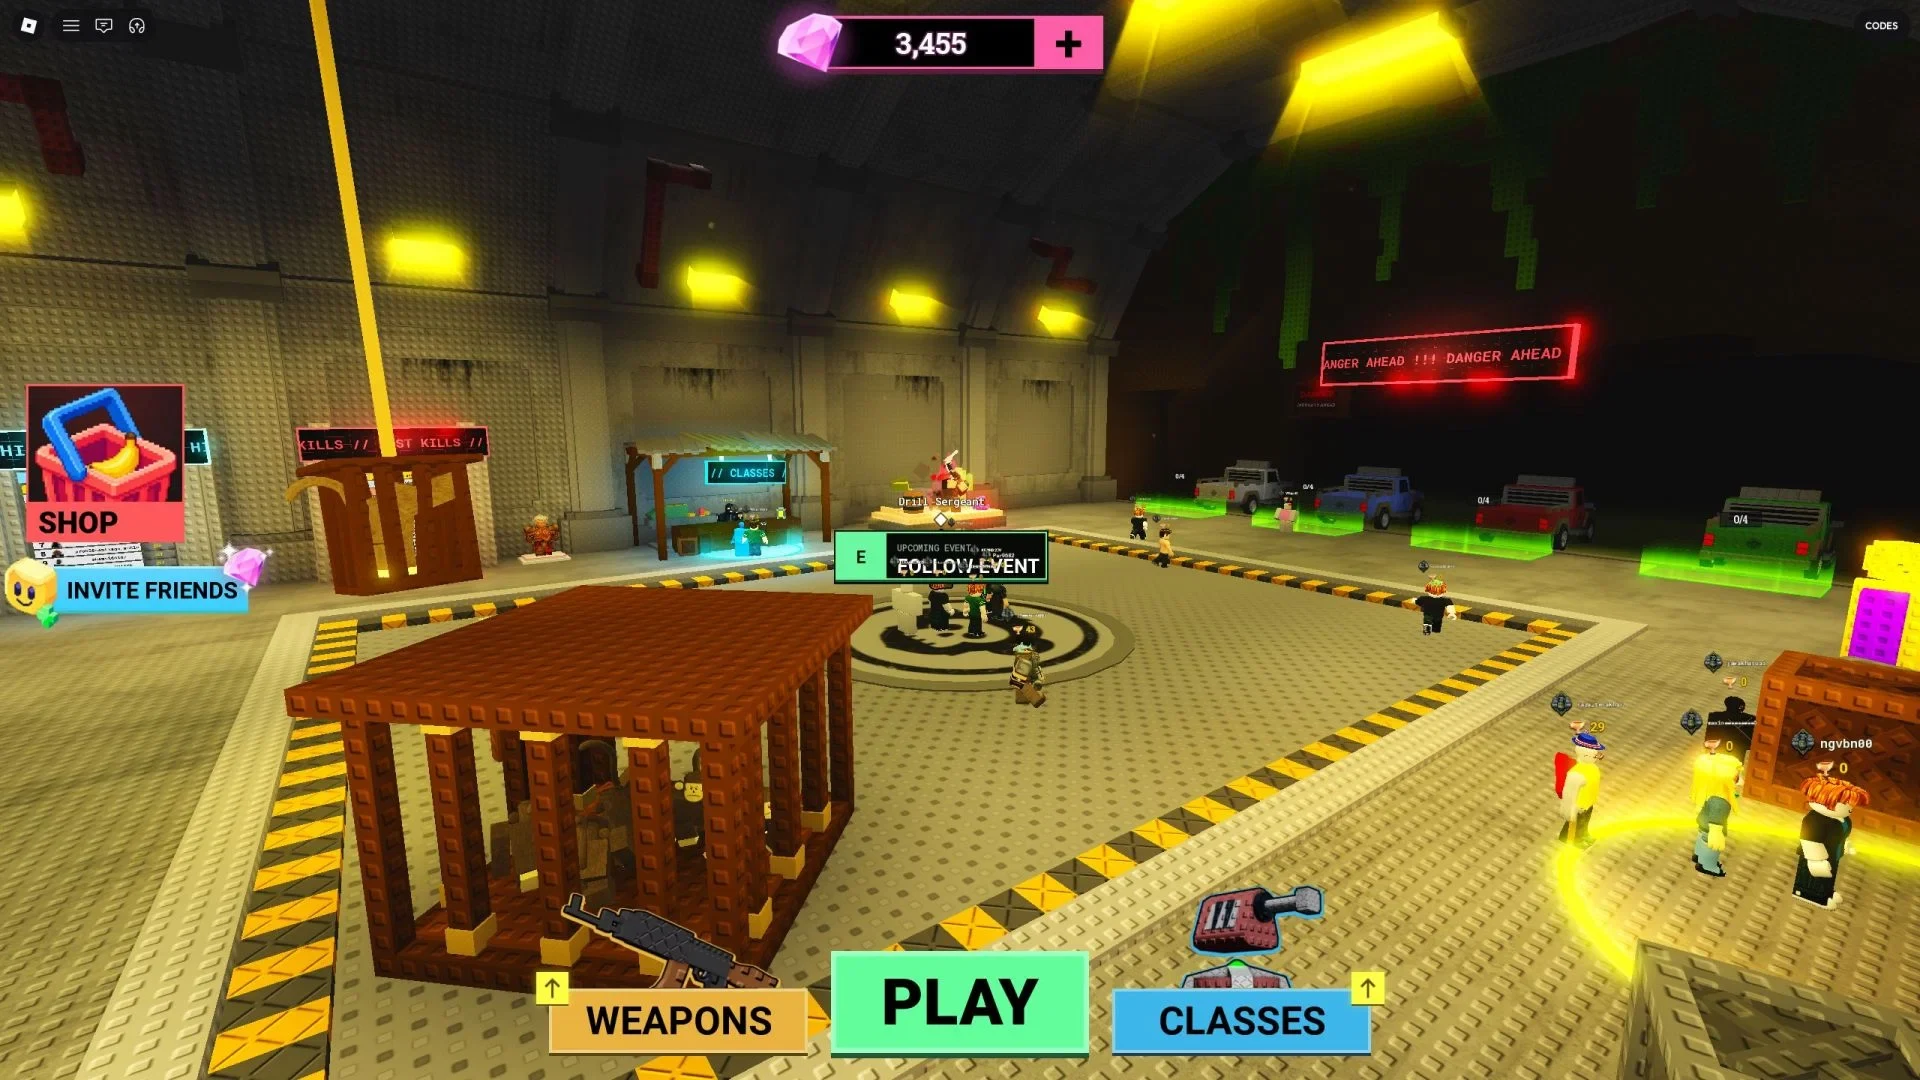
Weapon progression has two layers. You can move up one tier with V during a match, or spend Gems in the hub to unlock stronger Weapons for later runs.
| Weapon tier | Examples | How it fits into progression |
|---|---|---|
| Tier 1 | Handguns | The basic starting tier for a run |
| Tier 2 | Medium-range weapons such as shotguns | The next in-run Weapon step |
| Tier 3 | Assault rifles | A stronger mid-run tier |
| Tier 4 | Heavy weapons | The highest listed Weapon tier |
A Weapon upgrade bought during a run ends with that run. A Weapon unlocked in the hub uses Gems and gives you access to that tier on future attempts. Do not treat those actions as the same purchase.
You may have enough Cash to reach Tier 4 around wave 20, but that is a rough benchmark rather than a fixed schedule. The monkey types you face and the Cash they drop can move that timing. The beginner guide's practical recommendation is to prioritize a higher-tier hub Weapon because the starting handgun period is short. Use that as a starting priority, not as a rule that overrides every other choice.
Survive a Million Monkeys Classes and the Ultimate move
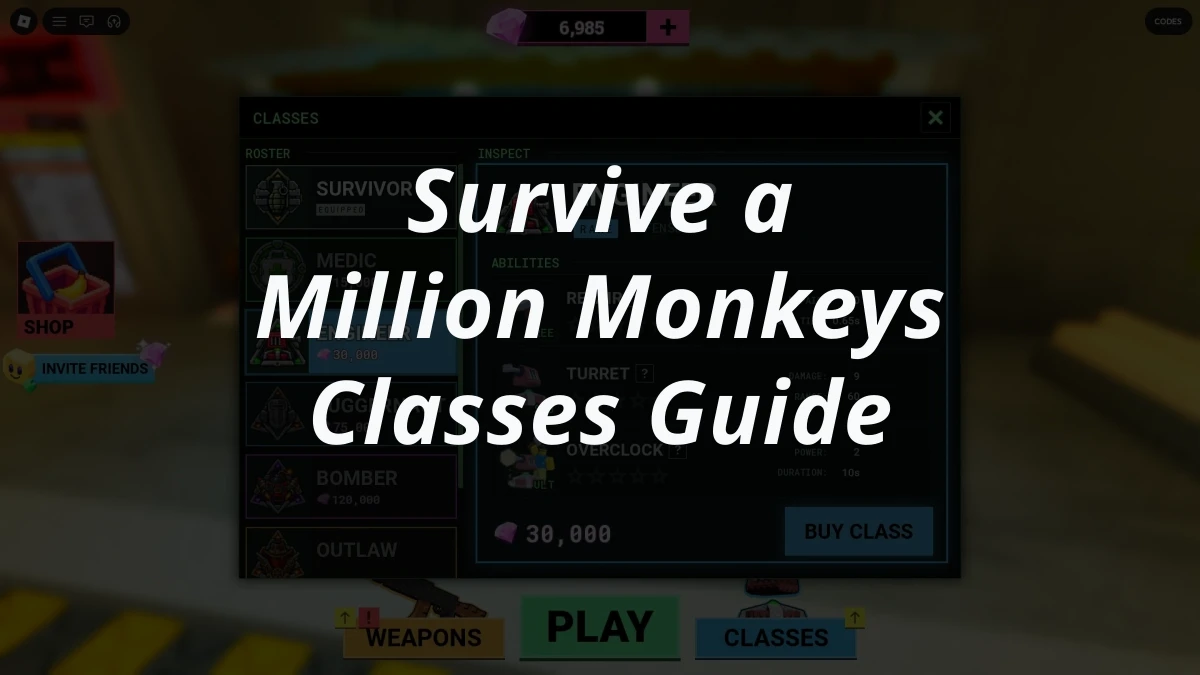
A Class gives your run more than a starting name. Classes can provide passive bonuses, specialized equipment, and a Class-specific Ultimate. Read those effects in the hub before spending Gems so you know what changes at the start of a match and what waits for the Ultimate trigger.
Every 100 monkeys you defeat gives you another chance to use the Ultimate by pressing Q. That charge is tied to kills, not Cash. The effect depends on the Class and can focus on damage, a stat boost, or better gear efficiency, so use it when its effect helps with the pressure around you instead of treating it like another Weapon purchase.
There is no need to memorize a full Class roster before your first run. Compare the passive, equipment, and Ultimate shown for the Classes available to you, then pick the bonus that fits how you want to handle crowded waves.
How to handle later monkey waves
The horde becomes harder through both numbers and enemy variety. You can encounter standard monkeys, a larger and tougher type, red exploding monkeys, white monkeys, and additional types as you survive longer. Different monkey types can award different amounts of Cash, while the newer types tend to be more resilient.
Early in a run, holding one position can be manageable. Around wave 20, use a run-and-gun approach instead of camping in one spot. Treat that as an approximate changeover, since the Cash you have and the enemy mix can make a wave feel dangerous sooner or later. Keep moving across the island, aim while you reposition, and use G or X when a grenade or barricade helps you manage the pressure.
This approach also keeps the two progression decisions clear. Spend Cash to solve the current wave, then keep pushing for more defeats and waves so the next run pays out more Gems.
The first attempt is useful even when the horde eventually overwhelms you. Use its Cash for current-run upgrades and utilities, then take the Gems from the result back to the hub. A higher-tier Weapon or a Class with a useful starting bonus gives the next run a better starting point without confusing temporary spending with permanent progression.