

To start Stand Out on Roblox, finish the opening Hey Ya! tutorial, use the Mysterious Arrow it gives you to awaken your first Stand, then follow Jodio's directions to Meryl at Iko Iko to receive the Phone and begin the story. Stand Out is an open world RPG inspired by JoJo's Bizarre Adventure, and you start on the shore of O'ahu with no Stand and no stats. Stands are your main combat tools, so the first one matters most, and the main story is the best way to learn the map and earn EXP before you branch into repeatable activities.
| Key | Action |
|---|---|
| W, A, S, D | Move |
| Left Shift, or W twice | Sprint |
| Q | Dash |
| Left mouse button | Light attack |
| R | Heavy attack |
| F | Block |
| E | Summon or dismiss your Stand |
| 1, 2, 3, 4 | Stand moves |
| T | Toggle EX moves |
| P | Pose, which charges the EX meter |
| H | Interact and pick up objects |
| M | Open the menu |
| Left Alt | Camera lock |
| Left Ctrl | Pilot mode |
| Space | Jump |
| Z | Open the Phone, once you have it |
Learn the Core Controls Before Your First Fight
You don't need every key on day one. The tutorial only covers a few of them, and the rest unlock as you reach the systems that use them. Sprint, dash, light attack, heavy attack and block are the ones to learn first, since they're what you'll use in the opening fight.
Block takes a little practice. Tap F right before an attack lands to perform a perfect block, so use the tutorial fight to get the timing right. If a key doesn't respond the way the table says, check your controls in the settings, since these are the default PC keys and your setup may be different.
Finish the Hey Ya! Tutorial Fight to Earn Your First Arrow
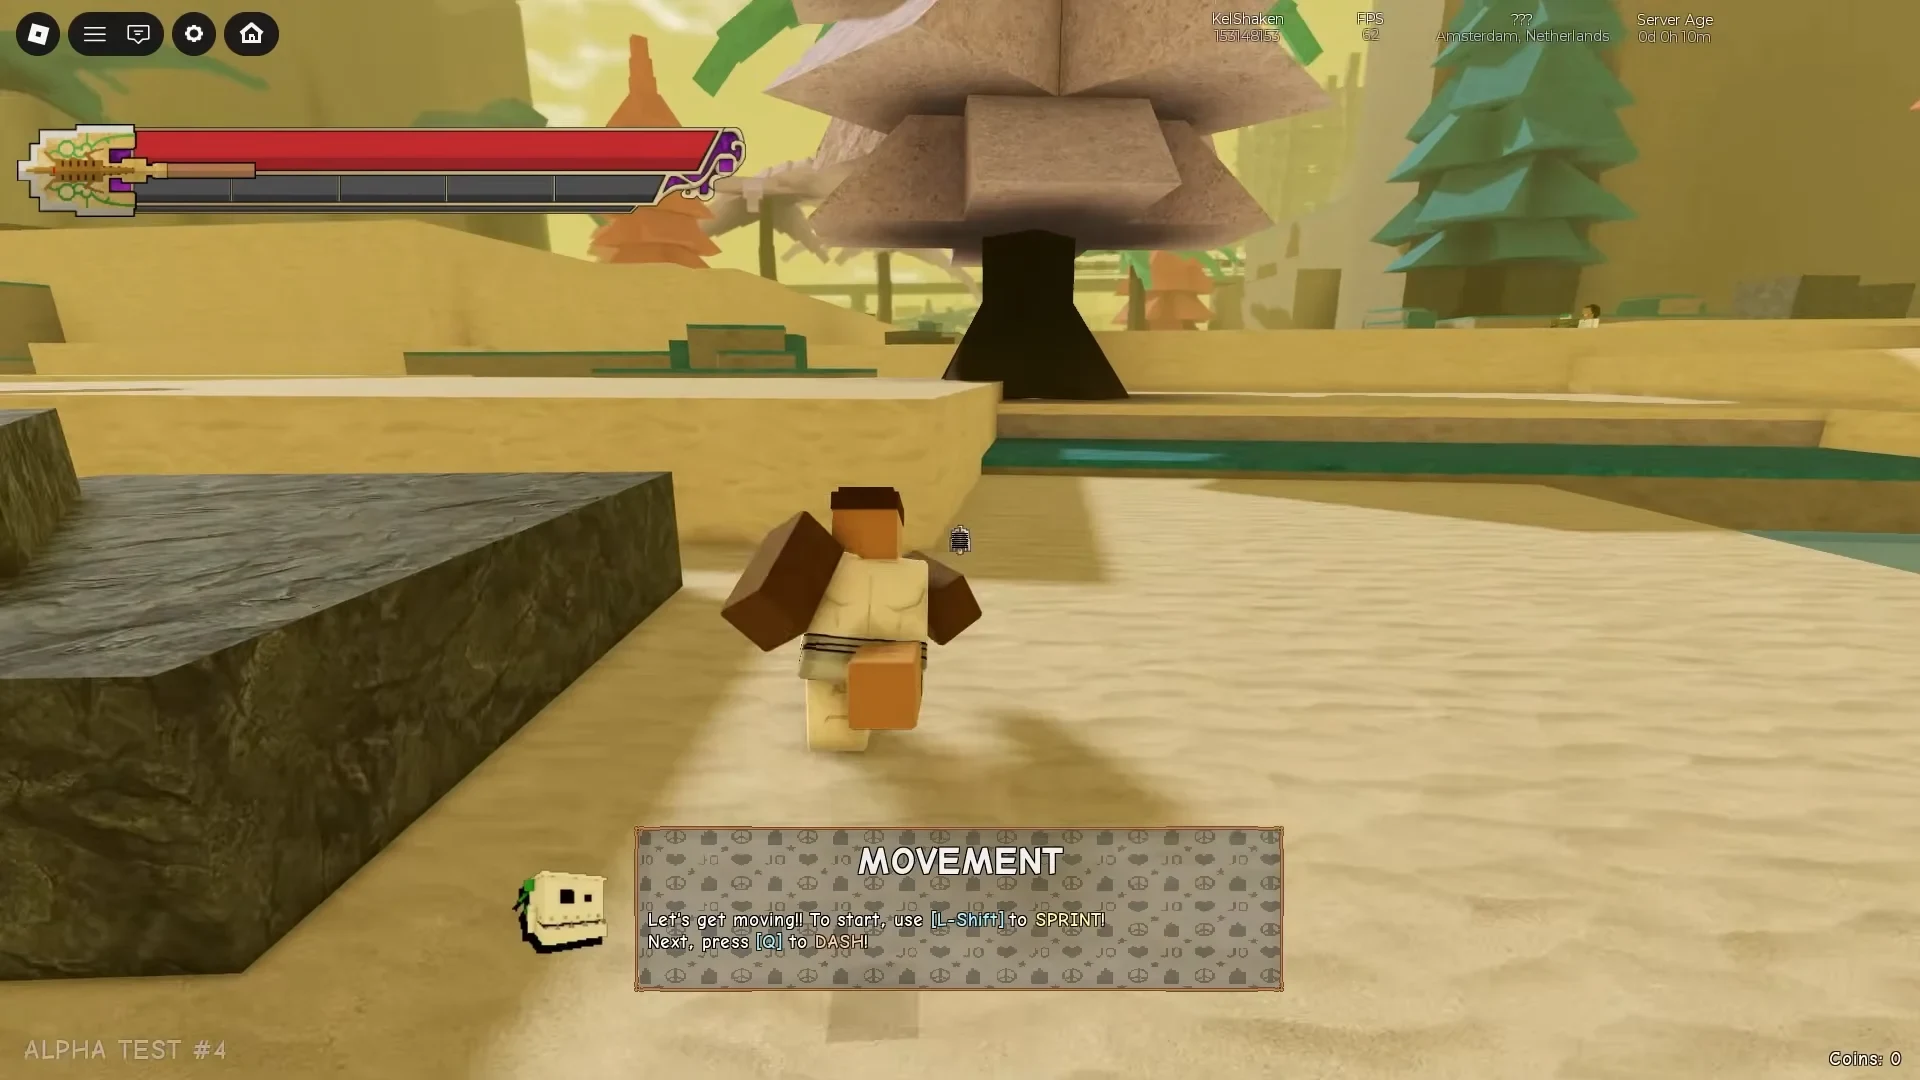
The Hey Ya! tutorial starts as soon as you spawn. It teaches movement and basic combat,. Work through these steps in order:
- Follow the movement prompts. Hold Left Shift to sprint, then press Q to dash. The quest moves on once you've done both.
- Defeat the tutorial opponent. Use light attacks with the left mouse button, R for a heavy attack, and F to block.
- Keep going through the tutorial until you receive the first Mysterious Arrow. Defeating the opponent pays 50 EXP and 500 Coins.
The fight is short, but it covers the basic combat you'll use through the early story. Try each attack and the block before you move on, because the story starts bringing tougher enemies soon after.
Use the Mysterious Arrow to Awaken Your First Stand
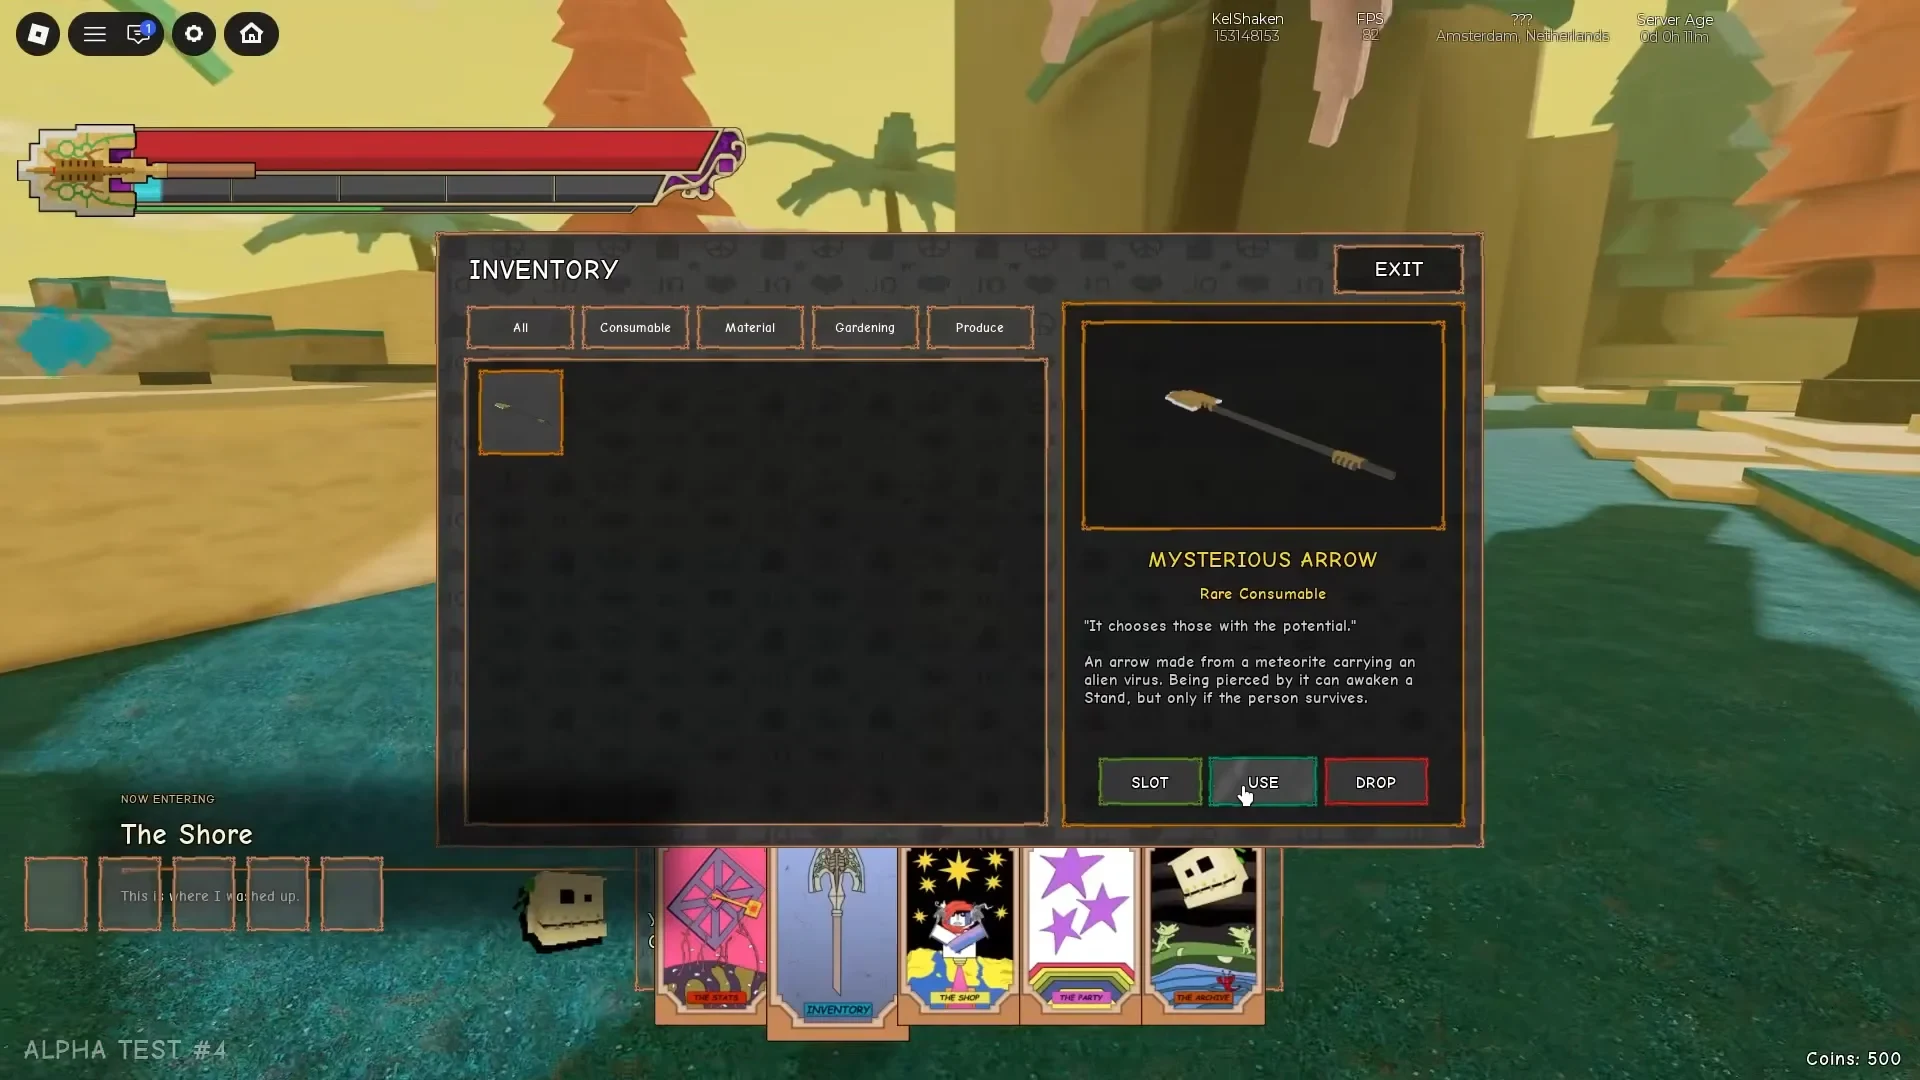
Your first Stand comes from the Mysterious Arrow, and using it takes only a few steps. The Stand you get is random, so you can't choose it. Each new arrow rerolls your Stand, which means a later arrow can give you a different one.
- Press M to open the menu and choose Inventory.
- Select the Mysterious Arrow and click Use, the button between Slot and Drop.
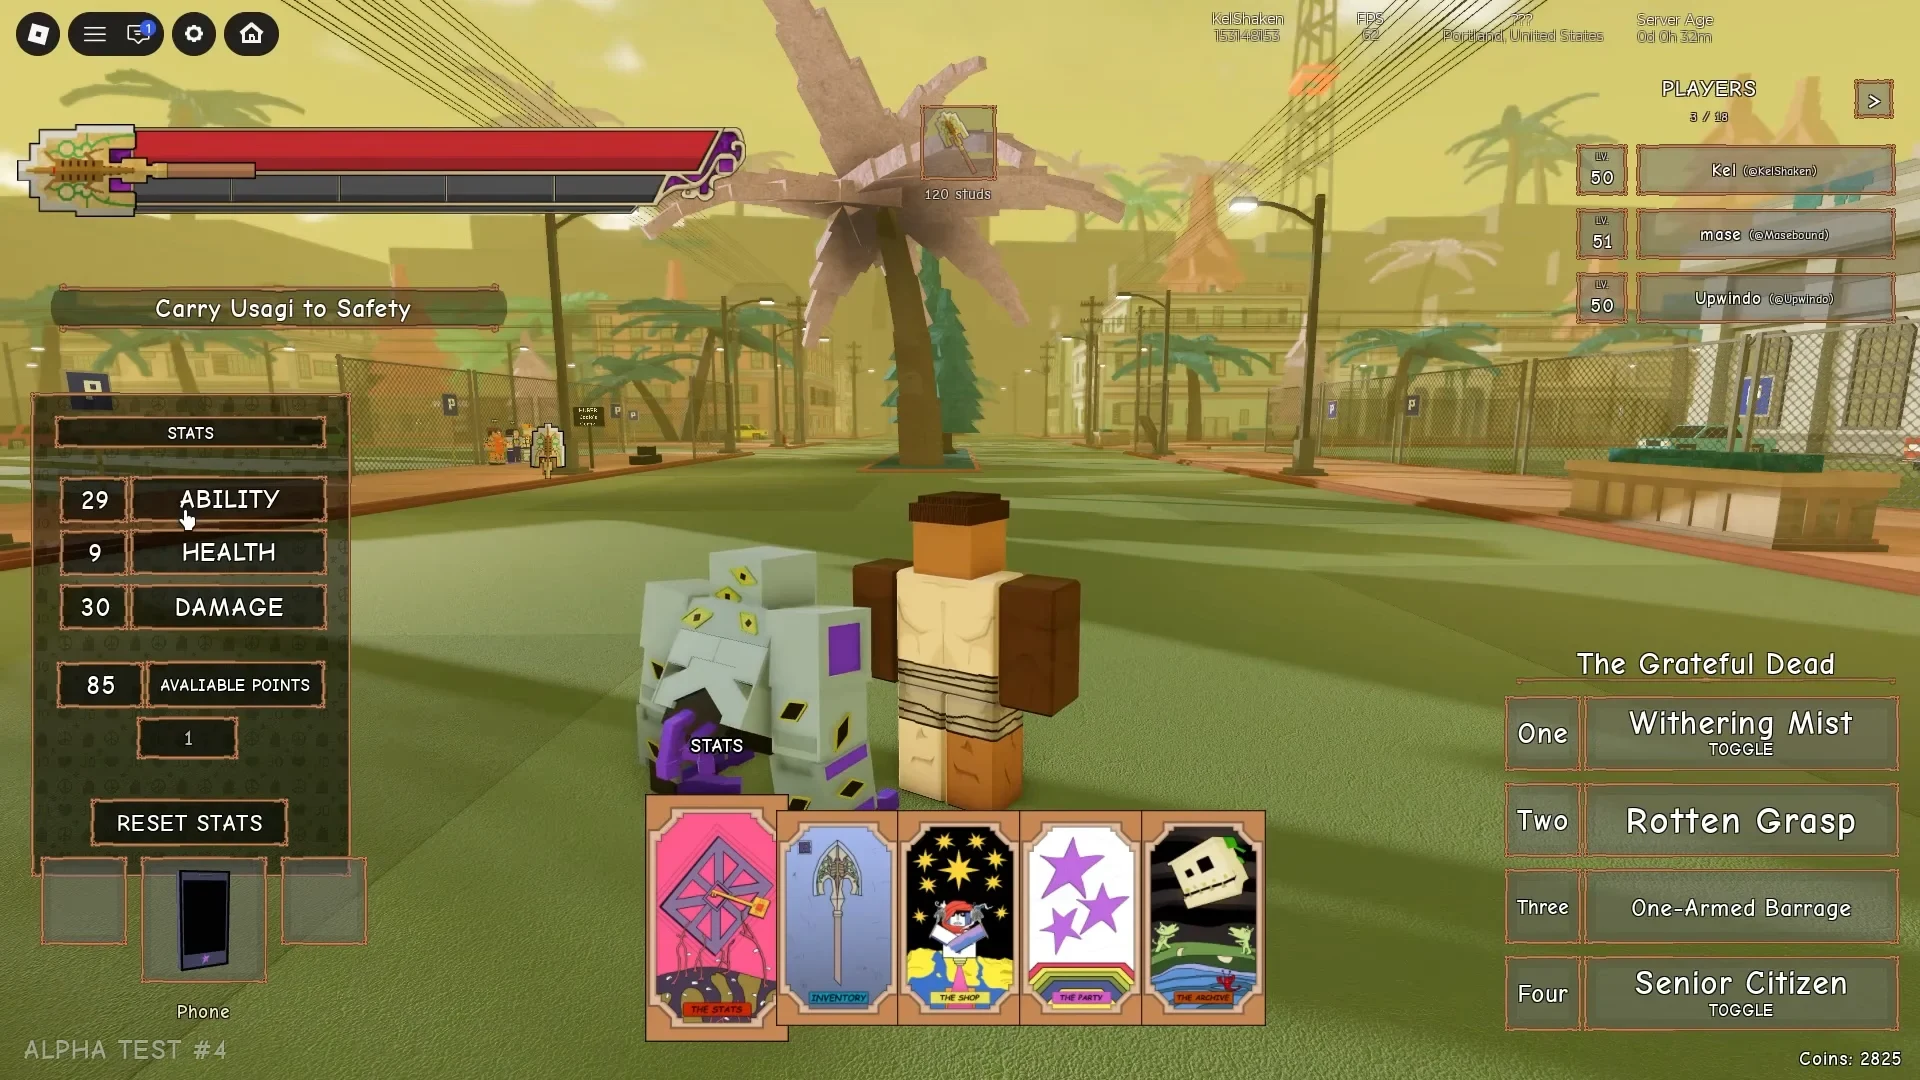
- Press E to summon your new Stand. Its four moves show up on the HUD.
Once it's out, hover your mouse over any skill slot to see its tooltip, which lists damage, cooldown and what the move does. Keep the Stand summoned during fights, because some combos only work while it's out.
Talk to Jodio and Meryl at Iko Iko to Get the Phone
Your Phone holds the Quests, Bounties and Eliminations apps, and its Maps app helps you find places. You don't buy it, because the story hands it over. Follow these steps:
- After the opening fight, talk to Jodio Joestar, the stranger you helped.
- Follow his directions to Meryl Mei Qi at Iko Iko.
- Accept her Rohan heist briefing to receive the Phone.
Without the Phone, you can't reach the Bounties or Eliminations apps, so this step opens up the next set of activities.
Follow the Main Story to Learn O'ahu and Earn EXP
The main story is the best route for your first few hours. It takes you across O'ahu, hands out Mysterious Arrows, and introduces Bounties, side quests and Eliminations at a steady pace. That gives you time to learn the map and level up before you choose your own goals.
Your active quest shows on the left side of the screen. A yellow winged arrow in the world points to the next objective and shows the distance in studs, and glowing yellow circles mark things you can interact with.
If an objective says to use an item and nothing happens, open your inventory with M. Some quest items have to be used by hand before the next objective appears.
What to Do If a Stand Out Quest Gets Stuck
Stand Out's map is destructible, and that can break quests. Smashed furniture or a damaged quest room can stop a trigger from firing or leave an NPC stuck. Other players working on the same objective can cause the same problem, and waiting rarely fixes it. Try this instead:
- Check that you haven't missed an earlier objective. An incomplete step can look broken at first.
- Leave and join a different server. The new one loads a clean map, and the quest step can be done again.
- Confirm the fix. The waypoint arrow should point somewhere you can reach, and the tracker count should start going up.
Spend Stat Points in Stand Out on Health, Damage and Ability
You earn EXP from story quests, side quests and bounties, and each level gives you 3 stat points. Points do nothing until you spend them, and the game will remind you when you have some waiting. Press M, open Stats, click a category to add a point, and watch the Available Points counter drop to confirm it.
Each stat does something different:
- Health raises how much damage you can take.
- Damage raises your direct attack damage.
- Ability affects your Stand moves. The exact effect depends on the Stand.
Check your Stand before you commit points, because Ability doesn't give every move the same bonus. The Archive in the menu shows which of your Stand's abilities scale with Ability.
Don't pour everything into one stat. Save some points for Health before the tougher story enemies, since a pure damage build can fall to a single combo. If a build isn't working, RESET STATS in the Stats menu gives your points back so you can try again.
Stand Out Bounties: How the Tiers Work and Where to Start
Bounties are repeatable takedown requests that reward XP and Dalas, and they're a good next step once you want a goal of your own. Open the Phone, tap the red "b." Bounties app, and choose a tier. Tiers are sorted by level.
Pick a contract and press Begin, and it appears in your quest tracker. Higher tiers pay more but hit much harder, so stay in the tier that matches your level until your stats catch up.
What to Try Next: Side Quests, Eliminations and Raids
Once the story has taken you through the map, side quests are the next thing to try. Check your Phone for available ones and accept them as they appear. They can pay out great rewards, so finish them when your combat power is high enough to handle them.
Eliminations are stronger versions of bounties that give a large amount of XP. They can also pit you against other players, so you don't need to take on PvP until you feel ready, but prepare for it before you pursue an Elimination.
Raids are endgame battles that need a good build and a high-tier Stand. Fine-tune your build before you try one, because they're challenging.