

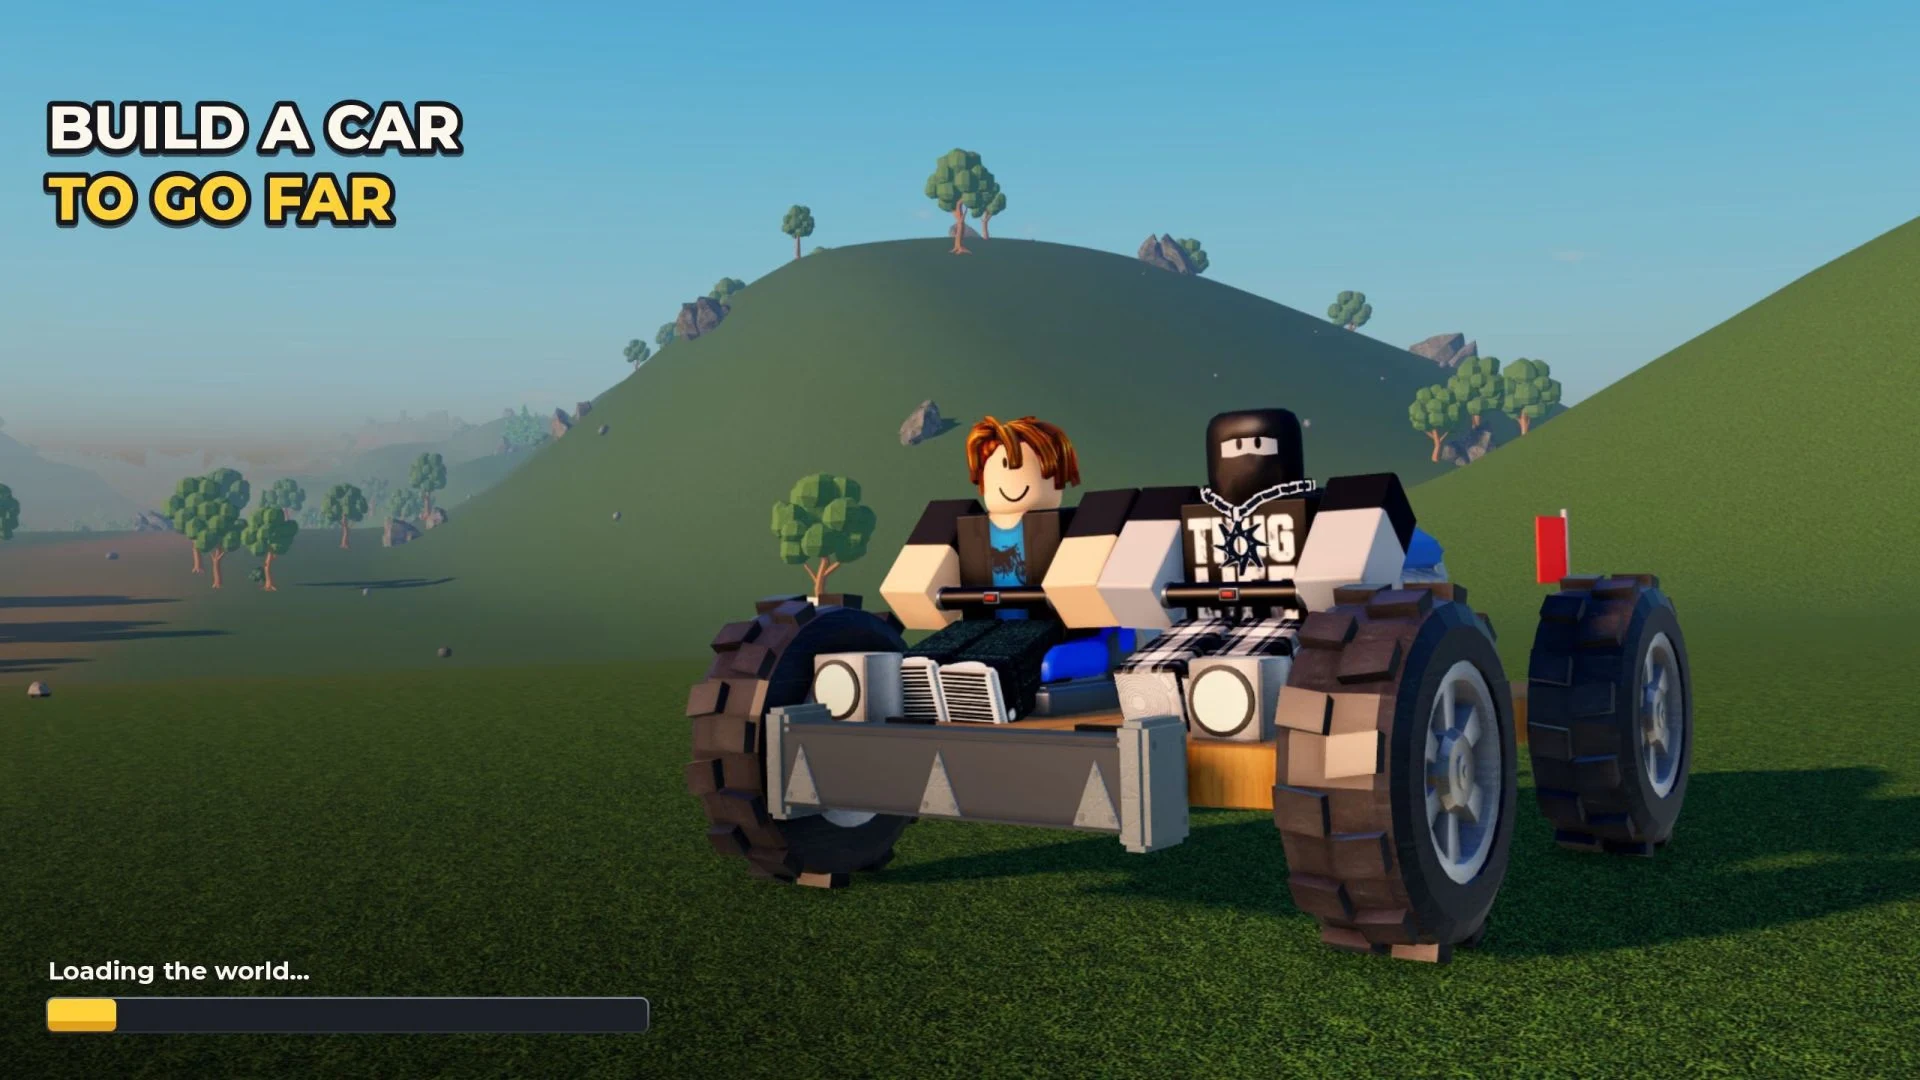
Build a Car to Go Far is a Roblox vehicle sim where you build a car from parts, drive it down one long track, and earn coins for the distance it covers. To start, claim your daily reward, open the free booster crate, and make a first drive. After that, spend your coins at the Parts Shop on a frame, four Road Tires, and a Small Fuel Tank to build a wooden car that can go farther.
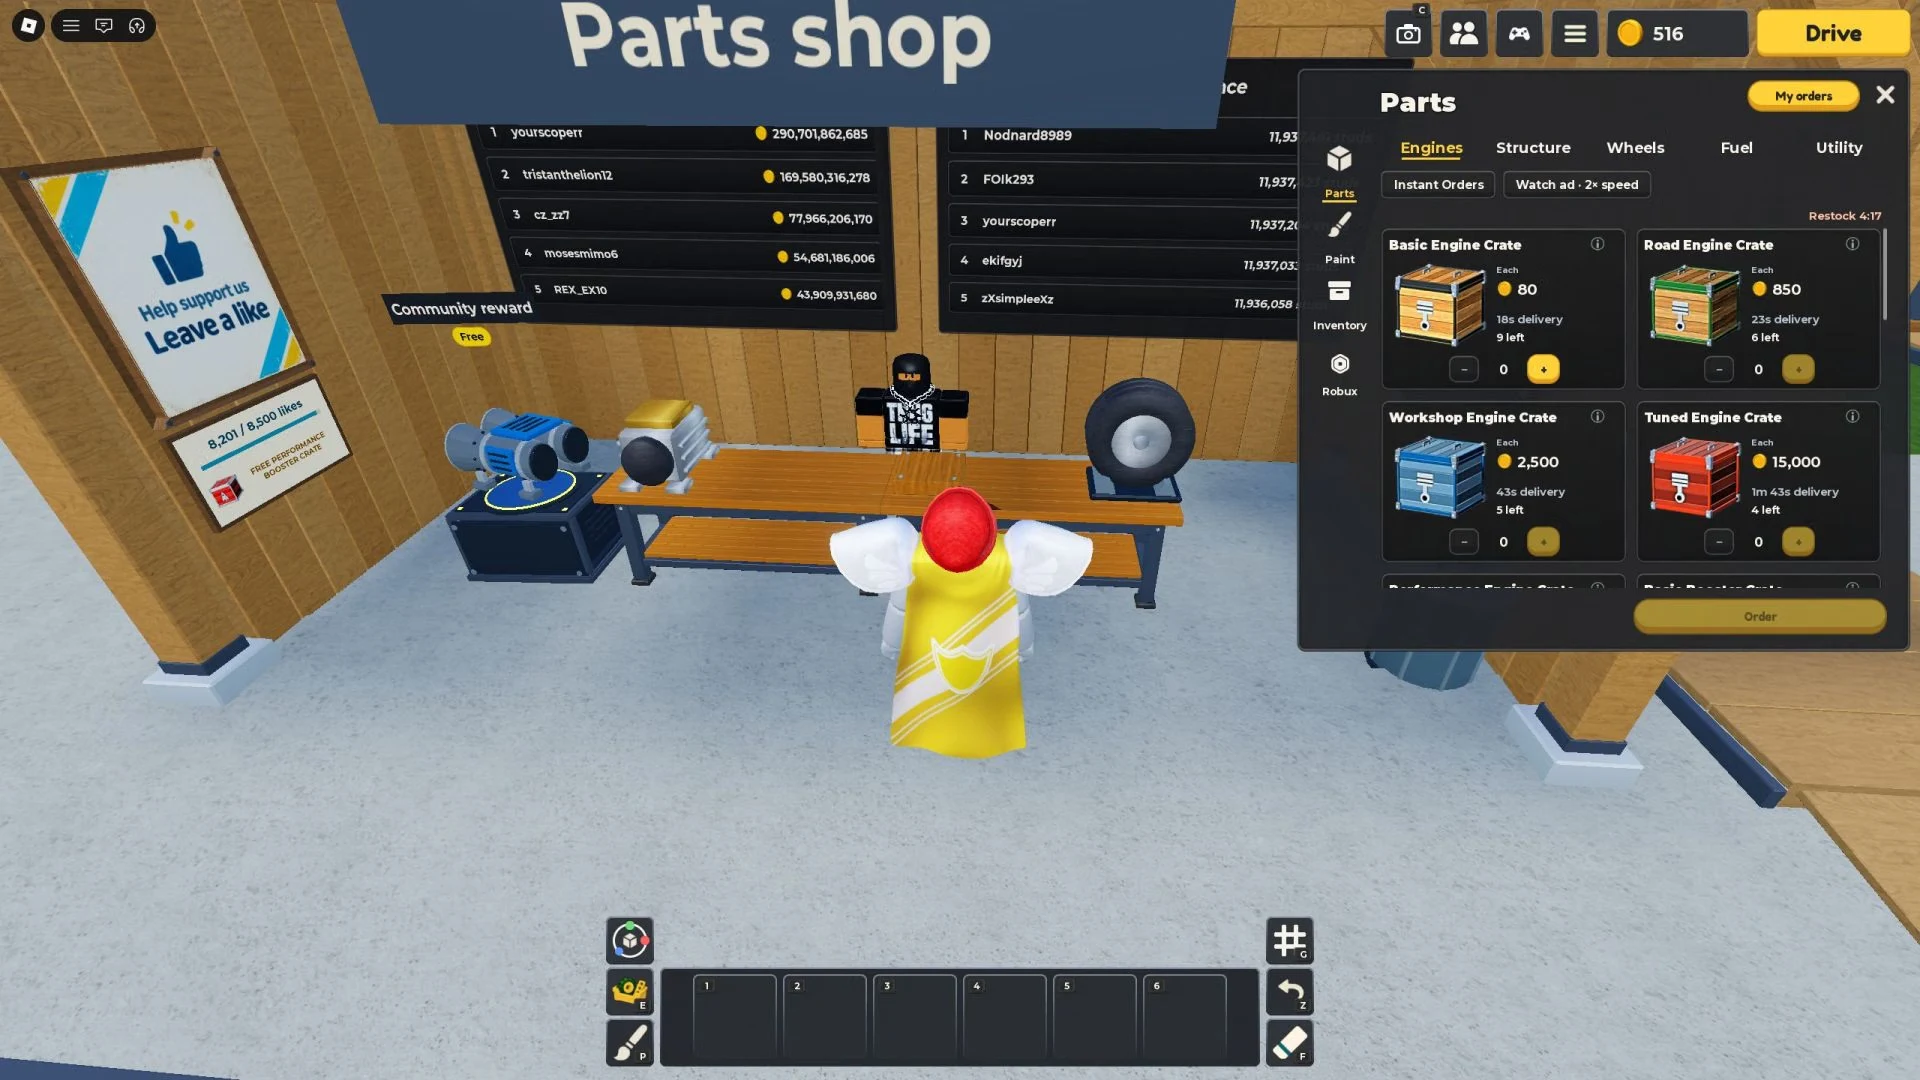
Parts Shop prices, in coins
| Tab | Item | Price |
|---|---|---|
| Engines | Basic Engine Crate | 80 |
| Engines | Road Engine Crate | 850 |
| Engines | Workshop Engine Crate | 2,500 |
| Engines | Tuned Engine Crate | 15,000 |
| Structure | Wood Block | 10 |
| Structure | Short Wood Beam | 8 |
| Structure | Long Wood Beam | 20 |
| Structure | Wood Plank | 22 |
| Structure | Reinforced Wood Plank | 140 |
| Structure | Long Wood Plank | 60 |
How Coins and Studs Work in Build a Car to Go Far
Distance is measured in studs, and the on-screen display shows your running count while you drive. Coins are paid for that distance, so a run that covers more ground earns more. You spend those coins in the Parts Shop, which is also where you get crates with better engines and rockets.
Your car keeps earning coins while you're offline. The Offline Rewards sign in the garage shows what's generating that income, so it's worth a look when you come back.
Claim the Daily Reward and Open the Free Booster Crate
You spawn on your build pad with a few windows stacked on top of each other. Close the startup pop-ups first so the screen clears, then collect the daily reward, since that's your first real spending money.
- Close the startup pop-ups.
- Press Claim on the daily rewards window.
- Walk to the DELIVERIES dock beside your plot, interact with the red Performance Booster Crate, and choose Open Crate.
- Press Grab Booster to drop the booster into your hotbar.
Your hotbar has six slots, numbered 1 to 6, and pressing a number key selects that slot. Whatever booster the crate gives you lands in the hotbar, ready to fit to your kart. The garage also has a community board that offers a free Performance Booster Crate once the game reaches a like goal, so check it each time you log in.
Fit the Booster to the Starter Kart Before Your First Drive
Placement matters more than it looks. A booster mounted off to one side pushes the kart off course once it fires, and boosters placed too high or off to the sides can make the car spin out of control. Line it up before you leave build mode.
- Enter build mode and select the booster from your hotbar. It appears as a ghost you can move around the pad.
- Rotate it with the 90° button. If it has nozzles, like a rocket does, turn them so they face backward.
- Place it on the rear of the starter kart and center it on the frame. If the box turns red, that spot is blocked and the part won't attach there.
Drive Your First Run and Read the Results Card
Walk up to the car and press the yellow Drive button. The screen shows "Starting…" and sends you down the ramp onto the grassy track. While you drive, these are the controls:
- A / D: steer
- W or Space: gas
- S or Ctrl: brake
- Shift: boost
- E: exit the car
When a run ends, a results card shows your distance, your Best, the coins you Earned, and the next zone. Back to garage and Drive again sit at the bottom of the card. The zone listed there is Redstone Canyon at 3,590 studs, marked with Alloy parts, so that's the zone to aim for next.
What to Buy First at the Parts Shop
The Parts Shop has five tabs: Engines, Structure, Wheels, Fuel, and Utility. Structure holds the frame pieces, Engines is where you order crates, and Wheels and Fuel hold the tires and tanks. Engine crates are ordered with the Order button, and each one takes a few seconds to arrive before you can open it.
If you want to build the wooden car from the steps that follow, buy these:
- One Reinforced Wood Plank (140 coins), the base of the frame
- A few standard Wood Planks (22 coins each) to finish the frame, plus a spare or two in case your hotbar runs short while you lay it out
- Four Road Tires, bought one at a time, so that's four separate purchases
- One Small Fuel Tank
Four matching tires keep the car rolling straight, and the Small Fuel Tank gives the run its fuel.
How to Build a Wooden Car with Road Tires
Go back to your build pad and enter build mode on the starter kart. Everything you bought is now in your hotbar, next to the driver seat and engine already there.
- Clear the pieces you don't need. Select each starter piece you want gone so it's outlined in yellow, then use the Delete tool on it.
- Lay the base. Place the Reinforced Wood Plank on the pad, then add standard planks beside it to make a flat rectangle. The length and width of that rectangle set your wheelbase, the distance between the front and back wheels, because the tires go on its outer edges.
- Attach the tires. Select a Road Tire and rotate it 90° so its face points away from the frame, the way a real wheel would. Press it against the side face of a frame piece at one corner, then repeat for the other three corners. Tires only attach to the side of a frame piece, so aiming at the top of a plank or at another tire won't work.
- Add the fuel tank. Select the Small Fuel Tank and set it on top of the rear of the chassis. Use the rotation rings to stand it upright.
- Add the driver, engine, and booster. Select the driver seat, engine, and booster from your hotbar so the car has a driver, power, and a booster.
- Check the build. Every part should sit without a red box or warning message, and the yellow Drive button should appear when you walk up to the car. Press Drive and compare the new distance with your Best.
Fixing Parts That Won't Place During a Build
When a part won't place, the game tells you why at the bottom of the screen. Each message names the problem, and the fix is usually a small move. These are the messages that come up when you build a first car:
| Message | What to do |
|---|---|
| Move it clear of the other pieces. | Slide the part away from what it's touching. |
| Pieces overlapping. | Delete the piece, or move it out of the one it's inside. |
| Outside the build area. Move it in. | Bring the part back onto the pad. |
| Put the tire on the side of a frame piece. | Aim at the side face of a frame piece. |
| Tires can't attach to the Road Tire. | Mount the tire on the frame, not on another tire. |
Driving the Wooden Car and Planning the Next Upgrade
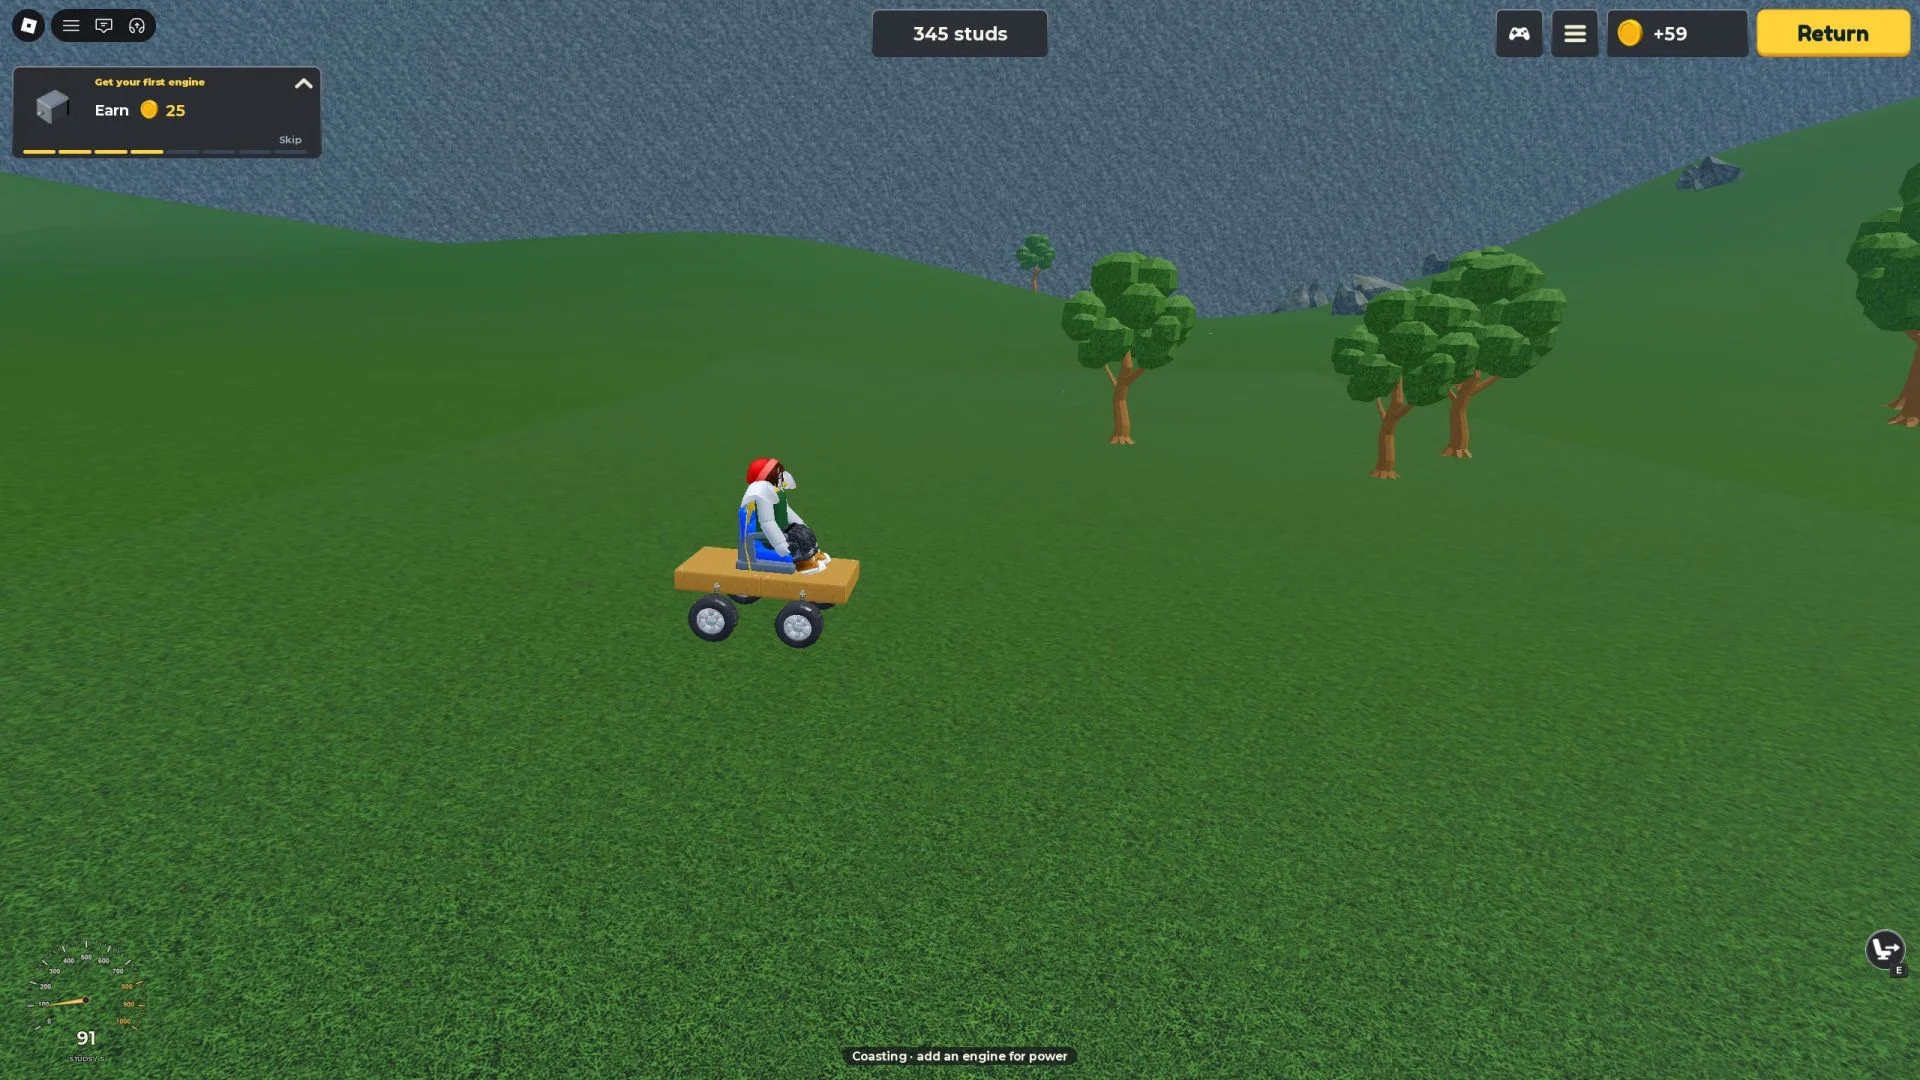
While you drive, the Gas and Boost gauges sit at the top right of the screen. The Gas gauge tracks your fuel, which the Parts Shop lists under Fuel. When the tank empties, the screen says "Out of fuel · coasting," and the car keeps rolling on momentum. A car with no engine shows "Coasting · add an engine for power," so you'll know it needs one.
A booster can keep pushing the car after the engine has run out of fuel, but the same push can flip a light kart, and a crash ends the run wherever you land. Once the wooden car is working, your next coins can go to other tanks on the Fuel tab or to engine crates on the Engines tab.